To fix washed-out images, start by controlling natural light with blinds, shades, or curtains—position screens away from direct windows. Reduce glare by adjusting furniture and replacing reflective surfaces with matte finishes. Optimize screen placement at eye level and face them directly toward seating areas. Minimize bright wall colors and decals that reflect light, and fine-tune your lighting with dimmers to balance brightness. If issues persist, exploring additional tips will help you achieve clear, vibrant visuals.
Key Takeaways
- Use window treatments like blinds or curtains to block direct sunlight and reduce glare on screens.
- Position screens away from windows and avoid facing them directly toward sunlight.
- Adjust indoor lighting with dimmers or layered lighting to minimize reflections and optimize contrast.
- Replace reflective surfaces and shiny décor with matte or textured finishes to prevent light bounce.
- Fine-tune screen placement and lighting settings, and consider professional help if glare persists.

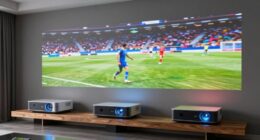
BenQ W4100i 4K HDR Smart Home Theater Projector, 3200 Lumens, 100% DCI-P3, Rec.709, Factory-Calibrated, Android TV with Netflix, 4-Way Lens Shift, HDR10+ & HLG Support, LED Long Lifespan
PROJECTOR-OPTIMIZED TRUE 4K UHD and HDR: HDR-PRO technology exclusive Local Contrast Enhancer and Tone Mapping for perfect details...
As an affiliate, we earn on qualifying purchases.
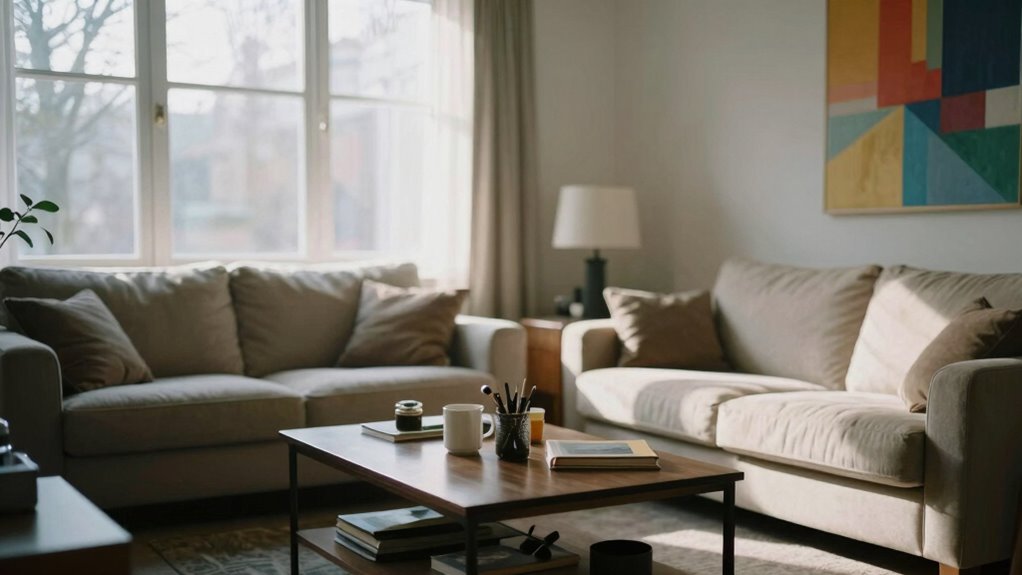
How Natural Light Affects Your TV and Artwork

Natural light can substantially impact how your TV and artwork look in your living room. Bright sunlight streaming through windows can cause glare and wash out images on your TV screen, making it hard to see details clearly. To combat this, consider adjusting your lighting fixtures or using window treatments like blinds or curtains to control sunlight. Wall colors also play a role; darker or matte paints absorb excess light, reducing reflections and glare. Light-colored walls, on the other hand, can reflect sunlight and make the room feel brighter but may increase screen washout. By managing natural light with proper fixtures and wall colors, you create a balanced environment that enhances your TV viewing experience and showcases your artwork effectively. Additionally, trusted businesses and services near you can help you find the right window treatments or lighting solutions to optimize your living space. Proper lighting management is essential for maintaining a comfortable and visually appealing living room. Incorporating light control techniques can further improve how your space looks and feels throughout the day. For example, using fabric decorating markers on curtains or blinds can add a personalized touch that complements your room’s lighting. Understanding the impact of natural light can help you make more informed choices for your interior design.

Epson Home Cinema 2350 4K PRO-UHD Smart Gaming Projector with Android TV, 3-Chip 3LCD, HDR10, HLG, 2,800 Lumens, Low Latency, 10 W Speaker, Bluetooth, Streaming Capability
4K PRO-UHD (1) — An amazing 4K experience utilizing advanced processing for resolution enhancement, color and image processing;...
As an affiliate, we earn on qualifying purchases.
How to Identify Room Factors Causing Screen Washout

To effectively address screen washout, you need to identify the specific room factors causing the issue. Start by checking your color calibration; improper settings can make images look dull or washed out. Next, examine your speaker placement, as poor positioning can cause reflections or glare that diminish picture quality. Consider these factors:
| Room Factor | How It Affects Screen Washout |
|---|---|
| Color calibration | Incorrect calibration reduces contrast and vibrancy |
| Speaker placement | Poor placement causes reflections or flickering |
Additionally, look for reflective surfaces or bright wall colors that may reflect light onto your screen. Being aware of microplastics in dust can also help you understand how indoor pollutants might impact your environment and viewing conditions. For example, air quality can influence dust accumulation and clarity in your space. It is also helpful to ensure proper lighting conditions, as excessive or uneven lighting can contribute to washout. Furthermore, ambient light levels in the room can significantly affect how well your screen displays images, making it crucial to balance lighting for optimal viewing. Once you identify these elements, you can take targeted steps to improve your viewing experience.

1500 ANSI Official Licensed Google TV Smart Projector, HAPPRUN 4K Full HD Home Theater with Auto Focus, Dolby Sound, Wi-Fi Bluetooth, Built-in Apps, Compatible with Phone & PC, Indoor & Outdoor Use
[ Built-in Officially Licensed Google TV ]-Enjoy the reliability of an officially certified Google TV projector. Stream Netflix,...
As an affiliate, we earn on qualifying purchases.
How to Control Windows and Glare for Better Viewing

To improve your screen viewing, start by managing sunlight exposure and controlling glare. Use window treatments like blinds or curtains to block or filter sunlight, and position your screens away from direct windows. These simple steps can make a big difference in reducing reflections and enhancing your picture quality. Additionally, adjusting the digital content formats on your device can help optimize display performance. Ensuring your projector or screen is properly mounted and leveled can also prevent image distortion and improve overall viewing clarity, especially when dealing with mount leveling kits, proper cabling solutions, and whole-home water system considerations that impact environmental conditions around your setup. Being aware of ambient lighting conditions can further help you create an optimal viewing environment and reduce eye strain. Paying attention to specialized investment options in the Gold IRA markets can also ensure you select the best financial strategy for your retirement.
Manage Sunlight Exposure
Controlling sunlight exposure is essential for reducing glare and improving your viewing experience in the living room. Start by considering your window placement; if windows face the sun during peak hours, it’s harder to manage glare. Position furniture and screens away from direct sunlight to minimize washing out the image. While curtain styles won’t be discussed here, the way you position your windows can influence how much light enters. If possible, install window coverings that can be easily adjusted to block or filter sunlight without completely darkening the room. This regulation helps prevent bright spots and glare, creating a more consistent viewing environment. Properly managing sunlight exposure ensures your living room remains comfortable and your screens stay clear, free from unwanted reflections. Additionally, understanding the impact of ambient light control on image quality can help you make more informed decisions for your space. Implementing adjustable window treatments can further enhance glare reduction and create an optimal viewing atmosphere.
Use Window Treatments
Using window treatments effectively can substantially reduce glare and improve your viewing experience. By choosing the right window treatments, you gain better light control, helping to prevent sunlight from washing out your screen. Consider installing adjustable blinds or shades that let you easily block or filter light as needed. Blackout curtains can be especially useful during peak sunlight hours, minimizing reflections and glare. Layering window treatments, such as combining sheer curtains with heavier drapes, provides flexible light control without sacrificing natural illumination. Keep in mind that the goal is to manage incoming light without completely darkening the room, maintaining a comfortable environment. Proper window treatments are essential for achieving an ideal viewing experience and reducing the need for constant screen adjustments. Understanding the capacity of your window treatments can help you select the most effective options for your space. Additionally, selecting light control options that match your specific needs can enhance your overall viewing comfort. Effective use of glare reduction techniques can further improve your visual experience, especially considering the volatility of natural light and how it can change throughout the day.
Position Screens Properly
Ever wondered how the placement of your screen can reduce glare and improve your viewing comfort? The key is proper screen alignment and display positioning. Start by positioning your screen perpendicular to windows and light sources to minimize reflections. Avoid placing your display directly in front of windows, as natural light can wash out the image. Instead, angle the screen slightly away or use furniture to block glare. Adjust the height so your eyes are level with the top of the screen, reducing neck strain. If possible, use adjustable mounts or stands to fine-tune the display’s position. Properly aligned screens prevent unwanted light from washing out images and create a more comfortable viewing experience, making it easier to enjoy movies, shows, or work without distraction. Additionally, incorporating window treatments like blinds or curtains can further control incoming light and enhance overall viewing quality.

Official Licensed Google TV Smart Projector, HAPPRUN 4K UHD Home Theater with Dolby Sound, Wi-Fi & Bluetooth, Built-in Streaming Apps, Compatible with Games Consoles & Smartphone, Indoor & Outdoor Use
[ Built-in Official Licensed Google TV ] - Without additional equipment, the smart projector can directly access Netflix,...
As an affiliate, we earn on qualifying purchases.
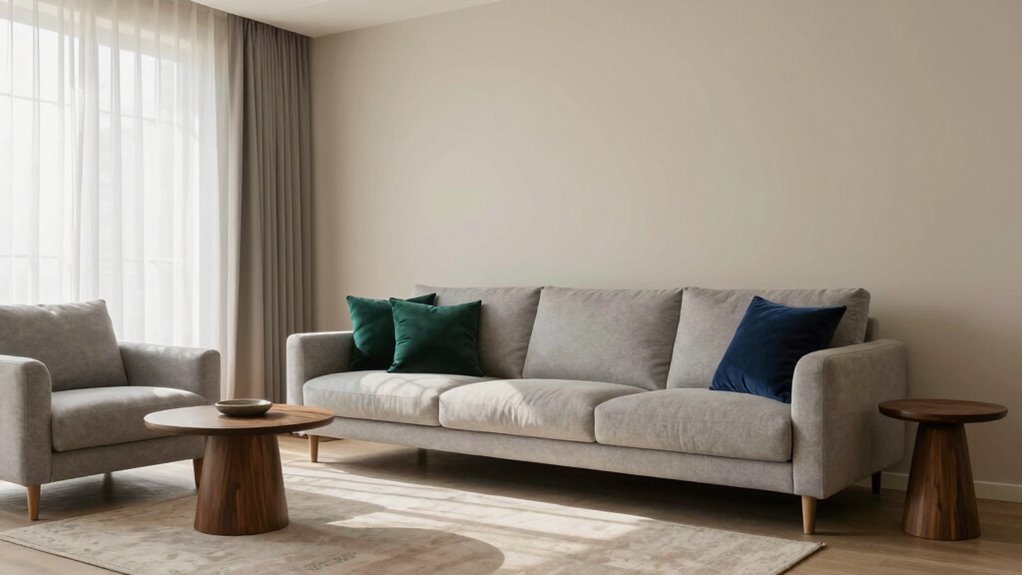
How to Rearrange Furniture and Screens for Optimal Viewing Angles

Start by placing your screen at eye level and directly facing your main seating area to reduce strain and glare. Arrange your furniture so everyone has a clear line of sight without crowding the space. Small adjustments in placement can make a big difference in creating a comfortable, ideal viewing environment. Ensuring your setup promotes proper ergonomics can prevent discomfort and support better posture throughout your workday. Additionally, incorporating regional flavors into your decor or accessories can create a more inviting and personalized atmosphere that enhances your viewing experience.
Optimal Screen Placement
To achieve the best viewing experience, carefully consider how you arrange your furniture and screens. Proper screen positioning is key to avoiding glare and ensuring clear images. First, place your screen at eye level when seated to reduce neck strain. Second, avoid facing windows or strong ambient lighting directly, as this washes out the image; instead, position screens where ambient lighting minimizes reflections. Third, consider the room’s layout so that light sources, like lamps, don’t create glare on the screen. Balancing ambient lighting is essential—use curtains or dimmable lights to control brightness. By focusing on ideal screen placement and managing ambient lighting, you’ll create an environment that enhances picture quality and viewing comfort.
Furniture Arrangement Tips
Arranging your furniture and screens thoughtfully can make a significant difference in your viewing experience. Proper decor placement and furniture positioning help reduce glare and improve image clarity. Start by positioning your seating to face the screen directly, avoiding angles that cause reflections or distortions. Keep the screen at eye level for comfortable viewing and ensure no furniture blocks the view. Consider spacing seating so everyone has a clear line of sight, and avoid placing large objects behind screens that might create shadows or light interference. Use furniture positioning to create an ideal viewing triangle, making sure your seating distance matches your screen size. By carefully rearranging your furniture and focusing on decor placement, you’ll enhance your viewing experience and minimize washed-out images.
How to Minimize Reflective Surfaces and Light Bounce

Reflective surfaces like glass tables, mirrors, and shiny décor can cause unwanted light bounce in your living room, making it feel overly bright or harsh. To minimize this, start by:
Reflective surfaces can cause harsh light bounce; use matte finishes and window coverings to soften the ambiance.
- Replacing or covering reflective surfaces with matte or textured materials to reduce light bounce.
- Using curtains or shades to control natural light, preventing excessive reflections during the day.
- Placing furniture and décor away from direct light sources to prevent glare and harsh reflections.
How to Use Paint and Decor to Reduce Brightness and Glare
Choosing the right paint and decor can considerably cut down on brightness and glare in your living room. Opt for wall colors with matte or eggshell finishes, such as soft beige, muted gray, or warm taupe, which absorb light rather than reflect it. Bright or glossy shades tend to amplify glare, so avoid them. Incorporate decorative accents like textured fabrics, woven rugs, and matte-finish frames to further diffuse light. Darker tones and subdued hues help break up reflective surfaces, creating a calmer environment. Strategically placed wall art and accessories in matte finishes reduce light bounce and minimize eye strain. By selecting appropriate wall colors and decorative accents, you can effectively control brightness and glare, making your living room more comfortable and visually balanced.
How to Test and Fine-Tune Your Room Lighting for Clarity

To guarantee your living room lighting is just right, you need to test and fine-tune it systematically. Start by adjusting your ambient lighting to ensure it’s evenly distributed without overpowering the space. Next, evaluate the color temperature—aim for a warm white (around 2700K to 3000K) for comfort or cooler tones (4000K+) for clarity. Finally, perform these tests:
- Turn on all lights and observe if any areas are washed out or too dim.
- Use dimmers to find the optimal brightness for different activities.
- Check the color temperature’s effect on image clarity, adjusting bulbs or filters if needed.
This process helps you achieve balanced, clear lighting that enhances your living room’s visual quality.
When to Call a Lighting Professional for Help
Sometimes, despite your best efforts, adjusting your living room lighting still leaves you with uneven brightness, flickering fixtures, or color inconsistencies that ruin the ambiance. If you’ve tried changing bulbs, adjusting dimmers, and fine-tuning your lighting design without success, it’s time to call a professional. They can diagnose underlying issues like faulty electrical wiring or improper lighting setup.
Here’s when to seek help:
| Issue | When to Call a Professional |
|---|---|
| Flickering or dimming lights | Electrical wiring problems |
| Persistent uneven lighting | Inadequate lighting design |
| Frequent bulb burnout | Faulty fixtures or wiring |
| Inconsistent color temperature | Complex electrical issues |
Knowing when to get expert advice saves time and prevents further damage.
Frequently Asked Questions
Can Specific Window Treatments Reduce Screen Glare Effectively?
Yes, specific window treatments like window tinting and blackout curtains can reduce screen glare effectively. Window tinting minimizes sunlight entering your room, cutting down glare before it hits your screens. Blackout curtains block out external light completely, creating a darker environment ideal for viewing. Both options help improve your screen visibility, making it easier to watch TV or work without straining your eyes. Choose the one that best fits your room’s lighting needs.
How Do I Choose the Best Paint Colors for Glare Reduction?
Did you know that matte and eggshell finishes reduce glare by up to 50%? To choose the best paint colors for glare reduction, consider color psychology—softer, muted tones like blues, greens, and grays help minimize reflections. Pair these with low-sheen finishes to further cut glare. Opt for colors that create a calming atmosphere, and test samples in your space to see how they interact with natural light throughout the day.
What Types of Light Bulbs Minimize Reflection on Screens?
To minimize reflection on screens, choose LED bulbs with a lower color temperature, around 2700K to 3000K, which emit warmer light that reduces glare. Avoid high-color-temperature bulbs above 5000K, as they produce harsher, bluish light that increases reflections. Position these bulbs away from screens and use diffusers or lampshades to further cut down on glare. This setup creates a comfortable viewing environment with minimal screen reflections.
Are There Affordable Tools to Measure Room Light Levels Accurately?
Yes, there are affordable tools for smart measurement of room light levels. You can find budget lighting meters or smartphone apps that use your phone’s camera to measure light accurately. These tools help you optimize your lighting setup to reduce glare and reflections on screens. With smart measurement, you can easily adjust your lighting for the perfect balance, ensuring a better viewing experience without breaking the bank.
How Often Should I Reassess My Living Room Lighting Setup?
You should reassess your living room lighting setup every few months or with significant seasonal changes. Adjust your lighting schedules to accommodate natural light shifts, ensuring your space remains well-lit and visually balanced. Regular checks help you identify when to update bulbs, reposition fixtures, or change light intensity. Seasonal adjustments are key, so stay attentive to how daylight varies throughout the year and tweak your lighting accordingly for consistent comfort and image clarity.
Conclusion
Did you know that improper lighting can reduce your TV’s contrast by up to 50%? By managing natural light, controlling glare, and optimizing your room layout, you can dramatically improve your viewing experience. Take the time to fine-tune your space—your eyes will thank you. Remember, a well-lit room not only enhances image clarity but also creates a more comfortable, inviting atmosphere for everyone. Start making these adjustments today and enjoy sharper, brighter entertainment.

 Screens Explained")