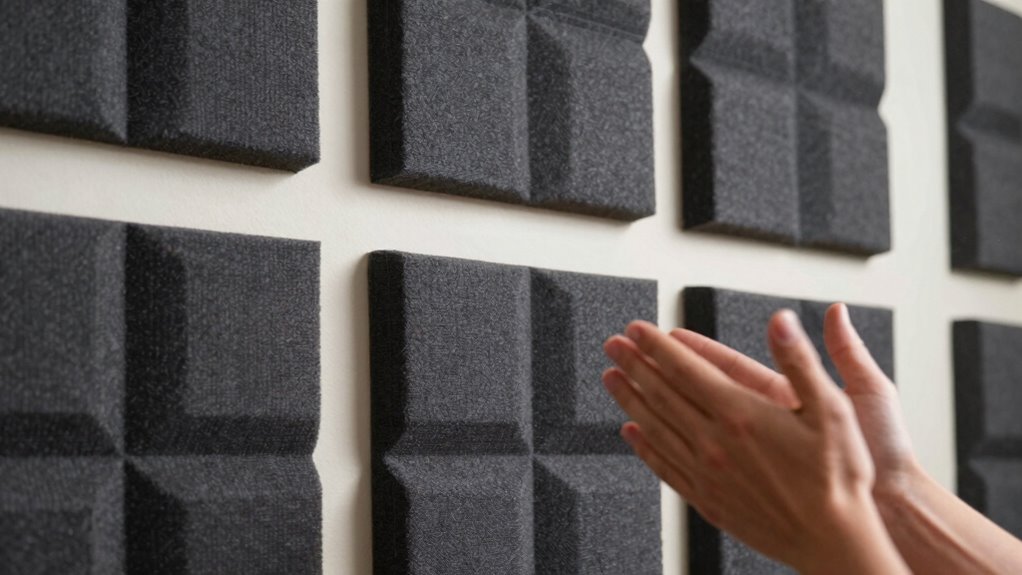
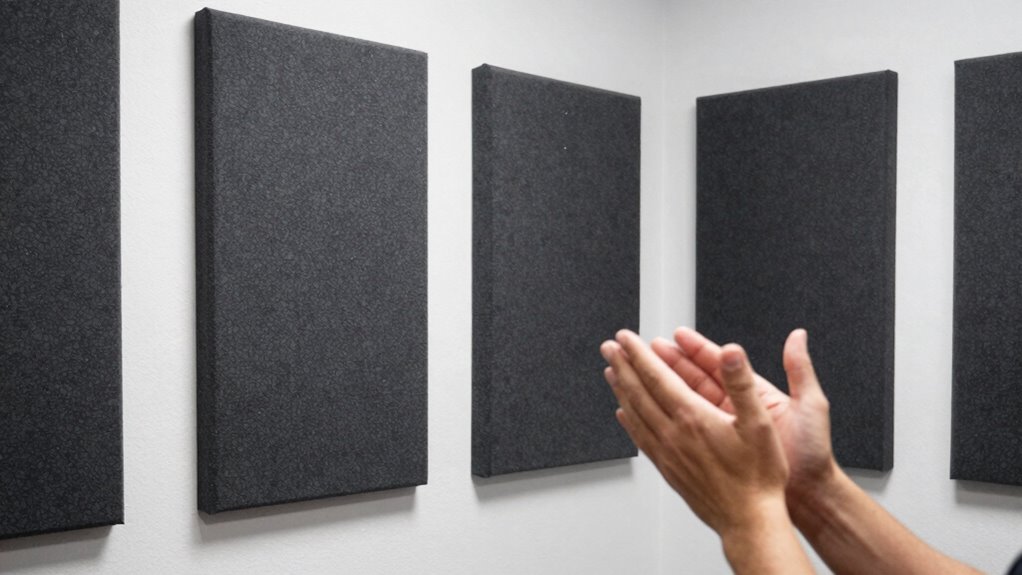
Before buying acoustic panels, you should perform a simple clap test to identify your room’s reflection issues. Clap sharply in different spots and listen for lingering echoes or hotspots. This helps you understand where sound reflects and decays, guiding you to treat only the problem areas effectively. Skipping this step risks wasting money on unnecessary panels. Stay with us to learn how to interpret your results and make smarter acoustic choices.
Key Takeaways
Conduct the clap test in different room spots to identify reflection hotspots and dead zones.
Observe how long sound echoes or decays to determine if absorption or diffusion is needed.
Use test results to target specific areas for acoustic panel placement, avoiding unnecessary purchases.
Recognize lingering echoes or excessive reflection to prioritize treatment in problem zones.
Ensure your room’s sound reflection issues are addressed effectively before investing in acoustic panels.
SOULWIT 50Pcs Self Adhesive Cable Management Clips - Black
🔷SUPER EASY TO USE: Stick to clean surface, open tab, insert multiple cables, close the tab, enjoy the...
As an affiliate, we earn on qualifying purchases.
Why You Should Do a Clap Test Before Buying Acoustic Panels
Performing a clap test before buying acoustic panels is a simple yet effective way to assess your room’s sound characteristics. By clapping loudly, you’ll notice how sound waves bounce and decay, revealing your room’s acoustics. This quick test helps you identify if your space has excessive echo, flutter, or dead spots. Understanding these aspects allows you to choose the right soundproofing strategies and acoustic treatments tailored to your needs. The sound reflection observed during the clap test can indicate whether your room requires more absorption or diffusion. Without this step, you might buy panels that don’t address your specific issues, wasting time and money. The clap test also provides an immediate visualization of sound behavior, helping you better understand your space’s acoustic profile. It’s a practical first step to customize your acoustic setup for ideal sound quality. Room acoustics play a crucial role in determining the effectiveness of your soundproofing efforts. Being aware of your room’s acoustic properties helps you select the most suitable treatments and optimize your listening environment. Additionally, understanding sound behavior through this test can prevent costly mistakes when selecting panels that may not suit your room’s unique characteristics.
XHF 120 PCS Adhesive Cable Wire Clips Black, Outdoor Christmas Light Clips, Cable Management Wire Organizer Cord Holder for Under Desk, Car, Wall, TV PC Ethernet Cable
High quality material:XHF Adhesive Cable Clips are manufactured from Strong Adhesive and PA66 nylon
As an affiliate, we earn on qualifying purchases.
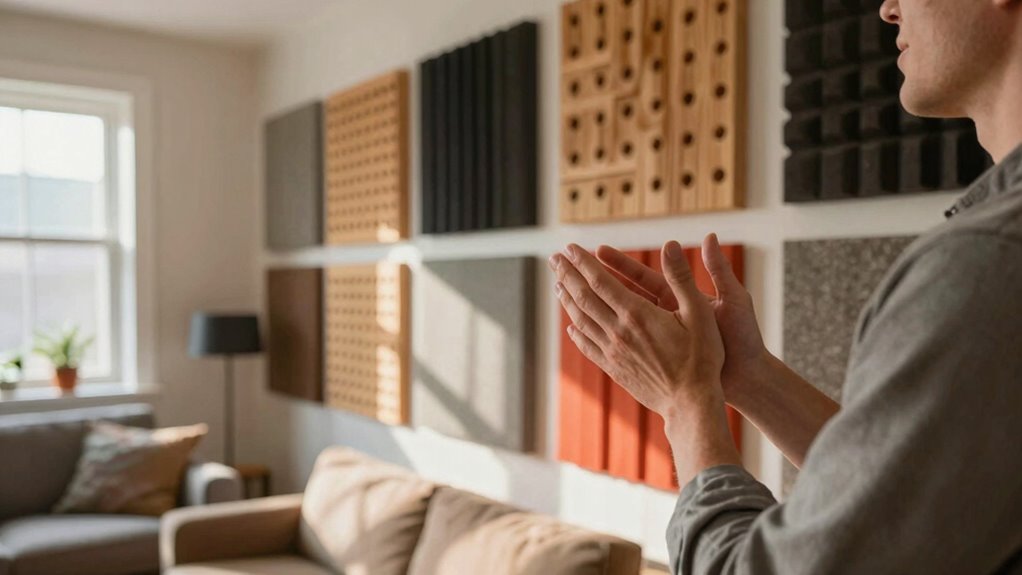
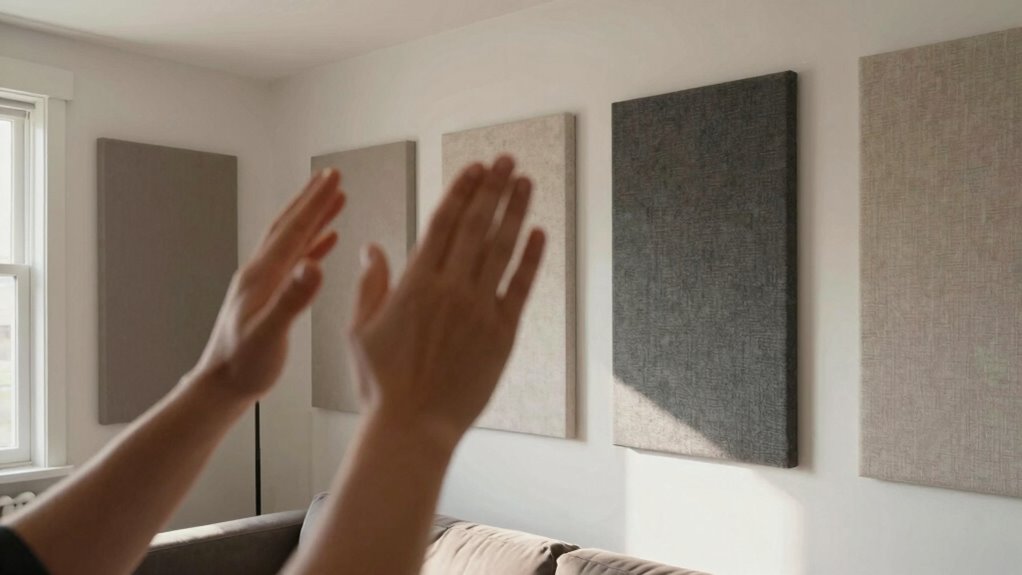
How to Conduct a Clap Test in Your Room
To conduct a clap test in your room, start by choosing a quiet moment when there’s minimal background noise. Stand in the center of the room and clap your hands sharply. Focus on how the sound echoes and decays, paying attention to the room’s dimensions, such as length, width, and height, which influence reverberation. Notice how different sound frequencies behave—high frequencies tend to reflect quickly, creating sharp echoes, while low frequencies linger longer. Repeat this process from various spots to identify areas with excessive echo or dead zones. Keep your ears open for uneven sound reflection, which can indicate where acoustic treatment is needed most. This simple test helps you understand your room’s acoustics before investing in panels. Additionally, understanding how sound absorption can influence your listening environment, especially in relation to room acoustics, can guide you in making more effective acoustic adjustments. Recognizing the room’s size and shape can also help you determine the best placement for acoustic panels to optimize sound quality. Being aware of the room’s reflective surfaces can further improve your acoustic treatment strategy.
120PCS XHF Adhesive Cable Wire Clips White, Cable Staples Outdoor Cable Management Wire Organizer Cord Holder for Under Desk, Car, Wall, TV PC Ethernet Cable
High quality material:XHF Adhesive Cable Clips are manufactured from Strong Adhesive and PA66 nylon
As an affiliate, we earn on qualifying purchases.
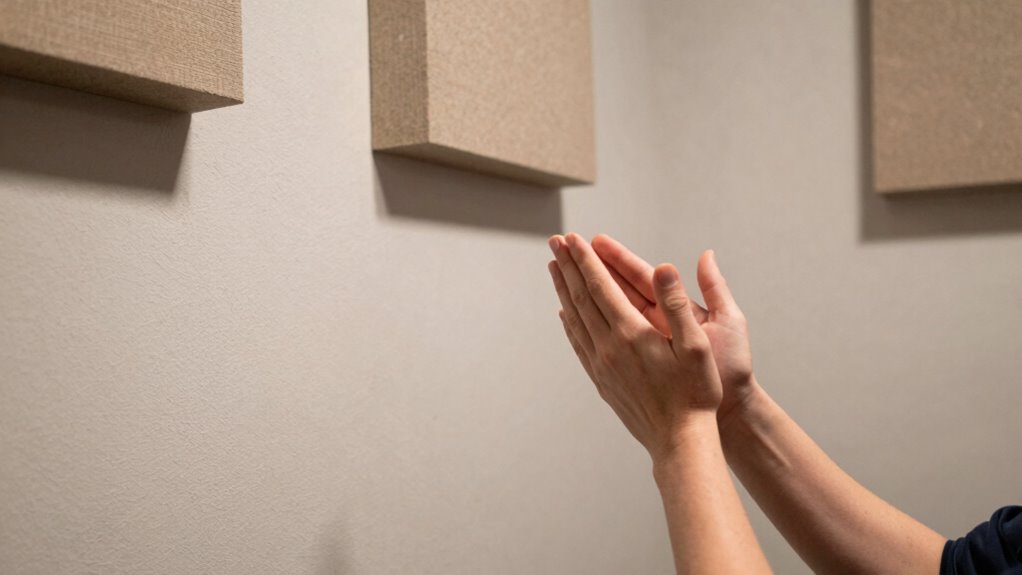
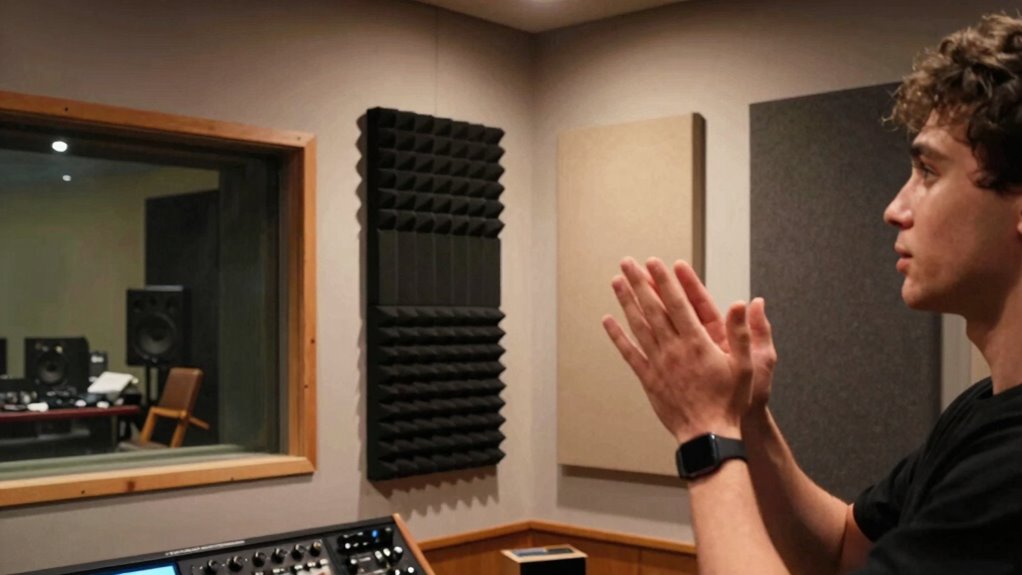
How to Interpret Your Clap Test Results
When reviewing your clap test results, you’ll want to recognize echoes clearly and determine if they linger longer than they should. Measuring how well your room absorbs sound helps you see where improvements are needed. Identifying problem areas lets you decide where to add acoustic panels for the best sound quality. Using the right performance cookies can also help analyze your testing data for more accurate insights. Additionally, understanding the Nordic-inspired principles behind sound absorption can guide you in creating a more balanced acoustic environment. Considering the sound absorption capacity of different materials ensures you select the most effective solutions for your room. Incorporating acoustic panel placement strategies can further optimize your room’s acoustics and reduce unwanted echoes.
Recognize Echoes Clearly
Recognizing echoes clearly during your clap test is essential for accurately evaluating your room’s acoustics. When you clap, pay attention to how long the sound lingers or repeats; a noticeable echo indicates reflective surfaces that need treatment. If the echo lasts more than a second, your room may have excessive hard surfaces causing poor sound quality. Conversely, a quick, muffled sound suggests good absorption. As you observe these echoes, consider how they impact your room aesthetics—some reflective surfaces might be part of your decor, like glass or bare walls. Understanding this helps you decide whether to add acoustic panels or choose decorative options that blend seamlessly into your space, maintaining the room’s visual appeal while improving sound clarity. Incorporating foam rolling techniques can also help enhance your recovery routines, which may indirectly benefit your overall well-being and sound perception. Additionally, knowing which sound-absorbing materials are most effective can guide your decisions for optimal acoustic treatment. For example, selecting the right contrast ratio in your space can influence how sound waves reflect and are absorbed, ultimately shaping your room’s acoustic environment. Exploring sound therapy options might also provide further benefits for your environment. Being aware of room dimensions can further refine your approach to acoustic treatment, ensuring an effective and harmonious sound environment.
Measure Sound Absorption
Interpreting your clap test results is essential for understanding how well your room absorbs sound. If you notice a quick decay with minimal echo, your room likely has good sound absorption. Longer reverberations indicate poor absorption, possibly due to room dimensions or material considerations. To assess effectively, compare your results to typical sound decay times for similar spaces. Use this table to interpret your findings:
Sound Decay Time
Room Characteristics
Material Considerations
Short
Well-absorbing surfaces, small room size
Soft furnishings, acoustic panels
Moderate
Average absorption, moderate size room
Mixed materials
Long
Hard surfaces, large room, reflective surfaces
Hard materials like concrete or glass
This helps you decide if additional acoustic treatment is needed. Understanding the sound absorption properties of your space enables better decisions about necessary improvements. Incorporating room acoustics principles can further optimize your environment for sound quality, especially when considering different materials and their impact on reverberation times. Additionally, factors like room dimensions significantly influence sound decay characteristics, so measuring these can aid in tailoring your acoustic solutions. Recognizing room size factors can also help you choose appropriate treatments to achieve the desired sound environment.
Identify Problem Areas
How can you pinpoint specific problem areas in your room using the clap test results? Start by listening carefully to the echoes and noting where sound lingers or becomes distorted. These areas often indicate trouble spots that need room calibration. To get a clearer picture, perform a frequency analysis by recording the clap and analyzing the sound decay across different frequencies. If certain tones echo loudly or fade slowly, those frequencies are problematic. This helps you identify whether issues stem from walls, corners, or ceiling reflections. By understanding these problem areas, you can target your acoustic treatment effectively, focusing on the spots that compromise sound clarity. Proper interpretation of your clap test results guarantees you address the right zones before investing in acoustic panels.
Micca M-8C 8-Inch 2-Way in-Ceiling Speaker, Round, Each, Paintable, White
UNCOMPROMISING AUDIO QUALITY - Micca Media Series in-ceiling speakers are designed for optimal performance in a wide variety...
As an affiliate, we earn on qualifying purchases.
What Sound Reflection Problems Can the Clap Test Reveal?
The clap test helps you spot sound reflection issues in your space. It clearly reveals echoes and identifies areas where sound bounces excessively. By doing so, you can locate reflection hotspots and detect sound bleed between different zones.
Identifies Echoes Clearly
When you perform a clap test, it becomes easier to detect echoes that indicate sound reflection issues in a room. Clear echoes reveal how sound waves bounce between surfaces, affecting sound clarity. If you notice a sharp, prolonged echo after clapping, it’s a sign of poor sound absorption or excessive reflective surfaces. This echo identification helps you pinpoint problem areas where sound reflections distort audio quality. Recognizing these echoes allows you to decide if adding acoustic panels or other treatments will improve clarity. By paying attention to how long and loud the echoes are, you can assess whether your space needs sound absorption solutions. Ultimately, this test provides valuable insight into your room’s acoustic performance, guiding you toward better sound quality.
Detects Sound Bleed
Performing a clap test can reveal sound bleed issues that might not be immediately obvious. When you clap, you’ll notice if sound escapes or is heard beyond your space, indicating leaks in your soundproofing. This helps dispel common soundproofing myths, like believing thick walls alone solve noise issues. It also shows whether decorative acoustics are effectively absorbing sound or just adding style. If sound reverberates or leaks through, you’ll know that gaps or weak points exist. Use this table to understand what your clap test reveals about sound bleed:
Sound Reflection Issue
Possible Cause
Solution
Echoes beyond the room
Gaps in doors/windows
Seal with weatherstripping
Sound leaks through walls
Structural weaknesses
Add insulation or panels
Noise from neighbors
Thin walls or floors
Install soundproofing layers
Hallway noise
Open doorways
Use door sweeps or seals
Vibrations heard nearby
Mechanical sources
Isolate noisy equipment
Reveals Reflection Hotspots
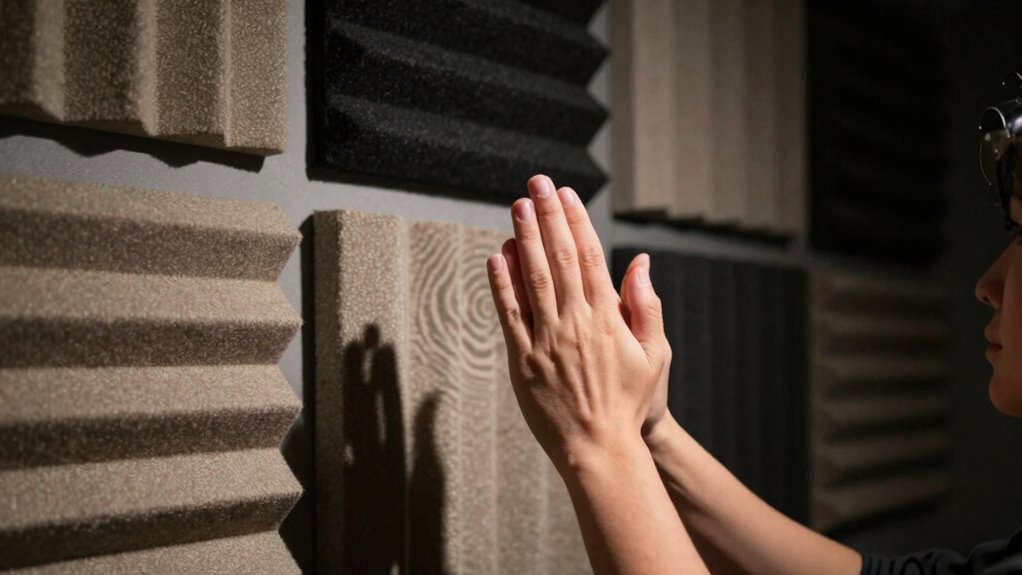
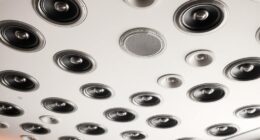
A clap test can effectively identify reflection hotspots by highlighting areas where sound bounces excessively. When you clap in your room, listen for echoes or lingering sound, signaling reflective surfaces. These hotspots often occur near hard, flat surfaces like windows or bare walls, which create problematic sound reflections. To address these, you might consider installing soundproof curtains that absorb or diffuse reflections, reducing echoing. Additionally, placing bass traps in corners helps control low-frequency buildup that can intensify reflection issues. By pinpointing where sound reflects most, you can strategically position acoustic panels to improve sound clarity. This proactive approach ensures you don’t waste money on panels where they aren’t needed, making your acoustic treatment more effective and tailored to your space.
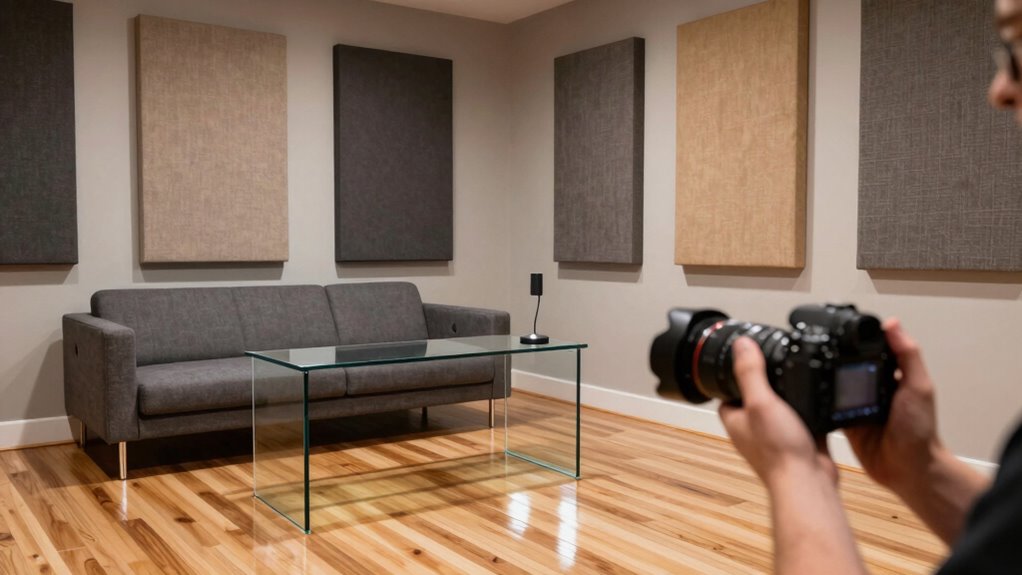
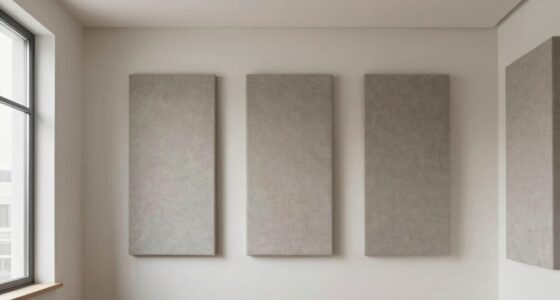
How to Choose the Right Acoustic Panels Based on Your Results
Choosing the right acoustic panels depends on your test results and specific room needs. After DIY testing, identify whether your room has lingering echoes or excessive reverberation. If your test shows high-frequency echoes, opt for panels with dense, sound-absorbing acoustic materials like mineral wool or foam. For broader sound diffusion, consider panels with irregular surfaces or diffusers. Focus on placement; target reflection points identified during your clap test. Thicker, porous panels absorb more sound, ideal for large or reflective spaces. Conversely, thinner panels suit smaller rooms or areas needing slight refinement. Always match your room’s size and noise levels with the acoustic materials’ capabilities. Proper selection guarantees effective sound control without overspending on unnecessary treatments.
Common Mistakes When Relying on Looks or Generic Recommendations
Many people make the mistake of selecting acoustic panels based solely on their appearance or generic advice rather than actual room needs. Focusing only on decorative considerations can lead to poor sound absorption and wasted investment. Prioritizing aesthetic preferences over functionality might result in panels that look great but don’t improve acoustics effectively. To avoid this, consider both visual appeal and performance. Here’s a quick comparison:
Decorative Considerations
Acoustic Effectiveness
Cost & Maintenance
Looks matter, but don’t sacrifice functionality
Match panels to room acoustics
Budget-friendly options available
Aesthetic priorities can overshadow needs
Test panels before buying
Long-term durability matters
Style should complement space
Consider placement for best results
Easy to clean and install
Visual harmony vs. sound quality
Avoid impulse purchases
Maintenance requirements vary
Personal taste influences choice
Balance form and function
Evaluate longevity and warranty
Extra Tips to Improve Your Room’s Acoustics Beyond the Clap Test
While the clap test is a quick way to gauge room acoustics, it shouldn’t be your only method for improving sound quality. To enhance your room further, consider these tips:
Adjust room dimensions if possible, as irregular shapes can reduce echoes and standing waves.
Rearrange furniture placement to break up sound reflections; avoid lining everything against walls.
Use rugs or carpets on hard floors to absorb excess sound.
Hang curtains or soft textiles near windows and walls to dampen echoes.
These small changes can considerably improve your acoustic environment. Focus on creating a balanced space by considering how room shape, furniture, and soft materials work together to minimize unwanted reflections and enhance sound clarity.
When Should You Consult an Acoustic Professional?
If your efforts with simple adjustments and DIY tests like the clap test haven’t produced the desired sound quality, it’s time to contemplate professional help. An acoustic professional can assess your room’s dimensions and identify problematic areas that simple fixes might miss. They consider material considerations, such as wall types, ceiling height, and existing furnishings, to develop a thorough acoustic treatment plan. If your room has unusual dimensions or irregular shapes, it’s especially wise to seek expert advice, as these factors considerably impact sound behavior. Professionals can recommend the right combination of panels, diffusers, and bass traps tailored to your space. Consulting an expert ensures you don’t waste money on ineffective solutions and helps you achieve prime sound quality.
How the Clap Test Saves You Money and Ensures Effectiveness
The clap test is a quick and effective way to identify problematic echo and sound issues in your room before investing in costly treatments. It helps you evaluate your room setup and choose the right equipment. By clapping and listening for lingering echoes, you can pinpoint areas needing attention. This prevents you from wasting money on unnecessary acoustic panels.
Imagine:
Clapping in different spots to find where echoes persist.
Noticing sound bouncing between walls.
Recognizing spots with poor sound absorption.
Adjusting your placement before buying expensive panels.
This simple test ensures your investment targets real issues, saving you money and time. It guides your equipment selection, making sure you get the most effective acoustic treatment tailored to your room’s specific needs.
Frequently Asked Questions
Can the Clap Test Detect All Types of Acoustic Issues?
The clap test can help you identify some acoustic issues like sound reflection and echo, but it won’t detect all problems. When you clap, you’ll notice whether sound bounces around or creates echoes, indicating areas needing treatment. However, it doesn’t reveal issues like low-frequency problems or soundproofing gaps. For exhaustive analysis, consider professional tools or expert consultation, as the clap test is a quick, initial assessment only.
How Often Should I Perform the Clap Test?
You should perform the clap test regularly, especially when setting up a new space or after making acoustic changes. Doing it weekly or monthly helps you monitor sound reflection and echo reduction effectiveness. If you notice increased echo or uneven sound, it’s time to reassess your acoustic treatments. Consistent testing ensures your space maintains ideal sound quality, preventing issues before they become major problems.
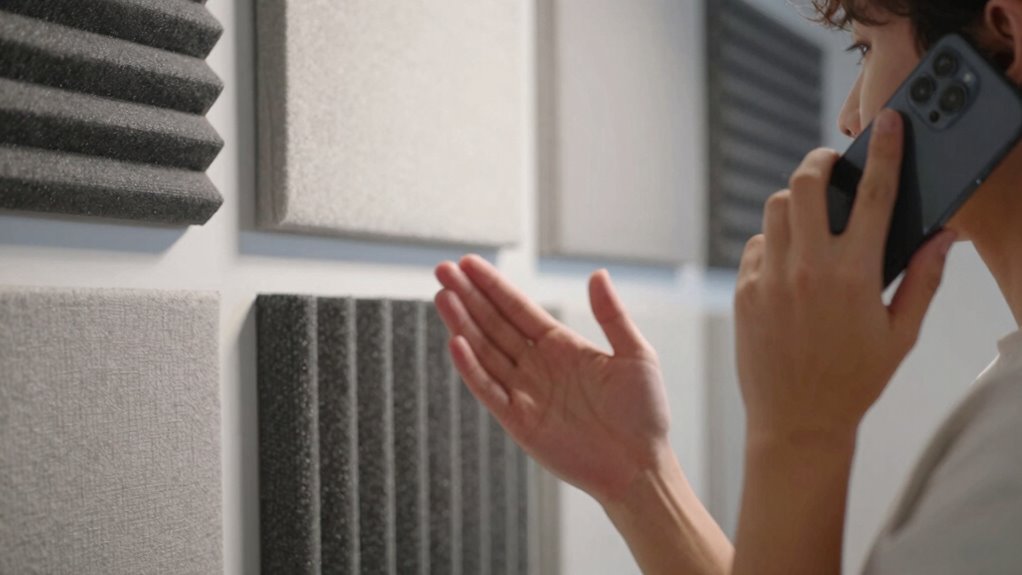
What Equipment Do I Need Besides Just Clapping?
Besides clapping, you should use a mirror or a smartphone with a recorder app to capture sound reflections and echo reduction. These tools help you identify areas where sound bounces or echoes excessively, so you can determine where acoustic panels will be most effective. Moving around while clapping allows you to pinpoint spots with the worst reflections, ensuring you place your panels for ideal sound absorption and improved room acoustics.
Will Furniture Affect the Clap Test Results?
Furniture interference can considerably affect your clap test results, as it can absorb or reflect sound, skewering your perception of room acoustics. Studies show that furniture can reduce sound reflections by up to 30%. Keep in mind, the clap test has limitations; it doesn’t account for all acoustic properties. To get accurate results, clear the room of excessive furniture and test in an open space for the best assessment.
How Do I Compare Results Across Different Rooms?
To compare results across different rooms, focus on sound reflection and room size. Listen for how the clap echo persists or fades quickly—less echo means better sound absorption. Larger rooms naturally have more sound reflection, so adjust your expectations accordingly. Use a consistent volume and clap position to guarantee your comparisons are accurate. This way, you can objectively evaluate which room has better acoustics and where panels might be most effective.
Conclusion
Before you hang up those acoustic panels, give the clap test a try — it’s your secret weapon to reveal your room’s hidden acoustic secrets. Think of it as a treasure map guiding you to perfect sound. Skipping this step is like sailing blind; you might end up with a pirate’s chest of wasted money. Do the test, interpret wisely, and turn your space into a sonic sanctuary that sings in harmony.
Acoustic Treatments for Small Rooms: Maximizing Performance
Optimize your small room’s sound with strategic acoustic treatments—discover how to reduce reflections and enhance clarity for the best listening experience.