
Before mounting anything, you must measure from floor to eye level to guarantee proper height, safety, and aesthetic appeal. Use a reliable tape measure and a level to double-check your markings and confirm they’re straight and even. Don’t skip this step, or you risk misaligned, unstable, or unsafe installations. If you’re unsure how to get it right, keep going—there’s more to discover that can help you avoid common mistakes and achieve a perfect mount.
Key Takeaways
- Measure the ideal mounting height from floor to eye level for comfortable viewing.
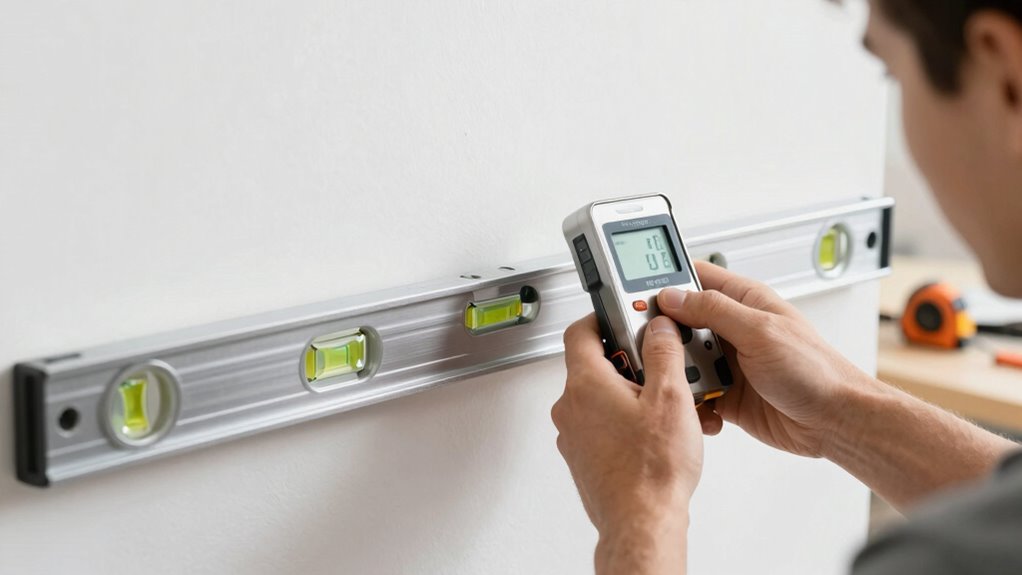
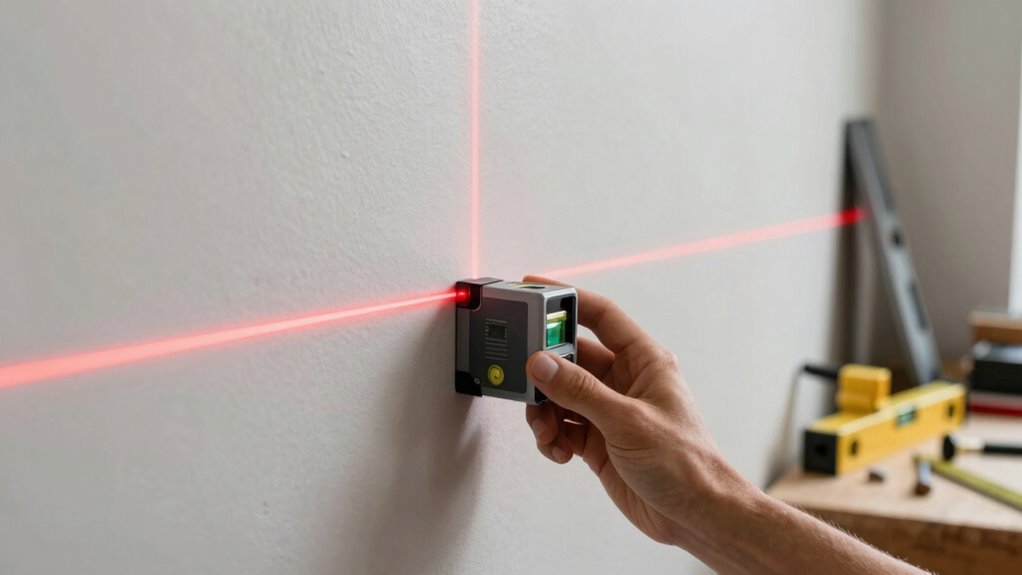
- Double-check measurements with a level to ensure horizontal accuracy before marking.
- Confirm wall strength and compatibility with your hardware to prevent mounting failures.
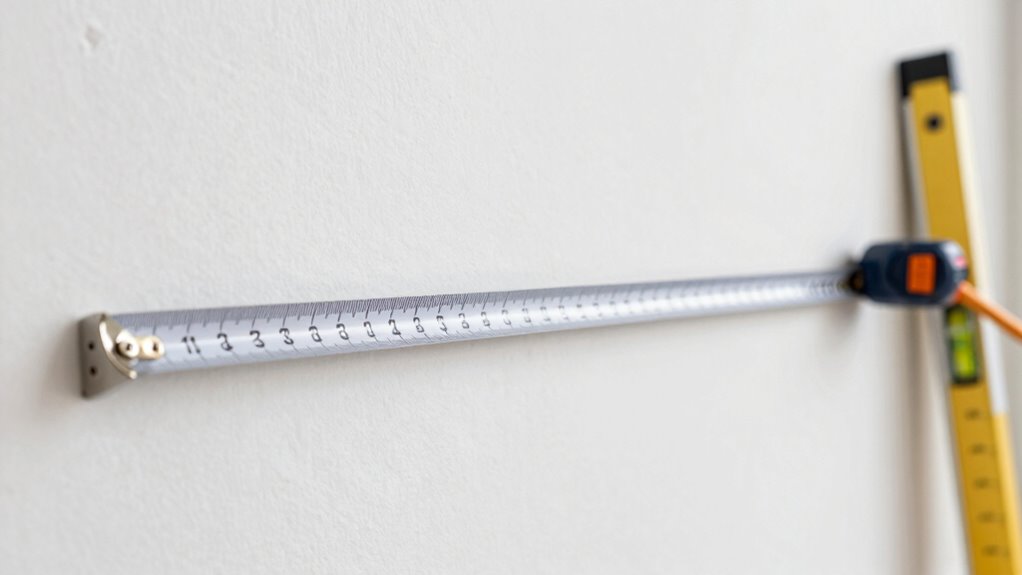
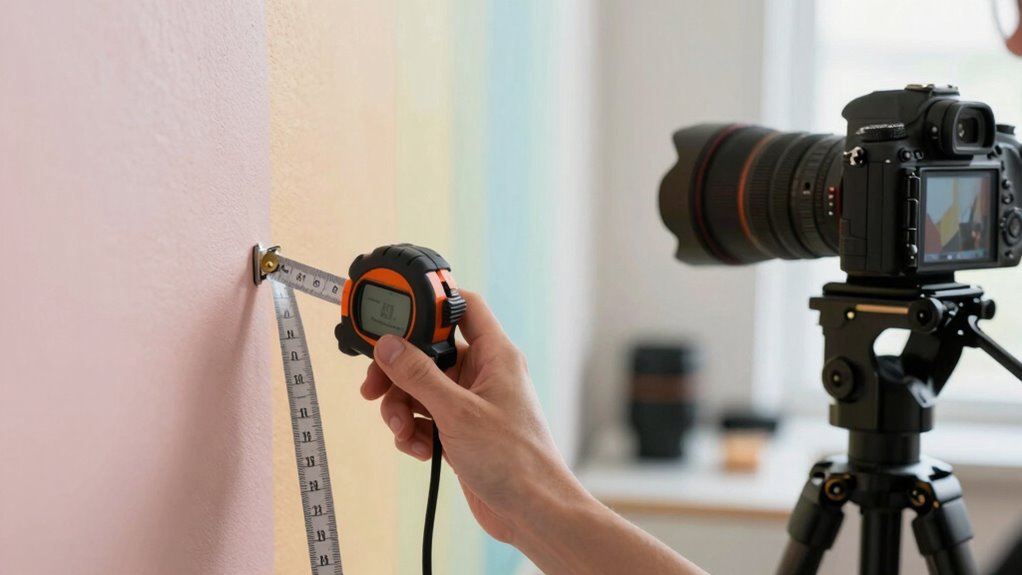
- Use a tape measure or laser tool to verify distances from floor, ceiling, and adjacent objects.
- Mark lightly with a pencil and recheck measurements to avoid crooked or unstable mounts.
Amazon Product B001EHAI6Y
As an affiliate, we earn on qualifying purchases.
Why Skipping Measurement Can Ruin Your Mounting Project
Skipping the measurement step might seem like a quick shortcut, but it can lead to costly mistakes. Without measuring accurately, your mounting safety is at risk, and your project might fall apart or cause damage. Poor measurement accuracy can result in misplaced brackets, uneven placement, or items that don’t fit properly. These errors can compromise the stability of your mount, risking injury or damage to your wall and the item you’re mounting. Taking a few extra minutes to measure ensures your mount is secure and level, preventing costly rework or accidents. Remember, precise measurement isn’t just about neatness—it’s essential for safety and long-lasting results. Proper measurement techniques, like accurate tape measuring, are critical to achieving a secure and professional-looking mount. Using the right tools and techniques can help prevent measurement errors from undermining your project’s success. Ensuring measurement consistency throughout your project can further enhance the accuracy and safety of your mount. Additionally, understanding the importance of proper calibration can prevent common mistakes that lead to misalignment. Always double-check your measurements with a reliable level to confirm proper alignment and prevent errors. Never underestimate the importance of proper measurement for a safe, successful mounting project.

Projector Screen Pull Down Mount Kit, Universal Projector Screen Ceiling & Wall Mount, 6 Inch Adjustable L-Brackets with Hooks & Hardware for Home Projector and Movie Screens, Holds 66lbs, Black
Universal ceiling & wall mount kit for projector screens – securely anchors your screen to ceilings or walls,...
As an affiliate, we earn on qualifying purchases.
How to Choose the Best Spot on Your Wall for Your Mount
Choosing the right spot on your wall is key to a perfect mount. You should consider eye level placement for comfort, the viewing distance for ideal visibility, and check for any obstructions that could interfere. Taking these points into account ensures your mount looks great and functions well. Additionally, evaluating your workspace’s ergonomics can help you determine the optimal height and position for long-term comfort. To ensure safety and stability, it’s also important to measure wall strength before installation. Considering wall material can also influence your choice of mounting hardware, preventing potential damage or failure. Furthermore, understanding your wall’s structural integrity can help you select the most secure mounting method. Being aware of weight distribution can also help prevent undue stress on the wall and ensure your mount stays secure over time.
Eye Level Placement
Finding the perfect spot on your wall for your mount starts with eye level placement. This guarantees your display looks natural and engaging. Think of your wall as an art gallery—every piece should invite viewers in and create harmony. When selecting the spot, consider the height of your eye line, which is typically around 57-60 inches from the floor. This height makes your artwork or gallery wall the focal point without straining your neck. Keep in mind that a well-placed piece enhances the room’s balance and flow. Proper placement allows for better appreciation of details and colors, ensuring your display becomes a natural part of your living space, not just decor. Additionally, understanding visual harmony helps you choose the most appealing location for your mount.
Consider Viewing Distance
Have you thought about how far you’ll be standing when you view your mounted piece? Your viewing distance greatly impacts the ideal screen size and placement. Too close, and details become overwhelming; too far, and you miss the details altogether. To find the right spot, consider this table:
| Screen Size | Ideal Viewing Distance | Common Use Case |
|---|---|---|
| 40-50 inches | 5-7 feet | Living rooms, bedrooms |
| 50-65 inches | 6-8 feet | Family rooms, home theaters |
| 65+ inches | 8+ feet | Large spaces, immersive experience |
Choosing the right viewing distance guarantees comfort and *suitable* picture quality, making it worth considering before mounting.
Wall Obstructions Check
Before mounting your TV, it’s important to check for any wall obstructions that could interfere with your viewing experience. Obstructions like pipes, electrical wiring, or structural beams can affect wall thickness and limit your mounting options. Make sure there’s enough obstruction clearance to avoid surprises later. Measure the wall thickness at your chosen spot to confirm it can support your mount and TV securely. Additionally, consider wall mounting safety, which involves understanding load limits and proper installation techniques. Being aware of building codes and regulations can also help ensure your installation is safe and compliant. Also, verifying proper wall material can prevent unexpected difficulties during installation. Always remember that structural integrity of the wall is crucial for a secure and safe mount.

Projector Screen Pull Down Mount Kit, Universal Projector Screen Ceiling & Wall Mount, 6 Inch Adjustable L-Brackets with Hooks & Hardware for Home Projector and Movie Screens, Holds 66lbs, White
Universal ceiling & wall mount kit for projector screens – securely anchors your screen to ceilings or walls,...
As an affiliate, we earn on qualifying purchases.
What Is the Most Important Measurement for Wall Mounting?
Before mounting, you need to focus on two key measurements: wall material compatibility and proper height. Knowing what your wall is made of guarantees your mount will stay secure, while accurate height measurement ensures it looks just right. Additionally, identifying appropriate mounting techniques for your wall type can prevent damage and ensure stability. Considering wall strength testing can help verify the durability before installation. Conducting a wall inspection to assess structural integrity can further prevent mishaps and ensure safety. Performing a paint thickness measurement can also assist in determining the best mounting approach for your specific wall surface. Understanding wall surface preparation is essential to achieve a successful and long-lasting mount. Get these right, and your mounting project will go smoothly.
Wall Material Compatibility
Understanding your wall material is essential because it determines whether your chosen mount will hold securely. Different wall types have varying wall strength and material compatibility, which directly affects your mounting success. For example, drywall may require anchors, while concrete walls need different hardware. Knowing the material helps you select the right fasteners and mounts, preventing damage or failure. Additionally, essential DIY tools and safety tips can help you properly install mounts based on the wall type. It’s also important to consider wall material strength to ensure your mounting hardware can support the weight of your item safely. Assessing wall material compatibility can save you time and prevent costly mistakes during installation.
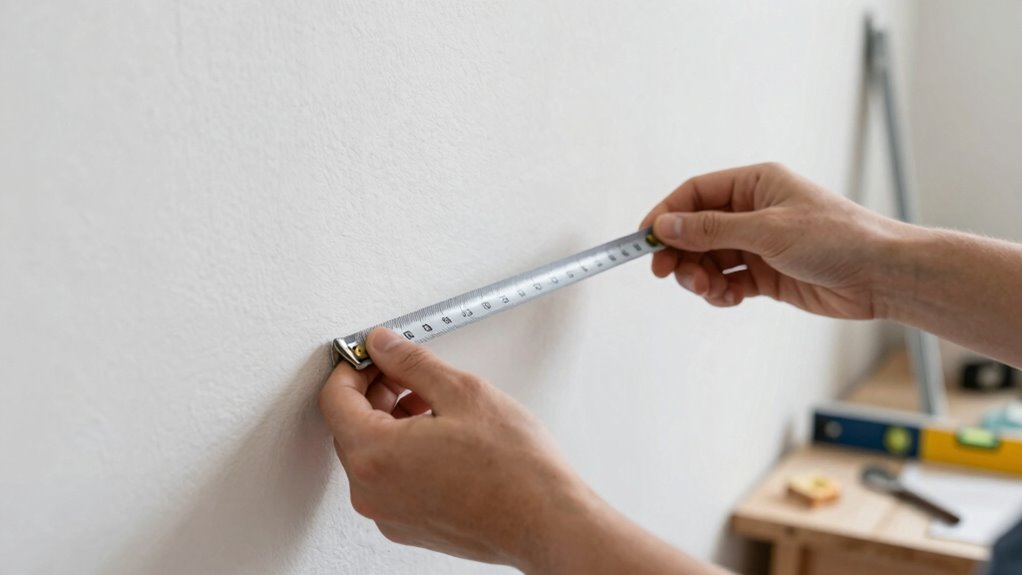
Proper Height Measurement
The most important measurement for wall mounting is guaranteeing the center of your TV or artwork is at eye level when you’re standing or sitting comfortably. To achieve this, determine your ideal mounting height based on your usual viewing position. Use a wall measurement to find the correct height, measuring from the floor to your eye level. Mark this point lightly on the wall. Keep in mind that the mounting height might vary depending on the size of your TV or artwork. Proper height measurement ensures a comfortable viewing experience and prevents strain on your neck. Take your time to double-check your wall measurement before drilling any holes. This step ensures your wall mount will be both functional and visually pleasing.

Mount-It! Projector Screen Wall Mount L-Brackets - Extra Large Wall and Ceiling Hanging Bracket for Home Projector and Movie Screens, 12 inch Mounting Hooks, 1 Pair, Black, 66 Lb Each Capacity
UNIVERSAL L-SHAPED PROJECTION SCREEN BRACKETS: Our projector screen wall mount makes setting up for your next movie or...
As an affiliate, we earn on qualifying purchases.
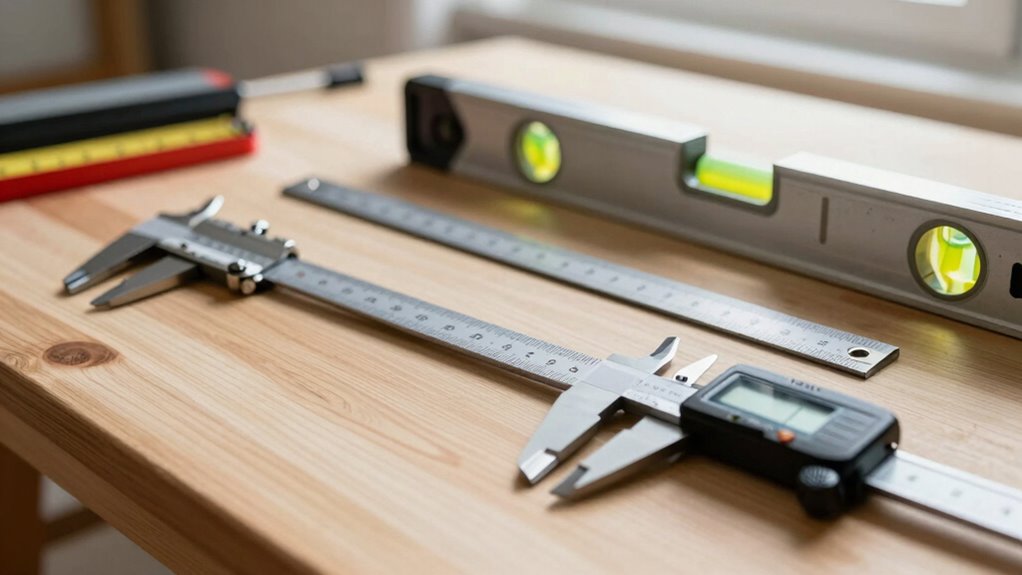
Essential Tools for Accurate Wall Measurements
To get accurate wall measurements, you need the right tools at hand. Essential measurement tools include a tape measure or laser distance finder, which guarantee precise dimensions. A level or laser level helps you verify that your wall measurements are straight and even, preventing crooked mounts. Additionally, having a pencil and a ruler allows for marking specific points accurately. Using the right measurement tools also involves understanding wall anchors, which are vital for secure mounting, especially on drywall or hollow walls. These tools help you assess the wall’s structure and determine the best placement for your items. With reliable measurement tools and knowledge of wall anchors, you’ll avoid mistakes and guarantee your mount is both secure and perfectly aligned.
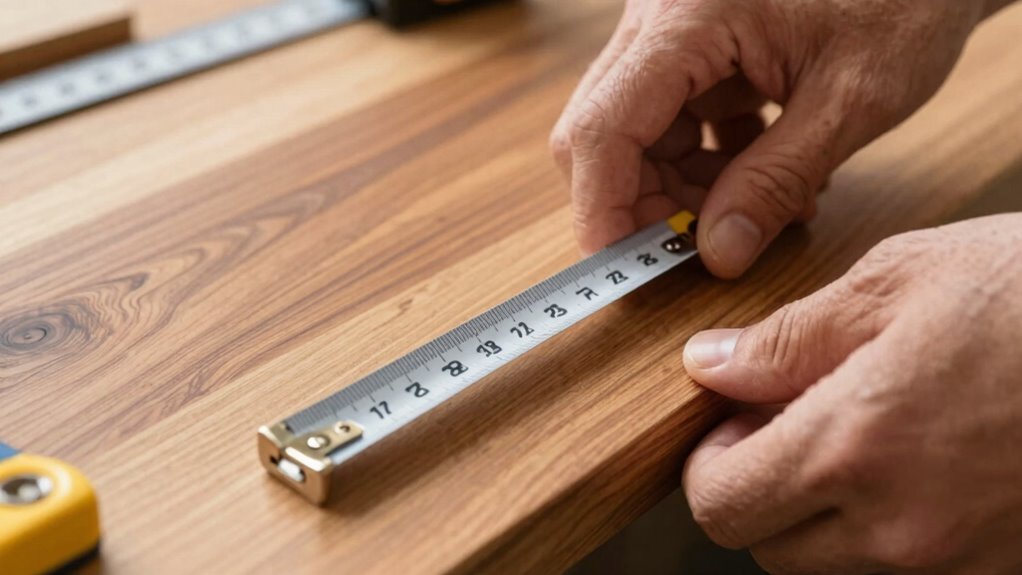
Step-by-Step: How to Measure for a Secure, Level Mount
Before you start mounting, it’s crucial to take precise measurements to guarantee your item will hang securely and level. Start by measuring the height of your desired placement, marking the spot lightly with a pencil. Use a level to ensure your marks are straight, which directly impacts mounting aesthetics. When measuring, double-check distances from the floor or ceiling for consistency. Employ accurate measurement techniques, like using a tape measure or ruler, and avoid guesswork. Mark the mounting points carefully, ensuring they’re level and evenly spaced. This careful approach prevents crooked mounts and enhances visual appeal. Remember, taking your time with these measurements creates a solid foundation for a secure, level mount — and saves you headaches later. Proper measurement is key to a flawless installation.
Common Measurement Mistakes and How to Avoid Them
Even with careful measurements, common mistakes can throw off your mounting project. Measurement mistakes and mounting errors often happen when you rush or overlook details, leading to crooked or unstable installations. To avoid these pitfalls, pay close attention to these key areas:
- Not double-checking measurements before drilling, increasing the risk of mounting errors.
- Relying on a single measurement instead of verifying from multiple points.
- Ignoring wall irregularities that can affect your measurements and overall stability.
How to Adjust Your Measurements for Different Wall Types
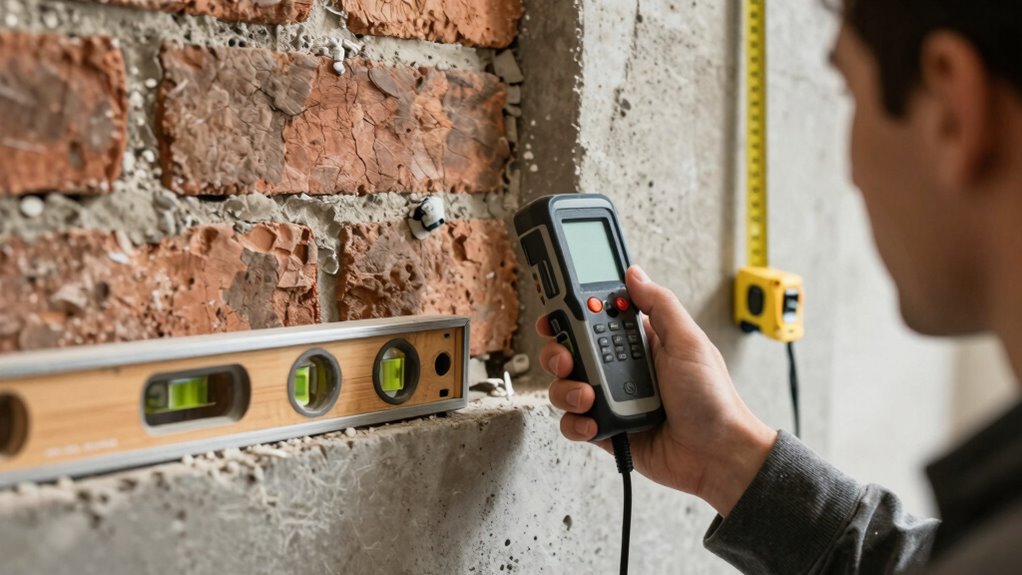
Different wall types require different measurement adjustments to guarantee your mount stays secure and level. For drywall, use appropriate wall anchors to distribute weight evenly and prevent damage. If you’re dealing with plaster or brick, select the right anchors to ensure stability. For concrete walls, use masonry anchors, and for paneling, consider specialized fasteners. Adjust your measurements based on wall material to avoid unnecessary drywall repair later. For example, when installing on drywall, mark your measurements carefully and add wall anchors where needed. Use this table as a quick reference:
| Wall Type | Recommended Anchors | Tips |
|---|---|---|
| Drywall | Toggle or plastic anchors | Avoid over-tightening |
| Brick/Concrete | Masonry anchors | Drill pilot holes |
| Paneling | Specialized fasteners | Check for studs |
This ensures your mount stays secure and damage-free.
What to Do When Your Measurements Don’t Match Your Wall Space?

Sometimes, despite careful measurements and proper wall preparation, your planned mount might not align perfectly with the available wall space. Don’t panic. Instead, consider adjusting your approach to guarantee stability and safety. Check if the wall anchor placement needs tweaking for better weight distribution. Sometimes, shifting the mount slightly can prevent uneven pressure that causes damage or instability. Use a level to confirm your adjustments and guarantee even weight distribution across all anchors. If the measurements are off, re-measure to avoid misalignment. Remember, proper weight distribution is key to preventing the mount from pulling out.
- Reassess your measurements for accuracy
- Use multiple wall anchors for better support
- Make small adjustments before drilling to prevent damage
Frequently Asked Questions
How Often Should I Re-Measure Before Mounting?
You should re-measure every time you change tools or if you notice inconsistencies in your measurements. Maintaining measurement consistency is key, so double-check your tools’ calibration regularly—ideally before each project—to guarantee accuracy. Don’t rely on a single measurement; re-measuring ensures precision and prevents errors. By staying vigilant about calibration and consistency, you’ll achieve perfect mounts every time, saving time and avoiding costly mistakes.
Can Measurement Errors Cause Damage to Walls?
Measurement errors can be like a gentle ripple that unexpectedly affects your walls, especially if you overlook wall thickness or stud spacing. When measurements aren’t precise, you risk misjudging where to drill or mount, which may cause minor or even significant damage to your walls. To avoid this, always double-check your measurements, ensuring your wall thickness and stud spacing are accurate. This careful approach keeps your walls safe and your project on track.
What if My Measurements Vary Between Tools?
If your measurements vary between tools, it’s likely due to calibration inconsistency or tool accuracy issues. You should calibrate each tool regularly to guarantee consistency and verify their accuracy before starting your project. Using tools with different calibration standards can lead to discrepancies, so double-check measurements with a reliable, calibrated tool. This way, you’ll avoid mounting errors and ensure your project aligns perfectly with your intended dimensions.
Are There Specific Measurements for Different Wall Materials?
Think of wall materials like different types of fabric, each requiring unique care. For measurement accuracy, use a sturdy tape measure and consider wall material considerations, such as drywall, brick, or concrete. For drywall, standard measurements work well, but for brick or concrete, use a masonry level and a more durable tool. Always double-check your measurements, as wall material considerations can affect how securely your items mount.
How Do I Measure for Uneven or Sloped Walls?
To measure for uneven or sloped walls, grab a level and a measuring tape. Place the level against the wall and note the wall angles at different points. Use your measuring tape to record the height differences from the level to the wall at various spots. This guarantees you get accurate measurements, accounting for wall angles and slopes, so your mounted items stay level and secure no matter the wall’s irregularities.
Conclusion
Remember, meticulous measurement makes mounting more manageable and mistakes minimal. Take your time, trust your tools, and triple-check your targets. By being precise and patient, you’ll prevent problems, provide perfect placement, and enjoy a polished, professional finish. So, stay steady, measure mindfully, and mount with confidence. Your flawless finish begins with a single, simple step—measuring properly before mounting. Make your wall work wonders with wise, well-timed measurements!
")