Your projector setup isn’t complete until you’ve properly positioned it, calibrated colors, and fine-tuned focus and keystone correction for a clear image. You need to measure the distance for the right screen size, adjust settings with test patterns, and lock in your preferred configurations for consistent quality. Regular maintenance like cleaning the lens and filters also helps. Want to learn how to perfect each step? Keep going to get your setup just right.
Key Takeaways
- Properly align and mount your projector at the correct height and angle for optimal image placement.
- Calibrate colors, focus, and keystone correction to ensure sharp, distortion-free, and accurate visuals.
- Adjust brightness, contrast, and sharpness using test patterns for the best picture quality.
- Regularly clean lenses, filters, and check connections to maintain clarity and prevent dust buildup.
- Confirm the projector is level, securely mounted, and optimized for ambient lighting to enhance image performance.

Official Licensed Google TV Smart Projector, HAPPRUN 4K UHD Home Theater with Dolby Sound, Wi-Fi & Bluetooth, Built-in Streaming Apps, Compatible with Games Consoles & Smartphone, Indoor & Outdoor Use
[ Built-in Official Licensed Google TV ] - Without additional equipment, the smart projector can directly access Netflix,...
As an affiliate, we earn on qualifying purchases.
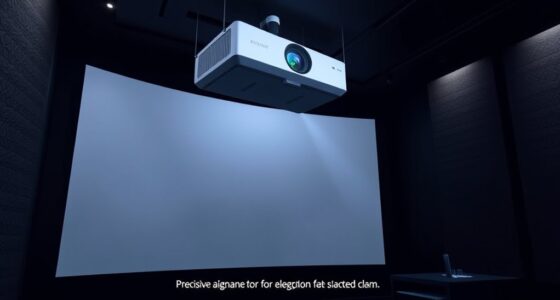
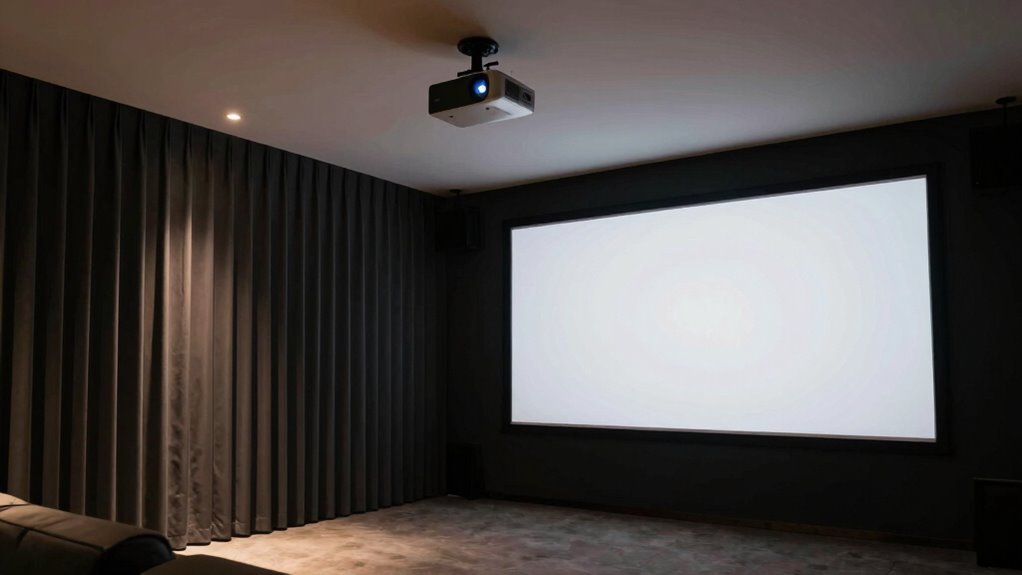
How to Physically Position Your Projector and Choose the Right Screen Size

To achieve a sharp, well-sized image, you need to carefully position your projector and select the appropriate screen size. Start by considering your mounting options—ceiling placement is often the most stable and unobtrusive choice. If you opt for ceiling mounting, ensure the projector is securely installed at the right height and angle for optimal focus and keystone correction. The distance between the projector and screen determines the image size; measure this carefully to match your desired viewing experience. Avoid placing the projector too close or too far, as this can compromise image clarity. Adjust the mounting to achieve the correct throw distance and ensure the image fits well within your screen dimensions. Proper positioning makes a significant difference in picture quality and overall viewing comfort. Additionally, understanding your projector’s throw ratio can help you better plan your setup and avoid common installation errors. Knowing your contrast ratio also assists in optimizing image quality for different viewing environments. Paying attention to lens shift capabilities can further enhance your setup flexibility and image alignment.

Epson Home Cinema 980 3-Chip 3LCD 1080p Projector 4,000 Lumens Color and White Brightness, Streaming/Gaming/ Media Room, Built-In Speaker, Auto Picture Skew, 16000:1 Contrast, 2 HDMI Ports
Exceptional Picture Quality — Provides stunning, detailed 1080p images and fast data processing that’s optimized for fast-action sports,...
As an affiliate, we earn on qualifying purchases.
Why Proper Calibration Is Essential for the Best Image Quality
Proper calibration guarantees your projector displays accurate colors and sharp images. It also helps you fine-tune focus and correct keystone distortion for a seamless picture. Taking the time to calibrate properly makes all the difference in achieving the best viewing experience. Additionally, understanding future economies and the potential impacts of AI-driven societal changes can help you plan more effectively for technological shifts, whether you’re setting up a home theater or planning a trip. Recognizing technological shifts can ensure your setup remains relevant and optimized over time. Being aware of historical innovations can further inform your choices and adaptations in evolving tech landscapes. For example, exploring golf heritage can inspire innovative approaches to technology integration in entertainment spaces.
Accurate Color Representation
Achieving accurate color representation is essential for getting the best image quality from your projector. Proper color calibration ensures that colors appear natural and true to life, making your viewing experience more immersive. Without calibration, colors can look washed out, overly saturated, or dull, which diminishes the overall picture quality. To attain ideal color accuracy, use a calibration tool or software designed for projectors, and follow the steps to adjust color settings precisely. This process fine-tunes the projector’s color output, helping you see accurate hues and shades. Remember, even small adjustments can considerably improve your image. Investing time in proper color calibration guarantees your projector displays vivid, realistic colors, elevating your viewing experience to professional standards. Additionally, understanding color science principles can help you better grasp how to optimize color output effectively. Streamlining AI Agent Governance can help ensure your device settings and configurations are optimized for security and performance. Additionally, understanding Free Floating display technology can assist in achieving a more versatile and adaptable setup. Being aware of potential dust and microplastics contamination can also help maintain consistent color accuracy over time.
Optimal Focus Adjustment
Accurate color calibration sets the foundation for a sharp, vibrant image, but even perfectly calibrated colors can look blurry or out of focus if the projector isn’t properly adjusted. To achieve ideal focus, you need to fine-tune your projector’s settings by paying attention to screen placement and projector orientation. Proper positioning ensures the image is evenly focused across the entire screen. Here are three key steps:
- Adjust the projector’s lens focus knob until the image appears sharp.
- Ensure the projector is aligned perpendicular to the screen, avoiding tilt or skew.
- Check that the projector is at the recommended distance for your screen size, maintaining consistent focus throughout.
Following these steps guarantees a clear, crisp image for the best viewing experience.
Keystone and Geometry Correction
Even when your projector is perfectly focused, a skewed image can still diminish picture quality. Proper keystone and geometry correction ensure your image is straight and proportionate, avoiding distortion that distracts viewers. Before adjusting, consider your mounting setup—whether wall, ceiling, or tabletop—since mounting considerations influence how you calibrate. Use your projector’s built-in keystone correction tools to straighten the image, but avoid excessive adjustments that can reduce resolution. Accurate geometry correction enhances the overall viewing experience, making content appear natural and immersive. Remember, good image calibration isn’t just visual—consider audio calibration as well, so sound matches the picture perfectly. When your setup is properly aligned, you’ll enjoy sharper images, richer colors, and a more professional-looking projection every time.
1500 ANSI Official Licensed Google TV Smart Projector, HAPPRUN 4K Full HD Home Theater with Auto Focus, Dolby Sound, Wi-Fi Bluetooth, Built-in Apps, Compatible with Phone & PC, Indoor & Outdoor Use
[ Built-in Officially Licensed Google TV ]-Enjoy the reliability of an officially certified Google TV projector. Stream Netflix,...
As an affiliate, we earn on qualifying purchases.
How to Adjust Focus and Keystone Correctly for a Clear Picture
To get a clear picture, start by adjusting the focus with your projector’s precise lens until the image is sharp. Next, correct any keystone distortion so the image lines up properly on your screen. Finally, test the clarity from different angles to guarantee the picture stays crisp and undistorted.
Adjusting Focus Precise Lens
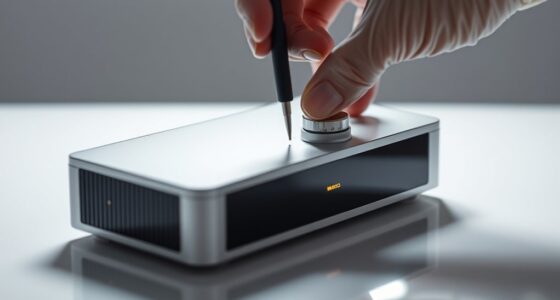
Adjusting the focus and keystone settings on your projector is essential for a sharp, undistorted image. To guarantee maximum clarity, start by cleaning the lens to remove dust or smudges that can affect focus calibration. Next, carefully turn the lens focus ring until the image becomes crisp and clear. Finally, use the projector’s focus adjustment to fine-tune the sharpness, avoiding over- or under-focus. Here are three key steps:
- Clean the lens thoroughly for clear focus calibration.
- Adjust the focus ring slowly until the picture sharpens.
- Verify the image remains clear across the entire screen.
Correcting Keystone Distortion
After cleaning and focusing your projector’s lens, it’s time to tackle keystone distortion. This issue occurs when the projector isn’t perfectly aligned with the screen, causing the image to appear trapezoidal. To correct this, adjust your projector placement first—move it closer or farther from the screen, or shift its position until the image becomes more rectangular. Many projectors have keystone correction controls, either manual or digital; use these to fine-tune the image shape. Keep in mind that larger screen sizes may require more precise adjustments. For the best results, aim for the projector to be level and centered relative to the screen, minimizing keystone distortion from the start. Proper placement reduces the need for extensive correction, ensuring a clear, properly proportioned picture.
Testing for Sharp Clarity
Ensuring a sharp, clear picture hinges on fine-tuning your focus and keystone correction precisely. To achieve this, start by checking your lens maintenance—clean the lens regularly to prevent blurry images. Then, adjust the focus ring until the image appears crisp and detailed. Next, review your keystone correction; make small adjustments to eliminate distortion and straighten the image. Finally, perform screen cleaning to remove dust or smudges that can affect picture clarity. Remember, a spotless screen enhances sharpness and contrast. Use these steps:
- Maintain your lens by cleaning it regularly.
- Fine-tune focus for maximum sharpness.
- Correct keystone distortion for a rectangular, even display.
Following these steps ensures your projector delivers a crystal-clear image every time.

2000 ANSI 4K Decoding Projector with WiFi and Bluetooth, HAPPRUN Movie Home Theater with Auto Focus, 300'' Display for Indoor/Outdoor, Smart Proyector Compatible with Phone/TV Stick/PC/PS5
[EASIER OPERATION: AI Smart Screen Adjustment] HAPPRUN projector comes with auto focus and 6D auto-keystone technology, enjoy a...
As an affiliate, we earn on qualifying purchases.
Calibrating Colors for Vibrant, Accurate Images
Calibrating your projector’s colors is essential for achieving vibrant and accurate images. Start by selecting the right color profiles to match your projector and environment. Many projectors offer preset profiles like cinema, standard, or vivid; choose the one that best suits your viewing needs. Keep ambient lighting in mind, as it can affect color perception—dim the lights or adjust your room lighting to see true colors. Use a calibration tool or software if available, and fine-tune the color settings for hue, saturation, and brightness. Proper calibration guarantees colors are not overly washed out or oversaturated, delivering a natural, lifelike picture. Additionally, understanding color profiles helps you select the best setting for your specific setup. Taking these steps guarantees your images are vibrant, accurate, and optimized for your specific setup.
Using Test Patterns to Fine-Tune Brightness, Contrast, and Sharpness
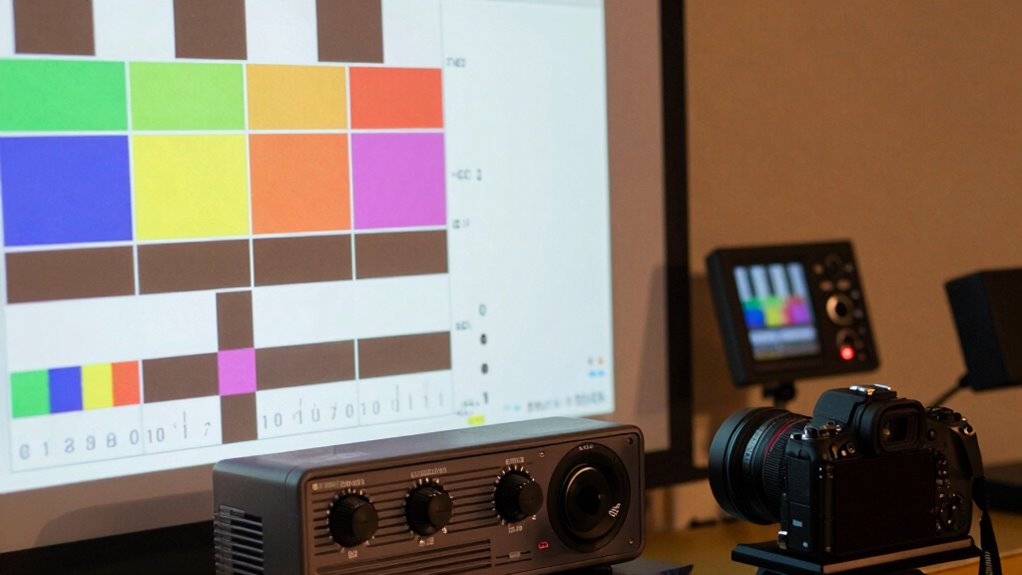
Using test patterns is one of the most effective ways to fine-tune your projector’s brightness, contrast, and sharpness. They help you see how different settings impact image quality, considering factors like screen material and projector placement. To optimize your setup, follow these steps:
- Adjust brightness and contrast using test patterns with grayscale and color bars, ensuring details are visible without washing out.
- Fine-tune sharpness by analyzing patterns with fine lines, making sure edges are crisp without halos or blurring.
- Reassess in your specific environment, considering your screen material and projector placement, to ensure the image is balanced and clear. Proper fine-tuning guarantees vibrant images and sharp details, regardless of your setup conditions.
- Additionally, understanding the importance of seasons and environmental conditions can help you optimize your projector settings for different times of the year, especially when dealing with outdoor astrophotography or seasonal light variations.
Troubleshoot Common Image Problems and How to Fix Them

If your image isn’t looking right, start by adjusting the projector’s settings to improve clarity. Make sure the lens is clean and properly aligned, and check that the screen or wall surface is smooth and suitable. These simple steps can often fix common image issues quickly. To ensure safe operation, avoid overheating the projector by allowing proper ventilation and keeping it away from portable oil radiators that could pose a fire hazard essential safety tips. Additionally, regularly inspecting the projector’s ventilation vents can help prevent overheating and maintain optimal performance ventilation maintenance. Ensuring proper device placement can also significantly improve image quality and projection stability. Proper positioning can also prevent image distortion, ensuring your setup looks professional and clear. Paying attention to correct projector positioning can further enhance the viewing experience and reduce the need for frequent adjustments.
Adjust Image Settings
Adjusting your projector’s image settings is a crucial step in resolving common picture problems and guaranteeing the best possible display quality. Start by setting the correct projection distance, which affects image sharpness and size. Next, customize the picture mode to match your environment—darker rooms may need brighter settings. Finally, consider your screen material, as it influences color accuracy and contrast; a smooth, matte surface often delivers the best results. Properly adjusting these settings helps optimize image clarity and color fidelity. Remember, small tweaks can make a big difference in your viewing experience. Take your time to experiment with projection distance and screen material choices to find the perfect setup for your space. This ensures your projector performs at its best every time.
Check Lens and Screen
Checking your lens and screen is a key step in troubleshooting common image issues. Begin by inspecting the lens for dust, smudges, or fingerprints, and perform lens cleaning if necessary to guarantee a clear projection. Next, examine the screen placement; improper positioning can cause distorted or blurry images. Adjust the screen so it’s level and directly in front of the projector beam, avoiding obstructions. Make sure the lens is clean and free of debris, as dirty lenses can reduce image sharpness and brightness. Correct screen placement ensures the projected image appears correctly sized and focused. Taking these small steps can markedly improve your picture quality and help you enjoy a crisp, vibrant image every time.
How Room Lighting Affects Your Projector’s Performance and How to Optimize It
Room lighting plays a crucial role in how well your projector performs, as excessive or poorly managed light can wash out images and reduce contrast. To optimize your viewing experience, control ambient lighting and room brightness. Here are three ways to improve your setup:
- Use blackout curtains or blinds to minimize external light sources.
- Dim or switch off unnecessary lights during viewing.
- Incorporate adjustable lighting options to fine-tune ambient light levels.
Reducing ambient lighting helps your projector produce brighter images with better contrast. Keep in mind, too much room brightness can wash out details, so managing your environment is key. By controlling your room’s lighting, you’ll ensure the best possible image quality and a more immersive viewing experience.
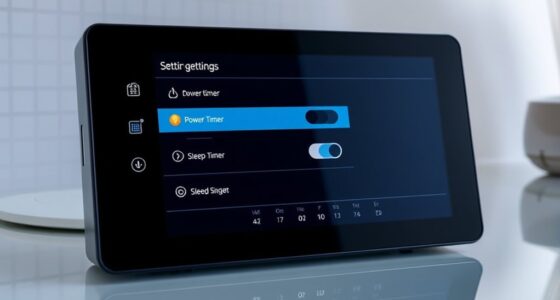
Save and Lock Your Settings for Consistent, High-Quality Viewing

To enjoy consistent, high-quality images, it’s essential to save and lock your projector’s settings once you’ve optimized them. Start by adjusting picture parameters—brightness, contrast, color, and sharpness—based on your screen material, whether it’s matte, glass, or specialized. Once satisfied, save these settings to prevent accidental changes. Don’t forget to calibrate your audio, ensuring sound levels and clarity match the video quality, especially if you’re using external speakers. Locking your settings guarantees that your projector maintains the same performance during every use, avoiding the need for re-calibration. Additionally, choosing the right projection surface can significantly impact image clarity and color accuracy, making your setup more effective. Locking your settings and selecting optimal surfaces guarantees that your projector maintains the same performance during every use, avoiding the need for re-calibration. This step guarantees a seamless viewing experience with sharp visuals and balanced sound, regardless of external factors or adjustments made afterward. Properly saved and locked settings keep your setup consistent and ready for any entertainment session. Additionally, understanding metabolic health can help inform your overall approach to wellness, ensuring your viewing habits support a healthy lifestyle.
Tips to Maintain Your Projector’s Image Quality Over Time
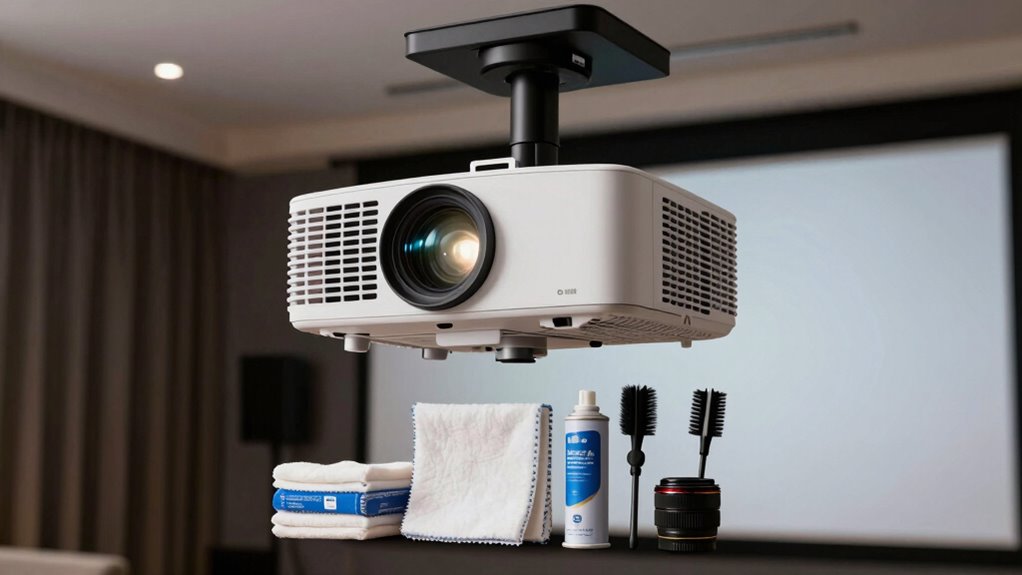
Regular maintenance is key to preserving your projector’s image quality over time. To keep images sharp and colors vibrant, regularly check your projection angle and mounting height. An incorrect projection angle can cause distortion, so adjust it for a straight, even image. Similarly, verify your mounting height hasn’t shifted, as it affects focus and alignment. Here are three essential tips:
- Clean the lens and air filters regularly to prevent dust buildup.
- Verify and adjust the projection angle to avoid keystone distortion.
- Check the mounting height periodically to maintain proper alignment and focus.
- Monitor ambient light levels to prevent glare and ensure optimal image contrast.
Consistent attention to these details helps prevent image degradation and prolongs your projector’s lifespan, ensuring your viewing experience stays crisp and clear.
Final Setup Checklist Before Your First Movie Night
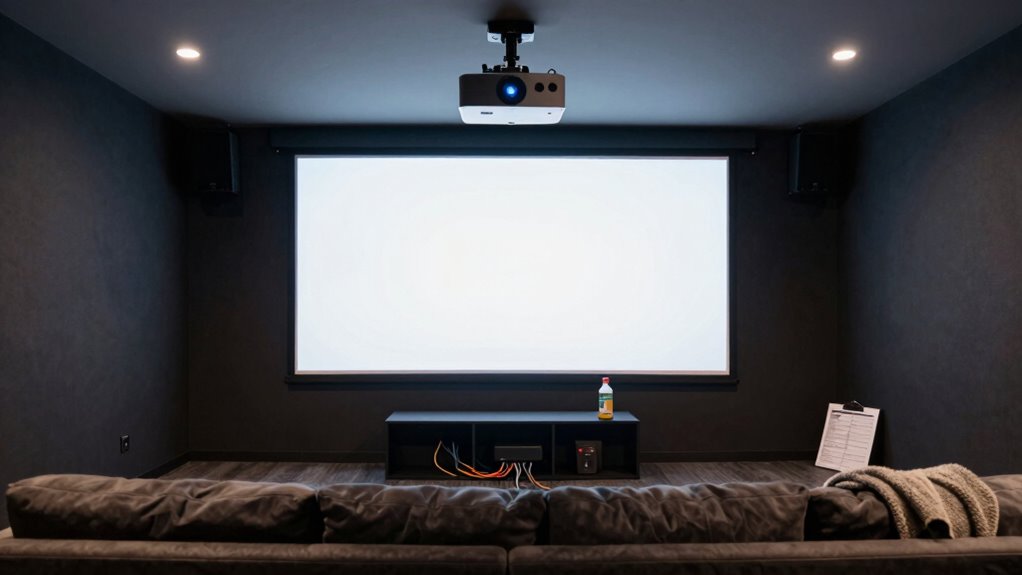
Before you kick off your first movie night, it’s important to double-check your projector setup to guarantee everything runs smoothly. Start with projector placement—make sure it’s positioned at the right distance for your desired screen size and aligned properly to avoid distortion. Confirm that your screen size selection matches the room’s dimensions and your viewing preferences; a screen too large or small can impact image quality and comfort. Check that your projector is level and secure, with no obstructions blocking the lens. Adjust the focus and keystone settings to ensure a clear, rectangular image. Finally, verify the connections and power source. Taking these steps ensures your setup is optimized, so you can enjoy a seamless, cinematic experience on your first movie night. Also, consider proper calibration to enhance your image quality and viewing experience.
Frequently Asked Questions
How Often Should I Recalibrate My Projector for Optimal Performance?
You should recalibrate your projector every 3 to 6 months for maximum adjustment, especially if you notice color shifts, image distortion, or changes in brightness. Calibration frequency depends on usage and environmental factors like temperature and humidity. Regular recalibration ensures your projector maintains the best image quality, so don’t skip it. Keep an eye on performance and recalibrate when necessary to enjoy clear, vibrant visuals consistently.
What Are the Best Maintenance Practices to Extend Projector Lifespan?
You’re not a superhero, so don’t ignore basic projector maintenance! Keep your projection angle just right, avoid tilting it like a rollercoaster, and clean the filters regularly. Replace the lamp before it burns out to prevent sudden blackouts. These simple steps, along with proper ventilation, extend your projector’s lifespan. Remember, neglect leads to costly repairs—so treat it like a prized pet, not a forgotten gadget.
Can I Connect My Projector to Multiple Devices Simultaneously?
Yes, you can connect your projector to multiple devices simultaneously with a multi-device connection feature. This allows you to switch between inputs easily without unplugging and reconnecting cables. Check your projector’s specifications to verify it supports simultaneous input or multi-source inputs. Using an HDMI switcher or a projector with multiple HDMI ports makes it even easier to manage multiple devices, providing seamless multi-device connection for presentations, gaming, or movies.
What Safety Precautions Should I Follow During Setup and Calibration?
Did you know electrical safety incidents spike during equipment setup? To avoid fire hazards, always unplug your projector before calibration and keep liquids away. Use grounded outlets and avoid overloading circuits. Confirm cables are organized to prevent trips and accidental disconnections. Regularly inspect cords for damage, and never attempt repairs if you’re unsure. Following these precautions safeguards you and ensures a safe, successful setup process.
How Do I Troubleshoot Audio Issues Alongside Visual Problems?
To troubleshoot audio issues alongside visual problems, start by checking your speaker placement to guarantee clear sound direction. Then, verify the audio sync settings on your projector and connected devices, adjusting as needed for perfect timing. Test different inputs and cables to rule out hardware issues. Restart your equipment if problems persist, and consult the user manual or support for specific troubleshooting steps related to your projector model.
Conclusion
Once you’ve perfected your setup, your home theater becomes a sanctuary of vivid colors and sharp details, like stepping into a cinematic dream. With everything aligned—projector placement, calibrated colors, and ideal lighting—you create an immersive experience that transports you. Just like tuning an instrument, your projector’s clarity depends on your careful adjustments. Now, with your system ready, you’re all set to enjoy countless movie nights, where every frame feels as real as the world outside your window.