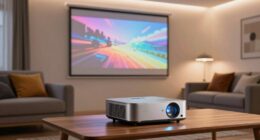

To set up dual projectors for an ultra-wide cinematic experience, carefully choose stable mounting options like ceiling or wall mounts that support precise adjustments. Align the projectors using test patterns, adjusting focus, keystone correction, and lens shift for seamless overlap. Regularly fine-tune positioning and calibration to match color and brightness, ensuring the images blend smoothly. With attention to detail, you can create an immersive environment—keep exploring to master the full setup process.
Key Takeaways
- Use precise calibration techniques to align images, match colors, and minimize visual discrepancies for seamless ultra-wide projection.
- Select appropriate mounting options (ceiling, wall, or custom) that support stability, adjustability, and projector weight.
- Fine-tune positioning by adjusting height, tilt, and lens shift to ensure perfect image overlap and alignment.
- Prioritize stable mounts that prevent vibrations and allow easy adjustments to maintain consistent image quality.
- Regularly revisit calibration and mounting setups to preserve seamless, immersive cinematic experiences over time.
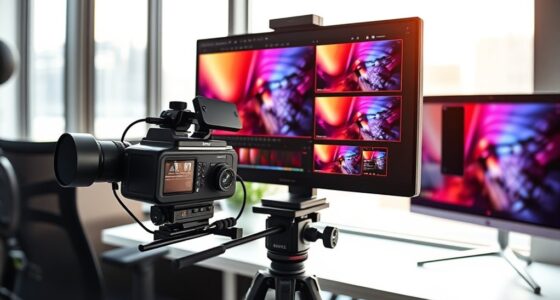
Setting up dual projectors can considerably enhance your viewing experience by creating a larger, more immersive display. To achieve this, you need to focus on precise calibration techniques and choosing the right mounting options. Proper calibration ensures that the images from both projectors align perfectly, avoiding disruptions like double images or mismatched colors. Start by adjusting the keystone correction and lens shift to ensure the projected images are rectangular and aligned properly on your screen or wall. Use test patterns to fine-tune brightness, contrast, and color balance, matching the outputs as closely as possible. This process minimizes visual discrepancies and makes the *transition* between images seamless, giving you a true ultra-wide cinematic effect. Additionally, understanding how emotional support can help during complex setups can ease frustration and improve focus throughout the process.
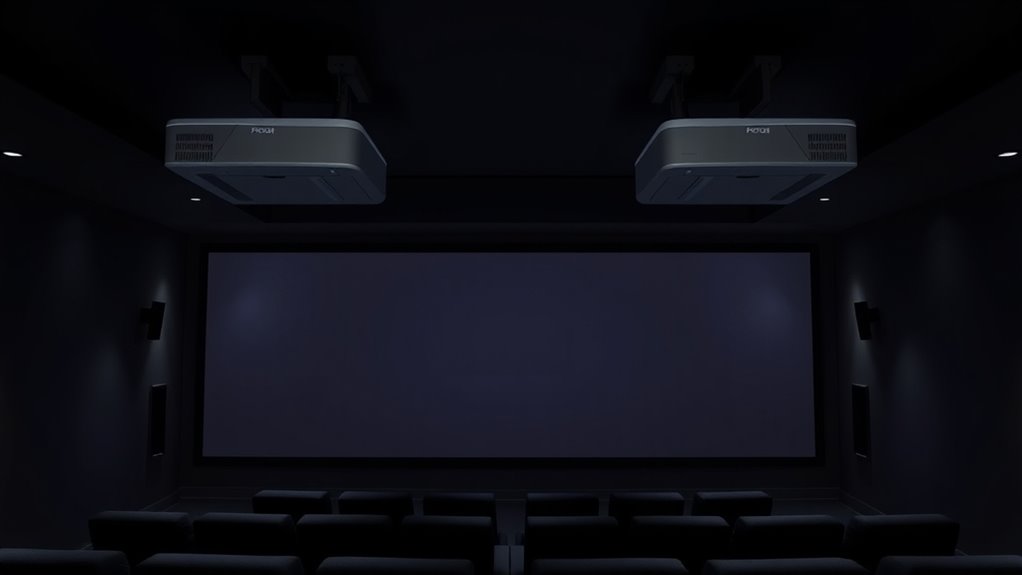
Proper calibration and mounting are essential for seamless dual projector displays.
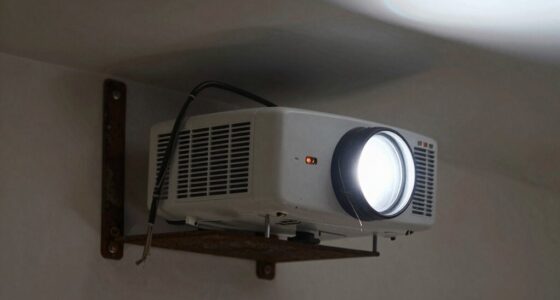
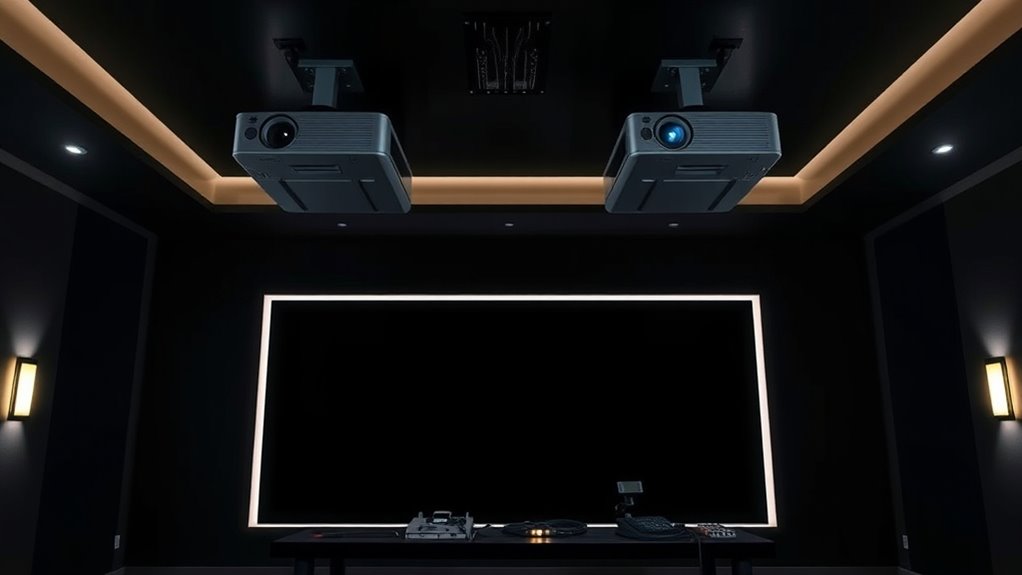
When it comes to mounting options, stability and flexibility are key. You have several choices, including ceiling mounts, wall brackets, or custom stands, depending on your space and setup preferences. Ceiling mounts are popular for their stability and minimal obstruction, but they require careful measurement and secure installation to prevent any movement that could disrupt image alignment. Wall brackets offer a more accessible option, especially if you want to adjust the projector’s position frequently or need a more budget-friendly solution. Whichever mounting method you choose, *ensure* it can support the weight of your projectors and allows for fine-tuning of position and angle. Proper mounting not only maintains alignment but also reduces vibrations and shifts caused by accidental bumps or movement.
Once mounted, your next step involves fine-tuning the positioning. This includes adjusting the height, tilt, and lateral placement so both images overlap perfectly on your screen. Many projectors come with built-in lens shift and zoom functions, which can help you achieve precise alignment without moving the entire unit. Remember, even small adjustments can have a significant impact on the overall image quality. Regularly revisit your calibration and mounting setup to *ensure* everything remains aligned, especially if you move or modify your environment.
In essence, setting up dual projectors requires attention to detail and patience. Proper calibration techniques will help you match colors, brightness, and sharpness, while careful selection of mounting options guarantees stability and easy adjustments. When these elements work together seamlessly, you’ll enjoy an ultra-wide, cinematic experience that transforms your space into a personal theater. With the right approach, you’ll be able to create a stunning, immersive display that rivals commercial movie theaters, all from the comfort of your home.

Official Licensed Google TV Smart Projector, HAPPRUN 4K UHD Home Theater with Dolby Sound, Wi-Fi & Bluetooth, Built-in Streaming Apps, Compatible with Games Consoles & Smartphone, Indoor & Outdoor Use
[ Built-in Official Licensed Google TV ] - Without additional equipment, the smart projector can directly access Netflix,...
As an affiliate, we earn on qualifying purchases.
Frequently Asked Questions
How Do I Synchronize the Projectors for Seamless Image Blending?
To synchronize your projectors for seamless image blending, start by adjusting the edge blending settings so the overlapping areas smoothly merge. Then, focus on color matching by calibrating the projector colors to ensure uniformity across the image. Use calibration tools or software to fine-tune brightness, contrast, and color until the shift between images is invisible. Regularly review and tweak these settings to maintain perfect synchronization for an immersive ultra-wide cinematic experience.
What Are the Best Calibration Tools for Dual Projector Setups?
You should use calibration tools like CalMAN or LightSpace to guarantee color accuracy and seamless blending. These tools help you fine-tune color balance, gamma, and contrast for both projectors. Additionally, use keystone correction features within your calibration software to align the images perfectly. Regularly calibrate your setup to maintain consistent color accuracy and image quality, ensuring that your ultra-wide cinematic experience remains immersive and visually stunning.
How Do I Prevent Ghosting or Double Images in Overlapping Areas?
To prevent ghosting or double images, focus on precise edge blending and image warping. Carefully align your projectors so overlapping edges blend seamlessly, reducing visible double images. Use calibration tools to adjust the edge blending zones, ensuring smooth progressions. Regularly fine-tune the image warping settings to correct distortions. By mastering these techniques, you create a unified, immersive display that eliminates distracting ghosting and double images, delivering a flawless cinematic experience.
What Are Recommended Mounting Options for Maintaining Alignment?
You should use precise mounting techniques like adjustable brackets or ceiling mounts with fine-tuning features to keep your projectors aligned. Employ alignment methods such as laser levels or grid patterns to guarantee perfect symmetry and minimize keystone distortion. Regularly check and adjust your mounts to maintain proper alignment, especially if you move or bump the setup. This approach guarantees a seamless, ultra-wide cinematic experience with minimal ghosting or double images.
How Can I Optimize Image Brightness and Contrast in a Dual Setup?
You can optimize image brightness and contrast in a dual setup by adjusting each projector’s brightness settings for a balanced look. Use contrast enhancement features to improve depth and detail. Calibrate both projectors carefully to guarantee consistent brightness levels, and consider using a gray ramp or test pattern during calibration. Regularly fine-tune these settings based on your ambient lighting conditions for the best cinematic experience.

Epson Home Cinema 980 3-Chip 3LCD 1080p Projector 4,000 Lumens Color and White Brightness, Streaming/Gaming/ Media Room, Built-In Speaker, Auto Picture Skew, 16000:1 Contrast, 2 HDMI Ports
Exceptional Picture Quality — Provides stunning, detailed 1080p images and fast data processing that’s optimized for fast-action sports,...
As an affiliate, we earn on qualifying purchases.
Conclusion
Now that you’ve set up your dual projectors, you’re stepping into a world where your screen becomes a gateway to cinematic grandeur. Think of it as orchestrating a symphony where each projector is a crucial instrument, harmonizing to create a seamless, immersive experience. With patience and precision, you’ve transformed your space into a theater of dreams—proof that a little technical finesse can turn any room into a panoramic masterpiece waiting to unfold before your eyes.
1500 ANSI Official Licensed Google TV Smart Projector, HAPPRUN 4K Full HD Home Theater with Auto Focus, Dolby Sound, Wi-Fi Bluetooth, Built-in Apps, Compatible with Phone & PC, Indoor & Outdoor Use
[ Built-in Officially Licensed Google TV ]-Enjoy the reliability of an officially certified Google TV projector. Stream Netflix,...
As an affiliate, we earn on qualifying purchases.

2000 ANSI 4K Decoding Projector with WiFi and Bluetooth, HAPPRUN Movie Home Theater with Auto Focus, 300'' Display for Indoor/Outdoor, Smart Proyector Compatible with Phone/TV Stick/PC/PS5
[EASIER OPERATION: AI Smart Screen Adjustment] HAPPRUN projector comes with auto focus and 6D auto-keystone technology, enjoy a...
As an affiliate, we earn on qualifying purchases.