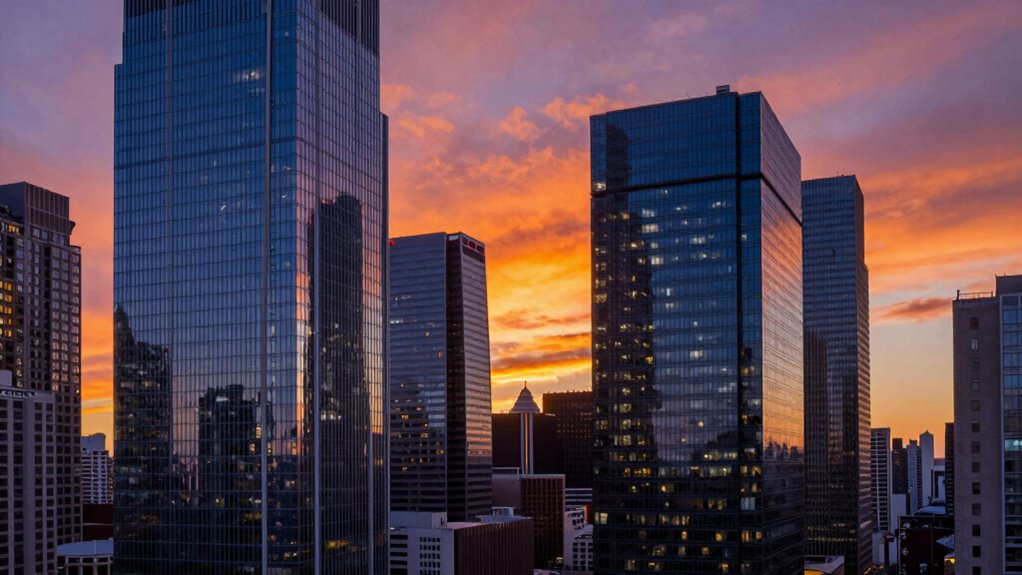
The HDR setting that quietly ruins your picture is usually your device’s automatic HDR mode or overly aggressive preset. When enabled improperly, it can cause unnatural colors, washed-out highlights, or excessive contrast—leading to images that look flat, artificial, or overly processed. This often happens when HDR overcompensates for bright or dark areas, reducing detail instead of enhancing it. To avoid this, you need to understand how to adjust or disable HDR for better results—there’s more to discover below.
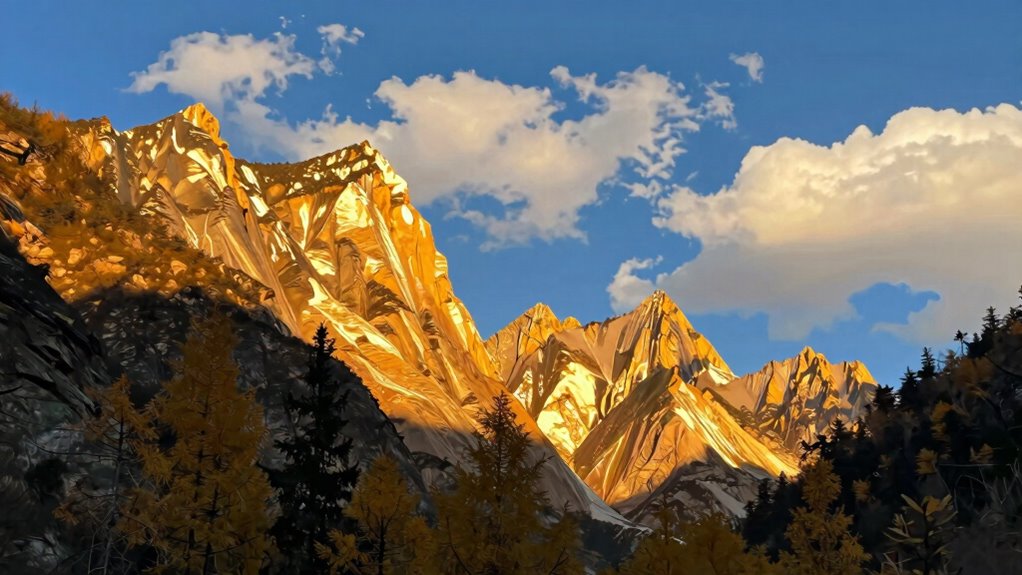
Overly aggressive HDR modes can produce unnatural colors, halos, and exaggerated contrast, ruining image authenticity.
Incorrect or default HDR presets often oversaturate or underrepresent details, leading to flat or overly processed photos.
Relying on automatic HDR without manual control can cause loss of subtle textures and dynamic range balance.
Excessive HDR settings can create artifacts like banding, ghosting, or blown-out highlights, degrading image quality.
Disabling HDR and adjusting exposure manually typically results in more natural, visually pleasing images.
Amazon
Top picks for "sett quietly ruin"
Open Amazon search results for this keyword.
As an affiliate, we earn on qualifying purchases.
What Is HDR and How Does It Impact Your Picture Quality?
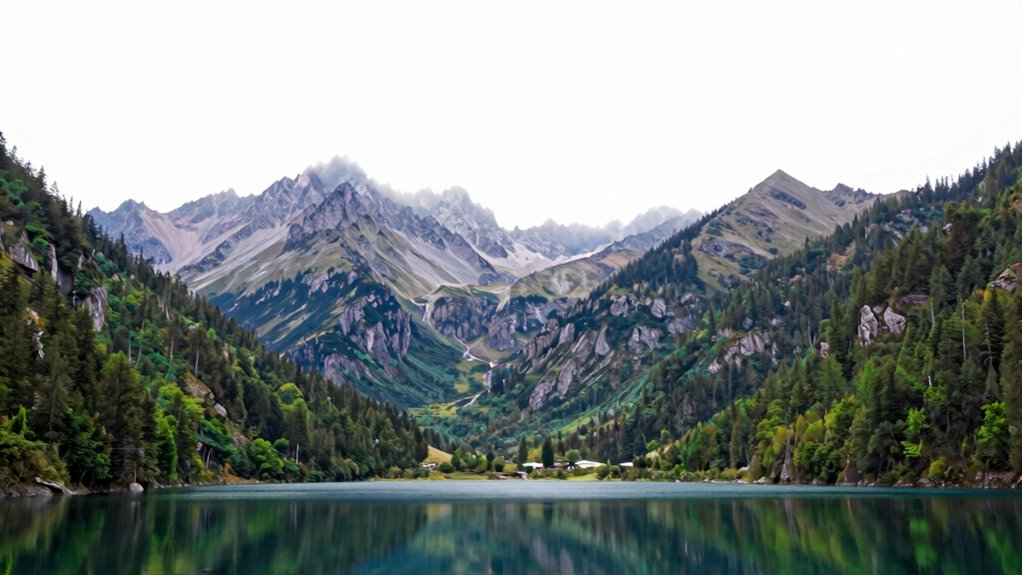
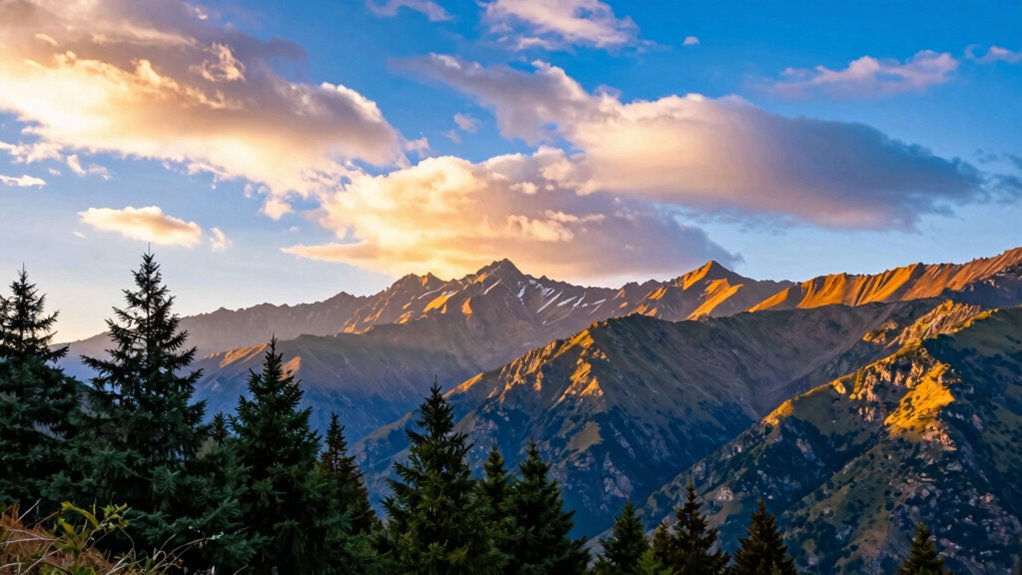
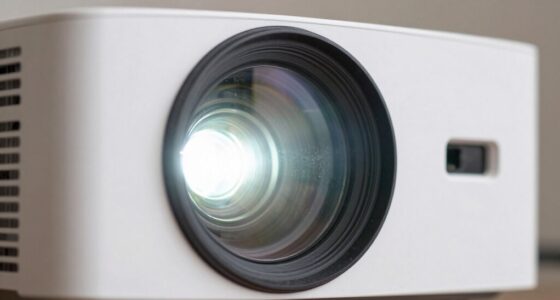
Have you ever wondered what HDR really does to your photos? HDR, or High Dynamic Range, enhances your images by balancing the exposure between the brightest and darkest areas. It works by combining multiple shots at different exposures, making sure details aren’t lost in shadows or blown out in highlights. Proper camera calibration is essential here; if your camera isn’t calibrated correctly, HDR can produce unnatural results. The key impact of HDR is expanding your camera’s dynamic range, allowing you to capture more detail across varied lighting conditions. Additionally, the type of projector technology you use can influence how HDR images are rendered on the screen. However, while HDR can improve detail, overusing it or applying it improperly may lead to unrealistic images. Understanding how HDR affects your camera’s calibration and dynamic range helps you decide when to use it effectively.
How Can You Tell When HDR Is Ruining Your Image?
If your images look overly artificial or have strange color hues, HDR might be ruining your shot. You may also notice a loss of detail in bright or dark areas, making the picture feel flat or washed out. Recognizing these signs helps you decide when to adjust or turn off HDR for better results. Additionally, understanding digital content formats can help you better evaluate how HDR impacts image quality. Being aware of image processing techniques can also assist in identifying when post-processing may have exaggerated HDR effects. Paying attention to visual aesthetics can help you determine if HDR is enhancing or detracting from your images. Furthermore, inspecting camera settings can reveal whether HDR is being applied excessively or appropriately. For example, reviewing exposure controls can help you understand how HDR is influencing your overall image tone.
Unnatural Color Balance
Unnatural color balance is a clear sign that HDR processing has gone overboard. You may notice strange color casts that make the image appear unrealistic, with skin tones turning unnatural or skies looking bizarre. Excessive tone mapping can intensify these issues, stripping away natural hues and replacing them with exaggerated or dull colors. This imbalance distracts your eye and diminishes the scene’s authenticity. Additionally, understanding inclusive casting can help photographers and editors create more balanced and representative images that avoid these unnatural effects. Recognizing color correction techniques is also essential to maintain the scene’s natural appearance and prevent HDR from overpowering the image.
Loss of Detail
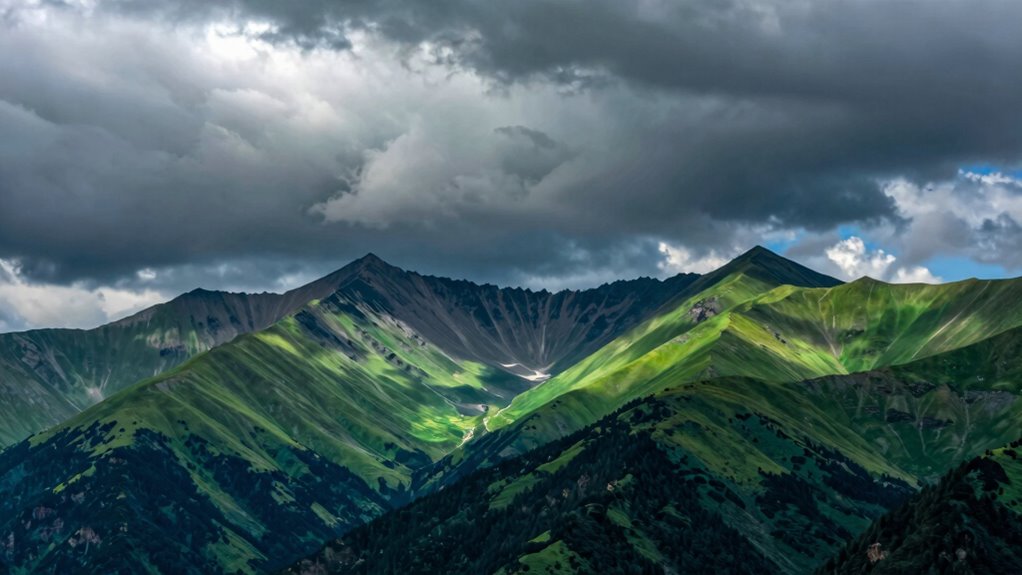
How can you tell when HDR processing starts to ruin your image? One clear sign is a loss of detail, especially in shadows and highlights. When HDR overcompensates for dynamic range, it often blends areas too aggressively, causing textures to flatten or disappear. Look closely at the image: if dark areas lack texture or bright regions seem washed out, HDR might be exaggerating exposure adjustments. Instead of revealing more detail, it obscures it. Proper HDR should preserve natural details without sacrificing subtle variations. If your photo looks overly smooth or featureless, it’s a sign that the dynamic range has been compressed too much. To avoid this, tweak exposure adjustments carefully, ensuring you maintain the fine nuances that give your image depth and realism.
Which HDR Setting Is Usually Causing the Problem?
The most common culprits behind poor HDR images are overly aggressive HDR modes and incorrect preset choices. These settings can make your picture look unnatural or washed out. Recognizing and adjusting these options can help restore your image quality.
Overly Aggressive HDR Mode
When you enable overly aggressive HDR mode, your camera or smartphone pushes the contrast and brightness levels too far, often resulting in images that look artificial or harsh. This setting disrupts proper HDR calibration, making the camera overcompensate for shadows and highlights. Instead of achieving natural dynamic range balancing, it creates exaggerated differences between dark and bright areas. As a result, your photos may appear overly processed, with blown-out skies or overly dark shadows that lack detail. To avoid this, keep HDR mode more subtle or manually adjust settings to maintain a realistic look. By doing so, you allow your device to better handle the true dynamic range of the scene, producing images that are vibrant without sacrificing authenticity. Additionally, understanding how to select appropriate image settings can help prevent overprocessing and ensure more natural results.
Incorrect HDR Presets Usage
Choosing the wrong HDR preset is a common mistake that can easily ruin your photos. Many users select presets without considering their scene or desired color grading, leading to unnatural results. For example, a vivid preset might oversaturate colors, while a softer preset could underrepresent highlights. To help visualize, here’s a comparison:
Preset Type
Scene Suitability
Color Grading Effect
Vivid
Landscapes
Bright, saturated tones
Natural
Portraits
Realistic, balanced
Dramatic
Night scenes
High contrast, bold
Soft
Sunrise/sunset
Gentle, muted hues
Using the wrong hdr presets hampers your ability to achieve authentic color grading, making your images look overly processed or dull.
How Over-Processing HDR Leads to Artifacts and Washout
Over-processing HDR images often results in unwanted artifacts and a washed-out appearance that can ruin your picture. When you push HDR too far, it can distort the natural dynamic range, causing some areas to look unnaturally bright or overly flat. Excessive editing may introduce halos, banding, or ghosting around high-contrast edges, distracting from the image’s realism. Additionally, over-processed HDR diminishes the effectiveness of exposure control, leading to loss of detail in both shadows and highlights. Instead of enhancing your photo, it creates a muddled, artificial look. To avoid this, keep your adjustments subtle and focus on balancing the dynamic range naturally. Proper exposure control ensures your image retains depth without sacrificing clarity or authenticity.
How to Find and Turn Off the HDR Setting That’s Causing Issues
If your photos look unnatural or washed out, the HDR setting might be the culprit. To fix this, start by accessing your camera or smartphone settings. Look for the HDR option, often found in the quick menu or camera app settings. Turn it off to see if your images improve. If you still notice issues, check your device’s camera calibration—sometimes, misaligned calibration causes poor HDR results. After turning off HDR, avoid relying solely on photo editing to fix problems; instead, capture images with proper exposure and contrast settings. Disabling HDR can help you achieve a more natural look and maintain control over your photos. Remember, a well-calibrated camera often produces better results without the need for HDR. Additionally, understanding the role of Vetted in maintaining transparency can help you make informed choices about your camera settings and image quality. Furthermore, choosing the appropriate camera settings can minimize the need for post-processing and lead to more consistent photo outcomes. Properly configuring your camera can also reduce the likelihood of overprocessing, ensuring your photos look authentic and true to life. Being aware of image processing techniques can further enhance your ability to capture high-quality photos without overreliance on digital adjustments. Regularly reviewing your camera’s settings and understanding their impact can also help prevent unintentional image issues.
Tips for Using HDR Effectively Without Sacrificing Quality
To use HDR effectively without sacrificing quality, start by capturing multiple exposures rather than relying solely on automatic HDR settings. This approach allows you to better control the dynamic range, ensuring shadows aren’t too dark and highlights aren’t blown out. Use exposure adjustment to fine-tune each shot, highlighting details in both bright and dark areas.
Here are four tips to maximize your HDR shots:
Manually bracket exposures to capture the full dynamic range.
Avoid over-processing, which can lead to unnatural results.
Pay attention to the scene’s lighting to determine ideal exposure levels.
Review your images and adjust exposure settings accordingly for balanced contrast.
With these strategies, you’ll achieve vibrant, well-exposed images without losing quality.
How to Customize HDR Settings for the Best Visuals Every Time
Customizing your HDR settings guarantees you get the best visuals every time, rather than relying on automatic modes that may not suit every scene. Start by adjusting the color calibration to ensure accurate hues and skin tones, which enhances overall picture quality. Next, tweak the dynamic range to suit the scene’s lighting; increasing it can reveal details in shadows and highlights, while lowering it prevents overexposure. Use your display’s calibration tools or settings menu to fine-tune these options, avoiding overly bright or washed-out images. Don’t rely solely on default presets; instead, test different configurations based on your viewing environment and content type. Properly tailoring HDR settings helps you achieve vibrant, balanced visuals every time, making your viewing experience more immersive and true to the creator’s intent. Additionally, understanding the history of color calibration can help you better appreciate the importance of accurate hues in visual storytelling, and paying attention to vetted Fin and Forage resources can provide further insights into optimal display adjustments. For example, exploring Vetted calibration techniques can significantly improve your overall display setup. Moreover, familiarizing yourself with scientific principles behind color accuracy can deepen your understanding of why these adjustments matter.
Frequently Asked Questions
Can HDR Settings Be Different Across Various TV Brands?
Yes, HDR settings can differ across TV brands, affecting color accuracy. Each brand uses unique calibration techniques, which means your picture quality may vary even with the same HDR mode. You might need to tweak settings or calibrate your TV for ideal results. Understanding these differences helps you get the best picture, ensuring vibrant colors and better contrast tailored to your specific TV’s capabilities.
Does HDR Always Improve Picture Quality?
HDR doesn’t always improve picture quality. Sometimes, it compromises color accuracy and brightness control, making images look unnatural or overly bright. You might think HDR automatically enhances visuals, but if settings aren’t calibrated correctly or the content isn’t optimized, it can have the opposite effect. To get the best picture, fine-tune HDR settings, ensuring you balance color accuracy and brightness control rather than relying solely on HDR mode.
Are There Specific Content Types That Benefit Most From HDR?
You’ll find HDR content benefits most your viewing experience, especially with movies and games that have vibrant colors and high contrast. HDR enhances details in bright and dark scenes, making SDR content look dull and flat by comparison. If you watch a lot of HDR content, your picture will be richer and more dynamic. However, for standard SDR content, turning on HDR won’t make much difference and might even degrade the quality.
How Often Should I Adjust My HDR Settings?
You should adjust your HDR settings only when your calibration techniques or ambient lighting change markedly. Ironically, many people think they need constant tweaks, but in reality, static conditions rarely require frequent updates. To keep your picture perfect, reassess if you notice color shifts or washed-out images. Usually, adjusting every few months suffices, unless you change your viewing environment, ensuring your HDR always delivers stunning visuals.
Can I Use HDR With All Types of HDMI Cables?
You can’t use HDR with all HDMI cables, as HDMI compatibility is key. For proper HDR calibration, make sure you’re using HDMI 2.0 or higher cables, which support the bandwidth needed for HDR content. Lower-quality or older cables might not transmit HDR signals correctly, resulting in poor picture quality or no HDR at all. Always check your cable specifications and upgrade if necessary to enjoy superior HDR performance.
Conclusion
Don’t let a sneaky HDR setting turn your stunning images into a mess, much like an overzealous painter spoiling a masterpiece. By understanding how HDR works and knowing how to tweak or disable problematic settings, you can preserve your photo’s true beauty. Remember, even the great Leonardo knew when to step back and see the whole picture. So, experiment wisely and enjoy capturing visuals that truly shine, without falling into the trap of over-processing.
3D Support in Modern Projectors for Beginners: the Ultimate Beginner’s Guide
Jump into the world of 3D projectors and discover how they can transform your viewing experience—here’s everything beginners need to know to get started.