
Beginners Guides
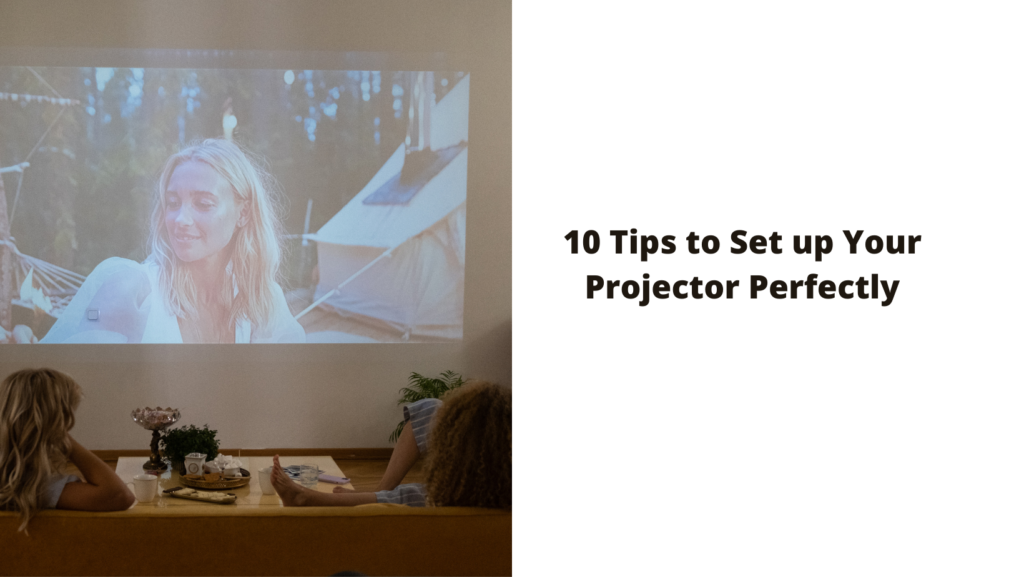
How to Use a Projector & 10 Tips to Set up Your Projector Perfectly

If you’re looking for the biggest possible screen for your home theater setup, then a projector is the way to go. Projectors can create truly massive images, and in many cases, they cost less than the biggest TVs. While projectors require more setup and hassle than TVs, the payoff at the end is well worth it.
How to Use a Projector
One of the main benefits of a projector is that you can choose your screen size. Whether you want a modest 100-inch screen or a massive 200-inch screen, a projector can make it happen. This flexibility is not possible with a TV, no matter how big. Additionally, projectors often provide a better image quality than TVs, thanks to their higher resolutions and wider color gamuts. So if you’re looking for the ultimate home theater experience, a projector is the way to go.
10 Tips to Set up Your Projector Perfectly
A projector can be a great addition to any home theater setup. Whether you’re watching movies, playing video games, or giving presentations, a projector can provide a large, immersive experience. However, setting up a projector can be a bit tricky. Here are 10 tips to help you get the perfect picture:
- Choose the right location. The first step is to find a good spot for your projector. You’ll want to avoid any places where there’s lots of light or movement, as this can cause distractions and make it difficult to see the screen.
- Set up the screen. Once you’ve found the perfect location for your projector, it’s time to set up the screen. If you’re using a pull-down screen, make sure it’s level and stretched tight. If you’re using a wall or other flat surface, you may need to use painter’s tape or pushpins to secure the edges of the screen.
- Calibrate your projection. Once the screen is set up, it’s time to calibrate your projection. This will ensure that the image is square and centered on the screen. Most projectors have an auto-calibration feature that makes this process easy.
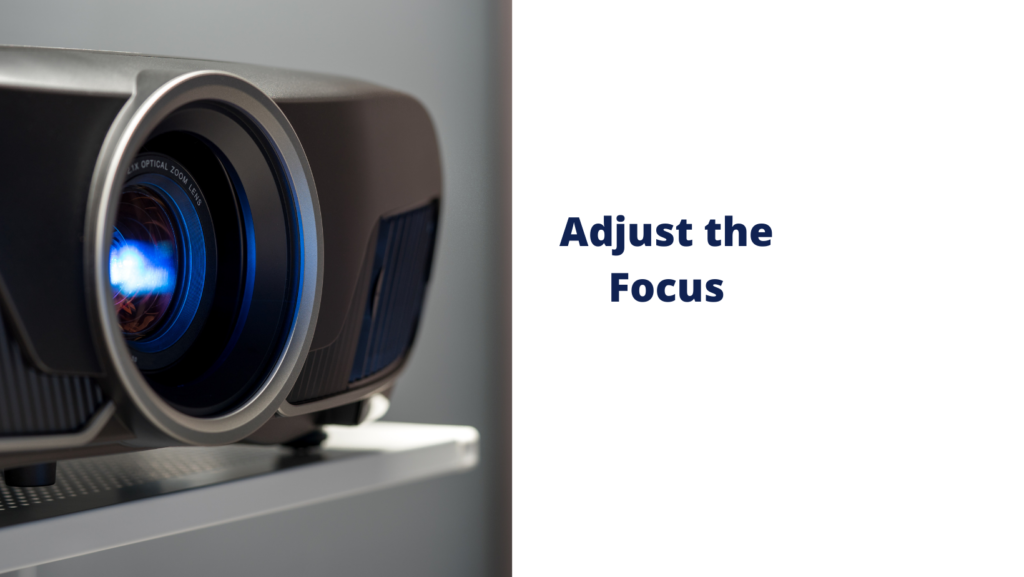
- Adjust the focus. Once the projection is calibrated, you’ll need to adjust the focus. This can be done by rotating the lens ring on the projector until the image is clear.
- Choose the right resolution. The next step is to choose the right resolution for your projector. If you’re watching movies or TV, 1080p is typically best. For gaming or other high-resolution content, you may want to go with a 4K projector.
- Adjust the brightness and contrast. After you’ve set the resolution, you’ll need to adjust the brightness and contrast levels to get the perfect picture. Many projectors have an auto-brightness feature that makes this process easy.
- Fine-tune the color settings. The next step is to fine-tune the color settings on your projector. This can be done by accessing the color menu and making adjustments until the image looks natural.
- Turn on noise reduction. If you’re using a DLP projector, you may want to turn on noise reduction to reduce any potential screen door effect
- Enable 3D mode. If your projector supports 3D, you’ll need to enable this feature in order to watch 3D content.
- Select the right input. The final step is to make sure your projector is set to the correct input. This can be done by accessing the input menu and selecting the right input for your device.
Now that you know how to set up your projector, it’s time to start enjoying all your favorite content in full HD. Whether you’re watching movies, playing games, or giving presentations, a projector can provide a truly immersive experience.
1. Find the Best Location
In order to get the best possible projection, it is important to find the right location. The projection needs enough space, and the bigger the space, the better. The projector can deliver images that are as small as 40 or 50 inches and as large as 300, measured diagonally.
It is important to keep in mind that if the image is too big, it will be dimmer and the individual pixels will be exposed (this is known as the “screen door effect”). Another thing to consider is where you will be sitting in relation to the screen or wall. If you are too close, you may not be able to see the entire image. Conversely, if you are too far away, the image may appear blurry. Finding the right spot is essential for getting the most out of your projector.

When choosing a projector, one of the most important factors to consider is the screen size. Bigger images require you to place the projector further back, and unless you mount the projector on the ceiling, you won’t be able to sit in the path of the beam. As a result, it’s important to take into account the seating arrangement when selecting a projector.
Most projector companies offer screen size calculators on their websites, letting you figure out how far back you can place the specific model you’re considering for the size screen you want. By taking into account all of these factors, you can ensure that you select the projector that best meets your needs.
Screen Door Effect
The projector and screen door effect is a well-known optical illusion. When looking at a blank white wall through a narrow viewfinder, the observer will see a series of small black dots. These dots are actually the spaces between the slats of the viewfinder.
The brain fills in the missing information, creating the illusion of a solid surface. The same effect can be seen when looking at a computer screen or television screen through a narrow opening. The spaces between the pixels appear as black dots, and the brain fills in the missing information to create a solid image.
The projector and screen door effect is an example of how our brain can fill in missing information to create a complete picture.
2. Set up The Screen
This is an optional step: If you have a screen, the next step is getting that set up. We highly recommend a screen because it provides a uniform blank surface and screens can reflect or even amplify your projector’s light better than a wall, delivering a brighter image.
Before you permanently mount anything, do a trial run with the projector and the screen to make sure you’ve got your sizes and distances correct. screens come in many different sizes so it is important to determine how large of a screen you need based on the size of your room and the distance from the wall to where you will be placing the projector.

You also want to make sure that the screen height is level with your projector lens. Once you have the screen set up, test out your projection by playing a movie or something similar to see how the image looks. Perfecting your home theater experience requires some patience and experimentation, but once you get it just right, it will be worth it!
3. Calibrate Your Projection
Once the screen is set up, it’s time to calibrate your projection. This will ensure that the image is square and centered on the screen. Most projectors have an auto-calibration feature that makes this process easy.
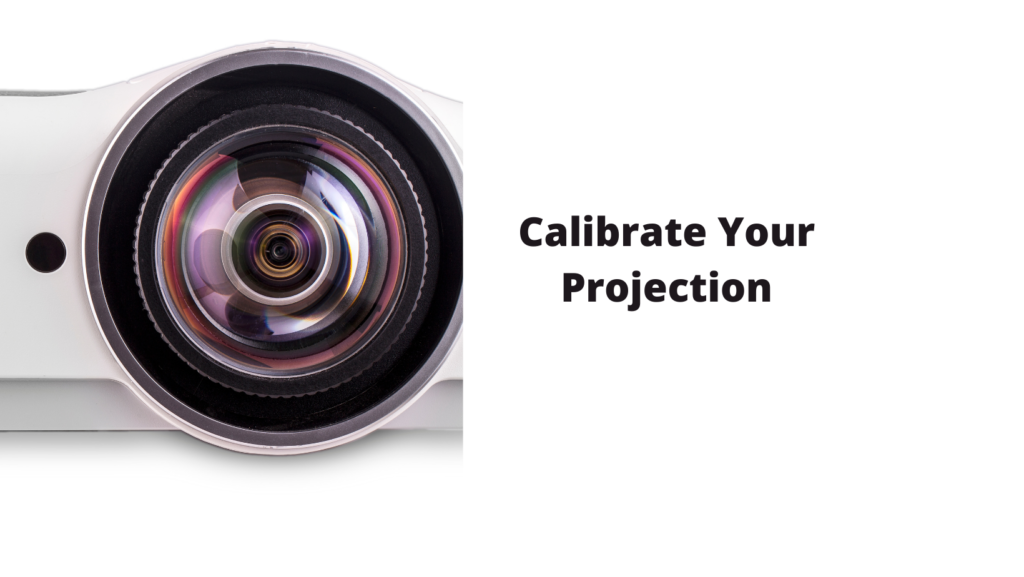
Simply follow the prompts on your projector’s menu and make any necessary adjustments. If you don’t have an auto-calibration feature, you’ll need to do this manually. First, adjust the focus until the image is clear. Then, use the keystone correction to straighten the edges of the image. Finally, use the zoom function to size the image to fit your screen. Once you’ve finished calibrating your projection, you’re ready to enjoy your movie or presentation.
4. Adjust the Focus
Projectors are a great way to add an extra element to any presentation. Whether you’re showing a movie or giving a slideshow, a projector can help to make your presentation more engaging. However, before you can start using your projector, you’ll need to calibrate it.
This can be done by following the instructions in your projector’s manual. Once the projection is calibrated, you’ll need to adjust the focus. This can be done by rotating the lens ring on the projector until the image is clear. With a little bit of effort, you can ensure that your projector is ready to give a great presentation.
5. Choose the Right Resolution
When it comes to choosing the right projector, the resolution is key. If you’re primarily interested in watching movies or TV, then 1080p is typically the best option. This resolution provides excellent detail and clarity, and it’s also very popular, so you’ll have no trouble finding content to watch.
However, if you’re interested in gaming or other high-resolution content, then you may want to consider a 4K projector. These projectors offer four times the resolution of 1080p, so you’ll be able to enjoy stunning detail and clarity. Of course, 4K projectors are also more expensive than 1080p models, so you’ll need to decide if the extra cost is worth it for your needs.
6. Adjust the Brightness and Contrast
When setting up a projector, it is important to get the perfect picture. The first step is to set the resolution. Many projectors have an auto-brightness feature that makes this process easy.
After you’ve set the resolution, you’ll need to adjust the brightness and contrast levels to get the perfect picture. To do this, look for the menus on the projector and find the brightness and contrast settings. From there, you can adjust the levels until you get the perfect picture.
7. Fine-Tune the Color Settings
One of the most important aspects of projecting a high-quality image is getting the colors just right. Too often, images are either too washed out or too saturated, making them difficult to look at for extended periods of time.
Luckily, most projectors come with built-in color correction tools that make it easy to get the colors to look natural. The first step is to access the color menu, which can usually be found in the projector’s settings menu. From there, you can make adjustments to the brightness, contrast, and saturation levels until the image looks just right. With a little trial and error, you should be able to get the colors looking natural in no time.
8. Turn on Noise Reduction
When it comes to setting up a projector, there are a few things to keep in mind in order to get the best possible picture. One of those things is noise reduction. If you’re using a DLP projector, you may want to turn on noise reduction to reduce any potential screen door effect.
This will help to ensure that the image is as clear and sharp as possible. Additionally, you’ll want to make sure that the projector is properly calibrated. This will ensure that the colors are accurate and that the image is properly aligned. By taking these steps, you can be sure that your projector is set up for success.
9. Enable 3D Mode (optional)
Though most projectors these days are designed with 3D capability, few people know how to actually use this feature. If you find yourself in possession of a projector that can handle 3D content but don’t know how to enable the 3D mode, don’t worry – it’s actually quite simple. Start by looking for a button on your remote labeled “3D” or something similar; if you can’t find it there, check for a menu option that says “3D mode” or “3D settings.” Once you’ve located the correct setting, just toggle it on and you’ll be ready to watch some amazing three-dimensional content. And who knows – maybe you’ll even surprise your friends by becoming the go-to expert on projector 3D modes.
10. Select the Right Input
When you’re trying to set up a projector, the final step is making sure that your projector is on the correct input. You can do this by accessing the input menu and selecting the right input for your device.
Sometimes, people try to use their projectors without selecting the right input, and as a result, they end up with a blank screen. Other times, they may select the wrong input and end up with a distorted or fuzzy image. To avoid these problems, take the time to select the right input before you begin using your projector.
Optional Setup-up Steps
Improve The Sound (optional)
Considering better sound for your projector is a smart idea for a few reasons. Firstly, internal speakers on projectors are usually not very powerful, so the sound might not be as loud or clear as you would like. Secondly, the speakers are often located far from the screen, which can cause the sound to be out of sync with what you’re seeing on the screen.
Thirdly, if you have a large room, the sound from the internal speakers might not reach all corners of the room equally. Lastly, powered speakers will usually produce better sound quality than internal projector speakers. Overall, it is important to consider better sound for your projector in order to get the best possible movie-watching experience.
Is It Okay to Use a Projector to Watch TV Every Day?
Nowadays, with advanced technology, it is very convenient to use projectors to watch TV. You can buy a projector and set it up in your living room or bedroom so that you can watch TV without having to go to a theater. There are many reasons why people love to use projectors to watch TV.
First of all, projectors provide a large screen for viewing. You can invite your family and friends to watch movies or TV shows together on a big screen. Secondly, projectors are very affordable. You don’t need to spend a lot of money to buy a high-quality projector. Thirdly, projectors are easy to operate. You can just turn on the projector and start watching TV. Lastly, projectors are portable. You can take your projector with you when you travel so that you can watch TV anywhere.
So, is it okay to use a projector to watch TV every day? Yes, it is absolutely okay! With all the benefits that projectors offer, there is no reason why you shouldn’t use one every day. Go ahead and set up a projector in your home so that you can enjoy all your favorite movies and TV shows on a big screen!
Conclusion
A projector is a device that casts an image or video onto a screen. There are many different types of projectors, and each one has its own unique features. In order to get the most out of your projector, it is important to understand its capabilities and how to use it correctly. In this article, we will discuss some tips for using a projector.
When you’re using a projector, the first thing you need to do is make sure that the area you’re projecting onto is clean. Any dirt or dust on the screen will show up in the image, so it’s important to wipe down the surface before you begin.
How to Use a Projector FAQ
How do you use a projector as a TV outside?
First, you need to buy a projector that is designed for outdoor use. Second, you need to set up the projector in a location where it will not be damaged by the weather. Third, you need to connect the projector to an outdoor TV antenna. Fourth, you need to aim the projector at the desired viewing area. Lastly, you need to turn on the projector and enjoy your favorite TV show or movie!
How do you clean a projector?
To clean your projector, you will need a soft, dry cloth. Gently wipe the lens and body of the projector with the cloth. Do not use any harsh chemicals or cleaners on the projector as this could damage it. If there are any stubborn stains, you can lightly dampen the cloth with water before wiping. Allow the projector to air dry completely before using it again.
What is the best way to watch TV on a projector?
The best way to watch TV on a projector is to buy a projector that is designed for outdoor use. Outdoor projectors are made to withstand the elements and provide a clear image even in bright sunlight. Additionally, outdoor projectors are usually brighter than indoor projectors, so you will be able to see the image more clearly even if the projector is not in a dark room.
Tom is the Editor-in-Chief of 1home Theatre Projector, a website that provides news and reviews on the best home cinema experiences. With over 10 years of experience in the industry, Tom knows what makes a great home theatre projector and wants to make it easy for everyone to build the perfect setup for their needs. When he’s not busy writing or testing projectors, Tom enjoys watching classic films and spending time with his family.


Headphones have become a staple piece of tech equipment. Almost every person uses some sort of headphones at least occasionally.
They are widely available at stores like Walmart and Target, as well as online sites like Amazon and eBay. There are a huge variety of types of headphones, including earbuds, noise-canceling, studio monitors, and earphone variants.
All of these different types have one thing in common: they are all electromagnets. Yes, that is right! Even though you can’t see them, all headphones are tiny electromagnets. This is not a fact that is discussed often, but it is true!
How are they electromagnets, you ask? Well, let’s dig into the specifics so you can understand this fact better. This article will discuss all the details about how headphones are electromagnets.
How do they work?

Headphones work by using a electromagnet. Inside most headphones is a metal core, usually aluminum. This is where the speaker is located.
Around the core is a wound wire. When an electric current is run through the wire, it creates a magnetic field. This magnetic field is controlled by the strength of the electric current running through it.
The stronger the current, the stronger the magnetic field. This allows for different levels of sound to be created. When plastic or leather covers are placed over the wires, they act as amplifiers for the sound.
The shape of the plastic or leather helps direct the sound towards your ear, allowing you to hear what you are listening to more clearly. How cool is that?
You can also have headphones without this feature, but they will not provide better sound quality than normal earbuds.
Do all headphones use electromagnets?

No, actually headphones come in a few different forms. The most common type of headphones is over-ear or ear-covering headphones.
These have an internal housing for the speakers and an external cover that covers your ear. The wire that connects the two is usually coiled for storage.
In-ear headphones are just what they say- they insert into your ear canal! These are very common among athletes because they block out more noise than over-ears do.
Finally, there are Bluetooth headphones which do not have any wires at all. These sync with your device via wireless signal and therefore do not need any internal wiring either.
What are the advantages of using electromagnets?
Aside from being able to be turned on and off, electromagnets can also be adjusted in strength. This is very important when designing headphones.
If the magnet is too strong, it will pull the earpiece away from the phone or computer, breaking the connection. If it is too weak, it will not adequately produce sound.
The strength of the magnet can also be adjusted so that when you transition from listening to music to a phone call, the connection is not lost. In addition, stronger magnets help to preserve battery life due to less energy required to maintain their state.
Other uses for electromagnets in headphones include wireless charging capabilities and adjustable noise cancelling. Wireless charging is easily integrated into most headphones by placing a magnetic field generator under the cushion of the headphone frame.
What are the disadvantages of using electromagnets?

While headphones are a great way to isolate yourself from the world and enjoy your favorite music, listening to music too loudly can be very dangerous.
According to the United States Department of Health and Human Services, more than 1 in 8 people aged 12 to 22 say they listen to music at least half of the time at a level that would be unsafe for their hearing.
This is because people get used to the sound of music and do not adjust the volume higher or lower depending on what changes.
When listening to music through headphones, you are actually only hearing one side of the sound. The other side is being blocked by the headphone speaker itself.
This makes it easier to listen at higher volumes without realizing how loud it really is. As we said before, this can lead to permanent hearing loss due to exposure to high levels of sound.
The Department of Health and Human Services recommends that you turn down the volume on your devices by at least 50% or use earbuds instead of headphones to reduce your risk of hearing loss.
What materials are used in making headphones with electromagnets?

When looking for headphones, you will find many different types. The main two features that are sought after are sound quality and style. A third feature that is being looked for is magnet strength.
Sound quality is determined by how well the headphones reproduce sound. This is dependent on the specifications of the materials used to make the headphones.
Style is obviously depending on what design and color the headphones are. They must also match your personality!
The magnet strength refers to how strong the electromagnet in the headphone is. The higher the strength, the better quality music you will get out of them.
When buying cheap headphones, it is hard to tell if they are made with high quality materials or not.
Are there any disadvantages to using headphones with electromagnets?

Yes, unfortunately, there are some disadvantages to using headphones with electromagnets. First of all, listening to music or podcasts at a higher volume can lead to hearing loss.
In addition, since you are listening to music on your phone, tablet or computer, you are also exposed to EMFs. These EMFs come from the device and affect your cell signal.
By using headphones, you are blocking out this radiation and consequently, your brain is not being conditioned by the signals.
Studies have found a correlation between long-term cell phone use and brain tumors as well as other neurological disorders. Because of this, it is best to limit your cell phone use and switch to wireless headphones.
Another disadvantage is that people may listen to music at a lower volume when using wireless headphones but still for a long time which can lead to habituation.
What about wireless headphones?

Along with the ever-increasing demand for wireless everything, there has also been a growing market for truly wireless headphones. These are earbuds that do not have any connecting wires between them.
How are these made? While most companies do not discuss their manufacturing processes, some reveal some details.
Most use similar methods: each earpiece has its own mic and small processor, and they connect to a shared wireless chip that connects to your phone. Some use Bluetooth connection, others use Wi-Fi connection. Some even have both!
The biggest difference seems to be how much battery life you want. Companies try to balance the length of the battery life with the weight of the headphones- the lighter they are, the smaller the batteries can be. Some even use special materials to preserve battery life.
How much power do they have?
Although the average person will only consider two main factors when buying headphones, there are actually quite a few. The two main ones being sound quality and noise cancellation.
Sound quality is pretty self-explanatory. You want to buy headphones that have good, crisp sound. That happen to be tailored to your listening taste!
Noise cancellation is how effectively the headphones block out external noise. This is a pretty important feature if you are looking to spend money on headphones. How do they do this?
They are electromagnetic shields that actively cancel out external noise. How much power does the headphone require? It depends on the type of noise cancellation you choose.

Hi, I’m Dominique. I love movies and want everyone to have the best home cinema experience possible. That’s why I started 1home Theatre Projector. We help people build their home cinema system using the latest technology and news on laser tv and all-around home entertainment.
We’re a small team of movie buffs (and experts) who are passionate about giving our readers the best advice and information possible. So whether you’re just starting out or you’re looking to upgrade your home cinema system, we’ve got you covered!

With the release of the Windows 10 October 2018 Update, a new feature was introduced that allows you to quickly toggle your headphones on and off.
This feature is called ‘Headphones Toggle’ and is available in the Windows 10 sound settings menu. You can access these by clicking the volume button on your device or via the device menu.
You can either toggle audio off for all applications or just Spotify, for example. This is great for when you are doing a task that requires concentration and do not want any distractions.
Previously, you had to go through several steps to completely turn off your headphones. You had to go to the Sound panel, then change the default device to ‘No Device’, then restart your computer!
This new feature makes it much easier to disable your headphones on your computer! Are you a frequent headphone user? Try this feature out and see how it helps you.
Type audiosrv
Now that you have opened the Audio window, you can start to disable the headphones feature. To do this, type DisableDevice and then hit Enter. A box will appear asking you to select a device to disable.
Search for Headphones and then select them from the drop-down menu. Then hit Disable and then OK. You have successfully disabled the headphones feature on your computer!
You can close the Audio window at this point, but it is recommended to keep it open in case you need to re-enable the headphone feature or make other changes. Keep in mind that re-enabling the headphone feature is just as simple as disabling it.
Re-enabling the headphones requires only two steps: opening up the Audio window again and hitting Enable Device. Easy as that! Anyone can do it.
Click on Audiosrv

The next step is to open the Audio Service. You can do this by clicking the Computer button on the bottom left of the window, then clicking Sounds, video and speech. A new window will open, click on Playback then click on the arrow next to Speakers and select Raise volume instead. This will keep sound from playing through your headphones as well!
Now, back to the Computer window, click on Device Manager and check if there is a headphone icon with a red line through it. If there is, right-click on it and select Update device driver.
Download and install the updated driver for your headphones and try using them again! If there is no icon, try restarting your computer and re-plugging in your headphones to see if that fixes it.
Go to the start button

Next, click on the Settings option. You will find this in the Windows 10 navigation bar that includes the back button, home button, and open windows button.
A new window will open with a variety of settings to edit. One of these is the Settings page where you can edit your personal settings and adjust system settings.
In this section, there is an Audio setting tab where you can edit your headphone preferences. By clicking on this tab, you can easily enable headphones on your computer!
Under the Sound section, there is a drop-down menu that says Output Device. This is what controls what device produces sound from your computer. By default it is set to Internal Audio and this does not allow for external devices to produce sound unless you connect them.
Hold down Ctrl + Shift + B

Now, this shortcut requires you to hold down the Control, Shift, and Backspace keys at the same time.
It might seem weird at first, but this combination disables your device’s ability to detect device attachments. This includes headphones!
So, if you want to listen to music or a video with your headphones attached but do not want to hear the audio from the screen, then this is the shortcut for you!
It takes some getting used to, but after doing so once or twice you will see the benefit. You can then disconnect your headphones and continue using your computer as normal.
If you want to re-enable your device’s ability to detect device attachments, then all you have to do is hold down the Control, Shift, and Backspace keys again and dis-connect your headphones.
Click on Restart

Once in the restart menu, you will need to select some settings. First, you will need to make sure that you have your computer save your open files and close down properly.
Next, you will need to have it reboot into the default boot device. Finally, you will need to have it log you out so that it can properly restart your computer.
These are very important settings so that your computer can properly restart. Make sure to check all of these settings and that they are correct!
If you are having trouble with your headphones and audio on Windows 10, try checking if the Disable all audio components setting is enabled. If it is, try disabling it and re-plugging in your headphones to see if that fixes the problem.
This problem could be caused by a number of things, from broken wires in the headphones to a faulty device driver on your computer. Try checking out the Device Manager on your computer and see if any devices have an error symbol next to them.
Head to Settings > Devices > Headphones (or other audio device) > Toggle Connect through speakers to off

Now that this is off, your computer will not recognize the headphones as a device to output to. This is why you cannot hear anything when you have headphones on!
By toggling the Connect through speakers option to off, your computer will no longer recognize the headphones as a device. No device means no sound will play through them.
You can still use them to listen to music or whatever else you want, but you will not hear any notifications or phone calls unless you connect some other audio device. This is great for taking calls in silence!
If you would like to re-enable this feature, simply turn the Connect through speakers option back on. Then, test your phone calls and see if you can hear them through the headphones. If not, try re-connecting your audio device and testing again.
Hi, I’m Dominique. I love movies and want everyone to have the best home cinema experience possible. That’s why I started 1home Theatre Projector. We help people build their home cinema system using the latest technology and news on laser tv and all-around home entertainment.
We’re a small team of movie buffs (and experts) who are passionate about giving our readers the best advice and information possible. So whether you’re just starting out or you’re looking to upgrade your home cinema system, we’ve got you covered!
Wearing headphones to bed has become a common practice, especially among young adults. With the rise of listening to music via smartphones, people have more access to music than ever before.
Music is a great way to relax and prepare for sleep. Some studies have even shown that music can improve sleep quality!
Having headphones in your ear already makes it difficult to hear outside noise. Adding music onto that makes for a very peaceful sleep.
The problem comes when people do not realize the risks of sleeping with headphones in. The most dangerous situation is when someone passes out and does not hear any emergency calls or noises.
Aside from that, pulling the headphones out while asleep can cause other issues. If they are wrapped around the neck or wrists, they may become tight and impede blood flow. If they are on the floor, then they may cause you to wake up due to feeling off balance.
There are ways to sleep with headphones on safely! This article will go over some of those ways.
Set a loud alarm

If you have trouble falling asleep with headphones on, then try setting a loud alarm. When the alarm goes off, you can take off your headphones and fall asleep!
This is a trick that many people use to help them sleep in uncomfortable places. By sleeping in a different place, your body recognizes that it is safe to sleep and you will get a good night’s sleep.
Sleep is one of the most important things for our health. If you struggle to sleep because you cannot listen to music or podcasts before bed, then try using this tip to help you fall asleep easier.
Some people may find it difficult to coordinate their music or podcast listening time with their bedtime. If this is the case, then try going to bed a few minutes earlier or later so that you can listen to your music or podcasts before bed.
Do not use loud music
While this may seem like a good idea, music or noise in general will keep you awake. Why?
Because you have to listen to the music or noise, your brain will not process the fact that you are asleep.
The fact that you are listening to something means that you are awake-your brain knows this and does not want to stop processing that fact.
To test this theory, try going to bed without music or noise and see how well you sleep. Then try sleeping with music or noise and see how well you sleep again. You will notice a difference!
It is best to have quiet, soothing music or no music at all when going to bed. Your brain will process that you are sleeping and will let down your guard so to speak.
Keep the volume low on your headphones
Although this may seem self-explanatory, it’s important to note that the volume on your headphones should be low. As mentioned before, there’s a risk of hearing loss if the volume is too high for prolonged periods of time.
It can be difficult to determine the appropriate volume for sleeping with headphones on, but it’s best to play it safe and have a low volume.
Experts recommend setting the volume no higher than 60% of the maximum output provided by the manufacturer. This way you will still hear enough of the music or audio to relax and fall asleep, but you will not be exposing your ears to too much noise.
Keep in mind that this varies depending on the brand of headphones you use. If you are using cheaper ones that do not have high quality sound protection, then you can probably put up the volume more.
Use a soft noise generator

If you find the sound of the ocean or rain too relaxing, then try a soft noise generator. You can find these online and in the app store.
Noise generators introduce a light background noise into your environment, like the sound of rain or surf, but with an adjustable volume. They are great for sleeping as you can adjust the volume to a level that is not too loud or distracting.
They are great for sleeping as they keep your mind focused on the sound instead of thinking about everything that day. They are also very relaxing, so if you are having trouble falling asleep, try investing in one!
If you have your own music and you do not want to lose the quality by reducing the volume, then turn off all of the other sounds on your phone such as notifications and set an alarm. That way, you will still hear your music but not your phone notifications.
Use white noise

If you struggle to sleep because of noise in your environment, you can use headphones to block out other sounds. But how do you sleep with headphones on?
For one, you can choose to listen to white noise instead of music or a podcast. White noise is an almost constant sound that blocks out other noises.
It can be the sound of a fan, the rustle of a paper bag, rainfall, or even the sound of a machine turning on and off. Any of these can help you sleep!
White noise is best because it continues even when you turn off your headphones. You can also choose to listen to white noise before bed, so that it helps you get into a relaxed state before sleep.
Use a sleeping app

If you do not feel comfortable using the two methods above, there is a third option. Use a sleeping app to monitor your sleep.
Many apps offer this feature for free, and some even have it as an ad-free paid feature. By having your phone next to you while you sleep, the app will monitor how long you sleep and how many times you wake up.
This is a great way to start sleeping with headphones on, as the app will tell you how well you slept!
Some of these apps offer more features such as setting a waking alarm based on how well you slept, or tracking how long it takes you to fall asleep each night. These are nice additions if you are looking for something else to track about your sleep.
Keep the headpones on all night

While this may seem weird, it is advised to sleep with your headphones on all night. This prevents you from having to adjust them multiple times in the night, and risk waking up your partner.
Many people have reported success in just putting the headphones on before bed and leaving them on until morning when they get up. This also helps you not worry about getting tangled in wires in the middle of the night!
Some models even have a built-up battery that keeps your music playing until the next morning so you do not have to re-charge before bed.
If you must take them off due to tangling or feeling too wired, just remember to turn them off before bed! Some models have a built-up feature that turns off the music automatically after a set time which can help with this.
Be careful when sleeping with headphones

While it may be tempting to fall asleep with headphones in, or even in your ear, it is not a safe idea. If you need a little white noise to sleep, try keeping the same device on standby with a playlist instead.
Many phones have a built-in setting that turns off the screen and stops all sounds after a certain time period so you do not need to set one yourself.
Removing the ability to hear sounds completely may help you get a better night’s sleep!
Some people use music to help them relax before bed, but if that makes you feel more awake instead, try switching it up. Perhaps listen to some soothing music before bed, or just take out the headphones!
Some people find that sleeping with items in their hair can be uncomfortable, so try moving them before bed.
Hi, I’m Dominique. I love movies and want everyone to have the best home cinema experience possible. That’s why I started 1home Theatre Projector. We help people build their home cinema system using the latest technology and news on laser tv and all-around home entertainment.
We’re a small team of movie buffs (and experts) who are passionate about giving our readers the best advice and information possible. So whether you’re just starting out or you’re looking to upgrade your home cinema system, we’ve got you covered!


Understanding Why Your 4K Television Display Looks Blurry

Explore Affordable Projector Options for Amazing Home Cinema

Discovering the World of Digital Projection Technology

Leading Provider of Professional Audiovisual Solutions

Best Noise Cancelling Headphones for Dogs – Keep Your Pet Calm!
How to Use a Projector & 10 Tips to Set up Your Projector Perfectly
How to Watch Curzon Home Cinema on My LG TV

How to Make a Home Theatre

How Do I Connect My Home Theater to My TV Wirelessly?
How to Connect Set Top Box to Home Theatre and TV

-
 Beginners Guides1 week ago
How to Watch Curzon Home Cinema on My LG TV
-
Beginners Guides1 week ago
How to Make a Home Theatre
-
Beginners Guides1 week ago
How Do I Connect My Home Theater to My TV Wirelessly?
-
Beginners Guides1 week ago
How to Connect Set Top Box to Home Theatre and TV
-
 Beginners Guides1 week ago
How to Use Surround Sound With Firestick
-
 Beginners Guides1 week ago
How to Connect Speaker Wire & Spot the Connectors
-
 Beginners Guides1 week ago
Why Do Projector Bulbs Explode?
-
 Home Cinema Projector1 week ago
What to Know when Buying a Home Theatre Projector