To properly calibrate your projector for cinematic color accuracy, start by placing it on a stable surface in a dark room at the recommended distance. Warm it up for at least 15 minutes, then use calibration tools like a colorimeter and test patterns. Adjust focus, contrast, and brightness first for a sharp image, then fine-tune the color temperature to 6500K and balance red, green, and blue levels. Regularly review and update settings to maintain peak quality as you continue exploring this process.
Key Takeaways
- Warm up the projector for at least 15 minutes to ensure stable internal component performance.
- Use a colorimeter and test patterns to accurately measure and adjust color temperature to around 6500K.
- Manually fine-tune red, green, and blue levels to eliminate color casts and match cinematic intent.
- Adjust gamma settings and use reference skin tones for balanced luminance, contrast, and color depth.
- Regularly review and repeat calibration to maintain consistent, accurate cinematic colors over time.
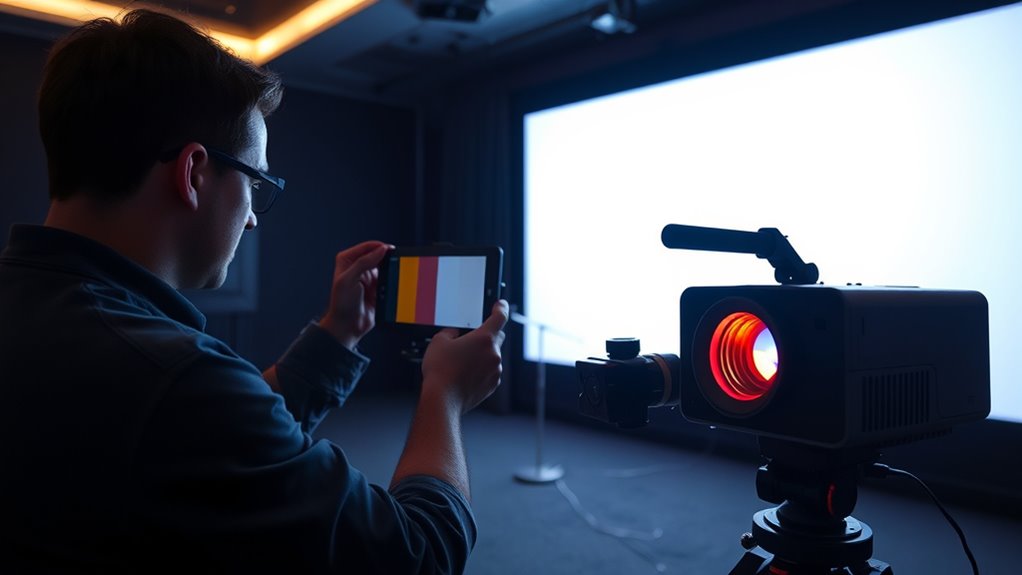
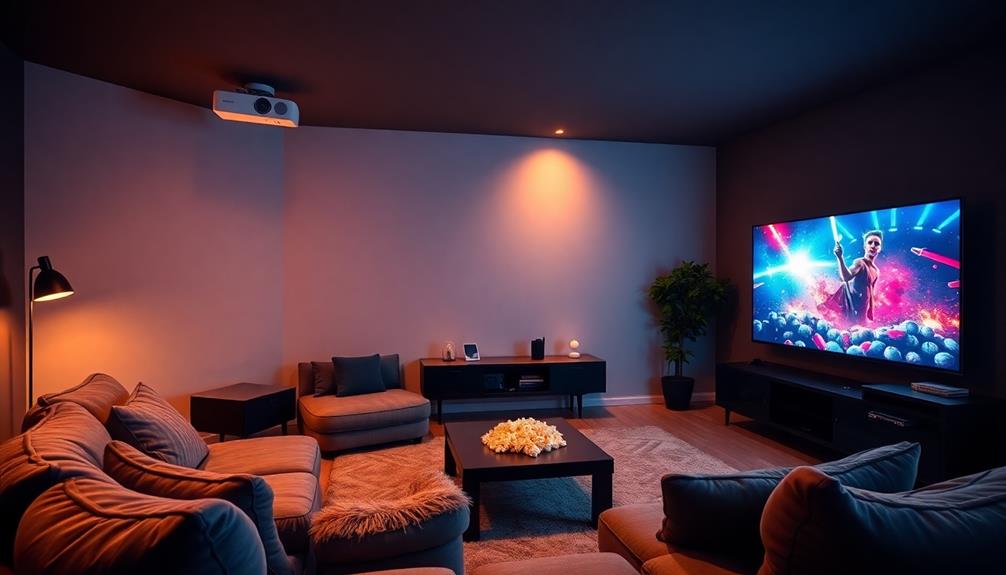
Calibrating a projector is essential to guarantee your images are sharp, colors are accurate, and the overall display looks professional. When you take the time to calibrate correctly, you ensure that your cinematic visuals truly reflect the director’s vision, with vibrant hues and balanced contrast. The process might seem complex at first, but with a systematic approach, you can achieve consistent, high-quality results that elevate your viewing experience. Start by setting up your projector in a controlled environment—preferably in a dark room with minimal ambient light. Position your projector on a stable surface, ensuring it’s level and at the appropriate distance from your screen. This setup helps prevent skewed images or uneven focus, which can compromise your calibration efforts.
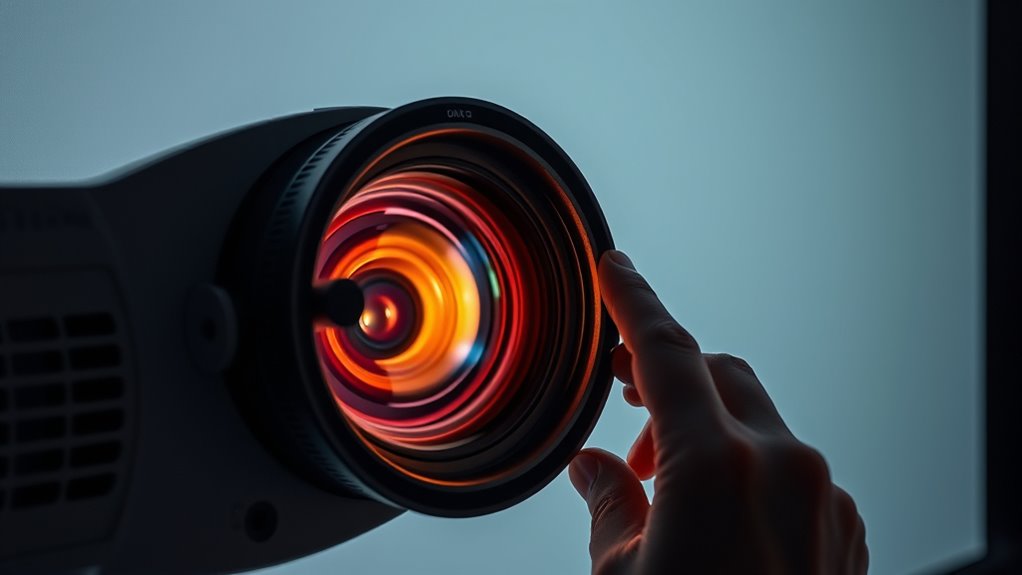
Next, turn on your projector and allow it to warm up for at least 15 minutes. Warm-up time stabilizes the device’s internal components, leading to more accurate calibration. Use a calibration disc or test pattern, which provides standardized images for adjusting various settings. Focus the lens carefully to ensure the picture is crisp and clear across the entire screen. Once the image is sharp, start with basic adjustments like brightness and contrast. Brightness controls the black levels, so you want to set it so that black areas appear deep and true without losing detail, while contrast enhances the difference between the darkest and brightest parts of the image.
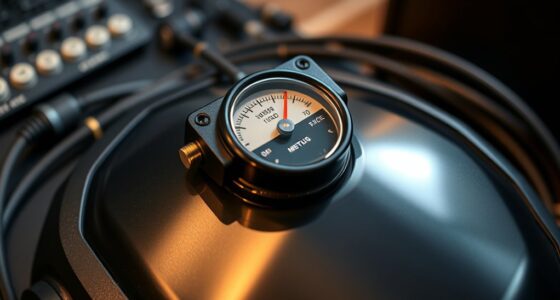
After tuning basic settings, move on to color calibration. Use a colorimeter or calibration software if available, as these tools provide precise readings. If you’re doing it manually, adjust the color temperature setting, aiming for a neutral white point—typically around 6500K—so whites appear natural and not overly warm or cool. Adjust the red, green, and blue levels to eliminate color casts and ensure accurate hues. Pay close attention to skin tones and familiar color references in test patterns, as these are good indicators of proper calibration. Proper calibration can also help mitigate cybersecurity vulnerabilities, especially when dealing with digital projectors connected to networks.
Additionally, keeping the projector’s robotics integration in mind can help automate some calibration processes and improve consistency. Regularly updating your calibration tools and software ensures you’re working with the latest industry standards, which can significantly enhance your calibration accuracy. It is also beneficial to understand the color science behind calibration techniques, as this knowledge can help you make more informed adjustments. This understanding can lead to more precise control over the color gamut, resulting in richer and more accurate color reproduction. Finally, fine-tune gamma settings to control the overall luminance and contrast curve, which influences how midtones are rendered. Correct gamma ensures your images maintain detail in shadows and highlights, producing a balanced, cinematic look. Once satisfied with your adjustments, save your settings if your projector allows, and consider repeating the calibration periodically, especially if you notice color shifts or image quality deterioration. Proper calibration isn’t a one-time task—it’s an ongoing process that guarantees your projector consistently displays images with cinematic color accuracy, making every viewing session visually stunning.

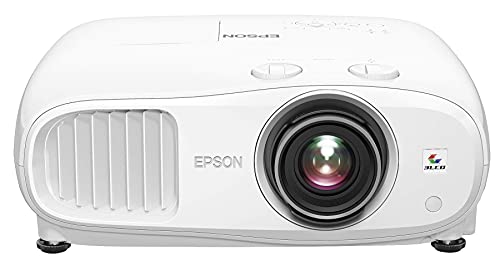
Epson Home Cinema 2350 4K PRO-UHD Smart Gaming Projector with Android TV, 3-Chip 3LCD, HDR10, HLG, 2,800 Lumens, Low Latency, 10 W Speaker, Bluetooth, Streaming Capability
4K PRO-UHD (1) — An amazing 4K experience utilizing advanced processing for resolution enhancement, color and image processing;...
As an affiliate, we earn on qualifying purchases.
Frequently Asked Questions
How Often Should I Recalibrate My Projector for Optimal Color?
You should recalibrate your projector every 3 to 6 months to maintain ideal color accuracy. Regular recalibration helps guarantee consistent image quality, especially if you use it frequently or in different lighting conditions. Keep an eye out for color shifts, dullness, or image inconsistencies, which indicate it’s time for a tune-up. Consistent calibration guarantees your cinematic experience remains vibrant and true to the original visuals.
Can I Calibrate a Projector Without Professional Tools?
Did you know that over 60% of viewers notice color inaccuracies in movies? You can attempt calibration without professional tools by using built-in projector settings or free calibration software. Start with basic adjustments like brightness, contrast, and color temperature. While not as precise as professional calibration, these steps considerably improve picture quality. Just remember, for cinematic accuracy, investing in proper tools or consulting a professional is ideal.
What Are Common Mistakes to Avoid During Calibration?
When calibrating your projector, avoid common mistakes like rushing the process or ignoring ambient light conditions. Don’t rely solely on default settings; instead, fine-tune brightness, contrast, and color balance carefully. Avoid using incorrect calibration tools or skipping calibration altogether. Also, make sure to view test patterns in a controlled environment, and double-check your adjustments before finalizing. These steps help make certain of accurate, cinematic color reproduction.
How Does Ambient Lighting Affect Projector Calibration?
Think of ambient lighting as your project’s kryptonite; it can drastically affect calibration. When you expose your projector to bright or inconsistent lighting, colors appear washed out or overly saturated, skewing your calibration results. To get the best cinematic color accuracy, keep the room dark or controlled during calibration. This way, your adjustments will be precise, ensuring vivid, true-to-life images that match professional standards.
Is Calibration Necessary for 4K or HDR Projectors?
You might wonder if calibration is necessary for 4K or HDR projectors. The answer is yes, calibration is still essential because it ensures you get the best image quality, color accuracy, and contrast. Even with advanced technology, factory settings can be off. Proper calibration fine-tunes these settings, allowing your projector to truly showcase the detailed and vibrant visuals intended for cinematic experiences.

Epson Home Cinema 980 3-Chip 3LCD 1080p Projector 4,000 Lumens Color and White Brightness, Streaming/Gaming/ Media Room, Built-In Speaker, Auto Picture Skew, 16000:1 Contrast, 2 HDMI Ports
Exceptional Picture Quality — Provides stunning, detailed 1080p images and fast data processing that’s optimized for fast-action sports,...
As an affiliate, we earn on qualifying purchases.
Conclusion
By properly calibrating your projector, you guarantee cinematic colors that truly impress. Remember, studies show that accurate color calibration can enhance viewer engagement by up to 30%. So, take the time to fine-tune your settings—it’s worth the effort for a stunning visual experience. Whether you’re watching movies or gaming, proper calibration guarantees vibrant, accurate colors that bring your content to life. Don’t settle for less; perfect your projector for the best possible image.
Epson Home Cinema 3800 4K PRO-UHD 3-Chip Projector with HDR
4K PRO-UHD (1) Projection technology — a new type of 4K home theater experience, utilizing advanced technologies for...
As an affiliate, we earn on qualifying purchases.
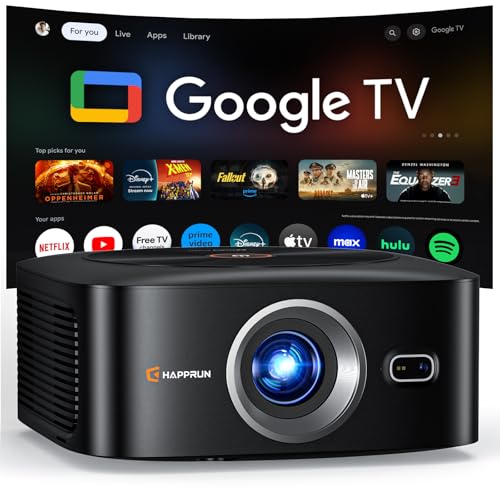
1500 ANSI Official Licensed Google TV Smart Projector, HAPPRUN 4K Full HD Home Theater with Auto Focus, Dolby Sound, Wi-Fi Bluetooth, Built-in Apps, Compatible with Phone & PC, Indoor & Outdoor Use
[ Built-in Officially Licensed Google TV ]-Enjoy the reliability of an officially certified Google TV projector. Stream Netflix,...
As an affiliate, we earn on qualifying purchases.