
To use a projector for product photography and videography, start by selecting a high-brightness projector, ideally 3000 lumens or more, for clear images. Position the projector at eye level or just above your product and maintain a distance of 8-10 feet for best results. Control ambient lighting to enhance your projector's brightness and minimize shadows. Don't forget to match the color temperature to avoid unwanted casts and use high-resolution images for vibrant backgrounds. Experiment with various setups to achieve your desired look, and there's much more to explore about optimizing your projector's use effectively.
Key Takeaways
- Choose a high-brightness projector (at least 3000 lumens) with 4K UHD resolution for clear, vibrant product images in various lighting conditions.
- Position the projector at eye level or slightly above the product to minimize shadows and ensure flattering angles.
- Control ambient lighting to enhance projection visibility and prevent washed-out images, using modifiers to direct light effectively.
- Experiment with color temperature settings and white balance adjustments to achieve accurate color representation in your photographs.
- Utilize themed backgrounds and dynamic visuals for storytelling, enhancing product appeal and engagement with your audience.

ViewSonic LS740W 5500 Lumens WXGA Laser Projector with 1.3X Optical Zoom, H/V Keystrone, 360 Degrees Projection for Auditorium, Conference Room, and Education
High Brightness Laser Projector: WXGA (1280x800p) resolution with a 1.2-1.5 throw ratio and 5,500 ANSI lumens for clear,...
As an affiliate, we earn on qualifying purchases.
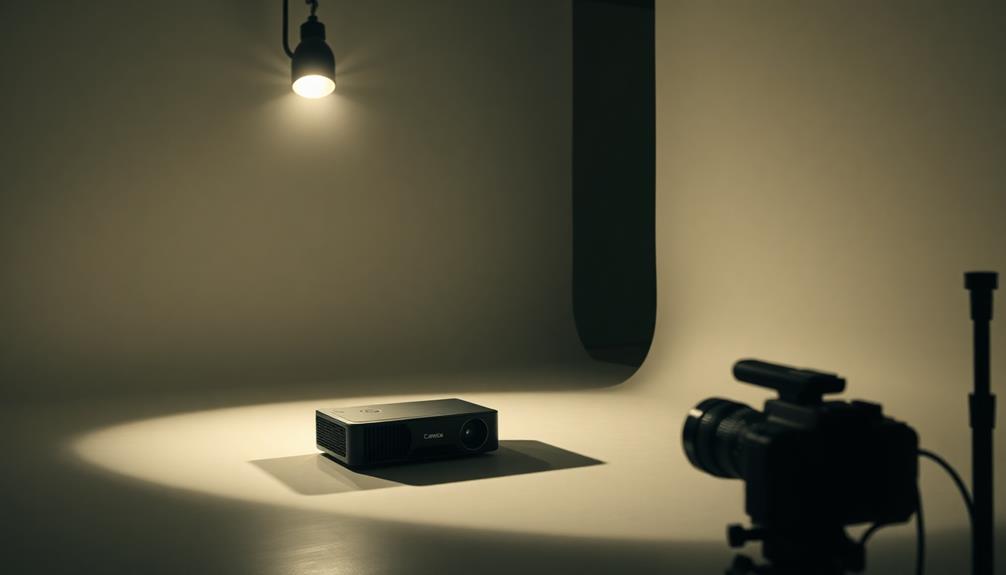
Projector Selection and Types

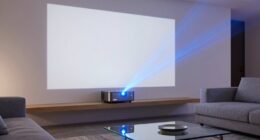
When selecting a projector for product photography, it's crucial to prioritize models that offer high brightness levels, ideally at least 3000 lumens. This guarantees your images remain clear and vibrant, even in well-lit environments. A projector with high brightness levels helps you avoid washed-out visuals, allowing your products to shine.
Next, consider the resolution. For high-end product shots, opt for projectors with 4K UHD resolution. This delivers superior detail and clarity, making fine details pop. A high dynamic range (HDR) capability is also important; it enhances color accuracy and contrast, guaranteeing your product images look vibrant and appealing.
Versatility is key in projector selection, so choose digital projectors that can easily connect to various devices. This feature allows for quick adjustments during shoots, making your workflow smoother.

2000 ANSI 4K Decoding Projector with WiFi and Bluetooth, HAPPRUN Movie Home Theater with Auto Focus, 300'' Display for Indoor/Outdoor, Smart Proyector Compatible with Phone/TV Stick/PC/PS5
[EASIER OPERATION: AI Smart Screen Adjustment] HAPPRUN projector comes with auto focus and 6D auto-keystone technology, enjoy a...
As an affiliate, we earn on qualifying purchases.
Importance of Brightness
Brightness plays an important role in product photography, directly influencing the clarity and vibrancy of your images. To achieve stunning results, consider these key points about brightness and lumens:
- Optimal Exposure: A projector with at least 3000 lumens allows you to use faster shutter speeds and lower ISO settings, which improves image quality.
- Detail Highlighting: Adequate brightness minimizes pixel visibility on products, making sure the projected images appear smooth and professional on camera.
- Avoiding Washout: Insufficient brightness can lead to washed-out images and poor color reproduction, so it's vital to select a projector with appropriate lumens for your environment.
For effective product shots, the average exposure settings of 1/60 sec, f4, and ISO 200 require sufficient projector brightness. This guarantees that your images maintain their intended depth and detail.

Epson Home Cinema 980 3-Chip 3LCD 1080p Projector 4,000 Lumens Color and White Brightness, Streaming/Gaming/ Media Room, Built-In Speaker, Auto Picture Skew, 16000:1 Contrast, 2 HDMI Ports
Exceptional Picture Quality — Provides stunning, detailed 1080p images and fast data processing that’s optimized for fast-action sports,...
As an affiliate, we earn on qualifying purchases.
Managing Color Temperature
Getting the color temperature right is essential for accurate product photography, as mismatched temperatures can cause unwanted color casts in your images.
When using a projector, you'll need to set a custom white balance to match the projector's color temperature, which often differs from other light sources in your setup. This adjustment guarantees that the colors in your images remain true to life.
To help align the color temperatures, consider using gels like CTO (Color Temperature Orange) on your additional light sources. These gels can help warm up the light, making it more compatible with the warmer tones projected by your device.
It's also wise to experiment with shooting in RAW format, as this gives you greater flexibility in post-processing. You can adjust the white balance without compromising your image quality, allowing for quick corrections if needed.
For initial testing, shoot bright images with large white sections. This technique will help you gauge the effective color balance between the projector and your other lighting elements, guaranteeing your products look their best.
![[Official Google TV]Smart Projector 4K Supported with WiFi & Bluetooth, Built-in Official Apps, GoogIe Voice, Outdoor Movie Projector with DoIby Audio, Auto Focus, Home Theater Proyector WIMIUS G1](https://m.media-amazon.com/images/I/515NcMYy-FL._SL500_.jpg)
[Official Google TV]Smart Projector 4K Supported with WiFi & Bluetooth, Built-in Official Apps, GoogIe Voice, Outdoor Movie Projector with DoIby Audio, Auto Focus, Home Theater Proyector WIMIUS G1
[All-in-One Google TV Built-In] G1 Smart projector comes fully integrated Google TV—no website version, no stripped-down system. Access...
As an affiliate, we earn on qualifying purchases.
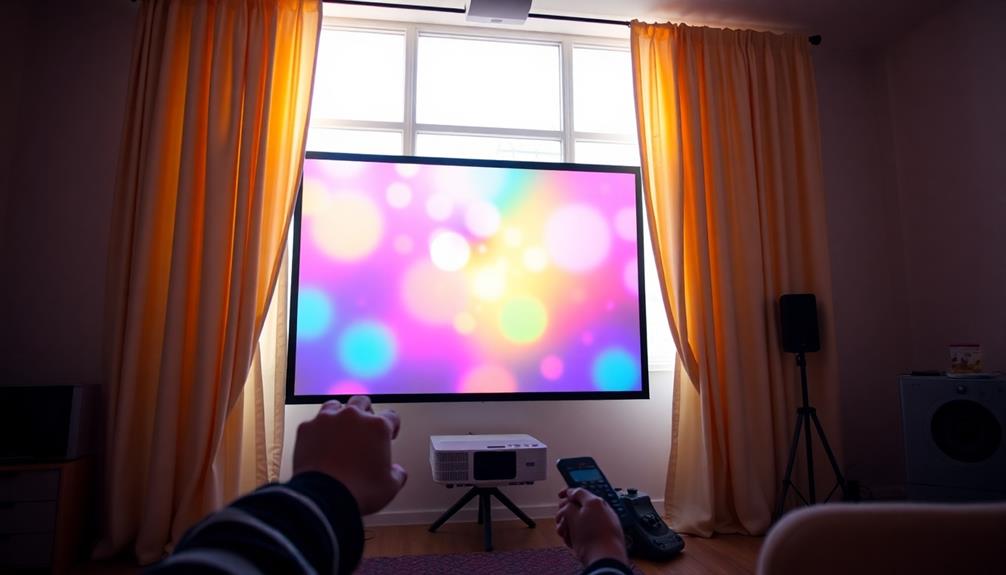
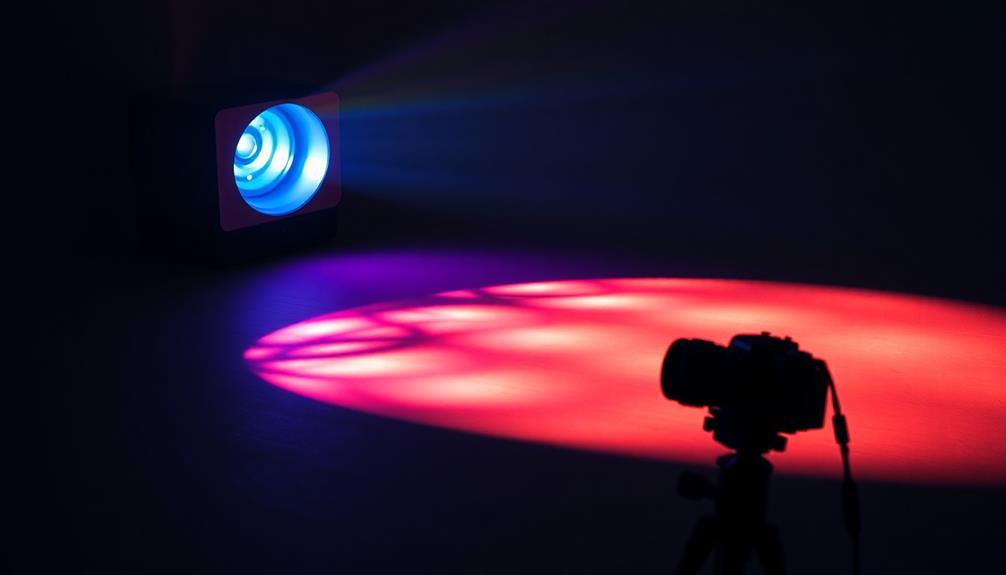
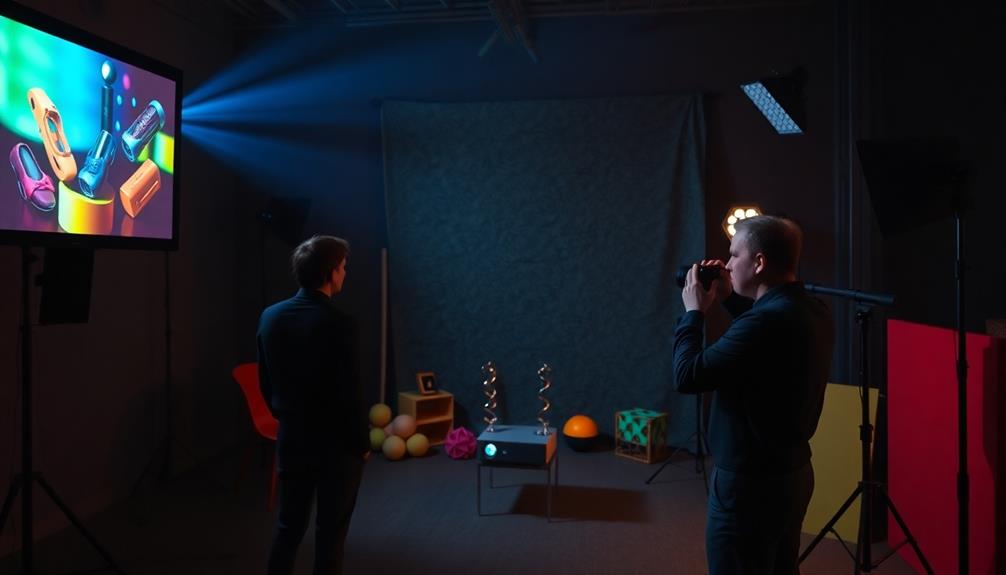
Setup Techniques for Projectors

Effective setup techniques are vital for maximizing the potential of your projector during product photography. By carefully considering your projector's position and the surrounding environment, you can achieve stunning results. Here are three key setup techniques to keep in mind:
- Positioning: Place the projector at eye level or just above the subject. This minimizes unflattering shadows and guarantees even illumination of the projected image.
- Distance: Maintain a distance of 8-10 feet from the model for 3/4 length shots. This helps the projected image cover the desired area without distortion.
- Rear Projection: Use rear projection techniques with translucent screens. This enhances image clarity while reducing reflections and background spill.
Additionally, controlling ambient lighting is essential. Make sure the room's light doesn't wash out the projector light; aim for a balance that highlights your product without distractions.
Experiment with different lighting placements and modifiers, like reflector dishes, to direct light effectively and elevate your product shots. With these setup techniques, you'll set the stage for engaging visuals that truly showcase your products.
Lighting Adjustments for Clarity
To achieve clarity in your product photography, it's crucial to focus on ideal light placement and balance ambient illumination.
Position your key light strategically to manage shadows effectively, ensuring your product stands out without losing detail.
With the right adjustments, you'll enhance both the visibility of your product and the quality of the projected images.
Optimal Light Placement
Proper light placement plays an essential role in achieving clarity and depth in product photography. To get the best results, consider these key points:
- Position your key light at a 45-degree angle to the product. This creates depth and dimension while avoiding harsh shadows.
- Control ambient light to maintain the integrity of the projected image. Excessive brightness from other sources can wash out your visuals.
- Utilize rim lights behind the product to enhance separation from the background, providing a more polished look.
Experimenting with different light angles and intensities is crucial. A distance of 8-10 feet from the product is recommended for ideal projection coverage and clarity.
You can also use modifiers like reflector dishes with grids to focus light direction and minimize background spill, ensuring that your projected image remains clear and vibrant.
Balancing Ambient Illumination
Achieving clarity in product photography often hinges on how well you balance ambient illumination with your projector's brightness. To get ideal results, aim for a projector that has at least 3000 lumens. Position additional lights carefully to avoid background spill, ensuring they enhance the projected image instead of washing out details.
Here's a quick reference table to help you with your lighting setups:
| Lighting Setup | Ambient Illumination | Projector Brightness |
|---|---|---|
| Key Light Only | Low | High |
| Rim Light Only | Medium | Medium |
| Combined Setup | Balanced | High |
| Adjusted Backdrop | Soft | Medium |
Experiment with different configurations, like using a key light and rim light, to create depth while keeping your product and background clear. Don't forget to adjust the white balance settings to match your projector and ambient lights. Light modifiers, such as reflector dishes with grids, can also help direct light precisely, minimizing unwanted shadows and enhancing your product's visibility against the projected backdrop.
Managing Shadows Effectively
Managing shadows effectively is essential for enhancing clarity in your product photography. By controlling shadows, you can guarantee the projected images from your projector shine through without distractions. Here are three key strategies to take into account:
- Positioning: Place the projector above the model's eye level, ideally 8-10 feet away. This minimizes unflattering shadows and provides better image coverage on your subject, which is especially important for achieving the best results in top projectors for gaming enthusiasts.
- Lighting Control: Use direct overhead lighting to manage shadows on the model. This helps maintain a balance between ambient light and the projector's output, preventing the background from being washed out.
- White Balance Adjustment: Confirm your camera's white balance matches the color temperature of both the projector and surrounding lights. This prevents unwanted color casts that can create distracting shadows.
Regularly assess your lighting setup as you shoot. Make real-time adjustments to guarantee shadows don't obscure any projected elements.
Think about experimenting with lighting modifiers like reflector dishes with grids to enhance directionality and reduce background spill.
With these tips, you'll achieve clearer, more impactful product photography that showcases your projected images beautifully.
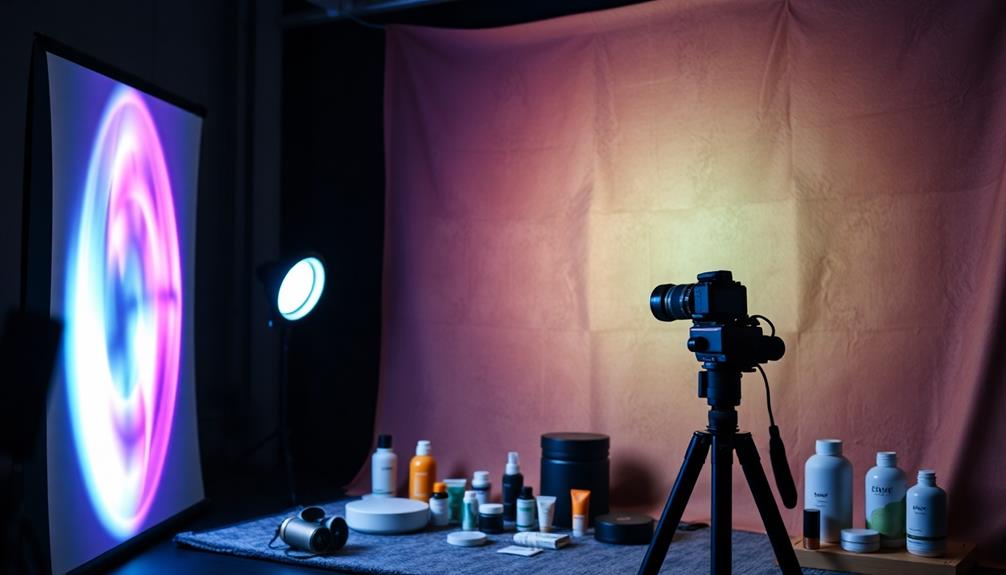
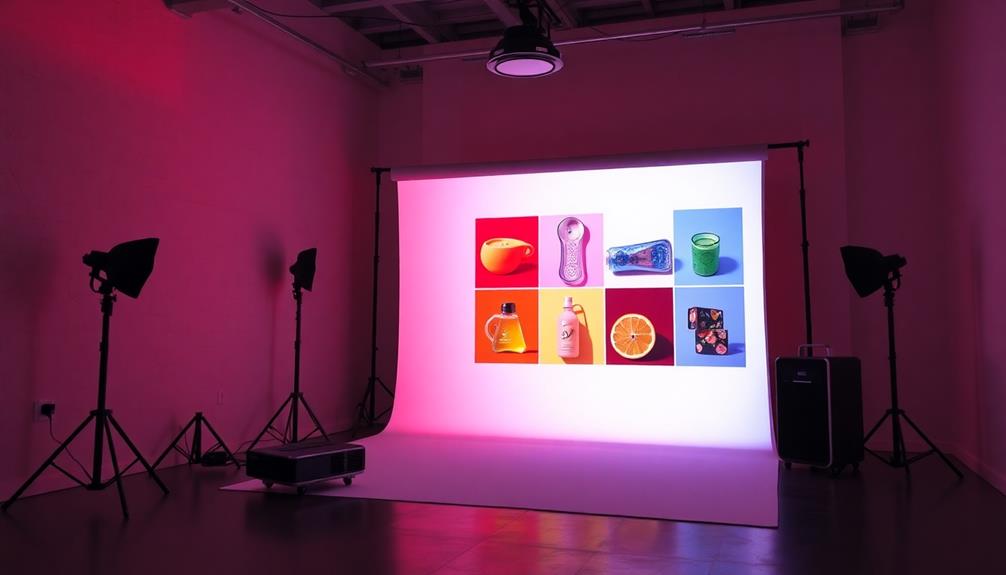
Creative Background Applications
Using a projector opens up a world of themed background ideas that can elevate your product photography.
By incorporating elements of innovative design, you can create dynamic visual storytelling by projecting images or animations that enhance your product's narrative.
Experimenting with different themes not only adds interest but also helps convey the essence of what you're showcasing.
Themed Background Ideas
Creating an enchanting atmosphere with themed backgrounds can greatly elevate your product photography. By using a projector, you can customize visuals to fit specific concepts that resonate with your target audience. Additionally, incorporating elements from nature can enhance your imagery, similar to how camping locations create unique backdrops for outdoor experiences.
Here are three themed background ideas to contemplate:
- Seasonal Themes: Use vibrant images of autumn leaves or summer beach scenes to connect your product with the time of year.
- Cultural Motifs: Incorporate backgrounds that reflect cultural events, like festivals or traditional art, to make your product more relatable.
- Event-Based Themes: Create a festive atmosphere with holiday-themed images, enhancing the emotional appeal of your product.
Experiment with different projector placements to find the right angle that complements your product without overshadowing it. High-contrast and vibrant images will help capture attention and create a striking backdrop.
Additionally, contemplate using software to animate your projected backgrounds, allowing for dynamic changes that keep the visuals fresh and engaging throughout the shoot. By thoughtfully selecting themed backgrounds, you can create immersive environments that not only showcase your product but also tell a compelling visual story.
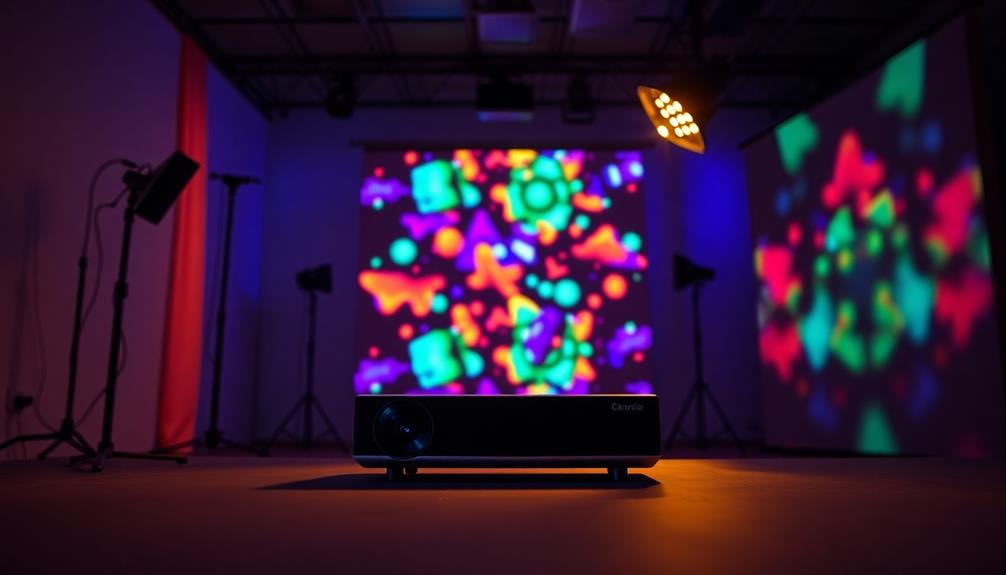
Dynamic Visual Storytelling
Engaging visuals can transform your product photography into a storytelling experience that resonates with your audience. By using a projector, you can create dynamic and customizable backgrounds that immerse viewers in a specific theme or atmosphere, enhancing both storytelling and product presentation. This approach provides a unique visual context that complements your product's features and branding.
To achieve the finest results, experiment with different projector resolutions and brightness settings. Higher lumens guarantee vibrant and clear imagery, making your backgrounds pop.
Remember, careful attention to lighting placement is essential. You want to avoid shadows on the product while making sure the projected background is visible and impactful. A distance of 8-10 feet is recommended for ideal coverage.
Additionally, consider techniques like rear projection to enhance the clarity of your product shots. This method helps eliminate common issues associated with direct projection, such as glare or distortion, resulting in a professional finish.
Overcoming Pixel Visibility Issues
Pixel visibility can be a frustrating hurdle in product photography when using a projector, but several strategies can help you overcome this issue. Here are three effective methods to minimize pixel visibility:
- Choose High-Resolution Projectors: Opt for projectors with a resolution of 1080p or higher. This guarantees finer details in the projected images, helping reduce the appearance of pixels on your subject.
- Use Softer Lighting: Avoid harsh lighting conditions. Softer lighting can diffuse pixel visibility, creating a more flattering look for your products. Experiment with different light sources and distances to find what works best.
- Enhance Image Quality: Always utilize high-quality images rich in colors and textures. Engaging visuals can distract from pixel visibility, making your product look more appealing.
Additionally, adjust the projector's distance from the subject for maximum image sharpness. Increasing the distance can help spread the image more evenly, further reducing pixel visibility.
Regularly test and calibrate the projector's brightness and contrast settings to find the perfect balance that maintains image quality while minimizing pixel visibility.
Implementing these strategies will lead to more polished product photography.
Experimentation and Adaptation
Finding the right balance in your product photography often involves trying out different techniques and settings. Embrace experimentation with your projector's brightness and color temperature. These adjustments can dramatically alter the final look of your images, allowing you to express your creativity based on the product's unique characteristics.
Using a high-lumen projector (like a 3000-lumen model) enhances brightness, enabling faster shutter speeds and lower ISO settings. This leads to clearer images with minimal noise. Pairing the projector with various lighting techniques, such as key and accent lights, helps balance ambient light, reduces shadows, and refines your final product's appearance.
To inspire your process, consider the following table showcasing ways to adapt your approach:
| Technique | Effect |
|---|---|
| Brightness Adjustment | Enhances clarity and detail |
| Color Temperature Change | Alters mood and tone |
| Key and Accent Lighting | Balances shadows and highlights |
| Regular Image Rotation | Sparks creativity and fresh ideas |
| Community Feedback | Refines techniques and inspires growth |
Community Resources and Learning
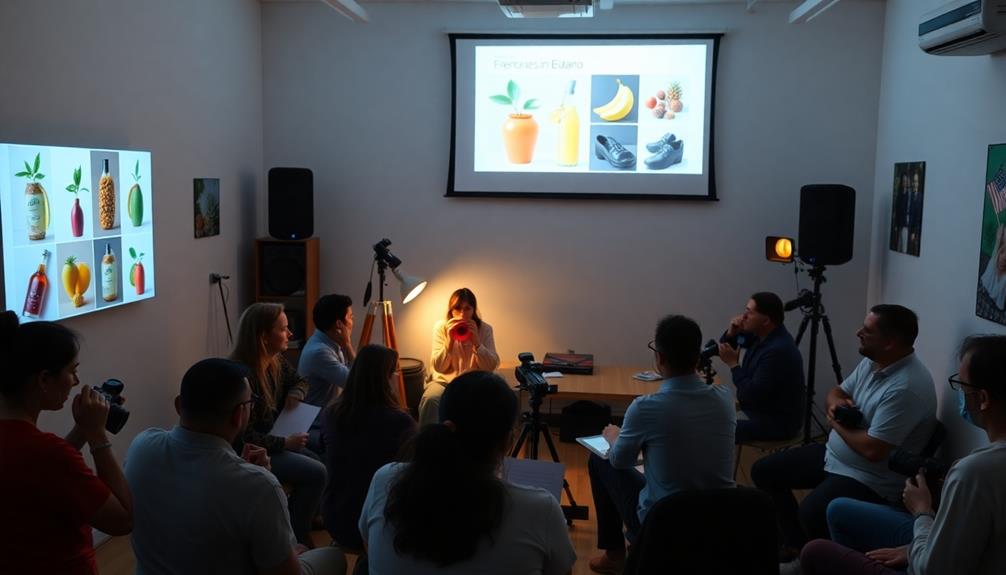
The world of product photography is enriched by a vast array of community resources that can elevate your skills in using projectors.
By tapping into these resources, you'll find plenty of opportunities for growth and improvement. Here are three key options you should consider:
1. Community Forums: Join online platforms where you can access a wealth of tutorials and guides centered around projectors in product photography.
Learning from experienced professionals can fast-track your expertise.
2. Workshops: Attend workshops and webinars led by industry experts.
These sessions offer hands-on experiences that dive deep into best practices for using projectors, allowing you to practice and ask questions in real-time.
3. Continuous Learning: Engage with local photography clubs or online groups to share techniques and experiences.
This creates a collaborative environment where you can receive feedback and adapt new projector techniques.
Frequently Asked Questions
Can You Use a Projector for Photography?
Yes, you can definitely use a projector for photography. It allows you to create dynamic backdrops and enhance storytelling. Just make sure to take into account brightness, setup, and lighting for the best results.
How to Use a Projector as a Background?
Using a projector as a background can transform your visuals into an artist's masterpiece. Position it above eye level, adjust brightness, and experiment with distance to create a stunning, cohesive effect that captivates your audience.
What Background Is Best for a Projector?
For the best projector background, choose white or light-colored surfaces. They enhance clarity and vibrancy. You can also consider translucent screens to minimize reflections, ensuring the projected images stand out beautifully against your subject.
Can You Connect Camera Directly to Projector?
Imagine you're at a retro movie night; you can't connect your camera directly to a projector. Most projectors need video inputs. Check for adapters or consider using a computer for better control and quality.
Conclusion
Incorporating a projector into your product photography and videography can elevate your visuals to breathtaking new heights. By carefully selecting the right projector, adjusting lighting, and experimenting with backgrounds, you can create stunning images that captivate your audience. Don't shy away from adapting your setup; the possibilities are virtually endless. Remember, the more you explore and refine your techniques, the more you'll reveal the true potential of your creativity. Happy shooting!