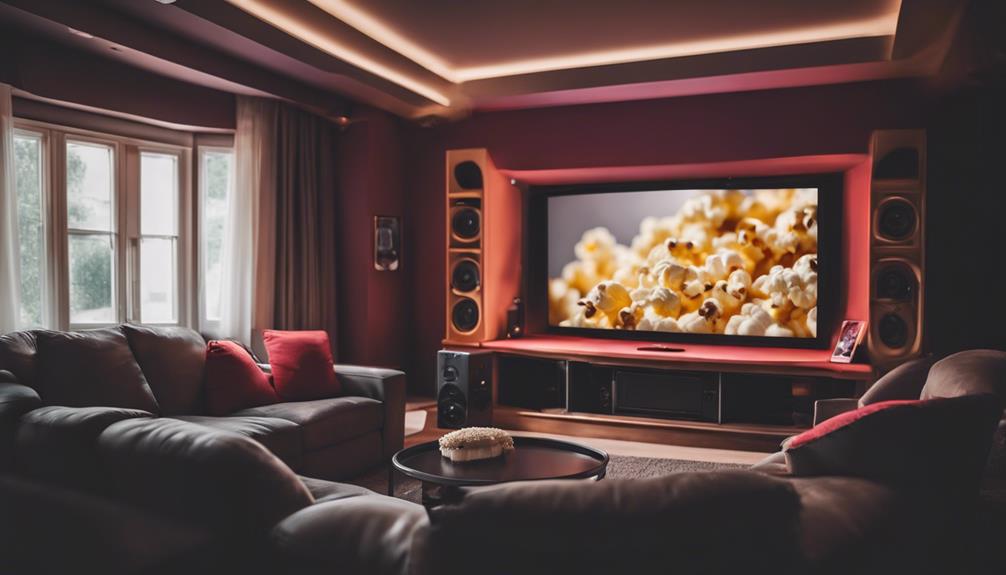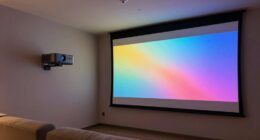
To use a projector for immersive audio visualization, start by selecting a projector with over 3000 lumens for clear images. Connect it to your laptop or audio source using HDMI or VGA cables, then adjust the focus and keystone settings for peak viewing. Run audio processing software like Processing to analyze audio signals with Fast Fourier Transform (FFT). Create dynamic visuals that respond to the audio frequencies using VPT for projection mapping. Verify your visuals sync with the audio for an engaging experience. With these steps, you'll reveal new dimensions in your audio experience, and there's so much more to explore next!
Key Takeaways
- Choose a projector with over 3000 lumens and position it correctly for optimal image size and clarity.
- Connect your projector to a laptop using HDMI or VGA, and select the appropriate input source.
- Use software like Processing, VPT, and libraries for real-time audio analysis and visualizations.
- Perform FFT analysis on audio to create visually dynamic projections that respond to frequency changes.
- Test various projection surfaces and utilize masking techniques for clear, engaging visuals in sync with audio.
Setting Up Your Projector
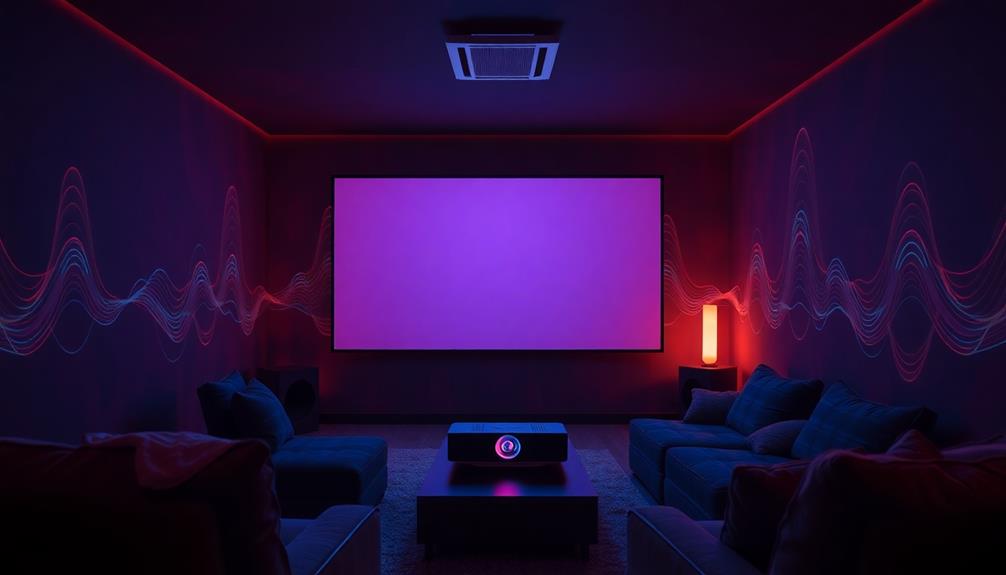
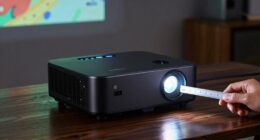
Setting up your projector is essential for achieving the best audio visualization experience. First, choose a projector with sufficient brightness—ideally over 3000 lumens—so you can enjoy clear visuals, even in well-lit spaces.
Position your projector at the right distance from your projection surface, following the manufacturer's throw ratio guidelines to guarantee ideal image size and clarity.
Next, connect your projector to your laptop or audio source using the appropriate HDMI or VGA cables. Don't forget to select the correct input source on the projector to get things started.
Once connected, adjust the focus and keystone settings to create a sharp, rectangular image. This step helps compensate for any tilt or angle from your projection surface.
Essential Hardware and Software

To kick off your audio visualization project, you'll need the right hardware and software that work seamlessly together. Start with essential hardware: a portable laptop or desktop to run the necessary software and process audio input effectively. You'll also need a projector; choose one based on your size and power preferences for projecting visuals onto the prepared boxes that represent audio spectrum bands.
Here's a quick overview of the key components you'll need:
| Component | Purpose | Notes |
|---|---|---|
| Portable Laptop/Desktop | Runs software and processes audio input | Confirm it has enough power |
| Projector | Projects visuals onto the boxes | Select based on size preferences |
| Music Player | Plays audio for analysis | iTunes works well for this |
Don't forget to prepare your visuals by sourcing boxes from local supermarkets and painting them white for ideal projection. Optionally, you can integrate a microphone for live audio input. Essential software tools include Processing with controlP5, netP5, and oscP5 libraries, and VPT (version 7) for projection mapping. These elements will help you create an immersive experience that engages your audience visually and audibly.
Audio Processing Techniques
Once you've got your hardware and software in place, it's time to focus on audio processing techniques that will bring your visuals to life.
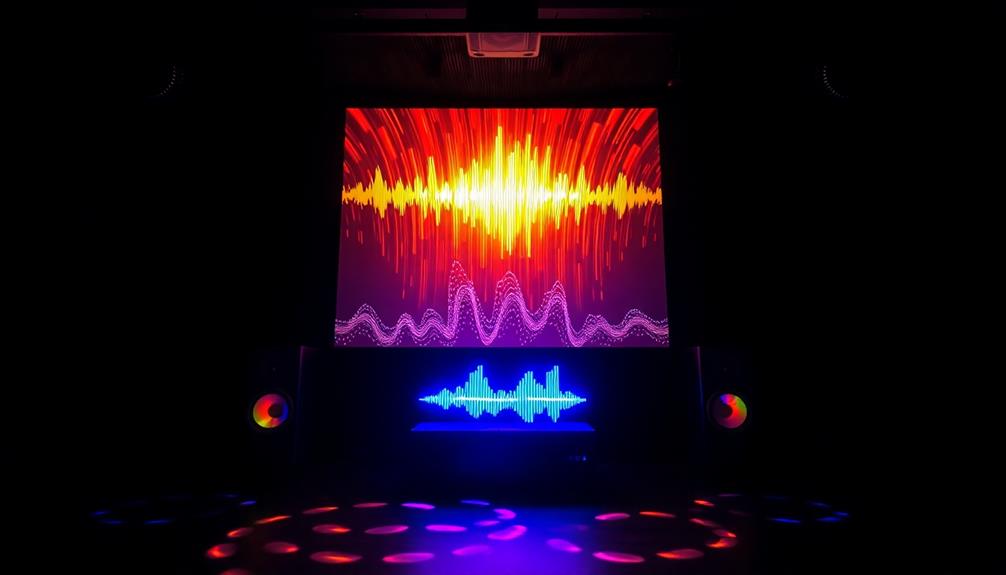
Begin by implementing the Fast Fourier Transform (FFT) algorithm to analyze audio signals. This tool breaks down sound into its frequency components, allowing for real-time visualization that reacts to what you're playing. To capture all audio output from your laptop, set the Stereo Mix as your default recording device.
Next, utilize OSC (Open Sound Control) protocols to transmit audio analysis data to your projection mapping software, like VPT. This integration enables dynamic visual representation, making your show more engaging.
To enhance interactivity, consider using libraries such as controlP5, netP5, and oscP5 in Processing. These resources help you develop visualizations that respond instantly to changes in the audio spectrum.
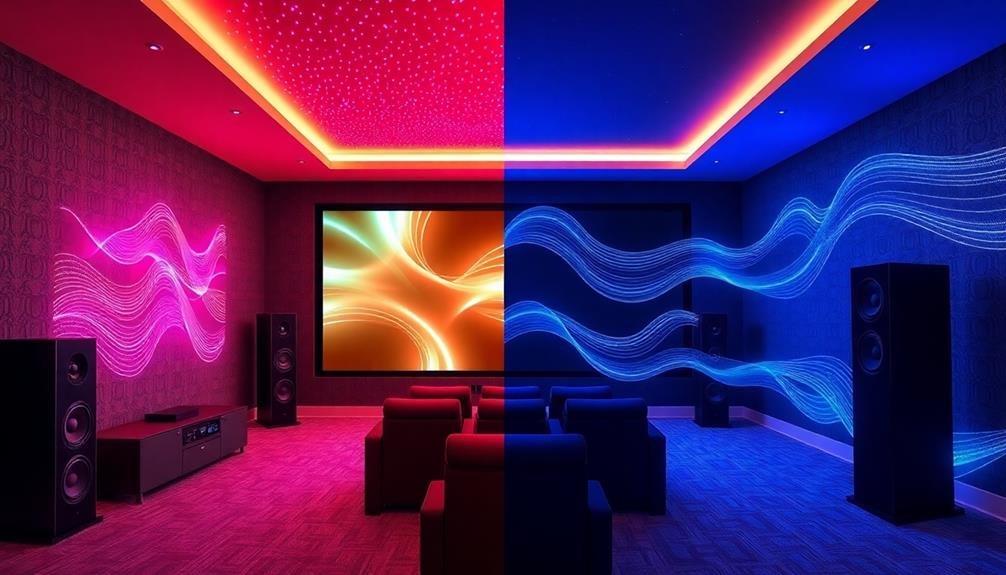
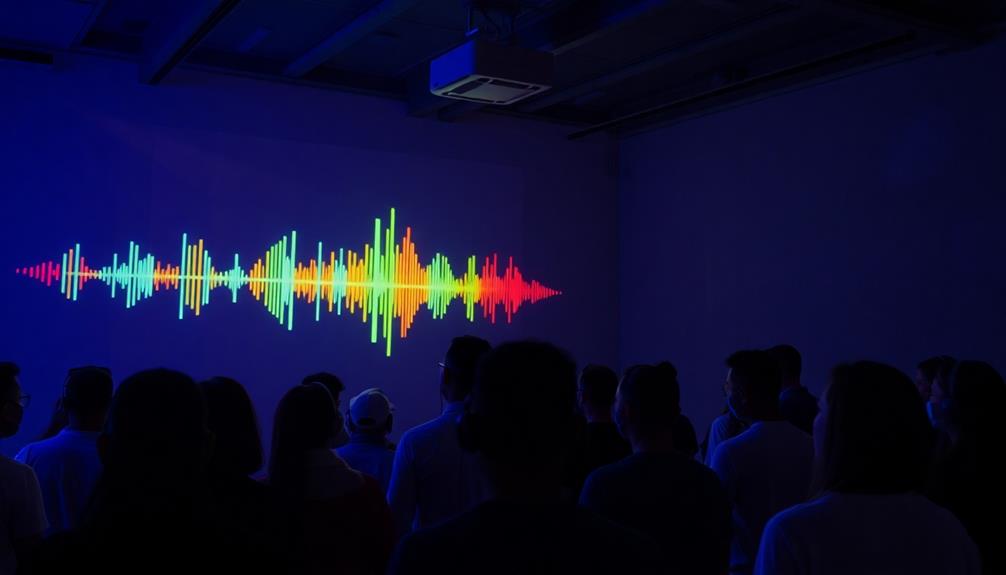
Creating Dynamic Visuals

Dynamic visuals are essential for immersing your audience in an audio-visual experience that captivates and energizes. To start creating dynamic visuals, perform Fast Fourier Transform (FFT) analysis on your audio samples. This process isolates frequency bands, allowing for real-time visualization that reacts to the audio input.
Using projection mapping software like VPT, design layers that correspond with these frequency bands. This guarantees your visuals change in sync with the sound, providing an engaging experience.
Implement a user interface that enables frequency monitoring and gain control, giving you precise adjustments for even more compelling visuals.
Consider creating multi-layered projections for each box in your setup. This approach allows for distinct visual representations of different audio frequencies across various surfaces. It adds depth and complexity to your display.
Overcoming Common Challenges
Creating enchanting visuals can present a range of challenges, especially when using stacked boxes for projection. You might find overlapping projections leading to visual confusion, which can really undermine your immersive experience. To overcome this, guarantee each layer is clearly defined.
I've tried using masking techniques to isolate projections on each box, and it's a game changer for enhancing visual clarity. Additionally, utilizing high contrast ratios can help achieve deeper blacks and brighter whites, making your visuals pop even more, essential for detailed image rendering in dark scenes the role of contrast ratio.
Consider simplifying your setup by using 2D projection surfaces like boards; they offer easier management compared to complex 3D shapes. Plus, implementing easing algorithms can help create smooth shifts in your visuals, preventing abrupt fades that distract from the audio experience.
To elevate your projection quality, don't hesitate to test various materials for your surfaces. The right material can greatly improve visibility and react better to lighting conditions.
Here are three challenges you might face:
- Overlapping projections causing confusion
- Abrupt shifts disrupting immersion
- Poor visibility due to inadequate materials
Frequently Asked Questions
How Do You Use a Projector With a Sound System?
To use a projector with a sound system, connect your projector to the audio source, verify compatibility, and adjust settings for ideal clarity. Position it properly to achieve the best visual experience alongside your audio.
Is There a Program That Can Visualize Audio?
Yes, programs like Processing, VPT, and Blaze 3 can visualize audio. They analyze sound frequencies, creating dynamic visuals that respond to music, enhancing your experience with engaging, interactive audio-visual installations. You'll love the results!
How to Get Sound When Using a Projector?
Imagine sound waves dancing through the air. To get sound when using a projector, set your laptop's audio source correctly, connect external speakers, and guarantee everything's configured for an enchanting auditory experience.
How to Make a Real-Time Audio Visualizer?
To make a real-time audio visualizer, start by analyzing audio frequencies with FFT. Use software like Processing to create visuals that respond dynamically. Finally, guarantee your audio input captures sound accurately for effective visualization.
Conclusion
So, you've mastered the art of turning sound into sight, only to realize that your projector's brighter than your future. As you bask in the glow of your vibrant visuals, remember that each beat doesn't just resonate in the air—it dances across the walls, teasing your senses. Embrace the chaos of colors and sounds, and let your imagination run wild. After all, who needs silence when you can have a symphony of visuals lighting up your world?