To use a projector for home theater calibration and testing, start by positioning it correctly for the desired image size, ensuring it's level and aligned. Adjust the aspect ratio according to your content and test the geometry for distortion. Use calibration discs to set brightness and contrast for accurate visuals. Fine-tune focus with high-contrast patterns, making sure to check for clarity across the screen. Regular maintenance is key, so save your settings and schedule recalibration every six months. By following these steps, you'll optimize your viewing experience, and there's plenty more to discover about enhancing your setup.
Key Takeaways
- Begin with initial setup by positioning the projector correctly and adjusting the aspect ratio to match source material for optimal image quality.
- Utilize calibration discs and built-in test patterns to fine-tune brightness, contrast, and color accuracy for a tailored viewing experience.
- Regularly perform geometry and alignment adjustments to correct keystone distortion and ensure the projected image is perfectly aligned on the screen.
- Use a colorimeter and calibration software to accurately adjust RGB settings, enhancing color saturation while maintaining consistency across different content types.
- Document and save your calibrated settings for easy access, ensuring consistent performance and reducing the need for frequent recalibrations.

Valerion StreamMaster Plus 4K Laser Projector - 300" IMAX Enhanced Home Theater, 4ms |240Hz Response, Gaming Projector with 3D & Dolby Vision, HDR10, GTV, Smart Home & AI Assistant
Speed and Power Like Never Before - Experience unmatched speed with the AI-9618 chipset, 4GB RAM/ 128GB ROM—delivering...
As an affiliate, we earn on qualifying purchases.
Understanding Calibration Basics
When setting up your home theater, understanding calibration basics is crucial for getting the most out of your projector. Calibration guarantees your projector's settings are adjusted for accurate color reproduction, brightness, and contrast, closely matching the original source material. This enhances your overall visual experience.
Start with the initial setup, focusing on environmental alignment and aspect ratio adjustment. Geometry correction and focus tuning are also essential for sharp images. Balancing brightness using built-in test patterns or calibration discs will help you achieve ideal results.
Tools like calibration discs, such as Avia or Digital Video Essentials, along with colorimeters, are key for making precise adjustments and measuring color accuracy.
Remember that regular recalibration is necessary, especially after notable changes like moving the projector or replacing the lamp. To maintain peak performance, aim to recalibrate every six months.
Proper calibration can greatly improve your viewing experience by preventing issues like color distortion and blurriness. By investing time in calibration, you'll create a more immersive home theater environment, allowing you to enjoy every detail in both bright and dark scenes.

Epson Home Cinema 980 3-Chip 3LCD 1080p Projector 4,000 Lumens Color and White Brightness, Streaming/Gaming/ Media Room, Built-In Speaker, Auto Picture Skew, 16000:1 Contrast, 2 HDMI Ports
Exceptional Picture Quality — Provides stunning, detailed 1080p images and fast data processing that’s optimized for fast-action sports,...
As an affiliate, we earn on qualifying purchases.
Importance of Calibration
Calibrating your projector is essential for enhancing visual fidelity, ensuring that colors and contrast reflect the original source material.
Not only does proper calibration improve your viewing experience, but it also helps extend your projector's lifespan, saving you money in the long run.
Visual Fidelity Enhancement
Achieving stunning visual fidelity in your home theater often hinges on one critical factor: calibration. By using calibration software, you can fine-tune your projector settings to match the original source colors, brightness, and contrast. This guarantees an accurate representation of the content you're watching, whether it's a blockbuster movie or an intense video game.
Proper calibration dramatically enhances image quality, preventing color distortion and blurriness. It's crucial for maintaining visual consistency across various devices and content types.
Regularly calibrating your projector, ideally every six months, keeps your setup in peak condition. Here's why calibration is essential:
- It creates a tailored viewing experience based on your preferences.
- You'll enjoy crisp, clear images without the annoyance of distortion.
- Accurate color reproduction makes your movies come alive.
- It allows for adjustments to suit different lighting conditions.
- You'll experience a significant boost in overall enjoyment.
Longevity and Cost Efficiency
Proper calibration of your projector not only enhances image quality but also plays an essential role in extending its lifespan and improving cost efficiency. By minimizing color distortion and blurriness, you reduce wear and tear on the projector's components, ultimately leading to greater longevity.
When you take the time to calibrate regularly, you're ensuring ideal settings that help prevent premature lamp replacements and costly repairs. A calibrated projector can perform consistently across various viewing environments, saving you the expense of purchasing multiple devices for different setups.
Think about it: investing in initial calibration during setup, followed by maintenance every six months, can maximize the value of your investment.
Moreover, adjustments made through calibration can lead to significant energy savings. Optimizing brightness settings not only enhances your viewing experience but also reduces power consumption compared to factory defaults.
This careful attention to detail means you're not just improving performance; you're also making a smart financial decision. Ultimately, investing in proper calibration is a win-win for both longevity and cost efficiency, ensuring you enjoy your projector's full potential for years to come.

XGIMI HORIZON 20 4K RGB Triple Laser Home Projector, 3200 ISO Lumens, Google TV with Licensed Netflix, Optical Zoom & Lens Shift, IMAX Enhanced, Dolby Vision, 300" Display, 240Hz, 1ms Input Lag
Powered by RGB Triple Laser: The X-Master RGB triple laser engine delivers 3200 ISO lumens and a 100,000:1...
As an affiliate, we earn on qualifying purchases.
Essential Calibration Tools
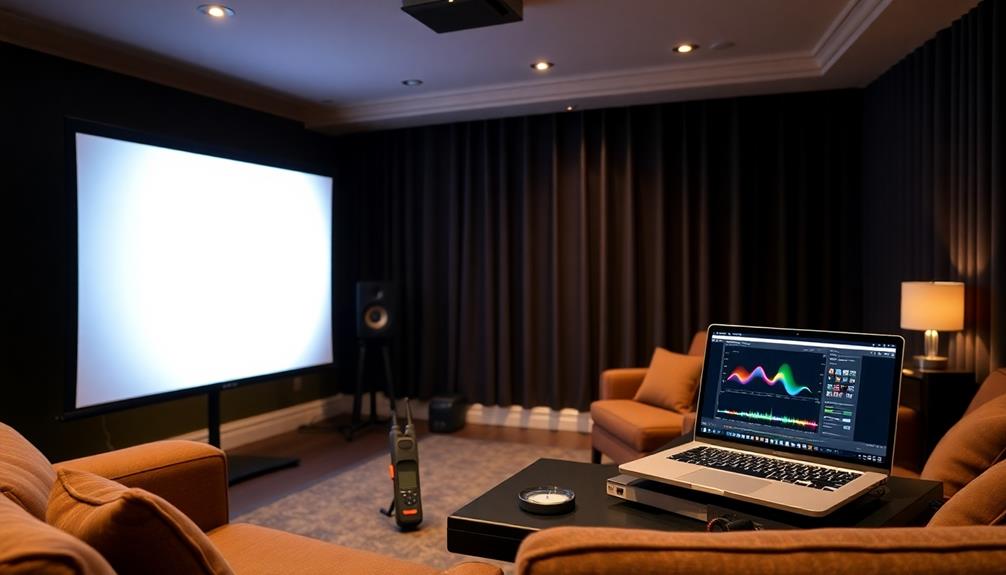
When setting up your home theater, having the right calibration tools can make all the difference in enhancing your projector's performance. To achieve stunning visuals, consider investing in the following essential tools: High refresh rates and low input lag are essential for ensuring that your projector delivers an experience that meets the demands of various content types, including gaming.
To improve your setup, top projectors for gaming enthusiasts can provide the sharpness and clarity needed for an immersive experience.
- Calibration Discs: Use discs like Avia and Digital Video Essentials for standardized test patterns that help you adjust brightness, contrast, and color accuracy.
- Colorimeters: Employ devices like the Calibrite ColorChecker Display Plus or SpyderX Elite to measure and tune color accuracy, ensuring your projector's output is spot on.
- Test Pattern Generators: Utilize tools like PGenerator, built with Raspberry Pi, to create customizable test patterns for precise adjustments during calibration.
- Light Meters: Incorporate light meters to measure light intensity on your projection screen, essential for evaluating contrast and achieving ideal brightness levels.
- Online Resources and Forums: Tap into online forums and tutorials to learn calibration techniques and share experiences with fellow enthusiasts.
With these tools at your disposal, you'll elevate your home theater experience, making every movie night a visual delight.
Don't underestimate the power of proper calibration—it's your ticket to a stunning viewing adventure!

TOWOND Projector Screen and Stand, 150 inch Indoor Outdoor Projection Screen, Portable 16:9 4K HD Rear Front Movie Screen with Carry Bag Wrinkle-Free Design for Home Theater Backyard Cinema
Projector Screen with Stand. 150-inch diagonal, 160°wide viewing angle, aspect ratio 1:1 and 16:9 4k HD portable projector...
As an affiliate, we earn on qualifying purchases.
Initial Setup Steps
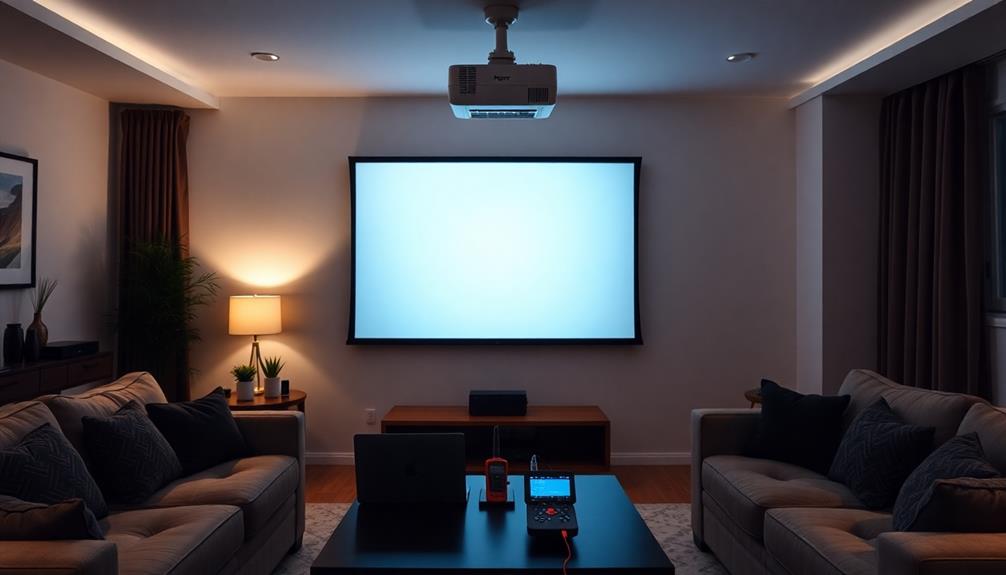
After getting the right calibration tools, the next step is to set up your projector for peak performance.
Begin by positioning the projector at the correct distance from the screen according to the manufacturer's specifications to optimize image size and focus. Make sure the projector is level and aligned with the screen to avoid keystone distortion, which can negatively impact image quality.
Next, set the correct aspect ratio in the projector's settings menu to match the content you're viewing. This prevents any unwanted image stretching or cropping.
Once that's done, you'll want to adjust the projector's brightness and contrast settings. Use built-in test patterns or calibration discs to achieve balanced light levels and accurate color representation.
It's also essential to darken the room to minimize ambient light interference. Excess light can affect both calibration accuracy and your overall viewing experience.
Adjusting Aspect Ratio
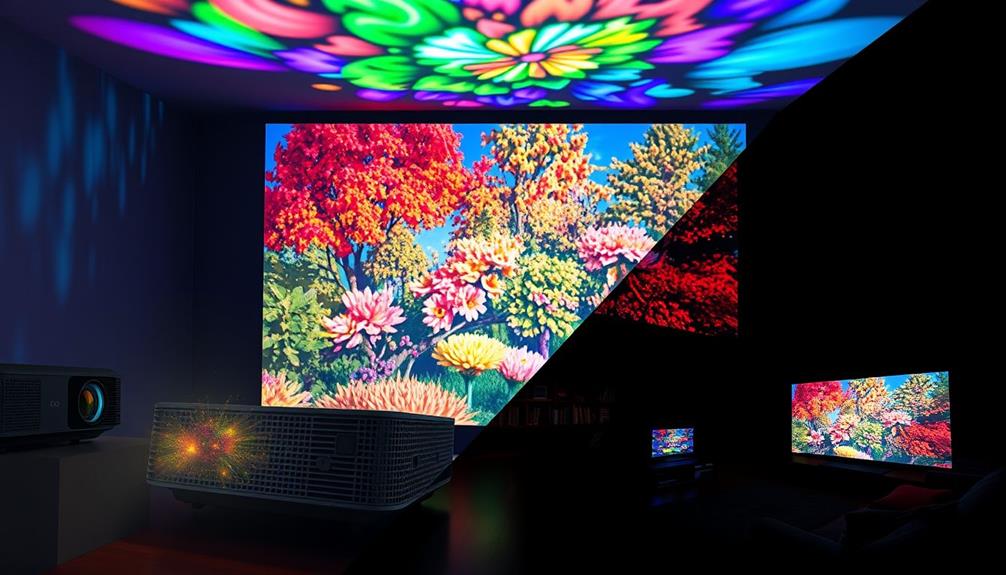
To achieve the best viewing experience, adjusting the aspect ratio of your projector is vital. This guarantees that the projected image fits your screen without distortion. Typically, you'll want to set it to 16:9 for widescreen content or 2.35:1 for cinema scope films.
Most projectors offer a menu option to select from presets like "Auto," "16:9," "4:3," and "Zoom." It's essential to confirm the aspect ratio matches your source material to avoid cropping important visual details or ending up with distracting black bars.
Here are some tips to keep in mind:
- Regularly check the aspect ratio when switching media formats.
- Use built-in test patterns or calibration discs for accurate adjustments.
- Adjust settings immediately after setup to avoid confusion later.
- Be aware that projectors may revert to default settings.
- Enjoy the seamless viewing experience of a perfectly matched image.
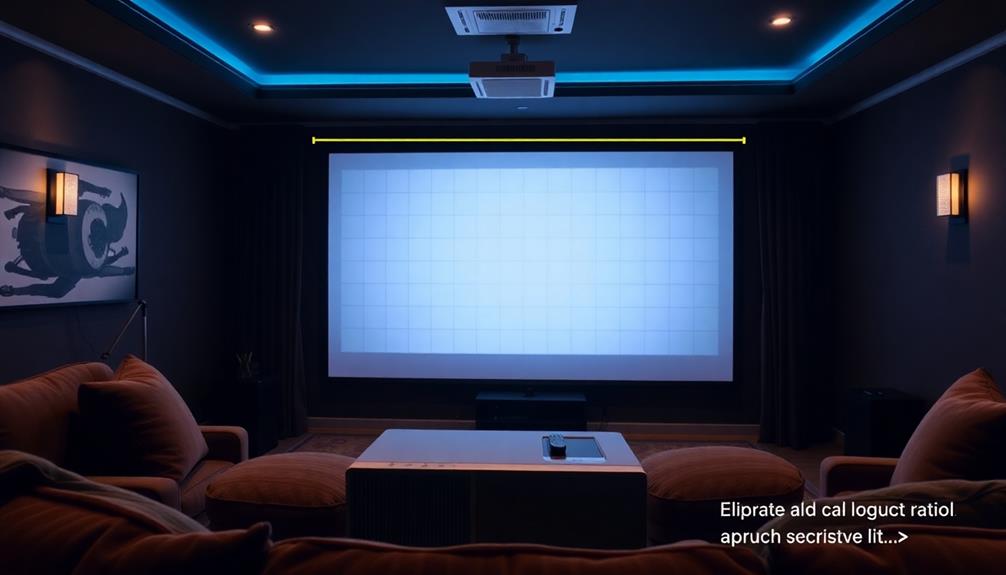
Geometry and Alignment Adjustments

Achieving a perfectly aligned image is essential for an immersive home theater experience. To guarantee your projector's geometry and alignment are spot on, start by positioning it at the correct distance from the screen according to the manufacturer's throw ratio. Use built-in test patterns or calibration discs that include geometric patterns to check alignment and adjust the keystone settings as needed.
If your projector has a lens shift feature, utilize it to align the projected image with the screen edges while avoiding distortion. Don't forget to regularly check the aspect ratio settings to match the displayed content, preventing any image stretching or compression.
Perform a uniformity test by projecting a single color across the screen to identify any misalignments or distortions.
| Adjustment Type | Purpose | Tools Needed |
|---|---|---|
| Distance Setting | Optimize image size | Manufacturer's throw ratio guide |
| Keystone Adjustment | Correct geometric distortion | Calibration disc/test patterns |
| Lens Shift Adjustment | Align image without distortion | Projector lens shift feature |
| Aspect Ratio Check | Match content display | Projector settings menu |
| Uniformity Test | Identify misalignments | Single color test pattern |
Fine-Tuning Focus and Sharpness
To get the best focus and sharpness from your projector, start by adjusting the lens position while using a test pattern to guarantee the lines are crisp.
Check the image clarity by evaluating how well-defined the projected content appears on the screen.
Fine-tuning these elements will enhance your viewing experience considerably.
Adjusting Lens Position
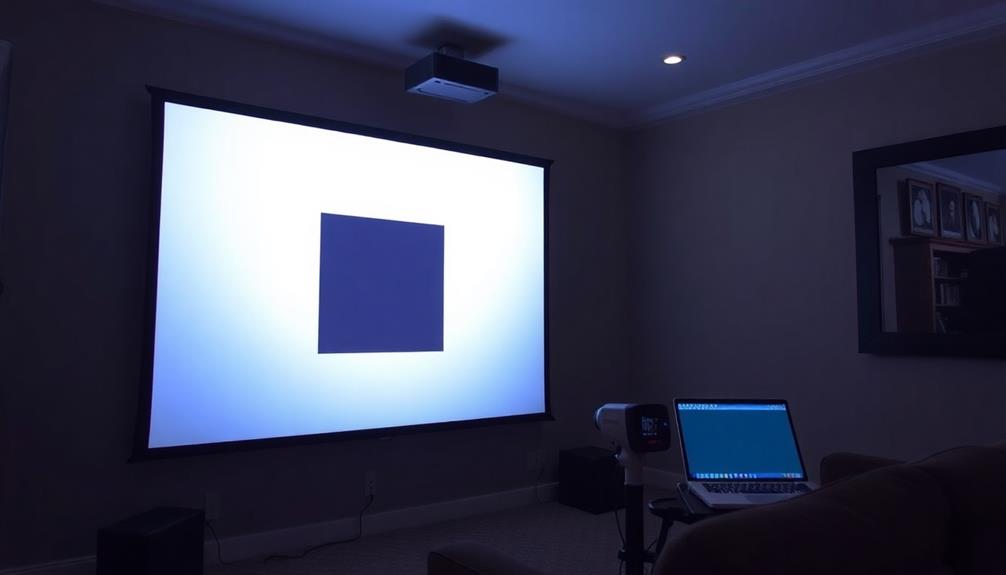
When fine-tuning your projector's lens position, start by projecting a high-contrast test pattern onto the screen. This will help you assess the current sharpness and focus of the image.
Use the projector's zoom and focus controls to adjust the lens position, ensuring that the image is sharp across all areas, free from blurriness at the edges. Maintaining a clean home can also enhance your viewing experience by reducing dust and allergens that may affect the projector's performance and your overall health.
For additional tips on cleanliness, consider health and wellness benefits that a tidy environment can offer.
To enhance clarity and detail, especially in bright and dark areas, utilize the fine focus adjustment if available. After making adjustments, perform a visual check by viewing scenes with fine details, like text or intricate patterns. This confirms that your focus adjustments have improved the overall image quality.
Here are some key points to remember during this process:
- Experience breathtaking clarity.
- Enjoy immersive detail in every scene.
- Say goodbye to fuzzy edges.
- Elevate your viewing experience.
- Achieve a professional calibration feel at home.
Regularly revisit these focus adjustments, especially after relocating the projector or changing screen types, to maintain ideal sharpness and clarity.
Don't forget to adjust brightness as needed to complement your newly fine-tuned focus!
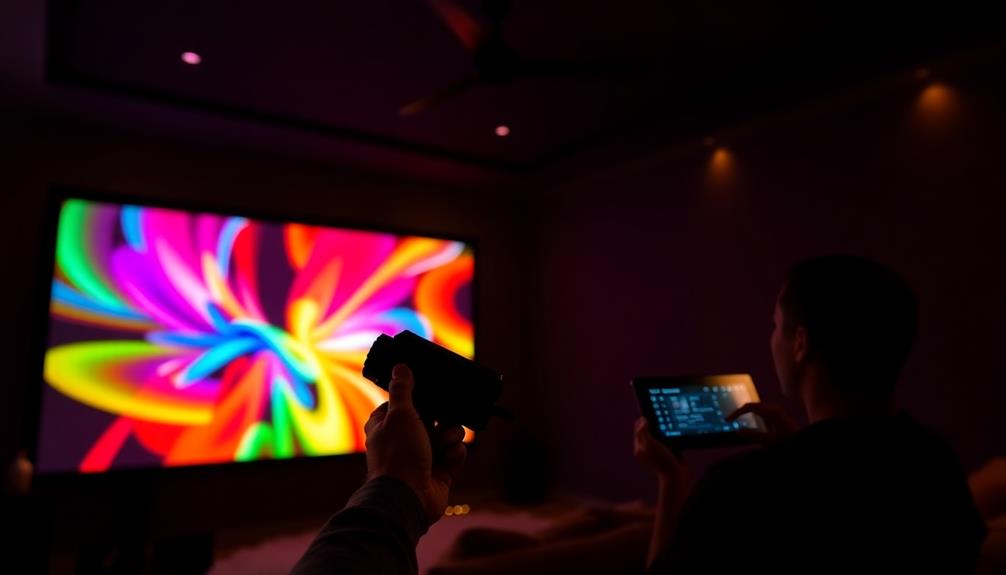
Utilizing Test Patterns
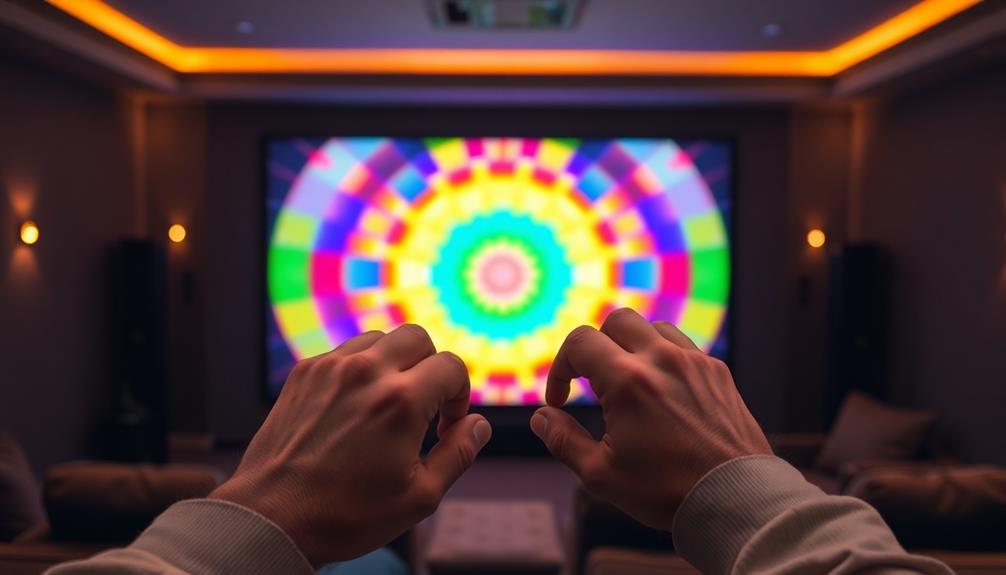
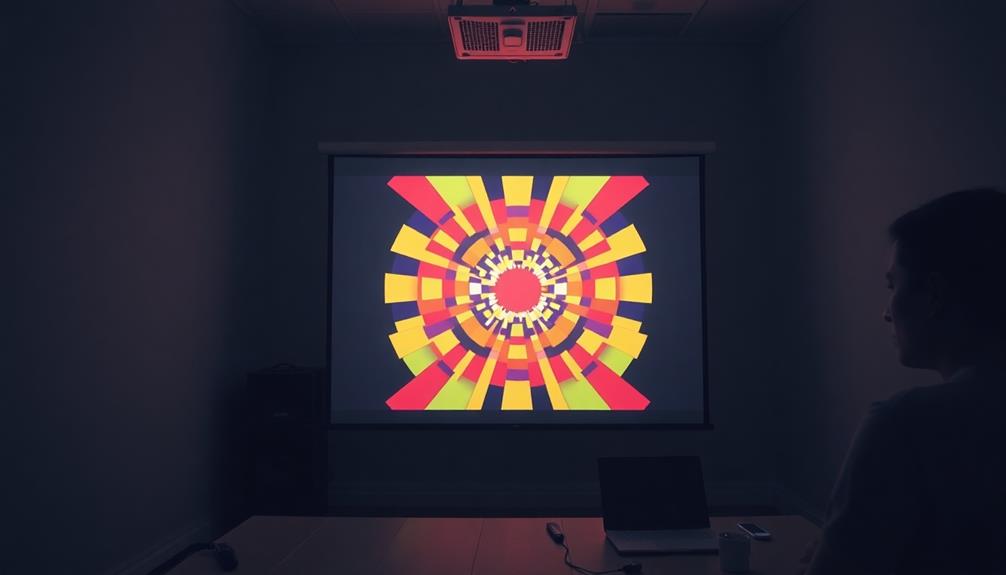
Using test patterns is crucial for fine-tuning your projector's focus and sharpness. Start by selecting specific test patterns designed for this purpose, like the Siemens star or resolution test patterns. These visuals allow you to assess and adjust the clarity of your projected image effectively.
Position your projector at the correct distance from the screen, as this distance considerably impacts focus and sharpness based on the projector's specifications.
Next, adjust the focus ring while observing the test patterns. You're looking for the point where fine details, such as lines or edges, appear most distinct and clear. A calibration disk with high-contrast patterns can further help you identify any softening of edges or blurriness that regular content may not reveal.
Make it a habit to regularly repeat these adjustments, especially after moving the projector or changing its lamp. This practice guarantees your image quality remains ideal over time.
Assessing Image Clarity
Regularly evaluating image clarity is essential for achieving the best viewing experience with your projector. Start by projecting a high-contrast test pattern, like a grid. Adjust the focus until the lines are sharp and distinct, free of blurriness or halo effects.
Here are some key tips to enhance your image clarity:
- Confirm the projector's distance from the screen is ideal, as recommended in the manual.
- If your projector has a lens shift feature, use it to minimize distortions and maintain sharpness at the edges.
- Tread carefully with the sharpness setting; too much adjustment can introduce artifacts. Aim for a balanced look that enhances detail without losing quality.
- Regularly check the lens for dust or smudges, as these can greatly impact sharpness.
- Make adjustments periodically to keep your projector performing at its best.
Optimizing Brightness and Contrast
Maximizing brightness and contrast is crucial for achieving a stunning home theater experience. Start by adjusting the brightness control to set the black level correctly. You'll want the left black bar in your test pattern to disappear and then reappear; this indicates you've hit the ideal setting.
Next, use the contrast control to accurately set the white level. Aim to avoid clipping highlights, which you can assess using the SMPTE pattern and PLUGE pattern for precise adjustments.
Don't forget to regularly check and recalibrate these settings, as variations in DVD print quality and your projector's response may require tweaks to maintain picture quality.
For the best results, make sure your room is as dark as possible. This enhances perceived contrast, allowing for better differentiation in shadow details and bright areas.
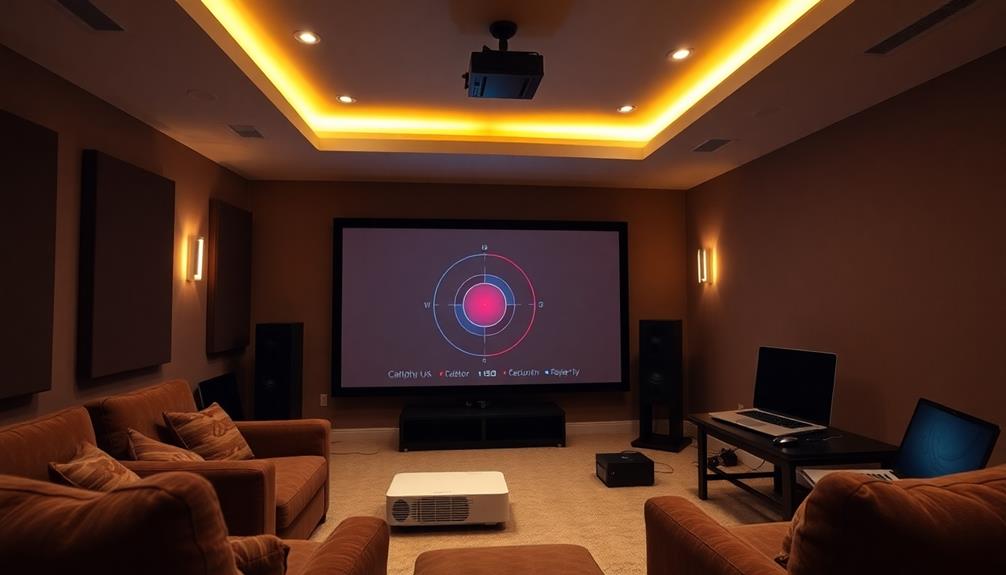
Performing Color Calibration
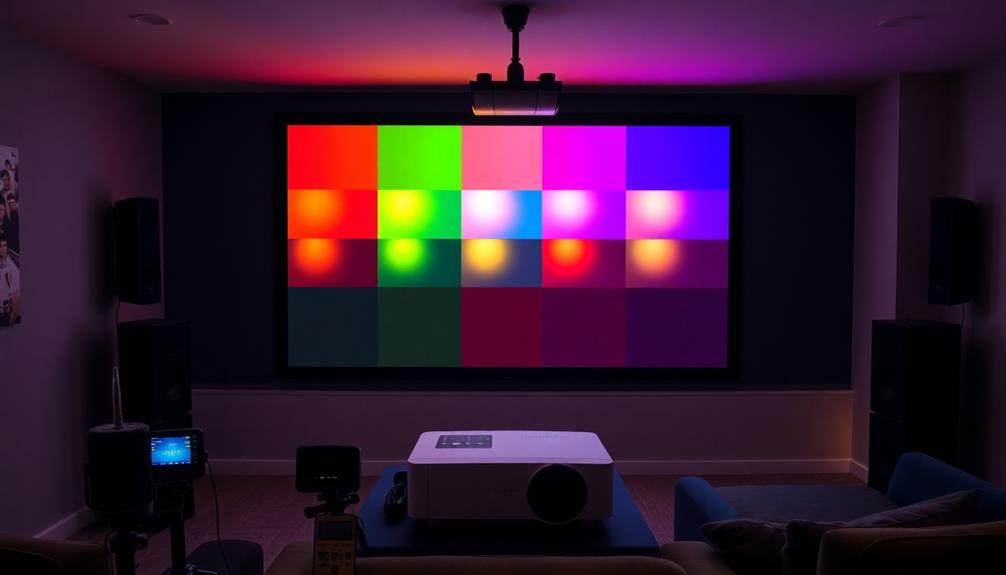
Color calibration is essential for achieving vibrant and accurate images in your home theater. To get started, use a colorimeter and calibration software to measure and adjust your projector's settings.
Focus on the calibration process by fine-tuning the primary colors—red, green, and blue—to enhance color saturation and overall image quality.
Here are some key steps to follow:
- Adjust RGB settings for balanced hue and saturation.
- Confirm a uniform grayscale ramp to avoid color casts.
- Regularly check against reference standards like Rec. 709.
- Conduct a uniformity check by projecting a single color.
- Fine-tune any inconsistencies across the screen.
Saving and Maintaining Settings
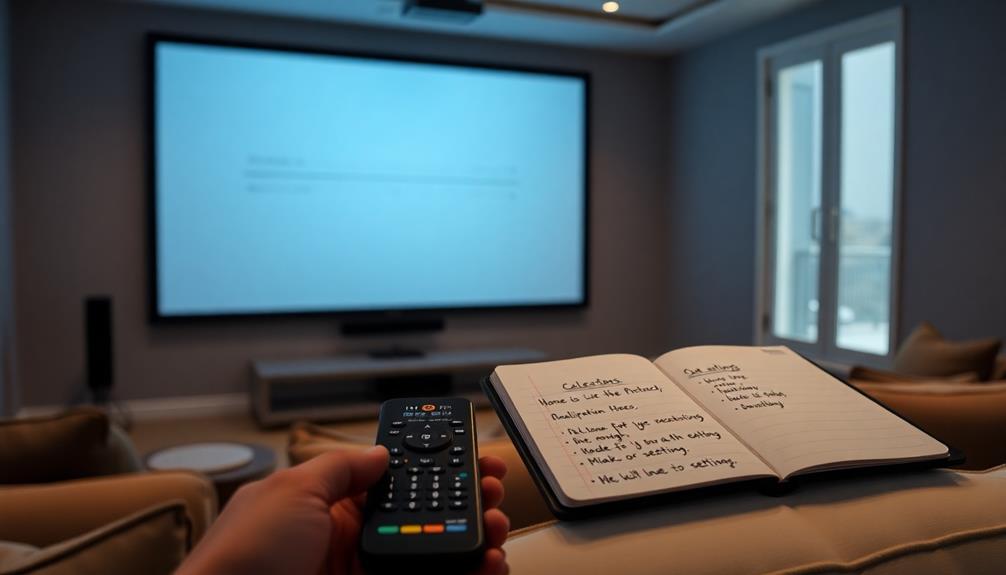
After you've calibrated your projector, make certain to save those settings for easy access later.
Regularly reviewing and adjusting your saved settings can help maintain peak performance over time.
Plus, keeping a backup of your calibration settings guarantees you can quickly restore them if needed.
Saving Calibrated Settings
To get the most out of your projector, saving your calibrated settings is essential. This guarantees you can quickly revert to the best configurations tailored for different viewing scenarios.
Here's how you can effectively save and maintain those settings:
- Use the projector's built-in memory functions for quick access.
- Utilize calibration software to create and store multiple profiles for movies, games, and presentations.
- Document your settings in a calibration log, noting brightness, contrast, and color balance adjustments.
- Regularly back up your stored settings to an external device or cloud storage to prevent loss.
- Re-evaluate and adjust your saved settings every six months to keep up with changes in ambient light or projector performance.
Regular Maintenance Practices
Maintaining your projector goes hand in hand with saving your calibrated settings, guaranteeing you always have ideal performance at your fingertips. To achieve this, establish regular maintenance practices by scheduling checks every six months. During these checks, review your saved settings and make necessary adjustments based on any changes in your environment or the content you're viewing.
Document any changes you make during maintenance to track performance over time. This will help you identify which adjustments yield the best viewing experiences. Utilizing calibration tools and software can simplify this process, allowing you to back up your settings and configurations easily. If you make significant changes or update your projector, restoring these settings will be just a few clicks away.
Additionally, keep your projector's software and firmware up to date. Updates can affect calibration settings and improve overall performance stability and quality.
Frequently Asked Questions
How to Calibrate a Home Theater Projector?
To calibrate your home theater projector, start by adjusting the position and aspect ratio. Use calibration tools for brightness and contrast, then fine-tune colors for accuracy. Document all changes to maintain ideal settings.
Do Projectors Need to Be Calibrated?
Yes, projectors need calibration to guarantee accurate colors, brightness, and contrast. By regularly adjusting settings, you'll avoid issues like distortion and blurry images, enhancing your viewing experience and extending your projector's lifespan.
How Much Does It Cost to Calibrate a Projector?
Calibrating a projector can cost you anywhere from $30 to $500. If you choose DIY methods with calibration disks, it's budget-friendly. Professional services, though pricier, offer expert adjustments for your setup's needs.
How Do I Connect My Home Theater to My Projector?
To connect your home theater to your projector, use HDMI cables from your AVR to the projector. Select the correct HDMI output, and adjust settings for resolution and aspect ratio to guarantee ideal viewing.
Conclusion
In the grand tapestry of home theater experiences, calibration weaves the threads of clarity and vibrancy into your projector's performance. By taking the time to fine-tune every aspect—from brightness to color—you're not just setting up a display; you're crafting an immersive escape. So, embrace the art of calibration and let your projector transform your space into a cinematic sanctuary, where every frame bursts with life and every moment resonates with authenticity. Enjoy the show!