To create a home sports bar with a projector, start by choosing a projector with at least 4,000 lumens and 1080p resolution for stunning visuals. Opt for a screen between 100 to 150 inches, ideally fixed frame, to enhance image quality. Set up a solid sound system by placing speakers at ear level and considering wireless options for convenience. Comfortable seating is key, so include recliners or sectional sofas. Don't forget to decorate with sports-themed items and plan your food and drinks for a complete experience. There's plenty more that can enhance your setup!
Key Takeaways
- Choose a projector with at least 3,000 lumens and 1080p resolution for bright, clear images in well-lit rooms.
- Select a projection screen of at least 100 inches, ideally with a fixed frame for better stability and image quality.
- Set up a sound system with speakers positioned at ear level and ensure an amplifier provides a minimum of 75 watts per channel.
- Create comfortable seating with recliners or sectionals, arranged to maintain good sightlines and facilitate conversation.
- Enhance the atmosphere with themed decor, LED backlighting, and a variety of snacks and drinks for an immersive experience.
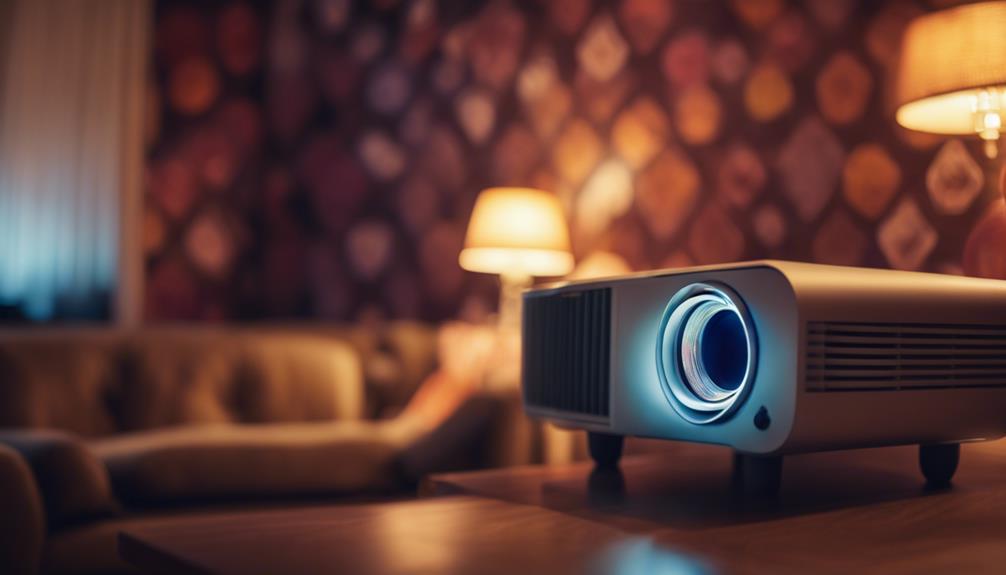
Choosing the Right Projector
When you're setting up a home sports bar, selecting the right projector is vital for an unbeatable viewing experience. You'll want projectors for sports bars that offer high brightness, ideally between 3,000 to 7,500 lumens, to guarantee clear visibility, even in well-lit rooms. This brightness range helps you enjoy every moment of the game without squinting.
Additionally, consider using projector maintenance tips to keep your setup functioning efficiently over time. Resolution is another significant factor; aim for at least 1080p or 4K UHD. This guarantees excellent image clarity and catches every fast-moving highlight, making you feel like you're right in the action.
Additionally, consider the throw ratio to determine where you'll place the projector and how large you want your screen. Short-throw projectors are perfect for smaller spaces, allowing you to maximize your viewing area.
Lastly, don't overlook color accuracy and contrast ratio, which should be over 1000:1. This ensures vibrant, true-to-life representations of your team's colors.
While budget is important, weigh it against the features you desire, such as built-in sound and connectivity options, to enhance your overall viewing experience.
Selecting a Projection Screen

Selecting the right projection screen can greatly enhance your home sports bar experience, as it directly influences image quality and viewing comfort. To make the best choice, keep these key points in mind:
- Screen Size: Aim for a minimum of 100 inches; 120 to 150 inches is even better for that immersive feel. Larger screens can make the viewing experience feel more like being at the stadium, similar to the way geothermal energy utilizes Earth's heat to create a more natural environment.
- Screen Type: Fixed frame projector screens offer superior stability and image quality, making them ideal for your setup.
- Viewing Angle: Look for a screen with at least a 120-degree viewing angle to guarantee all your guests can catch every play.
Also, consider the gain of the screen material; a gain of 1.0 to 1.3 is perfect for balancing brightness and viewing angles.
Position the screen so that the center aligns with the viewer's eye level for maximum comfort. If your sports bar has brighter lighting, an ambient light rejecting screen might be beneficial to improve visibility.
Setting Up the Sound System

When setting up your sound system, think about how speaker placement can transform your viewing experience. Proper placement can enhance sound quality and guarantee that every cheer and comment during the game is crystal clear.
You'll want to choose the right amplifier and consider wireless connectivity options to keep things tidy and flexible.
Additionally, making sure your setup is dog-friendly is important, especially if you have regular vet check-ups for your furry companions.
Let's explore how these elements can work together to create an immersive atmosphere for your home sports bar.
Speaker Placement Strategies
Creating an immersive audio experience in your home sports bar starts with effective speaker placement. Proper positioning not only enhances sound quality but also elevates your game-watching experience. Here are some strategies to take into account:
- Position speakers at ear level (3 to 5 feet off the ground) for ideal clarity.
- Utilize a surround sound setup with front speakers angled at 30 degrees and rear speakers at 135 degrees for a dynamic sound field.
- Incorporate a subwoofer in a corner to boost bass response, especially during high-energy sports moments.
Additionally, think about using in-wall or ceiling-mounted speakers to maintain a clean aesthetic while still delivering excellent sound.
Experiment with your speaker placement and adjust based on room acoustics; adding soft furnishings like rugs and curtains can minimize sound reflections and improve overall audio quality.
This thoughtful approach to speaker placement transforms your home theater into an enchanting sports bar, ensuring you won't miss a beat of the action.
Amplifier Selection Tips
To match the immersive sound experience you've crafted with your speaker placement, choosing the right amplifier is key. Aim for an amplifier with a minimum power output of 75 watts per channel. This guarantees you'll achieve sufficient sound levels, perfect for a lively sports bar atmosphere. Furthermore, look for models that support at least 5.1 audio channels to create that surround sound effect, making every game feel like you're right in the stadium.
When selecting an amplifier, consider these essential features:
| Feature | Why It Matters | Example Models |
|---|---|---|
| Power Output | Guarantees loud, clear sound | Denon AVR-S960H |
| HDMI Inputs | Enables easy connection with projectors | Yamaha RX-V685 |
| Wireless Streaming | Adds flexibility in audio source selection | Onkyo TX-NR696 |
Additionally, confirm compatibility with various speaker types—be it floor-standing, bookshelf, or in-wall speakers. This way, you'll tailor your sound system to fit both your space and aesthetic preferences, guaranteeing an unforgettable game day experience.
Wireless Connectivity Options
How can you guarantee a seamless audio experience in your home sports bar? By exploring wireless connectivity options for your sound system, you'll enjoy a clutter-free setup while maximizing sound quality.
Consider using a variety of themes and plugins for customizing your audio experience. Here are some key considerations:
- Bluetooth & Wi-Fi: Stream audio directly from your devices without messy cables.
- Multi-Room Audio: Create an immersive environment with synchronized sound throughout your space.
- HDMI ARC: Simplify your setup by sending audio from the projector back to your sound system using just one cable.
Modern receivers and soundbars often come with built-in Wi-Fi and Bluetooth capabilities, making integration with your projector effortless. You can easily connect your devices and enjoy high-quality audio without the hassle of wires.
Additionally, consider investing in wireless subwoofers and satellite speakers. They enhance your audio experience while allowing flexible placement options, which helps maintain a clean look in your sports bar.
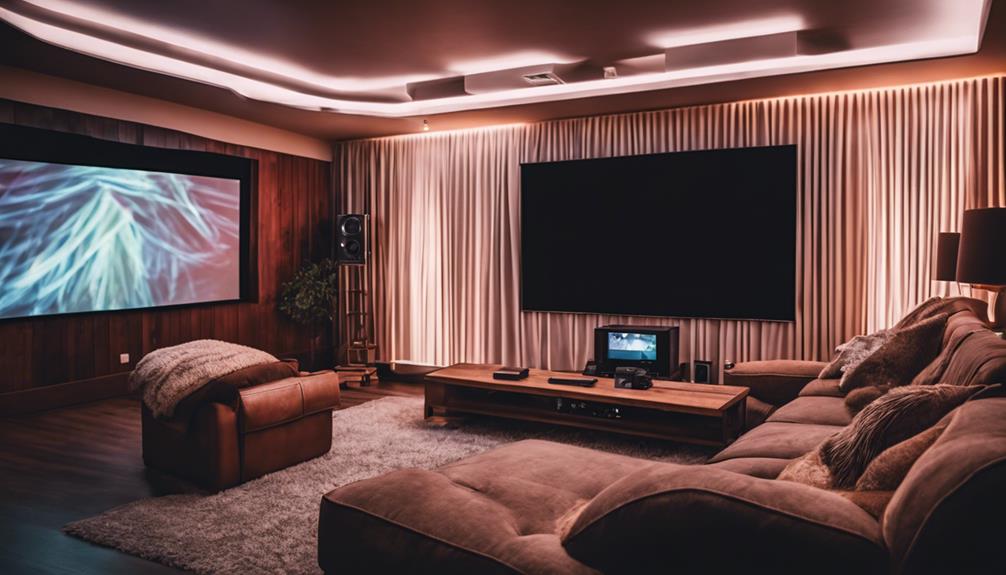
Creating Comfortable Seating

When designing your home sports bar, comfortable seating plays an essential role in guaranteeing everyone enjoys the game. Opt for recliners or sectional sofas that provide ample support, especially for those long sports events. Aim for a minimum seat depth of 20 inches for maximum comfort. Incorporating comfortable seating is vital for creating a healthy lifestyle that encourages relaxation and enjoyment during game nights.
Arrange your seating in a staggered formation to make sure all guests have an unobstructed view of the projector screen, maintaining a distance of at least 1.5 times the screen height for ideal sight lines. This setup enhances the overall viewing experience and keeps everyone engaged.
Incorporate adjustable seating options like bar stools or lounge chairs, which cater to different heights and preferences, providing flexibility for various gatherings. Adding cushions and throws not only boosts comfort but also creates a cozy atmosphere that invites relaxation.
Lastly, make certain your furniture layout allows for easy movement and access to food and drinks. This practical arrangement will keep the energy flowing and make it easy for everyone to enjoy both the game and the company.
With these tips, you'll create a space that balances comfort and functionality, elevating your home sports bar experience.
Enhancing Atmosphere With Decor

To really set the mood in your home sports bar, think about adding themed wall art that reflects your favorite teams.
You can also enhance the vibe with stylish wall clocks that not only keep track of time but also contribute to the decor.
Pair that with comfortable seating arrangements, so everyone can relax and enjoy the game together.
This combination will create an inviting atmosphere that keeps the excitement alive.
Themed Wall Art
While creating an immersive atmosphere in your home sports bar, themed wall art plays an essential role in enhancing the overall experience. It not only reflects your passion for sports but also contributes to the excitement of game days.
Incorporating innovative ideas in architecture can further elevate your space, making it not just functional but visually stunning. Here are some ideas to energize your space:
- Framed Prints: Use high-quality, framed prints of your favorite teams or iconic sports moments to add sophistication and durability.
- Dynamic Murals: Consider canvases or murals that depict thrilling sports scenes, engaging your guests and evoking excitement during games.
- LED Backlighting: Integrate LED backlighting behind your wall art for a modern touch and additional ambient lighting.
To keep things fresh, rotate your themed wall art based on the sports season or upcoming events. This way, you maintain excitement and keep your decor lively.
If you're using laser projectors, think about projecting images of your favorite players or teams directly onto the walls, adding another layer of dynamism to your home sports bar.
With the right themed wall art, you'll create a space that's not just a bar, but a true sports haven.
Comfortable Seating Arrangements
Creating comfortable seating arrangements is key to transforming your home sports bar into a welcoming gathering spot. Opt for recliners or sectional sofas, ensuring your guests can kick back and enjoy the game for hours without discomfort. Arrange your seating in a semi-circular formation around the projector and screen; this setup fosters an intimate atmosphere that encourages conversation and engagement during events.
To enhance the experience, consider adding bar stools or high-top tables for a casual dining vibe, allowing guests to snack and sip drinks while glued to the action. Don't forget to layer in throw pillows and blankets to elevate both comfort and style.
Here's a quick breakdown of how to create that perfect seating vibe:
| Seating Type | Comfort Level | Atmosphere Impact |
|---|---|---|
| Recliners | High | Relaxed & Cozy |
| Sectional Sofas | High | Inviting |
| Bar Stools | Moderate | Casual |
| Throw Pillows | High | Comfort |
| Blankets | High | Warmth |
With these elements, you'll create a cozy environment that invites friends and family to gather and revel in the excitement of sports together.
Lighting Considerations

When designing your home sports bar, lighting plays a crucial role in enhancing the viewing experience. To guarantee you get the most out of your projector, aim for a projector brightness of at least 4000 lumens. This level of brightness will help combat ambient light and deliver clear visuals, even during daytime events.
Additionally, consider incorporating features like water parks in Washington DC that offer a variety of attractions, as they can inspire a fun and engaging atmosphere for your sports bar.
- Use ambient light-rejecting (ALR) screens to improve image quality.
- Incorporate adjustable lighting options, like dimmable LED fixtures.
- Install blackout curtains or shades to manage natural light.
Position your projector and screen strategically to maximize the viewing angle while minimizing reflections from windows or overhead lights. This setup not only optimizes projector performance but also creates a comfortable experience for everyone in the room.
Adding Food and Drink Options
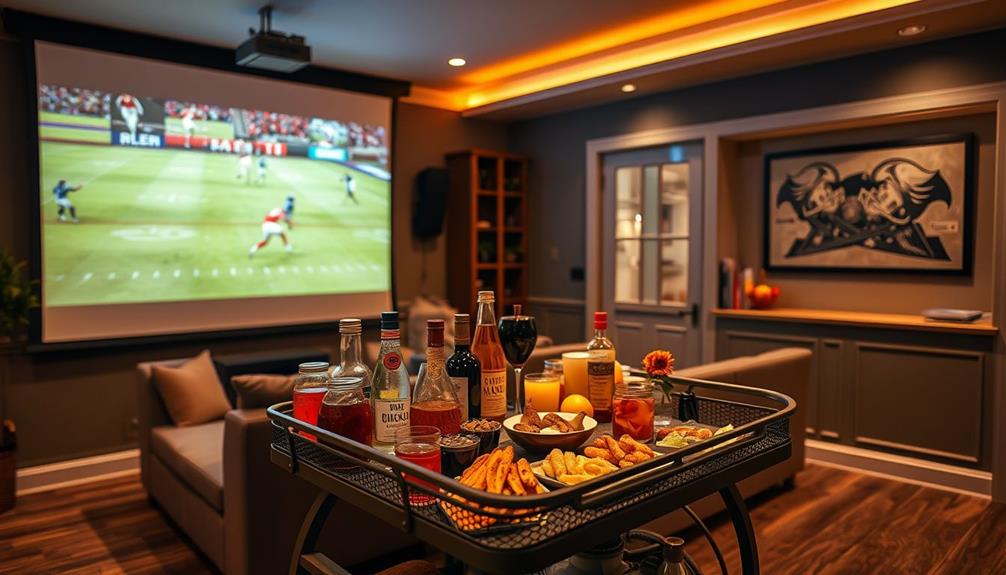
A well-thought-out food and drink menu can elevate your home sports bar experience just as much as the right lighting and projector setup. Start with popular snacks like nachos, wings, and sliders; they're perfect for sharing and enhance the excitement of watching the game on your Big Screen.
Consider offering vegan-friendly options, such as plant-based sausages or dairy-free dips, to accommodate diverse dietary preferences and promote a cruelty-free lifestyle vegan alternatives to traditional snacks.
To cater to a wide audience, offer a selection of craft beers, cocktails, and non-alcoholic beverages. Studies show that a diverse drink menu increases satisfaction and keeps guests coming back for more.
For major sporting events, consider implementing themed food and drink specials. These promotions can boost your sales by up to 30% during high-traffic games.
Don't forget about dietary restrictions! Including gluten-free and vegetarian options guarantees everyone feels welcome, especially since 30% of consumers prefer dining out where healthy choices are available.
You might also create combo deals that bundle food and drink items at a discounted rate, encouraging larger orders and increasing spending during game nights.
With a thoughtful approach to your food and drink offerings, your home sports bar will become the ultimate destination for game day gatherings.
Finalizing Your Sports Bar Setup

As you finalize your sports bar setup, focus on achieving the perfect balance between technology and ambiance. Selecting the right equipment is essential for guaranteeing an enjoyable viewing experience, especially when considering the importance of a comfortable and inviting atmosphere that can enhance your guests' enjoyment.
Here are a few key considerations to keep in mind:
- Choose a sports bar projector with at least 4000 lumens for vibrant images, even in well-lit environments.
- Opt for a minimum screen size of 100 inches, with larger options of 120 to 150 inches for maximum engagement.
- Install ambient light rejection (ALR) screens to enhance image quality and visibility, allowing all patrons to enjoy the game without glare.
Additionally, look for projectors featuring lens shift and zoom capabilities. This will simplify installation and guarantee the image fits perfectly on your screen without distortion.
Regular maintenance is equally important; clean filters and check connections to keep your projector running efficiently. By paying attention to these details, you'll create a welcoming atmosphere that keeps your guests coming back for every game night.
Your sports bar won't only be a place for viewing but also for enjoying the entire experience together, much like creating a cozy environment akin to a modern farmhouse bedroom.
Conclusion
Now that you've got your home sports bar set up with a killer projector, comfy seating, and tasty snacks, you're all set to enjoy game day like it's the golden age of cinema. Don't forget to invite friends over for that classic sports vibe—after all, nothing beats cheering for your favorite team together. With a little creativity and the right gear, you've transformed your space into the ultimate hangout. Get ready to score some serious fun!