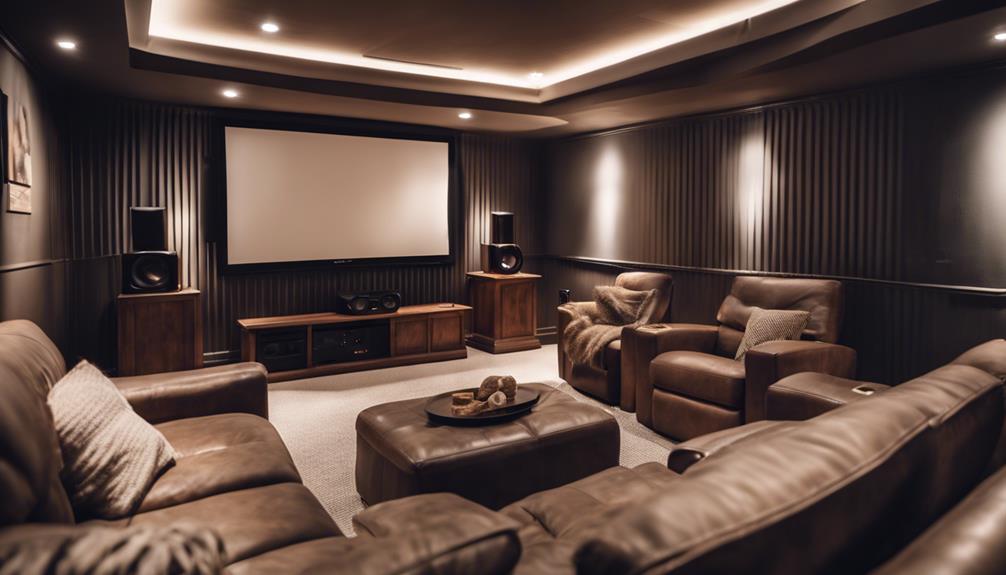
This guide walks you through the process of choosing, installing, and calibrating a projector for a media room. It is designed for users with basic DIY skills interested in creating a home theater experience. Following this guide will help you achieve a clear, bright, and properly aligned projection setup that enhances your media viewing.

Aurzen Roku TV Smart Projector with WiFi and Bluetooth, 1080P FHD, Auto Focus & Keystone, Portable Outdoor Mini Projector
- ✔ Resolution: 1080P FHD
- ✔ Screen Size: 60 to 150 inches
- ✔ Power Supply: 100-240V AC, 50/60Hz
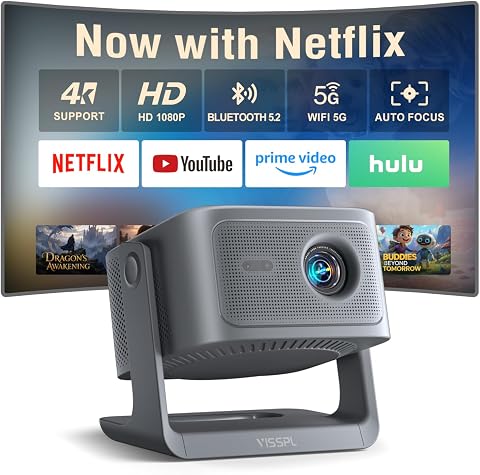
Smart 4K Projector with WiFi & Bluetooth, 3000 ANSI, Netflix Ready, Dolby Audio, Auto Focus, Portable Outdoor Home Theater
- ✔ Resolution: 1080P native, supports 4K decoding
- ✔ Brightness: 3000 ANSI lumens
- ✔ HDR Support: HDR10

Smart Outdoor Projector with 4K Support, WiFi & Bluetooth, Dual Speakers, Auto Focus, Built-in Apps
- ✔ Native Resolution: 1080P
- ✔ 4K Support: Yes
- ✔ Brightness: 600 ANSI lumens
Difficulty: Intermediate | Time: 2-4 hours
What You’ll Need
Tools & Materials:
- Phillips screwdriver
- Level
- Measuring tape
- Power drill (if mounting)
- Ladder or stable step stool
Knowledge:
- Basic understanding of electrical outlets
- Ability to read a projector manual
- Comfort with using measuring tools
Ensure the media room has a suitable space free from obstructions, and verify power outlets and HDMI or AV input availability.

Aurzen Roku TV Smart Projector with Wifi and Bluetooth, Roku TV Built-in, 1080P FHD, DoIby Audio, Auto Focus & Keystone, Zoom, Movie Portable Outdoor Mini Projector for Soccer Football Game, White
A Roku account and internet connection are required for activation (Creating an account is free). Note: Power Supply:...
As an affiliate, we earn on qualifying purchases.
Aurzen Roku TV Smart Projector with WiFi and Bluetooth, 1080P FHD, Auto Focus & Keystone, Portable Outdoor Mini Projector
The Aurzen Roku TV Smart Projector stands out for its portability and built-in Roku TV, making it a strong choice for casual media room use where streaming convenience is key. Its 1080P resolution offers clear visuals, and auto focus plus keystone correction simplify setup, especially in multi-use spaces. Compared with larger, more powerful projectors, this model sacrifices brightness and sound quality, which may be noticeable in well-lit rooms or for audiophile-level sound. It’s ideal for those who want a compact, easy-to-use device that provides access to popular streaming apps without fuss.
Pros:
- High-definition 1080P resolution for clear picture quality
- Auto focus and keystone correction for quick, easy setup
- Built-in Roku TV provides instant access to streaming apps
- Wireless connectivity options including WiFi and Bluetooth
Cons:
- Requires internet connection and Roku account for activation
- Limited audio quality from built-in speakers for serious sound needs
- Portability may be limited by power supply restrictions in some regions
Best for: Casual media room users who prioritize portability, ease of setup, and streaming access
Not ideal for: Room environments with high ambient light, or users seeking premium sound or 4K resolution
Bottom line: A versatile, portable streaming projector perfect for casual media rooms and outdoor use, but less suited for high-end audio or bright environments.
“A versatile, portable streaming projector perfect for casual media rooms and outdoor use, but less suited for high-end audio or bright environments.”

【Now with Netflix & 3000ANSI】Smart 4K Projector with WiFi and Bluetooth, VISSPL 3D Dolby Audio and Auto Focus Portable Outdoor Projector, Movie Home Theater Projectors for Bedroom/Ceiling
[ Netflix Ready - No Extra Devices Needed ] – VISSPL Smart Projector: No TV stick, no casting,...
As an affiliate, we earn on qualifying purchases.
Smart 4K Projector with WiFi & Bluetooth, 3000 ANSI, Netflix Ready, Dolby Audio, Auto Focus, Portable Outdoor Home Theater
This Smart 4K Projector offers impressive brightness at 3000 ANSI lumens, making it suitable for well-lit media rooms and outdoor settings. Its support for HDR10 and native 1080P resolution delivers vivid, detailed images, especially in darker environments. The automatic focus and keystone correction facilitate quick setup, while WiFi 6 and Bluetooth 5.2 ensure seamless streaming and device pairing. However, the size and weight could hinder portability, and image quality may dip in very bright outdoor conditions. It’s best suited for those who want high-quality visuals with the flexibility to use indoors or outdoors.
Pros:
- Vivid 4K visuals with high brightness and color accuracy
- Automatic focus and keystone correction for fast setup
- Wireless streaming via WiFi 6 and Bluetooth 5.2
- Supports HDR10 and Dolby audio for immersive experiences
Cons:
- Requires a darker environment for optimal picture quality
- May be bulky for frequent portability
- Limited details on built-in smart features
Best for: Users seeking bright, vibrant visuals with flexible indoor/outdoor use in media rooms with controlled lighting
Not ideal for: Users who need ultra-portable options or have very bright outdoor environments where brightness is insufficient
Bottom line: A high-brightness projector that excels in delivering vivid visuals for both indoor and outdoor use, with some compromises on portability.
“A high-brightness projector that excels in delivering vivid visuals for both indoor and outdoor use, with some compromises on portability.”
![[Built-in Apps/4K Support] Smart Outdoor Projector with WiFi and Bluetooth, Movie Projector, DoIby Audio with Dual Speaker, Auto Focus w/ YouTube&PrimeVideo Proyector, Upgrad P62 Pro](https://m.media-amazon.com/images/I/51yAGv8VI7L._SL500_.jpg)
[Built-in Apps/4K Support] Smart Outdoor Projector with WiFi and Bluetooth, Movie Projector, DoIby Audio with Dual Speaker, Auto Focus w/ YouTube&PrimeVideo Proyector, Upgrad P62 Pro
[Upgraded Classic – P62 Pro Movie Projector] Building on the reliability and low return rate of the classic...
As an affiliate, we earn on qualifying purchases.
Smart Outdoor Projector with 4K Support, WiFi & Bluetooth, Dual Speakers, Auto Focus, Built-in Apps
The P62 Pro is an upgraded outdoor-friendly projector supporting 4K content and HDR10, with dual 10W Hi-Fi speakers featuring Dolby audio. Its multiple mounting options, including ceiling, tripod, or wall, make it highly adaptable for outdoor and indoor media rooms. Auto focus and keystone correction make setup straightforward, and built-in apps like Prime Video and YouTube add convenience. However, its native brightness of 600 ANSI lumens limits use in brightly lit environments, and videos labeled as 4K display at native 1080P resolution. It’s ideal for those who prioritize smart features and outdoor flexibility over high brightness for well-lit rooms.
Pros:
- Supports 4K content with HDR visuals
- Built-in smart apps for easy streaming
- Dual 10W speakers with Dolby audio
- Flexible mounting options
Cons:
- Limited brightness for well-lit indoor spaces
- Videos display at native 1080P despite 4K support
- No included carrying case
Best for: Outdoor enthusiasts and versatile media room owners who want smart features and 4K support
Not ideal for: Bright indoor rooms or users needing ultra-bright projectors for daytime viewing
Bottom line: A flexible, outdoor-capable projector with smart apps and 4K support, suitable for ambient outdoor environments and versatile media setups.
“A flexible, outdoor-capable projector with smart apps and 4K support, suitable for ambient outdoor environments and versatile media setups.”
As an Amazon Associate we earn from qualifying purchases.
Before You Start
Confirm the room size and wall conditions. Avoid installing the projector near heat sources or areas with excessive dust. Ensure you have the projector’s manual and all accessories before starting.
Step-by-Step Instructions
Step 1: Select the appropriate projector
Choose a projector with the right brightness (lumens), resolution, and throw distance for your room size. Refer to projector specifications and your room dimensions to find a suitable model.
Tip: Look for at least 2000 lumens for rooms with some ambient light. For darker rooms, 1500 lumens may suffice.
Check: The selected projector matches your room size and lighting conditions, and fits your budget.
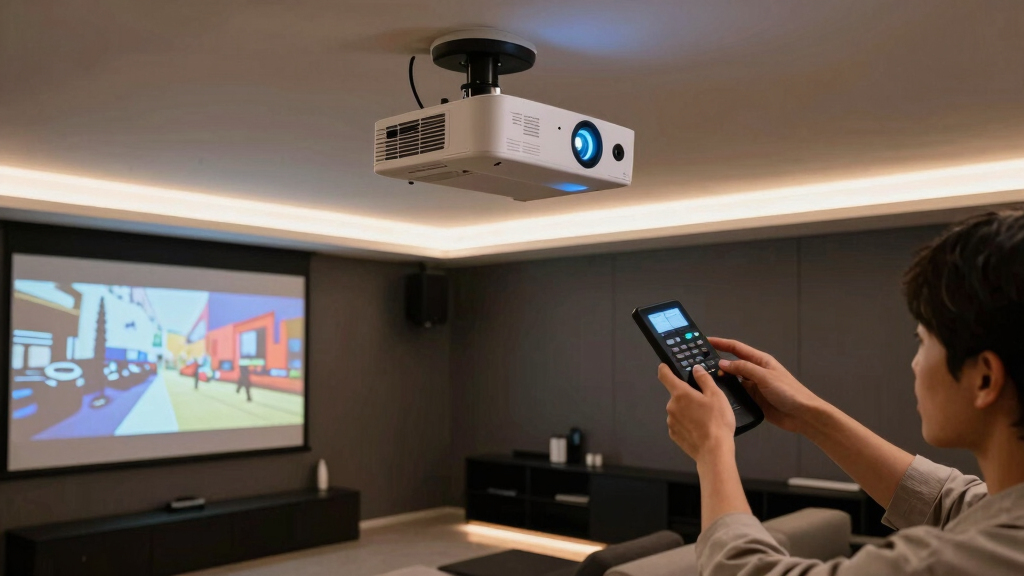
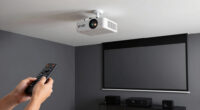
Step 2: Determine the projector mounting location
Measure the distance from the projector to the screen to ensure the throw ratio matches your projector’s specifications. Decide between ceiling mount, table placement, or wall mounting based on your room setup.
Tip: Use a measuring tape to find the ideal distance for your desired image size according to the projector’s throw ratio.
Check: The location provides a clear line of sight to the screen and fits within the projector’s recommended distance.
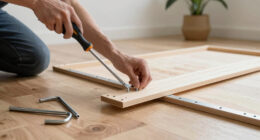
Step 3: Install the projector
If ceiling mounting, attach the mount to the ceiling joists using appropriate hardware. Mount the projector securely, ensuring it is level. For table placement, position the projector on a stable surface at the determined distance.
Tip: Use a level to ensure the projector is perfectly horizontal to avoid keystone distortion.
Check: The projector is firmly mounted or placed, level, and stable.
Step 4: Connect power and input sources
Plug the projector into a grounded power outlet. Connect your media sources (such as streaming devices, Blu-ray players, or computers) using HDMI or other compatible cables.
Tip: Use surge protectors to prevent power surges that could damage the projector.
Check: The projector powers on and displays input from connected devices.
Step 5: Align the projector with the screen
Adjust the projector’s position or use lens shift and keystone correction features to align the image centrally on the screen. Ensure the image is rectangular and fills the screen appropriately.
Tip: Avoid excessive keystone correction, which can degrade image quality. Use lens shift if available for better alignment.
Check: The projected image is square, centered, and covers the entire screen without distortion.
Step 6: Configure projector settings
Access the projector menu to set the resolution, aspect ratio, brightness, contrast, and color settings according to your preferences. Enable any automatic focus and keystone correction features.
Tip: Start with default settings, then fine-tune as needed for clarity and color accuracy.
Check: Image is sharp, bright, and correctly proportioned across the screen.
Step 7: Calibrate the image
Use test patterns and the projector’s built-in menu to adjust focus, zoom, and image geometry. Verify the image’s sharpness and color accuracy across the entire screen.
Tip: Adjust in a well-lit environment to see true colors and details clearly.
Check: The image appears clear, evenly lit, and colors are accurate across the entire display area.
Common Mistakes to Avoid
- Choosing a projector with incorrect throw ratio or insufficient brightness. — Carefully measure your room and screen size; select a projector with suitable lumens and throw ratio for your space.
- Improper mounting or unstable installation. — Use appropriate hardware, secure mounts into ceiling joists, and verify stability before proceeding.
- Ignoring room lighting conditions during setup. — Test the image in the actual room lighting to ensure visibility and adjust brightness settings accordingly.
- Neglecting proper alignment and keystone correction. — Use level tools and lens shift features to align the image correctly, minimizing keystone distortion.
Troubleshooting
Problem: Image is blurry or out of focus.
Solution: Adjust the focus ring on the projector until the image appears sharp across the entire screen.
Problem: Color distortion or washed-out image.
Solution: Access the projector menu to reset color settings or manually calibrate the color profile.
Problem: Keystone correction causes image distortion.
Solution: Reposition the projector to reduce keystone correction needs or use lens shift if available for better alignment.
Problem: No input signal or image not displaying.
Solution: Check all cable connections, verify the input source is active, and select the correct input source on the projector.
What Success Looks Like
The projector displays a bright, clear, and correctly proportioned image that fills the screen. The image is sharp, with accurate colors, and remains stable without keystone distortion or focus issues.
Next Steps
Secure all cables, clean the projector lens periodically, and experiment with picture settings for optimal quality. Schedule regular maintenance checks. Upgrade to a higher-lumen projector if ambient light increases or room conditions change.
Frequently Asked Questions
How do I determine the right projector brightness for my room?
Calculate based on your room’s ambient light. For rooms with some light, opt for at least 2000 lumens. Darker rooms can work well with 1500-2000 lumens.
Can I install a projector myself or should I hire a professional?
If you are comfortable with basic tools and measurements, you can install a projector yourself. For ceiling mounts or complex setups, consider hiring a professional to ensure safety and accuracy.
How often should I calibrate the projector?
Perform calibration whenever you change the input source, move the projector, or notice image quality decline. Regularly check settings to maintain optimal performance.
What maintenance does a projector require?
Keep the lens clean with a soft cloth, ensure ventilation openings are free of dust, and update firmware if available. Replace lamps as recommended by the manufacturer.