
To reveal hidden details with equalization curves, focus on carefully boosting midrange frequencies around 1-5 kHz, which enhance clarity and bring out vocals and instruments. Use narrow Q settings for precise adjustments and avoid overboosting to prevent harshness. Visual spectrum analyzers help identify problematic resonances or masking areas. By fine-tuning these curves and practicing critical listening, you’ll uncover subtle textures and nuances that improve your overall sound. Keep exploring to master these techniques.
Key Takeaways
- Use narrow Q settings to precisely target and boost subtle frequency ranges where hidden details reside.
- Employ spectral analysis tools to identify masking frequencies and shape EQ curves accordingly.
- Apply gentle boosts in midrange frequencies around 2-5 kHz to enhance clarity of vocals and instruments.
- Cut resonant peaks and problematic frequencies to reduce masking and reveal nuanced audio textures.
- Combine visual spectrum analyzers with critical listening to fine-tune equalization for maximum detail revelation.
Understanding the Basics of Equalization Curves
Understanding the basics of equalization curves is essential if you want to shape sound effectively. Equalization adjusts the frequency response of audio, emphasizing or reducing specific ranges to achieve a desired tonal balance. By manipulating these curves, you can enhance clarity or warmth, depending on your goal. Maintaining harmonic balance is key, as it ensures that no single frequency dominates or is lost, preserving the natural sound of the audio. When you tweak equalization, you’re effectively tailoring the sound’s frequency response to fit the context or personal preference. Recognizing how these curves influence sound helps you make precise adjustments, leading to a more balanced, professional-quality mix. Additionally, understanding tuning techniques can further optimize your audio setup for specific environments or preferences. Developing an intuitive sense of frequency response can greatly improve your ability to craft and refine your sound, especially as you learn to interpret how different equalization curves affect the tonal qualities of your audio. Gaining knowledge about harmonic balance can help you achieve a more cohesive and pleasing sound in your mixes. Moreover, understanding audio spectrum analysis tools can assist in visualizing these effects for more accurate adjustments.
How Equalization Enhances Hidden Audio Details

Equalization can reveal audio details that might otherwise go unnoticed, giving your mixes greater depth and clarity. By adjusting specific frequencies, you can enhance subtle textures and nuances, bringing out hidden elements. Proper equalization maintains phase coherence, preventing phase issues that can muddy your sound. It also manages dynamic range, ensuring that quiet details aren’t lost while loud parts stay balanced. Use targeted boosts and cuts to emphasize certain sounds without overwhelming others. This careful shaping helps listeners perceive more detail and spatial information, making your mix more engaging. Additionally, understanding equalization techniques can help you craft a more professional and polished sound. Exploring frequency ranges can further refine your ability to highlight or suppress specific audio elements effectively. Being aware of audio masking phenomena can also assist in making subtle details stand out more distinctly, especially when combined with sound design principles to craft a more immersive listening experience. Employing spectral analysis tools can also guide precise adjustments for optimal clarity.
Key Frequencies to Focus on for Clarity
To achieve clarity, focus on boosting midrange frequencies, which make vocals and instruments stand out. Pay attention to presence frequencies around 2-5 kHz to enhance overall intelligibility and detail. At the same time, minimize unwanted resonances that can muddy the sound and distract listeners. Incorporating equalization curves tailored to specific sound profiles can further reveal hidden details and improve listening experiences. Adjusting these curves based on the performance characteristics of your audio setup can optimize clarity and depth, especially when considering voiceover recording techniques that emphasize clarity and natural tone. Understanding residency requirements in divorce law can also help in creating a comprehensive approach to sound clarity, much like ensuring all elements in an audio mix are properly aligned. Additionally, selecting the appropriate best earbuds for phone calls in 2024 can enhance communication clarity in professional and personal settings.
Boost Midrange Clarity
Boosting the midrange frequencies is essential for enhancing clarity in your sound. Focus on the 1-3 kHz range to bring out vocal prominence, making voices more distinct and intelligible. This adjustment helps listeners clearly perceive lyrics and nuances, ensuring vocals stand out amid other instruments. Be careful not to overboost, as too much midrange can cause harshness or muddiness. At the same time, maintain overall balance by not neglecting bass enhancement; a solid foundation supports clarity without overshadowing midrange details. Properly emphasizing these frequencies reveals hidden details, giving your mix greater depth and presence. Additionally, understanding frequency ranges can help you target specific elements effectively, allowing for more precise adjustments. Recognizing how different frequencies impact audio clarity enables you to fine-tune your mix more effectively. When you understand how equalization curves influence sound, you can craft a more transparent and articulate mix. By fine-tuning midrange clarity, you create a more articulate and transparent sound, making every element in your mix easier to hear and appreciate.
Enhance Presence Frequencies
Building on the importance of midrange clarity, focusing on presence frequencies can further sharpen your mix. By boosting these key frequencies, you cut through frequency masking and highlight essential details. Imagine your sound like a clear image, with these steps:
- Focus on the 2-5 kHz range to add brightness and articulation.
- Use subtle boosts to enhance harmonic content without muddying the mix.
- Target specific instrument peaks to prevent masking of vocals.
- Apply gentle EQ to reveal subtle nuances that elevate clarity.
- Be aware of potential AI biases that can influence audio processing and ensure your adjustments maintain a natural, balanced sound.
- Regularly monitoring your audio quality can help you make more precise adjustments and maintain clarity across your mix.
- Incorporating essential oils in your listening environment can create a calming atmosphere that enhances focus and clarity during mixing sessions.
- Understanding family backgrounds and their influence on personal expression can help you better interpret vocal tones and emotional nuances in recordings.
- Utilizing sound libraries with high-quality recordings can provide detailed reference points to refine your EQ adjustments and achieve better clarity.
Minimize Unwanted Resonances
Unwanted resonances can muddy your mix and obscure clarity, so identifying and minimizing these problematic frequencies is essential. Resonance suppression helps reduce these harsh peaks, creating a cleaner sound. Use narrow EQ cuts on specific frequencies that cause ringing or boomy muddiness. Be careful to avoid over-cutting, which can lead to frequency masking, where important details get lost. Focus on key resonant areas—often in the low-mid and high-mid ranges—and attenuate them selectively. This process clears space for other elements, allowing vocals and instruments to shine without competing. By targeting these resonances directly, you improve overall clarity and balance your mix more effectively. Remember, subtle adjustments often produce the best results in resonance suppression, ensuring your mix stays natural and transparent.
Practical Techniques for Applying Equalization
Applying equalization effectively requires understanding how to use various tools and settings to shape your sound precisely. Start by identifying problem areas, then consider these techniques:
- Use narrow Q settings to target specific frequencies without affecting the entire audio phase.
- Boost or cut frequencies gradually to preserve the dynamic range, avoiding harsh or dull sounds.
- Apply high-pass filters to clear out unnecessary low-end rumble, maintaining clarity.
- Adjust mid-range frequencies to enhance vocals or instruments without disrupting the audio phase relationships.
Common Mistakes and How to Avoid Them
While using equalization techniques can substantially improve your sound, many common mistakes can undermine your efforts. One major error is overusing boosts or cuts, which can lead to phase cancellation and weaken the overall clarity. When you boost frequencies excessively, you risk creating phase issues that cause parts of your sound to cancel each other out. Similarly, neglecting to address frequency masking—where certain sounds hide others—can make your mix muddy and less detailed. To avoid these pitfalls, make subtle adjustments and listen critically. Always check how changes affect the phase relationship between tracks. Be mindful of frequency masking by cutting problematic frequencies rather than boosting, helping your mix sound cleaner and more transparent.
Tools and Software for Precise Equalization
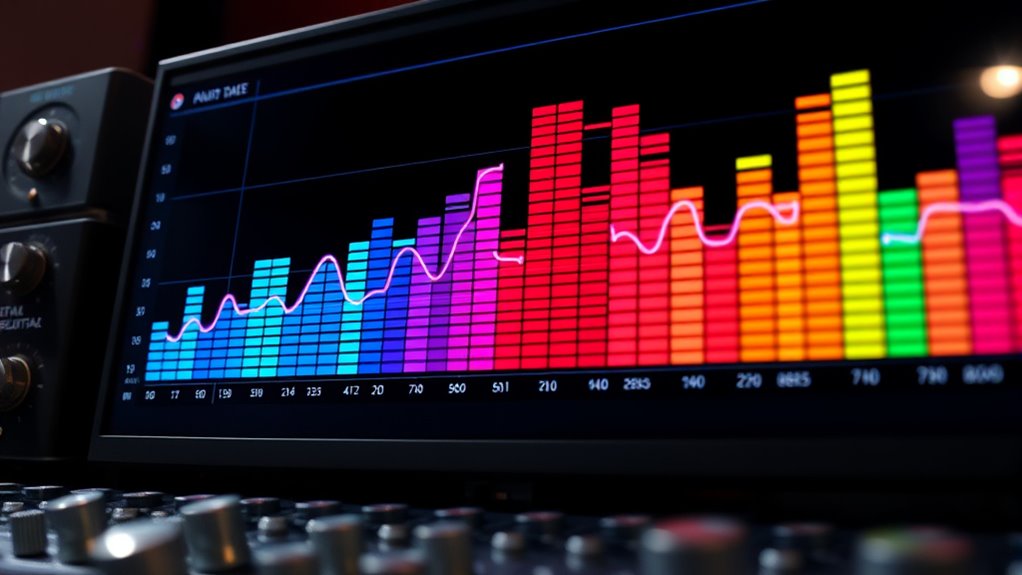
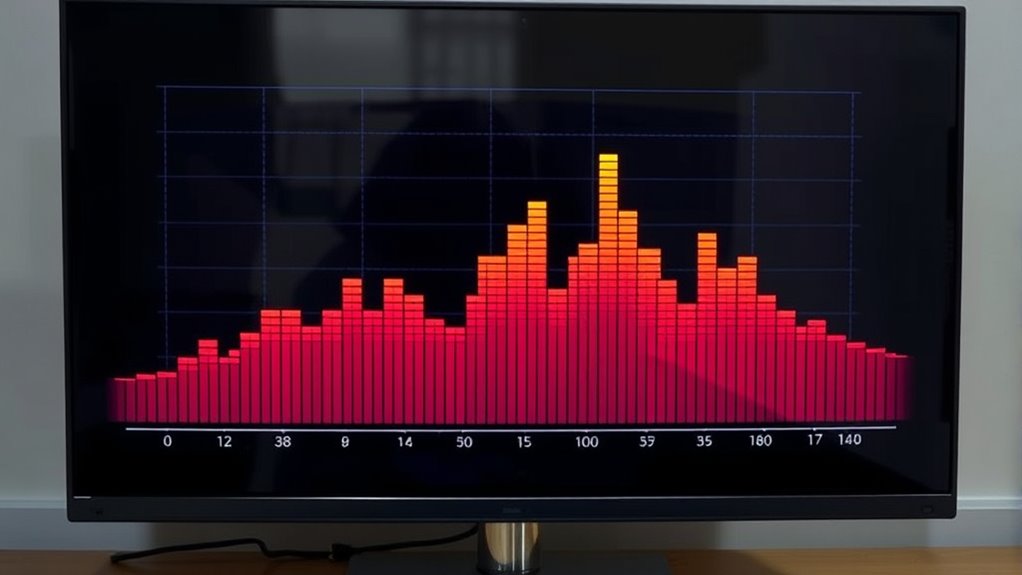
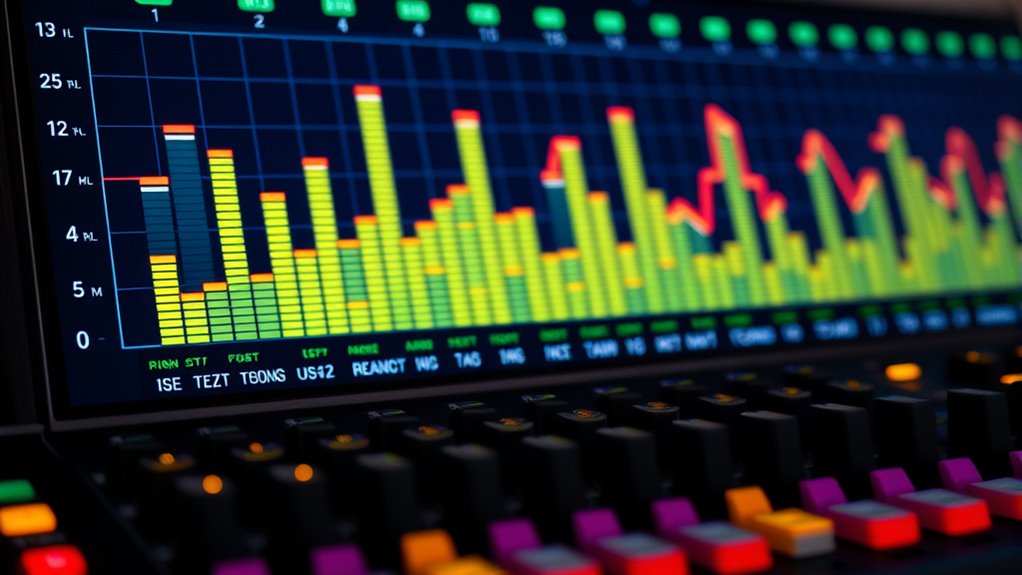
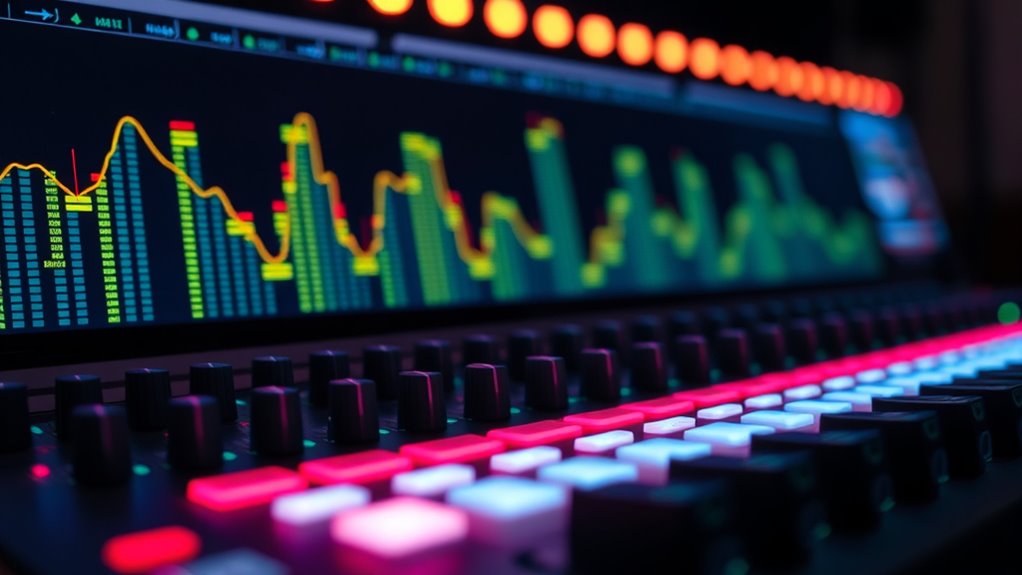
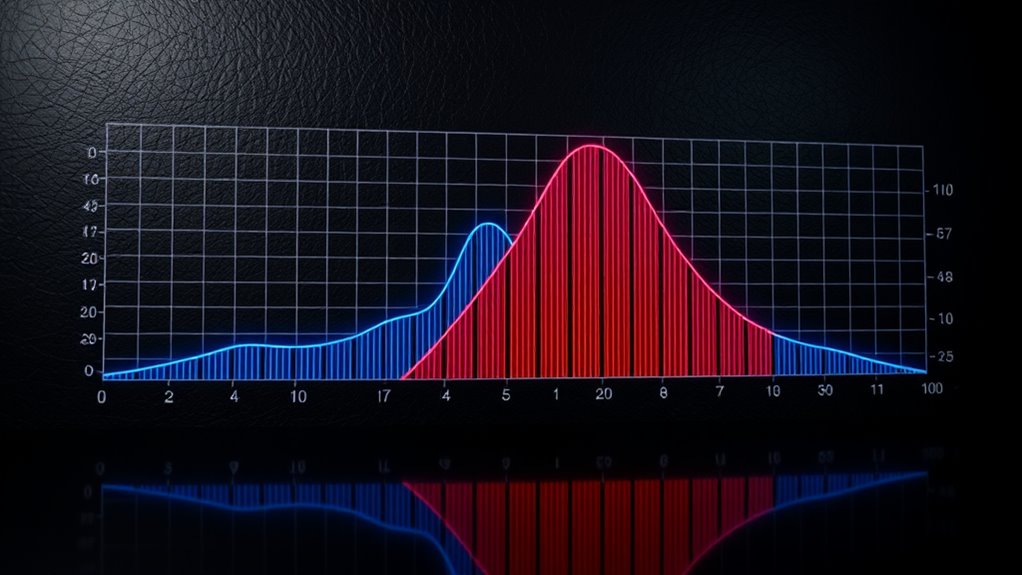
You can achieve precise equalization using various equalizer plugins and apps designed for accuracy. Visual spectrum analyzers help you see the frequency response and make targeted adjustments. Together, these tools give you the control needed to craft perfect sound curves.
Equalizer Plugins and Apps
Have you ever wondered how professionals achieve perfectly balanced sound? Equalizer plugins and apps are essential tools in audio mastering, helping you fine-tune every detail. Imagine:
- Adjusting a slider to carve out muddy frequencies, revealing clarity.
- Using a bell curve to boost brilliance without overwhelming the mix.
- Applying narrow cuts to resolve frequency masking issues.
- Leveraging graphical interfaces to visualize your adjustments in real-time.
These tools allow precise control over your sound, making subtle differences audible. Modern plugins often feature advanced algorithms that help you identify problem frequencies quickly. With the right equalizer app, you can craft a clean, balanced mix that captures every nuance, ensuring your audio stands out without unwanted clutter.
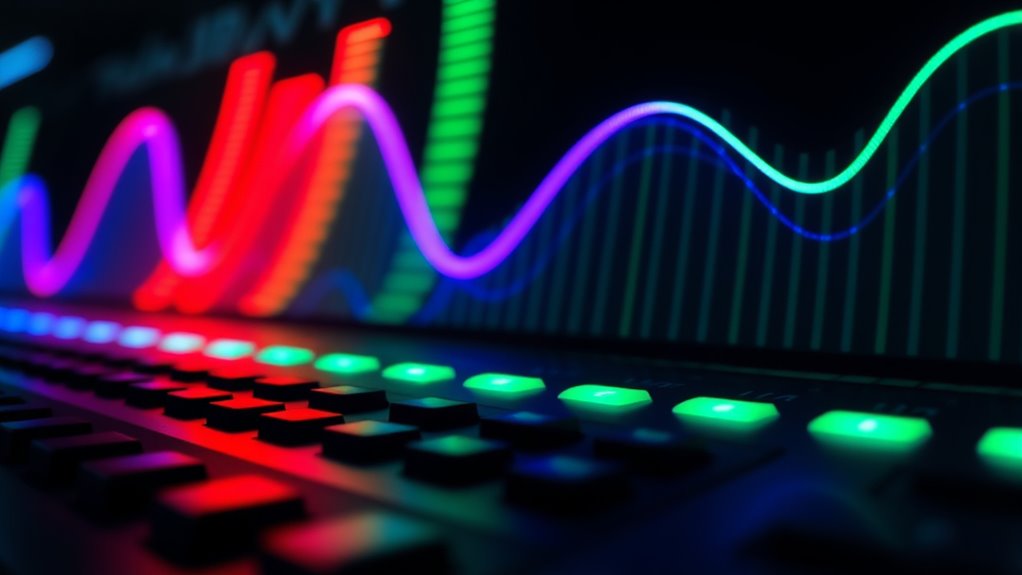
Visual Spectrum Analyzers
Visual spectrum analyzers are powerful tools that provide real-time graphical representations of audio frequency content, allowing you to see exactly which frequencies are present and how they change during playback. By visualizing the spectrum, you can identify areas where frequency masking occurs, helping you reduce overlapping sounds that muddy your mix. These analyzers also help detect harmonic distortion, revealing unwanted overtones that can distort clarity. With precise readings, you can adjust equalization to carve out space for individual instruments and vocals, ensuring each element shines without interference. Many software options include detailed markers and overlays for better understanding. Using a spectrum analyzer sharpens your ability to make informed EQ decisions, ultimately resulting in cleaner, more balanced audio that reveals hidden details.
Listening Tips to Detect Subtle Audio Elements

Detecting subtle audio elements requires focused listening and a keen ear for detail. To do this effectively, consider these tips:
- Focus on specific frequency ranges to identify frequency masking, where louder sounds hide softer ones.
- Listen for psychoacoustic effects, such as how our perception shifts with different tonal balances.
- Use high-quality headphones or speakers to uncover hidden nuances often masked by poor equipment.
- Adjust your listening environment to minimize background noise, sharpening your awareness of subtle cues.
Frequently Asked Questions
How Do Different Genres Influence Equalization Curve Choices?
Different genres influence your equalization curve choices because genre-specific mixing shapes what sounds best for each style. You consider listener preferences, adjusting bass, mids, and treble to enhance the desired mood. For example, hip-hop emphasizes bass, while classical highlights clarity. By tailoring your EQ settings to genre, you guarantee the sound aligns with expectations and creates an engaging experience, making your mix more compelling and suited for its audience.
Can Equalization Reveal Hidden Recording Flaws or Artifacts?
Imagine uncovering secrets hidden in plain sight—equalization can reveal recording flaws or artifacts you might miss otherwise. By adjusting the spectral masking and frequency masking effects, you can expose subtle issues like unwanted noise or distortions. This process acts like a spotlight, highlighting flaws buried in the mix. So, yes, equalization helps you detect hidden flaws, giving your recordings a cleaner, more polished sound.
How Does Room Acoustics Affect Perceived Equalization Adjustments?
Room acoustics considerably impact how you perceive equalization adjustments. When room reflections bounce around, they can mask or exaggerate certain frequencies, making your EQ adjustments seem different than intended. Acoustic treatment helps control these reflections, providing a clearer sound. By reducing unwanted echoes and resonances, you get a more accurate sense of your EQ changes, ensuring your adjustments truly enhance your audio without being misled by the room’s influence.
Are There Specific Equalization Settings for Live Versus Studio Recordings?
Imagine you’re mixing a live concert versus a studio track. For live recordings, you might boost midrange frequencies to improve vocal clarity and slightly reduce bass to prevent muddiness. In contrast, studio settings often emphasize bass enhancement for depth and clarity, while maintaining balanced vocal frequencies. Adjusting equalization settings based on the environment guarantees each recording sounds ideal, helping listeners enjoy clear vocals and rich bass regardless of the setting.
How Often Should I Revisit and Adjust Equalization Curves During Mixing?
You should revisit and adjust equalization curves throughout your mix to maintain ideal dynamic range and frequency balance. Regularly listen critically, especially after adding new elements or making significant changes. Don’t set and forget—frequent tweaks help uncover hidden details and prevent frequencies from masking each other. Trust your ears, and remember that small adjustments over time lead to a clearer, more balanced sound in your final mix.
Conclusion
By mastering equalization, you open the secret code to revealing hidden audio details that can transform your listening experience. Think of your ears as a treasure map, and equalization as the magic key that unlocks every hidden gem buried deep within the mix. With practice, you’ll uncover nuances so vivid they’re like discovering a new universe within your music. Immerse yourself, experiment, and let your soundscape burst into life like never before.