To use calibration microphones with your AV receiver, place the mic at your primary listening position, often at ear level, and away from reflective surfaces. Run the included auto-calibration setup so the receiver measures speaker output and room acoustics. It captures data to adjust speaker levels, delays, and EQ for a balanced sound. Following proper placement and calibration steps guarantees your system performs at its best. Keep exploring how fine-tuning can improve your audio experience even more.
Key Takeaways
- Place the calibration microphone at ear level and at the primary listening position for accurate room measurement.
- Ensure the microphone is centrally located between speakers, avoiding walls or reflective surfaces.
- Follow the AV receiver’s calibration setup instructions for optimal microphone placement and test tone emission.
- Remain still during calibration to ensure consistent and reliable measurement data.
- Use the receiver’s calibration results to adjust speaker levels, delays, and EQ for balanced sound in your room.
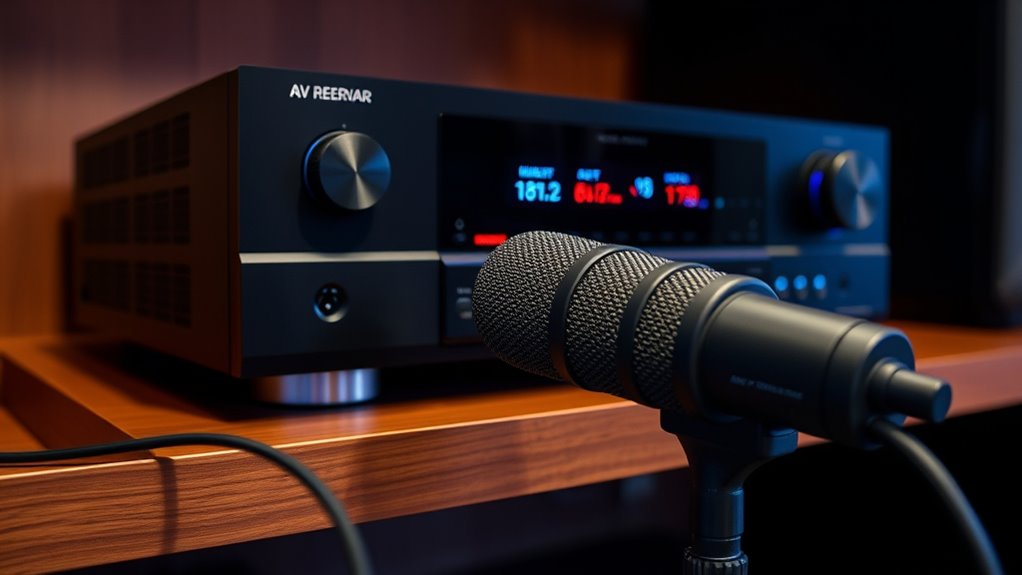
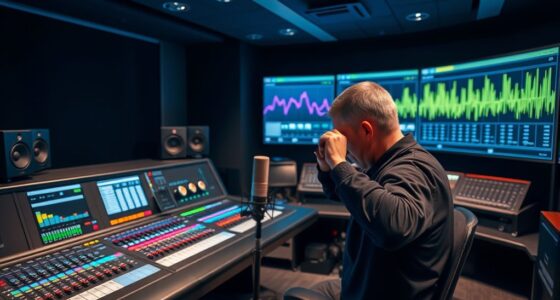
Calibration microphones are essential tools that help your AV receiver optimize sound quality by measuring room acoustics and speaker performance. When you set up your home theater or audio system, the room’s acoustics can considerably impact sound clarity and balance. Factors like wall reflections, furniture placement, and room size all influence how sound waves behave, making calibration crucial for achieving the best possible audio experience. Your AV receiver uses the calibration microphone to analyze these acoustics and adjust speaker settings accordingly, ensuring you get immersive, well-balanced sound.
Calibration microphones optimize your AV system by measuring room acoustics for balanced, immersive sound.
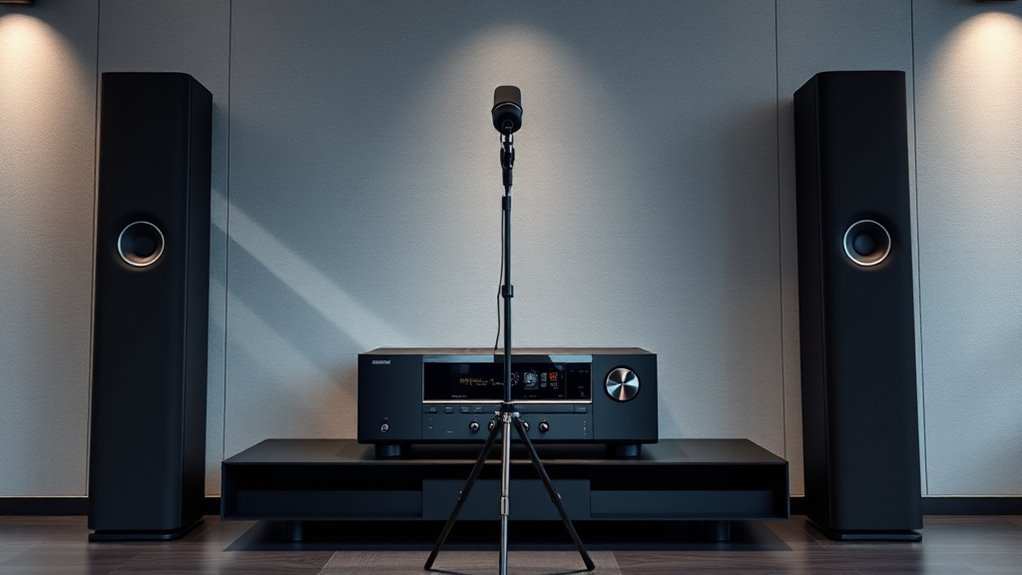
One of the most critical aspects of using calibration mics is microphone placement. When you position the microphone, you want to place it at the primary listening position—usually where you’ll be sitting during movie nights or music listening sessions. Typically, the microphone is placed at ear level, centrally located between your speakers, to accurately capture how sound reaches your ears. Proper placement helps ensure the measurements reflect real listening conditions, giving your receiver the data it needs to make precise adjustments. Avoid placing the mic too close to walls, corners, or reflective surfaces, as these can skew the measurements and lead to improper calibration.
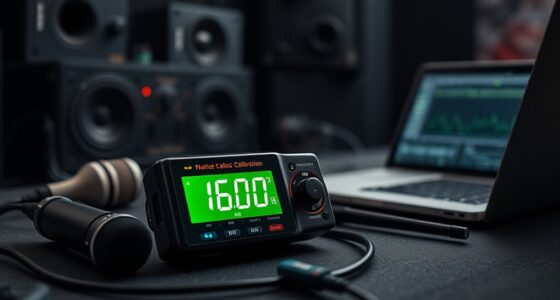
During the calibration process, your AV receiver emits test tones from each speaker while the microphone picks up the sound. It then analyzes the data to identify issues like timing delays, uneven volume levels, or frequency imbalances caused by room acoustics. The receiver uses this information to create a tailored EQ profile, adjusting for room reflections, speaker distances, and sound pressure levels. By doing so, it compensates for acoustic anomalies, helping you achieve clearer dialogue, richer bass, and more accurate spatial effects.
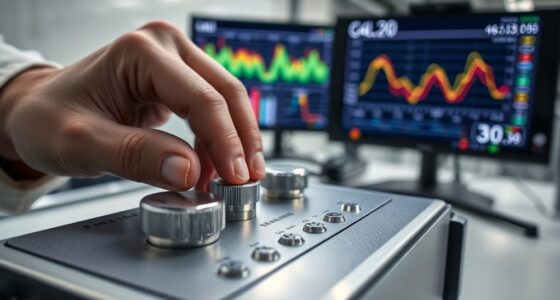
It’s important to follow the microphone placement instructions carefully. If the microphone moves considerably during calibration, the measurements could become unreliable. Some systems allow multiple microphone positions or multiple calibration runs to improve accuracy, especially in larger or more complex rooms. Taking the time to position the microphone correctly and remain still during calibration ensures that the adjustments are based on precise data, ultimately delivering a better listening experience.

ZXQDRE Measurement Microphone, Professional Calibrated Microphone with Individual Calibration File Compatible with MiniDSP, REW, Dirac Live, Plug and Play USB-C Mic for Speaker Design & Audio Tuning
Ultimate Accuracy: Each measurement microphone includes a unique calibration file tailored to its serial number. This ensures precise...
As an affiliate, we earn on qualifying purchases.
Frequently Asked Questions
Can Calibration Mics Improve Sound Quality in Large Rooms?
Yes, calibration mics can improve sound quality in large rooms. They help optimize your system by adjusting for room size and speaker placement, ensuring even sound distribution. Calibration measures how your speakers interact with the space, reducing issues like echo or dead spots. With a proper setup, you’ll notice clearer dialogue, richer bass, and a more immersive experience, no matter how big the room is.
Are Calibration Mics Compatible With All AV Receiver Brands?
Calibration mics aren’t compatible with all AV receiver brands, as compatibility depends on brand standards and microphone standards. You need to check if your receiver supports the specific calibration mic brand you’re considering. Some brands design their microphones to work only with certain models or brands, so verify compatibility before purchasing. If your receiver isn’t compatible, using an unsupported calibration mic won’t improve your sound quality and might cause issues.
How Often Should I Recalibrate My AV System Using the Mic?
Did you know that poor speaker placement and room acoustics can reduce sound quality by up to 50%? You should recalibrate your AV system at least once every six months, especially after rearranging your speakers or changing room furnishings. Regular calibration ensures your system accounts for room acoustics and speaker placement, maintaining ideal sound. Keep a routine to enjoy the best audio experience and catch any issues early.
Do Calibration Mics Require Calibration Themselves?
Calibration mics don’t require calibration themselves if they meet proper calibration standards, ensuring microphone accuracy. Manufacturers typically factory-calibrate these mics to maintain consistent performance. However, over time, their accuracy can drift, especially if they’re mishandled or damaged. To keep your system’s calibration reliable, periodically verify your mic’s performance or consider recalibrating it if you notice inconsistent audio calibration results, ensuring your AV system sounds its best.
Is Professional Calibration Better Than Using a Calibration Mic at Home?
You bet professional calibration beats DIY efforts every time! When you use professional equipment and sound engineering expertise, your system gets the perfect tuning, transforming your home theater into a cinematic experience. Home calibration with a mic is good, but it’s like trying to paint a masterpiece with a crayon. For true precision and ideal sound, investing in professional calibration ensures every note hits just right, making your setup stand out.

Dayton Audio EMM-6 Precision Omnidirectional Electret Condenser Microphone for Room Acoustic Analyzers and Audio Measurement Systems, Calibration Data File with Response Graph Included
Perfect for use with room acoustic analyzers and audio measurement systems
As an affiliate, we earn on qualifying purchases.
Conclusion
Using calibration mics with your AV receiver guarantees your sound system delivers balanced, immersive audio. Did you know that properly calibrated systems can improve sound accuracy by up to 30%? By taking the time to set up your calibration mic, you’ll enjoy richer dialogue, clearer music, and better overall home theater experience. It’s a simple step that makes a big difference—so don’t skip it and enjoy the full potential of your audio setup.

miniDSP UMIK-1 USB Measurement Calibrated Microphone
Unique calibration file for each product with sensitivity (SPL monitoring), Frequency
As an affiliate, we earn on qualifying purchases.

EVERSOLO EM-01 Measurement Microphone,Omnidirectional Calibrated Microphone, for Measurement REW, Dirac&More, Acoustic Calibration, Home Recording, Online Meetings, Live Streaming,
High Sensitivity Pickup, Equipped with a 6mm electret microphone chip and an omnidirectional design, this microphone offers exceptional...
As an affiliate, we earn on qualifying purchases.