To find the best spot for acoustic panels in most rooms, identify your reflection points using the mirror method—place panels where sound bounces off walls and near speakers or musical instruments. Focus on the first reflection points at ear level and corners for bass traps. Proper placement will reduce echoes and improve clarity. Keep in mind common mistakes and smart furniture choices to optimize your space—and there’s plenty more to discover on perfecting your room’s acoustics.
Key Takeaways
Place panels at first reflection points identified using the mirror method for effective sound absorption.
Target reflective surfaces like walls, ceilings, and corners for panel installation to reduce echoes.
Mount panels at ear level near sound sources and seating areas to control early reflections.
Combine absorption panels with diffusers and bass traps for balanced room acoustics.
Avoid overcrowding walls; position panels strategically to maintain aesthetic appeal and acoustic effectiveness.
Pyle-Pro PCO800 19'' Rack Mount 1800 Watt Power Conditioner w/ 8 Outlets
1800W POWER: Pyle's Power Conditioner is designed to improve the quality of power supplied to your home appliance...
As an affiliate, we earn on qualifying purchases.
Understanding How Sound Reflects in Your Room
Understanding how sound reflects in your room is essential for creating an ideal acoustic environment. Sound reflection occurs when sound waves bounce off surfaces like walls, ceilings, and furniture, affecting how you experience audio. Acoustic mapping helps you visualize these reflections, revealing areas where sound may echo or become muddled. By analyzing how sound reflects within your space, you can pinpoint problem spots that cause unwanted reverberation or dead zones. This knowledge guides you in placing acoustic panels or adjusting furniture to optimize sound quality. Recognizing reflection patterns also helps prevent issues like flutter echoes and excessive reverberation, ensuring clearer sound clarity. Mastering acoustic mapping empowers you to design a room that enhances sound absorption and diffusion effectively. Understanding sound behavior is key to creating a balanced and acoustically pleasing environment, enabling you to optimize room acoustics for the best listening experience. Additionally, applying sound reflection principles allows for more precise placement of acoustic treatments to achieve the desired acoustic outcome. Incorporating acoustic treatment techniques further refines the room’s sound quality, making it suitable for various audio needs. Developing a comprehensive acoustic plan can help you systematically address reflections and improve overall sound performance.
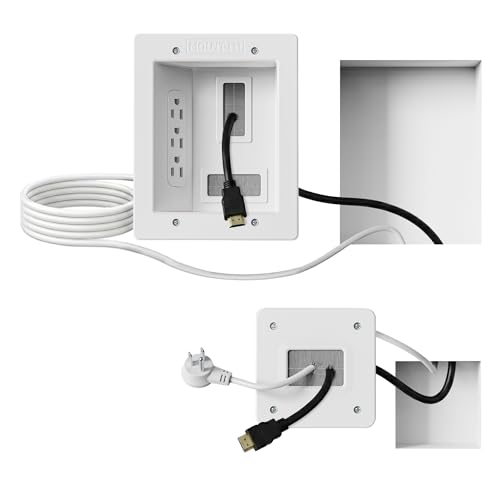
Perlegear in-Wall Cable Management Kit, TV Cord Hider for Wall Mounted TV and Speakers, Power and Low Voltage Wire Management. Includes Drill Template, Dust Bag and Drill Attachment for Easy Install
Cable Concealment: Say goodbye to messy wires! This complete in-wall cable management kit helps create a tidy, professional...
As an affiliate, we earn on qualifying purchases.
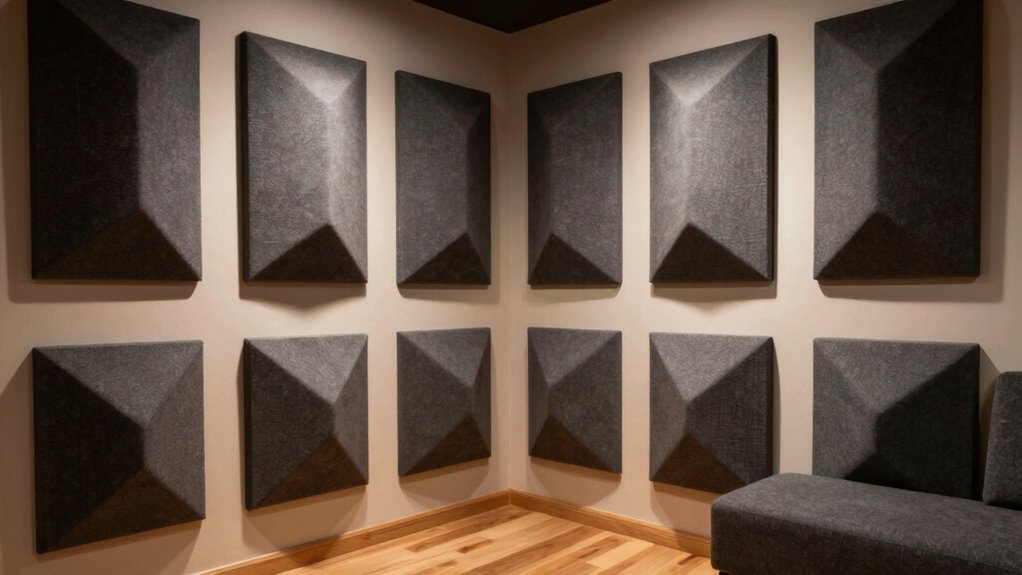
How to Identify the Best Walls and Spots for Acoustic Panels
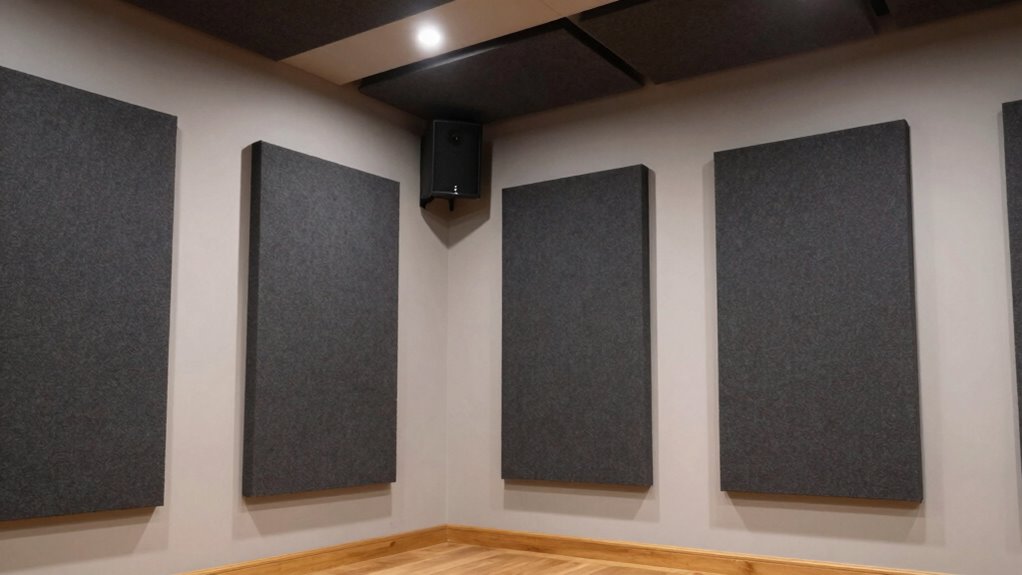
To effectively improve your room’s acoustics, you need to identify the walls and spots where acoustic panels will have the most impact. Start by examining your room for reflective surfaces like bare walls, ceilings, and corners, these are prime locations for sound absorption. When choosing material options, consider panels made from foam, fabric-wrapped fiberglass, or mineral wool—each offers different soundproofing qualities. Aesthetic considerations matter too; select panels that complement your decor, whether through colors, patterns, or custom designs. Focus on placing panels where sound reflections are strongest, typically on parallel walls or behind speakers. Additionally, understanding sound reflection points can help you target the most effective locations for panel placement. Using measurement devices can assist in accurately identifying these critical areas. Incorporating tools such as room analyzers can further enhance your ability to pinpoint high-reflection zones. Recognizing room dimensions and how they influence sound behavior can also guide optimal panel placement. Conducting a thorough acoustic analysis can provide valuable insights into problem areas and potential solutions. By evaluating these factors, you’ll ensure your acoustic treatment is both effective and visually appealing.
Mount-It! in-Wall TV Cable Concealer Kit with Recessed Power – Triple Outlet, 9ft Cord, and Hand Saw – Easy, Safe Cable Management for Organized TV and Home Theater Setups
Organized home theater setup – Eliminate messy wires and give your entertainment area a clean, modern look. This...
As an affiliate, we earn on qualifying purchases.
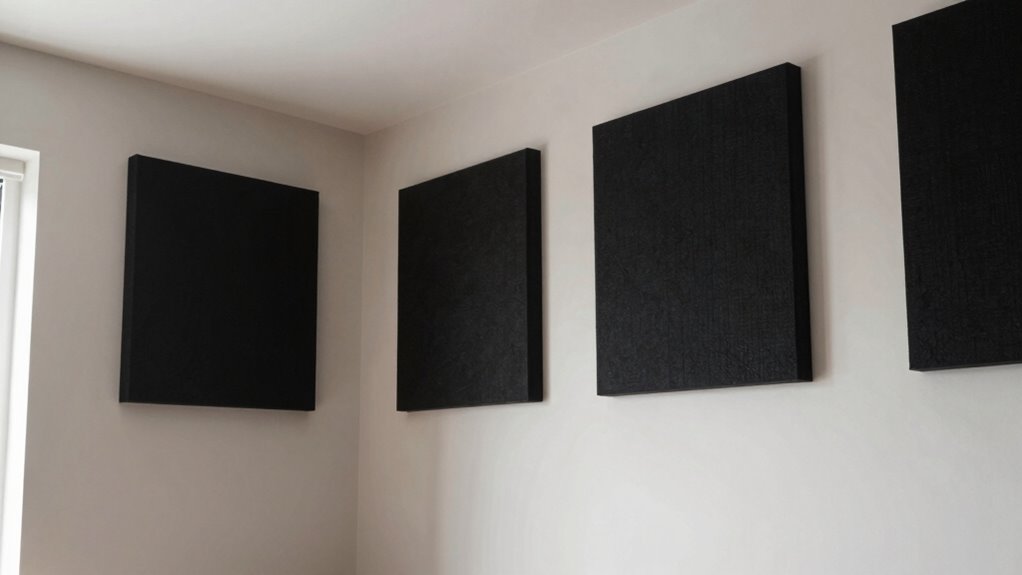
Where to Place Acoustic Panels for Maximum Sound Absorption
To get the best sound absorption, you need to focus on reflection zones and the first reflection points in your space. Placing panels at these key spots helps control echoes and improve sound clarity. Also, don’t forget to cover diffusion areas to distribute sound evenly throughout the room. Incorporating acoustic panels near support breakfast areas can enhance overall room acoustics, especially in spaces with high traffic or multiple sound sources. Using proper placement techniques ensures that your acoustic treatment is most effective in reducing unwanted noise and reverberation. Additionally, understanding sound reflection principles can help you optimize panel placement for even better results, supported by expert architectural solutions that consider unique room characteristics. Recognizing regional acoustic styles can also influence the strategic placement of panels to complement the room’s design and function.
Identify Reflection Zones
Where should you place acoustic panels to effectively reduce reflections? You need to identify the reflection zones where sound bounces off surfaces. You can also consider product roundups of acoustic panels and gear to select the best materials for your space. Focus on areas where sound waves travel directly from speakers or sources and hit walls, ceilings, or furniture. Proper material selection helps absorb these reflections and minimizes noise masking. Look for the first reflection points, usually on side walls and ceilings, to target for placement. Keep in mind that placing panels at these zones enhances clarity and sound quality. Consider the room’s layout and source positions to pinpoint these zones accurately. Understanding the sound reflection process can further help in designing an optimal acoustic treatment plan. Identifying reflection zones is crucial for effective placement, as it allows you to target areas where sound energy is most likely to cause echo or muddiness. By targeting reflection zones, you optimize panel effectiveness, creating a balanced acoustic environment that reduces echo and improves overall sound experience. Recognizing reflection points during room setup can significantly improve your acoustic treatment outcomes. Additionally, using proper placement techniques can further enhance your room’s acoustic performance.
Focus on First Reflection
Focusing on the first reflection points is crucial for maximizing acoustic panel effectiveness. These points are where sound waves bounce directly from your speakers or sound source to the walls, affecting clarity. To identify them, sit in your listening position and have someone move a mirror along the wall; you’ll see where panels should go. Proper placement enhances soundproofing techniques and minimizes echo. When choosing acoustic materials, opt for dense, porous fabrics or foam that absorb high frequencies efficiently. Use the following table to understand different material choices:
Material Type
Absorption Efficiency
Cost Range
Acoustic Foam
High
Moderate
Mineral Wool
Very High
Affordable
Fabric-Waced Panels
Balanced
Varies
Polyester Batting
Moderate
Low
Properly positioned panels at first reflection points improve sound clarity considerably.
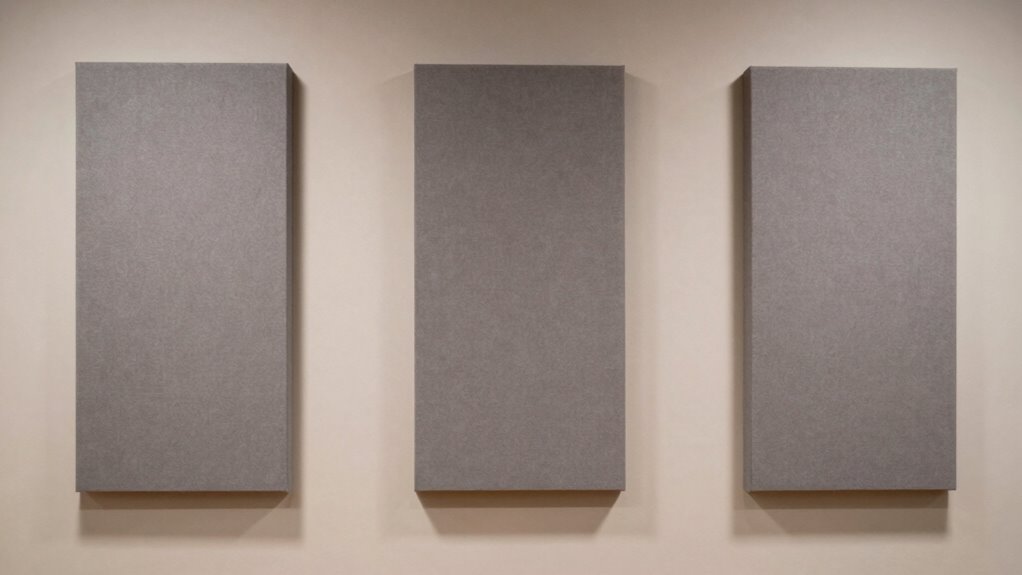
Cover Sound Diffusion Areas
Have you considered how diffusion can enhance your room’s acoustics? Covering sound diffusion areas helps balance sound waves and reduce echoes. Place acoustic panels strategically on walls with reflective surfaces, especially behind or near your main listening or recording spot. Incorporate soundproof curtains to block unwanted noise, and ensure bass trap placement targets low-frequency trouble spots. To maximize absorption:
Focus panels on rear wall areas prone to sound buildup
Use bass traps in corners to control low-end resonance
Overlay soundproof curtains on windows to dampen reflections
Scatter sound by placing panels away from direct sound sources for better diffusion
Audyssey Official ACM1-X Individually Calibrated Microphone for MultiEQ-X Supported AV Receivers, Serialized Omnidirectional Microphone for Room Acoustics Measurement, Correction & Calibration Mic
PAIR WITH MULTEQ-X - Audyssey ACM1-X calibration microphone for AVR is exclusively designed for use with the MultEQ-X...
As an affiliate, we earn on qualifying purchases.
Arranging Panels to Reduce Echo and Improve Sound Clarity
To effectively reduce echo and enhance sound clarity, you should carefully consider how you arrange your acoustic panels. Placing bass traps in corners helps absorb low-frequency reflections that cause muddiness. Use sound diffusion panels on walls where sound waves bounce back, breaking up echo and spreading sound more evenly. Avoid clustering panels solely on one side; instead, distribute them strategically across the room to prevent sound from bouncing between surfaces. Combining bass traps with diffusers creates a balanced environment, reducing reverberation and improving overall clarity. Remember, the goal is to dampen problematic reflections without deadening the room, so adjust panel placement based on your room’s specific acoustics for ideal results. Additionally, understanding the room’s acoustic characteristics can guide you in optimizing panel placement for the best sound quality. Considering room acoustics can help you identify the specific areas where sound reflections are most problematic, enabling more targeted placement of your panels.
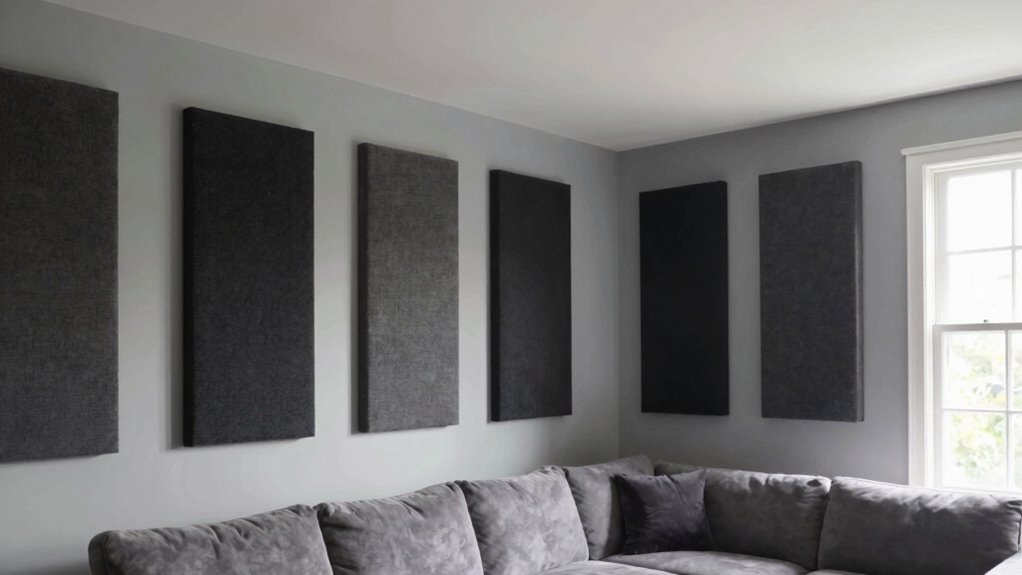
Positioning Panels Near Sound Sources for Better Effectiveness
Placing acoustic panels near sound sources, such as speakers or musical instruments, substantially boosts their effectiveness. This strategy enhances sound control and improves overall room acoustics by targeting problem areas directly. To optimize wall treatments and soundproofing techniques, position panels where sound originates to absorb and diffuse early reflections. Additionally, understanding different sound absorption materials can help select the most suitable panels for your space. Incorporating room-specific measurements can further refine panel placement for optimal acoustic performance.
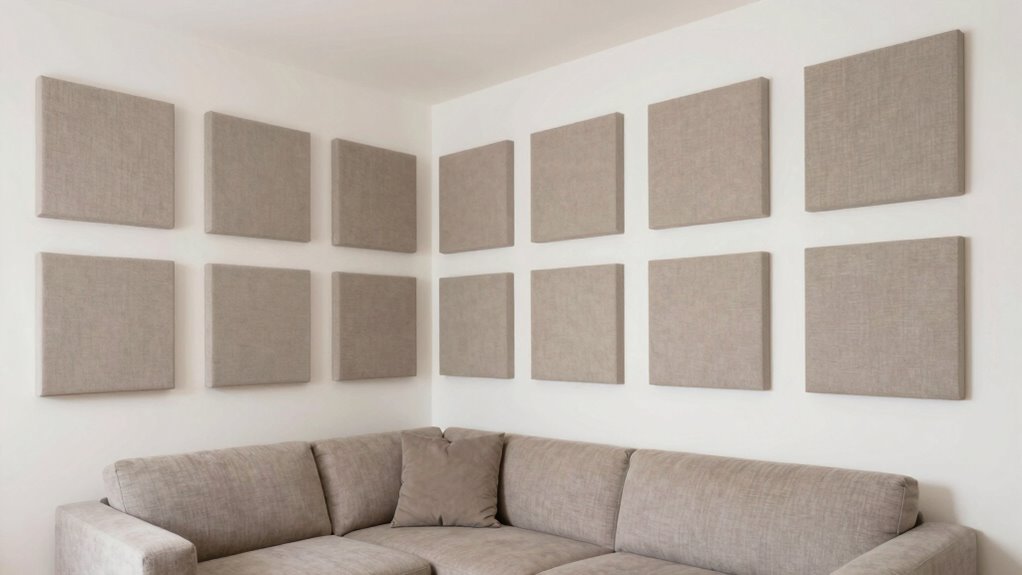
Using Room Furniture and Layout to Enhance Acoustic Treatment
Your room furniture and layout play a vital role in improving acoustic treatment. By strategically placing furniture and considering the room’s design, you can enhance sound absorption and diffusion. Paying attention to ideal panel positioning and overall room layout helps you create a more balanced and clear listening environment.
Strategic Furniture Placement
Strategic furniture placement plays a crucial role in optimizing your room’s acoustics. By thoughtfully arranging your furniture, you can reduce echoes and improve sound clarity. Position sofas and chairs to create a balanced sound field, avoiding large furniture against walls that can cause unwanted reflections. Incorporate decorative accents like rugs and curtains to absorb sound and soften harsh reflections. Use lighting arrangements to highlight key areas and prevent shadows that could disrupt sound flow. Keep pathways open to ensure sound waves move freely without obstruction. Additionally, placing bookshelves or cabinets can serve as diffusers, dispersing sound evenly throughout the space. Proper placement of furniture and accents enhances overall acoustics without overcrowding, making your room sound better naturally.
Optimal Panel Positioning
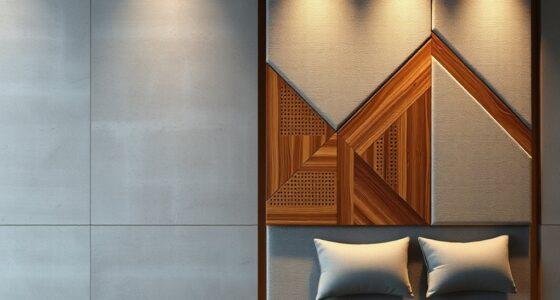
Since furniture and room layout influence how sound waves travel and reflect, positioning acoustic panels in harmony with these elements can substantially boost their effectiveness. Focus on material selection to guarantee your panels absorb sound efficiently while blending seamlessly with your decor. Choose materials that complement your aesthetic, such as fabric-covered panels for a sleek look or wood finishes for warmth. Place panels at reflection points near furniture and walls where sound bounces most. Integrate panels thoughtfully to maintain visual harmony, making them feel like part of your room’s design rather than an afterthought. This strategic positioning optimizes sound treatment without sacrificing style, creating a balanced environment that enhances audio quality and aesthetic appeal simultaneously.
Room Layout Considerations
Incorporating room furniture and layout into your acoustic treatment plan can considerably improve sound quality. Strategic placement of furniture and accessories helps absorb or diffuse sound waves, reducing echoes. Using soundproof curtains can block unwanted external noise and prevent sound leakage, enhancing overall clarity. Bass traps placed in corners can absorb low-frequency sound waves, preventing muddiness. Keep in mind that cluttered or overly sparse rooms can negatively impact acoustics. Consider arranging seating to avoid reflective surfaces directly facing speakers. Adding soft furnishings, rugs, and curtains helps break up sound reflections. Properly positioned bass traps and soundproof curtains work together with your furniture layout to create a balanced, acoustically friendly environment. This approach ensures your room sounds natural and minimizes unwanted echoes or bass buildup.
Common Placement Mistakes to Avoid and How to Fix Them
One common mistake is placing acoustic panels in spots where they won’t effectively absorb sound, such as high above ear level or on uneven surfaces. This reduces their impact and wastes your effort. To fix this, position panels at ear level or where sound reflections are strongest. Avoid using panels solely as decorative accents without considering their acoustic role; blending them into your decor through color coordination can enhance aesthetics without sacrificing function. Keep in mind that uneven surfaces can diminish sound absorption, so mount panels securely on flat, stable walls. Proper placement ensures maximum sound absorption, improves room acoustics, and maintains visual harmony. By avoiding these mistakes, you create a balanced environment that looks good and sounds even better.
Final Tips for Fine-Tuning Your Room’s Acoustic Balance
To fine-tune your room’s acoustic balance, start by evaluating how sound behaves after your initial panel placement. Listen carefully for any lingering echoes or dead spots. Adjust your panels as needed, considering different acoustic panel styles for both function and aesthetics. Incorporate decorative accents to enhance visual appeal without sacrificing sound quality. Remember, small tweaks can make a big difference. Here are some final tips:
Experiment with repositioning panels for ideal sound absorption
Mix and match different acoustic panel styles to suit your decor
Use decorative accents to disguise panels while maintaining effectiveness
Test the room’s sound after each adjustment to assure improvements
These simple steps help achieve a balanced, professional sound while keeping your space stylish.
Frequently Asked Questions
Can Acoustic Panels Be Painted or Customized to Match Room Decor?
Yes, you can paint or customizeacoustic panels to match your room decor. Many panels are designed with paint customization in mind, allowing you to easily match them to your walls. You can also explore decorative options like fabric covers, stencils, or murals to personalize your panels. Just make certain you use non-toxic, breathable paint to maintain the acoustic properties, so your sound quality stays intact while enhancing your space’s aesthetic.
How Do I Determine the Optimal Number of Panels Needed?
Like a wise old sage once said, “Measure twice, cut once.” To determine the best number of panels, start by evaluating your room size and how much sound absorption you need. Larger rooms or those with more echo require higher panel density. Typically, cover about 15-20% of your wall surface area with panels. Adjust based on your room’s acoustics and your desired sound quality.
Are There Specific Panel Types Better for Certain Room Uses?
Yes, certain panel types suit specific room uses. For example, fabric-covered panels with sound absorption materials like foam or mineral wool work well in recording studios for maximum sound quality and aesthetics. In living rooms, decorative panels with attractive aesthetics enhance decor while providing sound absorption. Choose panels based on your room’s function, prioritizing sound absorption materials for performance and aesthetics that match your decor.
How Long Does It Take to Notice Acoustic Improvements After Installation?
Like dawn breaking after a long night, you’ll notice acoustic improvements within a few hours to a couple of days after installation. The installation timeline varies based on room size and panel placement, but the noticeable effects—such as clearer sound and reduced echo—become evident quickly. Typically, you’ll experience a marked difference soon after setup, making your space more comfortable and acoustically balanced faster than you might expect.
Can I Install Acoustic Panels Myself or Should I Hire a Professional?
You can definitely do a DIY installation of acoustic panels if you’re comfortable with basic tools and measurements. However, for the best results and to avoid mistakes, consider professional assistance, especially for larger or more complex setups. Professionals ensure proper placement and secure mounting, saving you time and effort. If you’re confident in your skills, DIY is a cost-effective option, but don’t hesitate to seek expert help if needed.
Conclusion
By thoughtfully placing your acoustic panels, you’ll master your room’s sound like a seasoned bard in a tavern. Remember, every space is unique—treat it as your personal canvas. Avoid the common pitfalls, and don’t be afraid to experiment until your sound is as clear as a knight’s lance. With patience and a keen ear, you’ll create a perfect acoustic balance, making your space feel as harmonious as a well-tuned lute in a bustling castle hall.
Just exploring wall materials and acoustic performance can reveal surprising ways to enhance your space’s soundproofing—discover which options truly make a difference.
Ceiling treatment ideas for balanced sound combine stylish design with acoustic effectiveness—discover how to transform your space into a perfect harmony.
Because technical limitations and setup choices often block a full soundstage, understanding how to optimize your system can transform your audio experience.