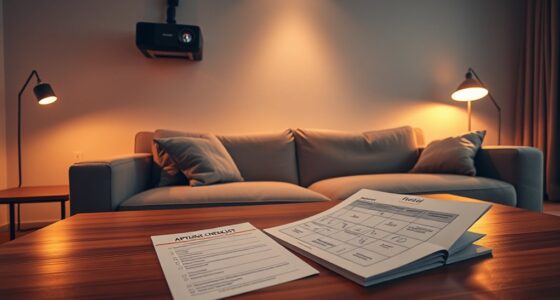

The key placement rule for your UST projector is to position it perpendicular to the wall at the correct distance for your screen size, ensuring a flat, focused image without keystone distortion. Measure carefully from the projector to the wall, adjusting height to match the manufacturer’s recommendations. Proper placement prevents common issues like blurriness, skewed images, or shadowing. Keep going, and you’ll discover how fine-tuning your setup makes all the difference.
Key Takeaways
- UST projectors require precise placement perpendicular to the wall to avoid keystone distortion and ensure a clear, rectangular image.
- Proper distance from the wall is critical; too close or far can cause focus issues and cropping.
- Positioning the projector at the correct height and angle minimizes the need for keystone correction.
- Wall surface quality and ambient light significantly impact image brightness and clarity for ultra-short-throw setups.
- Accurate measurements and alignment from the start prevent later adjustments, saving time and optimizing image quality.

Valerion StreamMaster Plus 4K Laser Projector - 300" IMAX Enhanced Home Theater, 4ms |240Hz Response, Gaming Projector with 3D & Dolby Vision, HDR10, GTV, Smart Home & AI Assistant
Speed and Power Like Never Before - Experience unmatched speed with the AI-9618 chipset, 4GB RAM/ 128GB ROM—delivering...
As an affiliate, we earn on qualifying purchases.
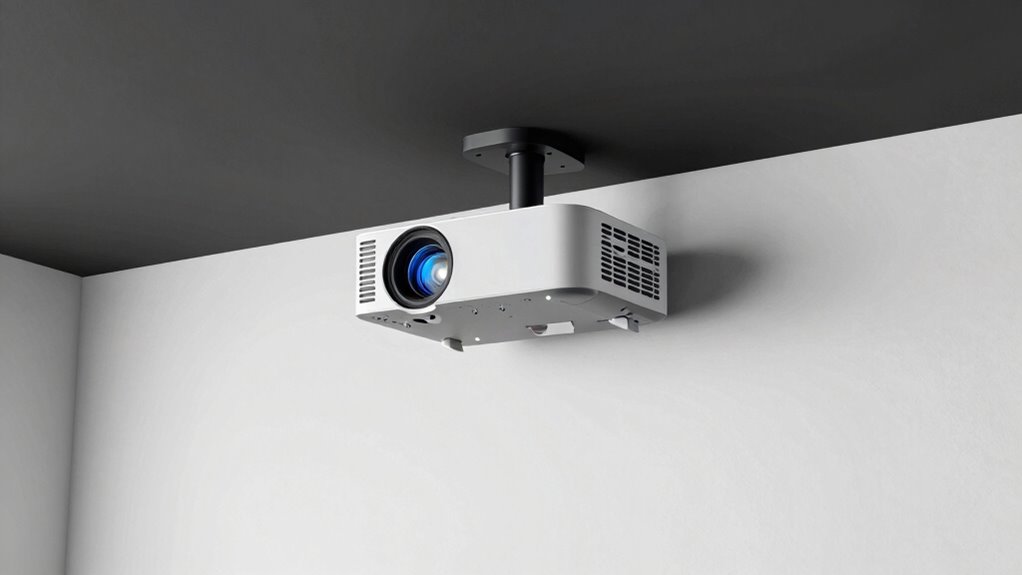
What’s the Key Placement Rule for Your UST Projector?
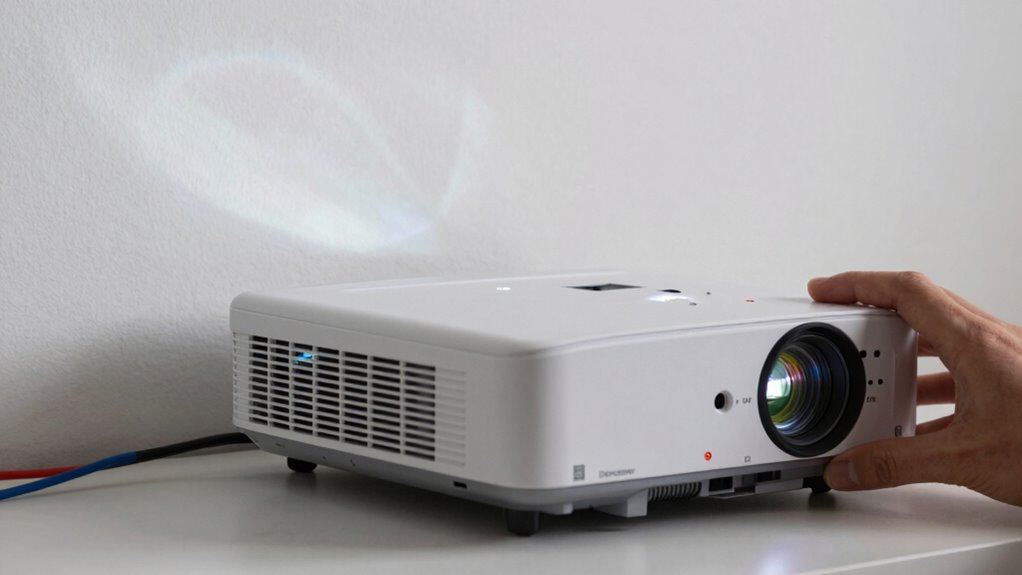
Are you wondering where to place your ultra-short throw (UST) projector for the best image quality? The key is to focus on the projection angle and wall compatibility. You want your projector to be positioned very close to the wall, usually just inches away, so it creates a sharp, bright image without distortion. Confirm the projection angle is correct—it should be perpendicular or nearly perpendicular to the wall to avoid keystone distortion. Wall compatibility is vital; your wall needs to be flat, smooth, and light-colored for optimal results. Avoid textured or dark walls, which can reduce brightness and clarity. Proper placement ensures a crisp picture and avoids the need for constant adjustments later. Additionally, understanding the content formats and digital concepts involved can help you optimize your setup for various media types. Ensuring your wall surface is suitable and proper projector placement will significantly impact your viewing experience. With the right positioning, your UST projector will deliver a stunning image every time.

Epson Home Cinema 980 3-Chip 3LCD 1080p Projector 4,000 Lumens Color and White Brightness, Streaming/Gaming/ Media Room, Built-In Speaker, Auto Picture Skew, 16000:1 Contrast, 2 HDMI Ports
Exceptional Picture Quality — Provides stunning, detailed 1080p images and fast data processing that’s optimized for fast-action sports,...
As an affiliate, we earn on qualifying purchases.
How to Measure Distance and Height for Perfect UST Projector Placement
To get the best image quality, you need to measure the distance between your projector and the screen carefully. You’ll also want to determine the right height so the image aligns perfectly. Accurate measurements guarantee your UST projector is positioned for ideal viewing without guesswork. Additionally, understanding filter sizing/flow can help ensure your projector setup remains efficient and free of obstructions. Properly accounting for time zone differences can also be crucial if you’re coordinating setup or viewing schedules across multiple locations.
Measuring Distance Accurately
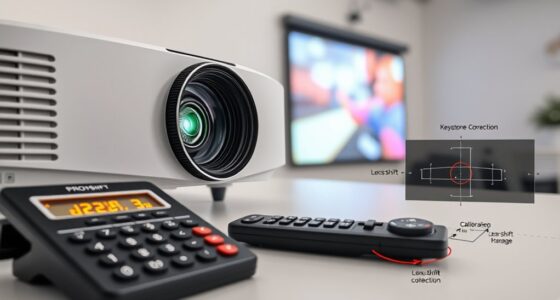
Accurately measuring the distance and height for your ultra-short throw (UST) projector is essential to achieving a perfect image. Precise measurements help minimize lens distortion and reduce the need for keystone correction, which can degrade picture quality. Use a tape measure or laser distance tool to determine the exact distance from your projector’s lens to the screen or wall. Keep the projector level and at the recommended height specified by the manufacturer. Remember, small miscalculations can cause distortion or uneven edges. Double-check your measurements before installation to ensure the projector is positioned correctly. Proper measurement guarantees a sharp, undistorted image and minimizes the reliance on digital corrections, which can compromise clarity and color accuracy. Additionally, understanding the placement rules for UST projectors helps optimize image quality and viewing experience.
Calculating Optimal Height
Properly calculating the ideal height for your ultra-short throw (UST) projector guarantees a seamless viewing experience. To do this, consider the projection angles needed for a clear image without distortion. Ceiling mounts are popular for precise height placement, but you must measure carefully. Use a tape measure to determine the distance from the ceiling to your screen’s top edge. Adjust the mount height so the projector’s lens aligns with the optimal projection angle, typically between 10° and 15°. Here’s a quick reference:
| Screen Height | Mount Height | Projection Angle |
|---|---|---|
| 4 ft | 3.5 ft | 12° |
| 5 ft | 4.5 ft | 11° |
| 6 ft | 5.5 ft | 10° |
Accurate measurements ensure perfect alignment and image quality.

TOWOND Projector Screen and Stand, 150 inch Indoor Outdoor Projection Screen, Portable 16:9 4K HD Rear Front Movie Screen with Carry Bag Wrinkle-Free Design for Home Theater Backyard Cinema
Projector Screen with Stand. 150-inch diagonal, 160°wide viewing angle, aspect ratio 1:1 and 16:9 4k HD portable projector...
As an affiliate, we earn on qualifying purchases.
Why Proper Placement Matters for Image Quality
The placement of your UST projector directly impacts the clarity and sharpness of the image you see. A proper projection angle ensures the image is evenly aligned on the screen, preventing distortion or keystone effects. If you place the projector too close or at an awkward angle, the picture may appear skewed or blurry. Ambient light also plays a vital role—excessive light can wash out the image, reducing contrast and detail. By positioning your projector correctly, you minimize these issues, guaranteeing a crisp, vibrant picture. Adjusting the projection angle helps you achieve a level image, while controlling ambient light enhances overall quality. Proper placement isn’t just about convenience; it directly affects the sharpness, color accuracy, and viewing experience you get from your UST projector. Smart positioning ensures you get the best possible image quality with minimal setup hassle, especially when considering projection geometry principles that optimize visual clarity. Additionally, understanding image distortion factors can help you make more informed placement decisions. Being aware of lens shift options can also aid in fine-tuning image alignment without repositioning the entire projector. Recognizing the importance of throw distance can further improve image focus and sharpness.

Official Licensed Google TV Smart Projector, HAPPRUN 4K UHD Home Theater with Dolby Sound, Wi-Fi & Bluetooth, Built-in Streaming Apps, Compatible with Games Consoles & Smartphone, Indoor & Outdoor Use
[ Built-in Official Licensed Google TV ] - Without additional equipment, the smart projector can directly access Netflix,...
As an affiliate, we earn on qualifying purchases.
Common Placement Mistakes That Cause Image Problems
Many common placement mistakes can lead to significant image issues with your UST projector. One major error is incorrect projection angles, which can cause distorted images or uneven focus. Wall mounting at the wrong height or angle often results in keystone distortion or cropping. Additionally, ignoring proper placement rules can lead to shadowing or glare, reducing picture clarity. Here’s a quick overview:
| Mistake | Effect | Solution |
|---|---|---|
| Improper wall mounting | Keystone distortion | Mount at recommended height |
| Incorrect projection angle | Image skew or trapezoid | Adjust projector tilt and angle |
| Wrong distance from wall | Blurry or cropped image | Follow recommended throw ratio |
| Ignoring setup guidelines | Shadowing or glare | Clear obstacle-free placement |
| Failing to consider projector placement rules | Image quality issues | Learn and follow proper placement guidelines |
Tips for Fine-Tuning Focus and Alignment After Setup
After setting up your UST projector, take a moment to fine-tune the focus for a sharp image. Make small adjustments until everything appears clear and crisp. Then, verify the projector is properly aligned to avoid keystone distortion and get the best picture quality. Proper projection placement is also essential to achieve optimal image quality and viewing experience. Understanding the dream symbolism behind time and life can help you better interpret what your projections might mean on a subconscious level. Additionally, paying attention to projection techniques can significantly enhance your overall setup and viewing results. Incorporating NEAT principles into your setup process can also help you maintain an efficient and effective viewing environment. Furthermore, understanding how projection alignment impacts image clarity can save you time during setup and ensure consistent results.
Adjust Focus Precisely
Achieving sharp focus is essential for a clear, vibrant projected image, but even after initial setup, fine-tuning may be necessary. To do this precisely, start with lens calibration to ensure the lens is correctly aligned and optimized. Adjust the focus ring gradually, checking the image at different points on the screen to avoid blurriness. Be mindful of ambient lighting, as excessive light can make it harder to see if the image is truly sharp. If needed, reduce ambient lighting to better evaluate focus. Small tweaks can make a significant difference, so take your time and check the focus from multiple angles. Fine-tuning guarantees your projector delivers the best possible image quality, making your viewing experience more immersive.
Align Projector Properly
Properly aligning your projector guarantees a sharp, distortion-free image and enhances overall viewing quality. Start by adjusting the projection angles to ensure the image is centered and evenly stretched across the screen. Use your mounting hardware to fine-tune the tilt and height, preventing keystone distortion. Keep these tips in mind:
- Check the projection angles regularly to maintain proper alignment.
- Use adjustable mounting hardware for precise angle and height adjustments.
- Test the image after each tweak to confirm focus and distortion are minimized.
- Additionally, consider the placement of multiple projectors to ensure seamless blending and consistent image quality across larger screens.
- Remember that accurate setup can greatly reduce the need for later adjustments, saving time and effort.
- Regularly consulting alignment best practices can further improve your setup and prolong projector lifespan.
- Performing periodic calibration helps maintain optimal image quality over time.
- Properly managing projector placement can also help reduce shadows and glare, improving the overall viewing experience.
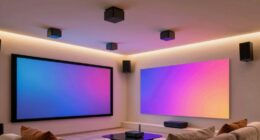
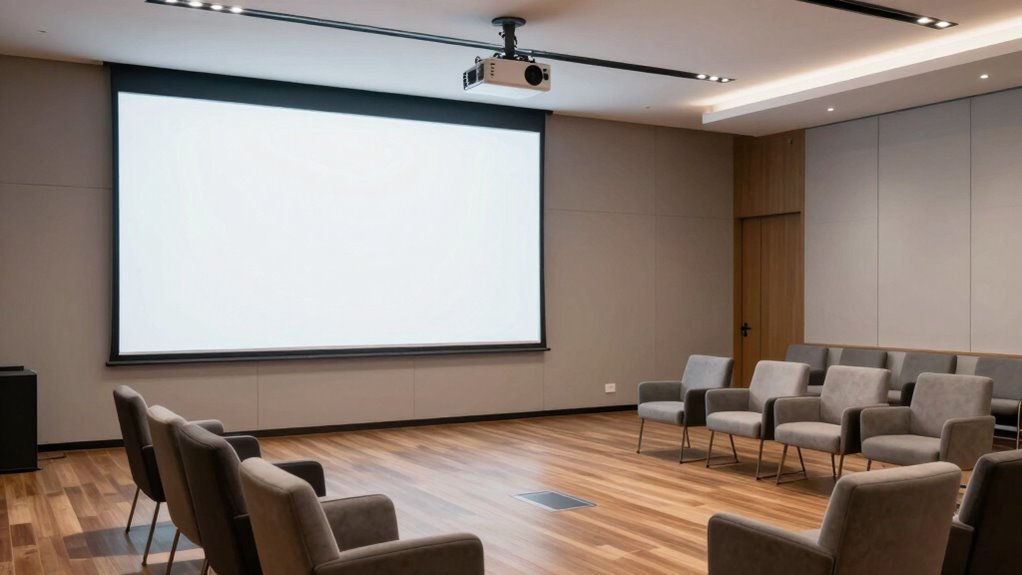
Setting Up in Different Room Sizes and Layouts
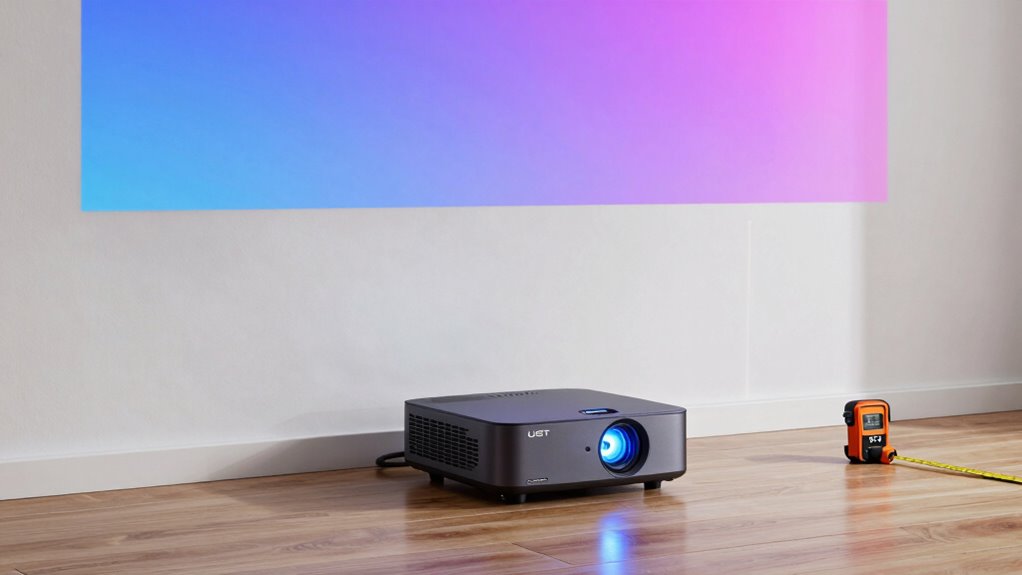
Choosing the right projector placement depends heavily on your room size and layout. In small rooms, position the projector closer to the screen to minimize image distortion and guarantee sharp focus. For larger spaces, you might need a longer throw distance or even a ceiling mount. Pay attention to room acoustics; sound quality can influence your viewing experience, so consider installing speakers or soundproofing if needed. Ambient lighting also plays a vital role: in bright rooms, use a projector with higher lumens and control light sources to reduce glare. For layouts with windows or multiple light sources, blackout curtains or dimmable lights help improve image clarity. Adjust your setup accordingly, balancing distance, sound, and light to optimize image quality in any room size.
Troubleshooting Placement Issues: What to Do When the Image Isn’t Right
When your projector image isn’t right, the first step is to identify the specific problem, such as distortion, blurriness, or keystone effect. Once you know the issue, you can take targeted action. To improve your setup:
Identify and address specific projector issues like distortion, blurriness, or keystone effect for optimal image quality.
- Adjust the screen size to match the projector’s ideal throw ratio
- Increase projector brightness if the image appears dim or washed out
- Reposition the projector to eliminate keystone distortion and ensure even focus
Pay attention to how these adjustments affect image clarity and size. Proper placement helps to avoid common issues, especially with UST projectors that rely heavily on accurate positioning. Addressing these factors ensures a clear, sharp image without compromising screen size or brightness.
Frequently Asked Questions
Can UST Projectors Be Used on Uneven or Textured Surfaces?
Yes, UST projectors can be used on uneven or textured surfaces, but the image quality might suffer. The projection surface’s texture can cause distortion or blurriness, especially on highly textured surfaces. To get the best results, choose a relatively smooth surface or use a projection screen designed for textured surfaces. Adjusting the projector’s settings can also help compensate for surface irregularities, improving clarity and focus.
How Does Ambient Light Affect UST Projector Placement Choices?
Ambient light greatly impacts your UST projector placement choices. When there’s high ambient light, you should position the projector closer to the screen to ensure a bright image, as increased distance can cause the image to wash out. Conversely, in darker environments, you can place the projector slightly farther back. Carefully consider ambient light levels during projection placement to achieve the best image quality and clarity.
Are There Specific Wall Colors That Improve Image Quality?
You’ll notice that wall color substantially impacts image enhancement. Opt for neutral shades like matte white or light gray, which reflect light evenly and boost brightness and contrast. Avoid dark or glossy walls, as they cause glare and distort image clarity. By choosing the right wall color, you guarantee your ultra-short throw projector delivers the best possible picture quality, making your viewing experience sharper, clearer, and more immersive every time.
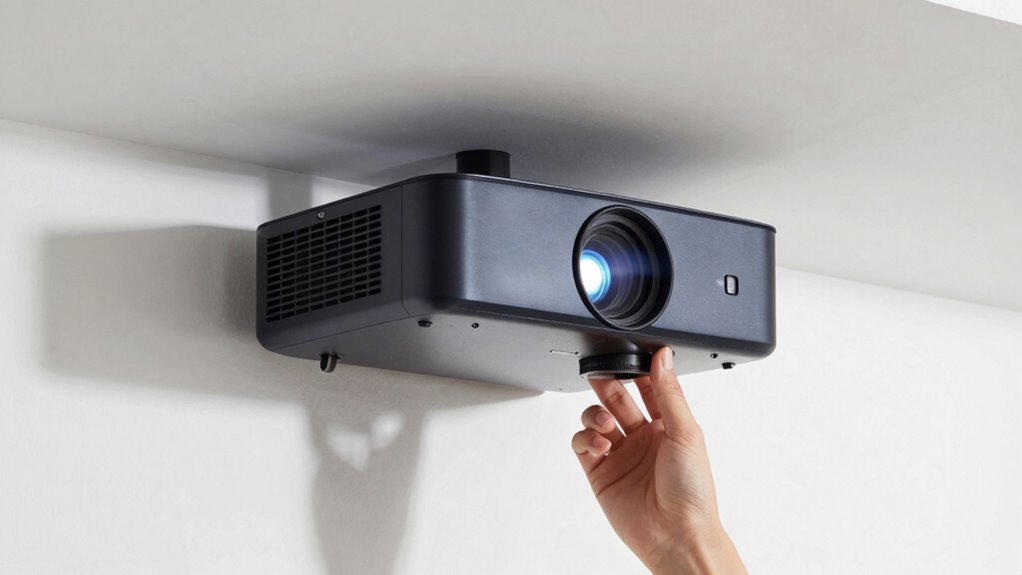
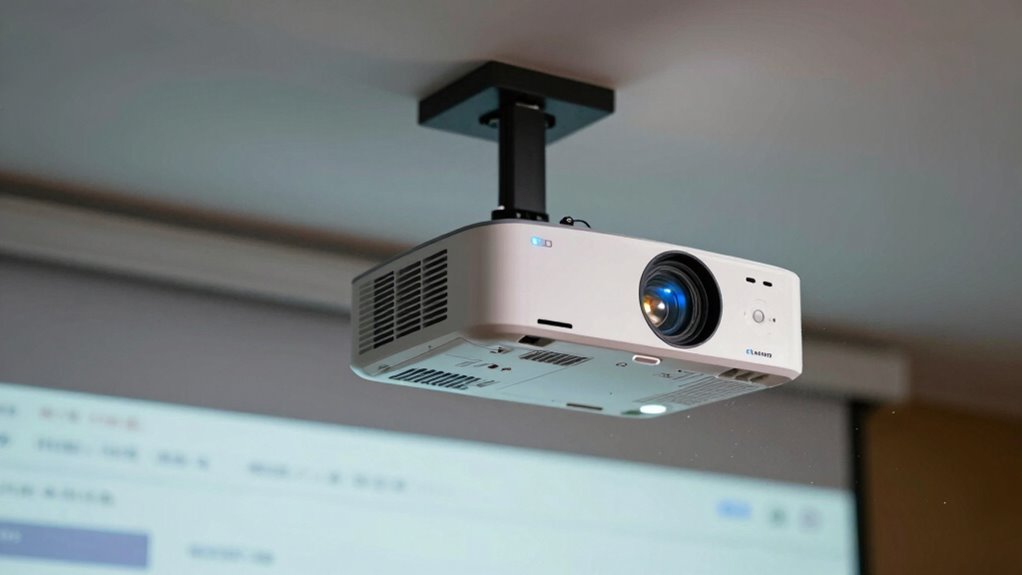
Is Ceiling Mounting Recommended for Optimal UST Projector Setup?
Ceiling mounting is highly recommended for ideal UST projector setup because it offers excellent mounting stability and simplifies installation. By mounting the projector on the ceiling, you guarantee a secure position that reduces vibrations and movement, which can affect image quality. Plus, it keeps the setup clean and unobtrusive, making it easier to access controls and maintain. Overall, ceiling mounting provides a reliable and hassle-free way to get the best picture quality.
How Often Should I Recalibrate My UST Projector After Setup?
You should recalibrate your UST projector at least once every six months to maintain ideal image quality. Follow a regular recalibration schedule, especially if you notice color inconsistencies or image distortion. Factors like changing ambient conditions or projector usage can affect calibration, so stay proactive. Recalibrating ensures your projector continues delivering sharp, accurate visuals, and helps you avoid image quality issues down the line.
Conclusion
Remember, mastering your UST projector’s placement is like tuning a fine instrument—you’ll reveal stunning visuals that transform your space into a cinematic haven. By following the key rules and avoiding common pitfalls, you’ll create an immersive experience that draws viewers in like a magnet. So, take the time to fine-tune, adjust, and perfect your setup. With patience, you’ll turn your room into a vivid canvas where every image tells a story.