
To guarantee safe, secure ceiling mounting, choose a mount that matches your ceiling material and supports your device’s weight, with adjustable features for future upgrades. Gather the right tools like a drill, level, and anchors, and follow proper installation steps—mark, drill, and tighten securely into structural supports. Always verify weight limits, inspect regularly, and avoid overloading. If you keep these safety tips in mind, you’ll set up a reliable, long-lasting mount that blends seamlessly with your space.
Key Takeaways
- Verify ceiling material and weight capacity to ensure a secure, stable mount.
- Use appropriate anchors and screws, anchoring into structural supports, not just drywall.
- Regularly inspect mount security, tighten bolts, and check for wear or corrosion.
- Follow manufacturer guidelines and building codes for safe installation and long-term safety.
- Position mounts to avoid interference with wireless signals and maintain a clean, unobtrusive setup.

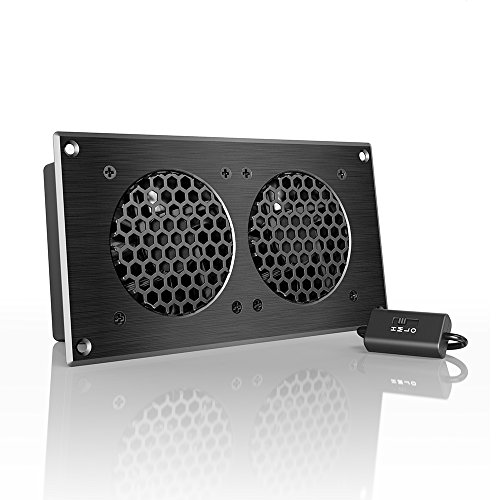
AC Infinity AIRPLATE S1, Quiet Cooling Fan System 4" with Speed Control, for Home Theater AV Cabinets
An ultra quiet fan system designed for cooling cabinets that requires minimal noise.
As an affiliate, we earn on qualifying purchases.
Choosing the Right Ceiling Mount for Your Needs

Selecting the right ceiling mount depends on your specific needs and the equipment you plan to install. First, consider the ceiling material selection—whether it’s drywall, concrete, or ceiling tiles—as this influences the type of mount you need. Different materials require different anchors or mounting hardware to guarantee stability. Additionally, choosing a mount with adjustability features can help accommodate future changes or upgrades. Next, pay attention to weight capacity considerations; your mount must support the weight of your equipment safely. Overloading a mount can lead to accidents or damage. Measure your equipment carefully and choose a ceiling mount rated for at least that weight. Additionally, consider the mount’s compatibility with ceiling types and adjustability to ensure a proper fit and flexibility for positioning. Making these informed choices ensures a secure, durable installation tailored to your space. Understanding the appropriate ceiling material can also help you select the most effective mounting hardware. Considering automation technologies can also improve installation efficiency and future scalability. Being aware of nutritional value of juices and how to select the right type for your needs can also influence your overall safety and health when using or installing equipment related to food preparation or storage.
AC Infinity AIRPLATE S5, Quiet Cooling Fan System 8" with Speed Control, for Home Theater AV Cabinets
An ultra-quiet UL-certified fan system designed for cooling cabinets that requires minimal noise.
As an affiliate, we earn on qualifying purchases.
Essential Tools and Materials for Safe Installation

To guarantee a safe and secure ceiling mount installation, you need to gather the right tools and materials beforehand. Essential items include a drill, a stud finder, and a level to ensure proper placement and stability. You’ll also need appropriate anchors and screws that support your device’s weight securely. Additionally, consider aesthetic considerations by choosing hardware that blends seamlessly with your ceiling. Wireless compatibility is vital if you prefer a clean look without visible cables, so select mounts that support wireless connections easily. Double-check that your tools are in good condition and that you have all necessary safety gear. Having everything ready guarantees a smooth installation process and reduces the risk of accidents or damage. Proper preparation is key to a safe, long-lasting ceiling mount setup. Being aware of social determinants of health can also influence the placement and accessibility of mounted devices in healthcare environments to promote better patient outcomes. Ensuring your installation adheres to building codes and safety standards is crucial for long-term safety and compliance. Additionally, consulting manufacturers’ guidelines helps ensure that all components are installed correctly and safely. For added security, consider verifying the horsepower of electric bikes if you are installing mounts for bike storage or charging stations, as this can influence the weight and power requirements of the setup. It is also beneficial to evaluate structural integrity of the ceiling to prevent potential failures over time.

VEVOR 12U AV Rack Stand with Caster Wheels, Component Rack Cabinet Recording Studio Racks, Removable Side Panels, Universal Network Server Case, Special Vents for 19'' Audio Video Rack Mounting
Heavy-Duty, Built to Last: Crafted from premium Q235 carbon steel, , ensuring your equipment remains stable and secure,...
As an affiliate, we earn on qualifying purchases.
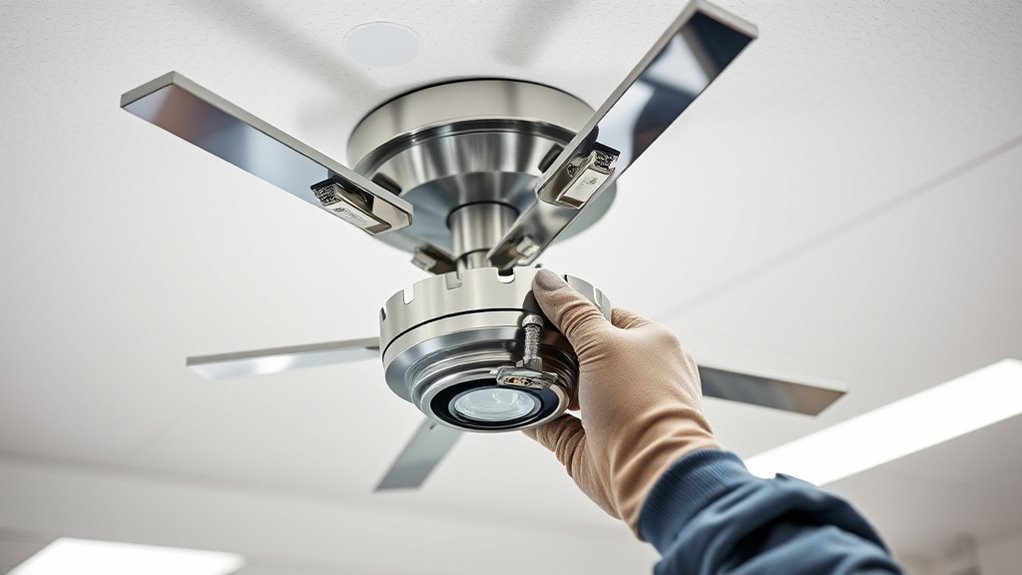
Step-by-Step Guide to Installing Ceiling Mounts

Begin by marking the spots where you’ll install your ceiling mount. Confirm these points align with your device’s wireless compatibility to avoid signal issues. Use a level to keep your marks straight, and consider aesthetic considerations—placing the mount where it’s unobtrusive and complements your space. Drill pilot holes at your marked spots, making sure they’re deep enough for the anchors you’ll use. Secure the ceiling mount to the ceiling with appropriate screws, tightening them firmly. Double-check that the mount is level and secure before attaching your device. Proper installation not only guarantees safety but also maintains a clean look, blending seamlessly with your ceiling design. Taking these steps ensures a secure, functional, and visually pleasing setup.

ECHOGEAR 15U Open Frame Rack for Servers & AV Gear - Wall Mountable Design Includes 2X Vented Shelves, 25x Rack Mounting Screws, 4X Leveling Feet, 4X Shelf Stops, & 2X Securement Straps
Includes all the goodies you need to rack 'em up: Entire 15U open frame rack structure, 4x leveling...
As an affiliate, we earn on qualifying purchases.
Common Safety Precautions and Best Practices

Ensuring safety when installing ceiling mounts is essential to prevent accidents and damage. Always double-check the weight capacity to avoid overloads that could compromise stability. Make sure your mount is securely anchored into structural support, not just drywall, to prevent falls. Consider aesthetic considerations to guarantee the mount blends seamlessly with your space, reducing visual hazards. Additionally, pay attention to wireless connectivity; position mounts to minimize interference with signals, especially if your setup relies on remote controls or streaming devices. Regularly inspecting your security system components can help detect wear or looseness early, ensuring ongoing safety and performance. To further enhance security, choose mounts that are compatible with smart home integrations, allowing for more comprehensive control and monitoring. Incorporating proper installation techniques can significantly improve both safety and the longevity of your ceiling mounts. Properly securing the mount to the most stable part of the ceiling can also prevent accidental dislodging over time. Also, consulting professional installers can provide expert guidance on structural integrity, ensuring the mounts are safely secured for long-term use.
Troubleshooting and Maintenance Tips
Regularly inspecting your ceiling mounts is essential for catching issues before they lead to accidents. Check for loose bolts, signs of wear, or any corrosion that could compromise stability. If your setup includes wireless compatibility features, ensure all connections are secure and functioning properly to avoid disruptions. Address any misalignments promptly to prevent strain on the mount or attached equipment. When performing maintenance, consider aesthetic considerations—cleaning dust or smudges can improve appearance and functionality. Tighten or replace damaged components as needed. Keep a maintenance schedule to track inspections and repairs. Proper troubleshooting helps maintain safety and prolongs your mount’s lifespan. Staying vigilant ensures your ceiling mounts remain secure, reliable, and visually appealing over time. Additionally, incorporating ergonomic furniture and optimizing your space can contribute to overall safety and comfort. Regularly reviewing mount specifications and manufacturer guidelines can help identify potential upgrades or replacements before issues arise. Moreover, understanding the types of ceiling mounts available can assist in choosing the most suitable option for your setup. Ensuring you are aware of local store hours can facilitate timely purchases of replacement parts or tools needed for maintenance.
Frequently Asked Questions
How Often Should I Inspect My Ceiling Mount for Safety?
You should inspect your ceiling mount at least once every three to six months. During these visual inspections, look for signs of wear, corrosion, or loose components. Stick to a regular maintenance schedule to catch issues early and guarantee safety. By keeping a consistent routine, you minimize the risk of accidents or failure, ensuring your ceiling mount remains secure and reliable over time.
Can Ceiling Mounts Be Installed in Drywall Alone?
You shouldn’t install ceiling mounts in drywall alone because drywall isn’t strong enough to support heavy loads. Imagine a home theater enthusiast who hung a projector in drywall without reinforcement—when the weight increased, the ceiling gave way. To make certain of safety, use proper drywall installation combined with ceiling reinforcement, like joist anchoring or additional framing. This approach guarantees your mount stays secure and prevents accidents or damage.
What Weight Limits Should My Ceiling Mount Support?
You should always check your ceiling mount’s weight capacity before installation. Most mounts support between 50 to 200 pounds, depending on their design and mounting hardware. To guarantee safety, match your ceiling mount strength with the weight of your device or object. Exceeding the mount weight capacity risks failure. Always follow manufacturer guidelines and consider reinforcement if your ceiling or drywall isn’t particularly strong, ensuring secure and safe support.
Are There Specific Certifications to Look for in Ceiling Mounts?
You should look for ceiling mounts with certification standards like UL or ANSI, which guarantee safety and quality. These certifications indicate that the mount has been tested and meets rigorous safety requirements. Also, check for safety labels on the product, confirming it complies with relevant standards. Prioritizing certified mounts helps you avoid accidents and ensures your installation is secure and reliable.
How Do I Prevent Ceiling Mount Vibrations From Affecting Mounted Devices?
Did you know that improper mounting can cause vibrations that reduce device lifespan by up to 30%? To prevent ceiling mount vibrations from affecting your devices, prioritize vibration dampening materials like rubber or foam between the mount and the ceiling. Guarantee mount stability by securely anchoring it into sturdy ceiling joists and using appropriate hardware. Regularly check for looseness or wear to maintain ideal stability and protect your equipment.
Conclusion
Now that you know the basics of ceiling mounts, safety, and installation, you’re ready to tackle your project confidently. Did you know that improper installation can lead to accidents or equipment damage, with over 30% of mount failures caused by neglecting safety protocols? By following these simple steps and precautions, you guarantee a secure setup that lasts. Stay vigilant, double-check your work, and enjoy a safe, hassle-free installation experience.

")