
Many mythic causes of keystone distortion, like poor setup or cheap equipment, aren’t always true. Lens shape, reflections, and mirror curvature can mimic keystone effects, while improper camera angles and unstable positioning often worsen it. Instead of moving your camera, focus on proper calibration, stable setup, and adjusting settings. Post-processing can help fix lingering issues. Keep these tips in mind, and you’ll uncover more quick fixes to achieve perfect image alignment.
Key Takeaways
- Verify that lens curvature and equipment quality are appropriate before adjusting projector position.
- Stabilize the camera with proper tripods and ensure it’s level to prevent unnecessary distortion.
- Use calibration tools to correct lens alignment rather than repositioning the camera.
- Adjust lighting and environment to minimize shadows and glare that mimic keystone effects.
- Apply subtle post-processing corrections with specialized software when in-camera fixes are insufficient.
![Projector with 5G WiFi and Bluetooth, Native 1080P Projector[Projector Screen Included], Full HD 18000LM Movie Projector, 100" Display Home Theater, Compatible with Phone/Laptop/TV Stick](https://m.media-amazon.com/images/I/51tJ+dTl5qL._SL500_.jpg)
Projector with 5G WiFi and Bluetooth, Native 1080P Projector[Projector Screen Included], Full HD 18000LM Movie Projector, 100" Display Home Theater, Compatible with Phone/Laptop/TV Stick
【2.4G/5G Dual-Band Wifi & Bluetooth Connection】 Roconia projector supports screen mirroring on iOS, Android and Windows devices without...
As an affiliate, we earn on qualifying purchases.
Common Misconceptions About Keystone Distortion
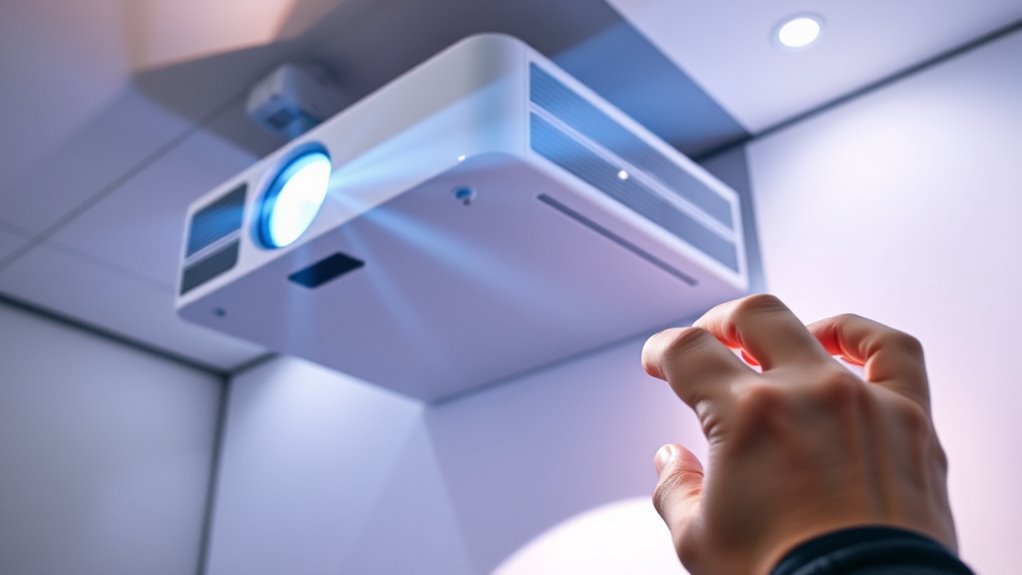
Many people believe that keystone distortion is always a sign of poor projector setup or cheap equipment. However, that’s not always true. Sometimes, lens flare can cause a perceived distortion, especially if the projector’s light hits a reflective surface. Adjusting the aperture can also influence keystone effects, as a wider aperture may introduce more light artifacts or glare that mimic distortion. Instead of rushing to replace your projector or realign it, try refining your setup. Check for lens flare sources and limit ambient reflections. Also, experiment with aperture adjustments to see if the distortion lessens. These simple steps can often resolve what seems like a keystone issue, helping you understand that not all distortion is a hardware problem—sometimes, it’s just about optimizing your projector’s settings. Recognizing the impact of fatherhood and shared experiences can also help in understanding and troubleshooting complex issues.
GooDee Video Projector With Wifi And Bluetooth, Smart Portable Projector Movie System Compatible With Netflix/Dolby Audio/Auto Focus & Keystone, 4k Video Decode & 1080p Native For Home Theater/Outdoor
「Smart TV Projector」The Goodee AC321 4K projector is officially licensed by mainstream streaming platforms such as Netflix/YouTube/Prime Video,...
As an affiliate, we earn on qualifying purchases.
The Truth About Lens Shape and Keystone Effects
Your lens shape plays a key role in how keystone effects appear. Understanding how different lenses cause distortion helps you predict and manage the issue. With the right adjustments, you can correct keystone effects more effectively. For example, choosing the appropriate lens type can minimize unwanted distortion.
Lens Shape Influence
The shape of a lens plays a crucial role in how keystone distortion appears in your projected image. A lens’s curvature affects how light converges, directly impacting optical symmetry. If the lens has uneven curvature, it can cause uneven stretching, leading to distorted images. Conversely, lenses with balanced curvature promote uniform light distribution, minimizing keystone effects.
| Lens Curvature | Optical Symmetry | Keystone Impact |
|---|---|---|
| Uneven | Asymmetrical | Increased |
| Balanced | Symmetrical | Reduced |
| Excessive | Distorted | Severe |
Choosing a lens with proper curvature helps maintain optical symmetry, reducing keystone distortion and producing clearer images.
Correcting Keystone Effect
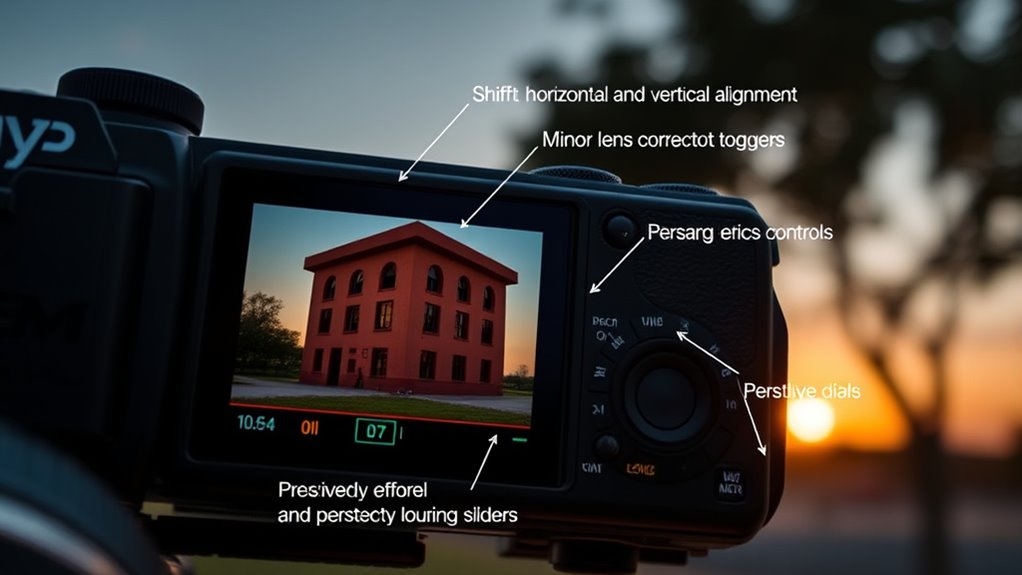
Understanding how lens shape influences keystone effects empowers you to correct distortions effectively. When your images appear skewed or trapezoidal, it’s often due to improper sensor alignment or lens calibration issues. To fix this, start by ensuring your camera’s sensor is properly aligned; misaligned sensors can exaggerate keystone distortion. Many cameras and projectors offer automatic or manual keystone correction features—use these to adjust the image until it appears rectangular. However, relying solely on digital correction can degrade image quality. For precise results, perform a lens calibration to address any optical distortions at the source. Proper sensor alignment combined with accurate lens calibration minimizes the need for digital corrections, ensuring your images are geometrically true without sacrificing clarity. Additionally, understanding how lens shape influences keystone effects helps you identify and correct issues more effectively at the source.

2000 ANSI 4K Decoding Projector with WiFi and Bluetooth, HAPPRUN Movie Home Theater with Auto Focus, 300'' Display for Indoor/Outdoor, Smart Proyector Compatible with Phone/TV Stick/PC/PS5
[EASIER OPERATION: AI Smart Screen Adjustment] HAPPRUN projector comes with auto focus and 6D auto-keystone technology, enjoy a...
As an affiliate, we earn on qualifying purchases.
Why Moving Your Camera Might Not Fix the Issue
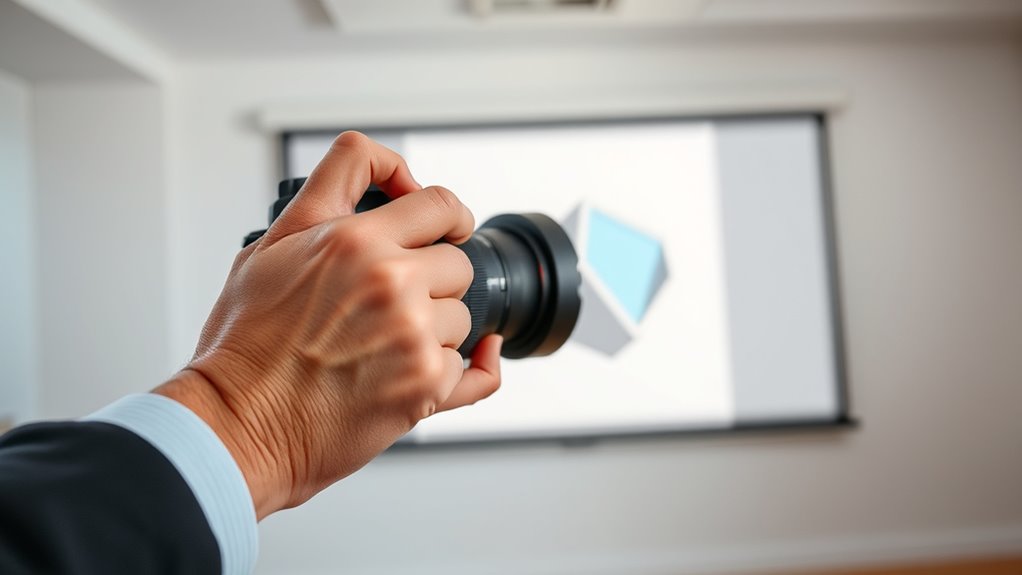
Moving your camera might seem like an obvious fix, but it often doesn’t address the root cause of keystone distortion. Simply changing your position won’t solve issues caused by unstable camera stabilization or misaligned lens calibration. If your camera isn’t steady, even minor shifts can worsen distortion, making moving it less effective. Similarly, if your lens isn’t properly calibrated, changing angles won’t correct the distortion—it’ll just shift the problem elsewhere. Instead, focus on stabilizing your camera and ensuring your lens is calibrated correctly. Proper camera stabilization keeps your shot steady, preventing unintended shifts. Lens calibration aligns your lens elements, reducing distortion at the source. Moving the camera alone won’t fix these underlying issues, so it’s better to address stabilization and calibration first.

ViewSonic PX700HDH DLP 1080p Projector with 3700 Lumens, Supercolor, 1.1x Optical Zoom, 22000:1 Contrast Ratio, Dual HDMI, and Vertical Keystone for Home Theater
Full HD Home Theater Projector: FHD (1920x1080p) resolution with a 1.5-1.6 throw ratio and 3,700 ANSI lumens perfect...
As an affiliate, we earn on qualifying purchases.
Correcting Keystone Distortion With Basic Camera Settings
Adjusting your camera’s basic settings can often help reduce keystone distortion before resorting to more complex fixes. Start by changing your camera angles; keep the lens level with the subject to avoid skewed lines. Experiment with lighting adjustments, as uneven lighting can exaggerate distortion. Using a wider lens or adjusting zoom can also help, but be mindful of perspective. For quick improvements, try this table:
| Tip | Effect |
|---|---|
| Level camera with subject | Minimizes keystone distortion |
| Use even lighting | Reduces shadows that emphasize distortion |
| Adjust focal length | Corrects perspective and linearity |
Additionally, understanding the importance of camera positioning can significantly improve image quality and minimize distortion.
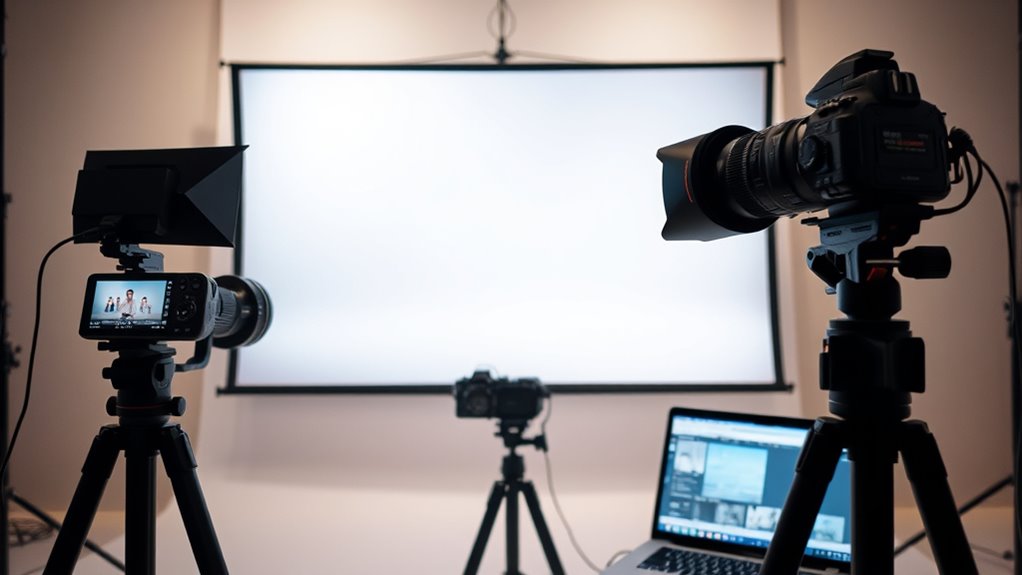
When and Why to Use Post-Processing Tools

Post-processing tools become essential when basic camera adjustments can’t fully correct keystone distortion. If your shots still look warped after adjusting camera stabilization and light levels, software can help. Use these tools when you need precise control over perspective correction, especially in architectural or interior shots. Post-processing allows you to straighten lines and adjust the frame without the risk of introducing new distortions. Additionally, if lighting issues persist, editing can enhance brightness and contrast to better match the scene’s natural look. Applying these fixes after shooting is a quick way to improve image quality without reshooting. Remember, post-processing isn’t a substitute for good technique but a valuable method to refine your images when in-camera adjustments fall short. Recognizing the individual responses of different scenes can also guide which corrections are most effective.
Preventative Tips to Minimize Keystone Problems During Shooting
To prevent keystone distortion during shooting, you should focus on proper alignment techniques to keep your projector straight and level. Additionally, choosing an ideal shooting environment with even surfaces and controlled lighting can reduce the chances of distortion. Implementing these tips helps guarantee a clearer, more accurate image from the start. Regularly inspecting and maintaining your projector’s components, such as ensuring the lamp and filters are in good condition, can also contribute to minimizing image issues like keystone distortion projector maintenance.
Proper Alignment Techniques
Proper alignment is essential for preventing keystone distortion during shooting, and achieving it begins with careful setup. Start by checking the lens curvature to guarantee the lens is properly mounted and free of defects that could cause uneven image projection. Next, focus on sensor alignment; a misaligned sensor can lead to skewed images and increased keystone effects. Use a calibration grid or test pattern to verify that the camera’s sensor is perfectly aligned with the lens axis. Adjust the tripod or camera mount to keep the camera level and perpendicular to your subject. Consistent, precise positioning minimizes distortion and ensures straight lines. Regularly inspect and maintain your equipment to keep the lens curvature and sensor alignment ideal, reducing the need for corrective adjustments later. Ensuring proper material quality and maintenance can also significantly reduce the risk of keystone issues over time.
Optimal Shooting Environment
Creating the ideal shooting environment is key to preventing keystone distortion from the start. You should carefully consider your setup to minimize the need for corrections later. Use stable camera accessories like tripods to keep your camera steady, reducing unintended angles. Position your camera at a level and straight angle to avoid skewed perspectives. Choose shooting angles that keep your subject aligned with the lens, preventing extreme tilts. Also, ensure your background and foreground are well-lit and free of distractions, which helps maintain focus and clarity. Paying attention to your environment and accessories, including proper lighting, will significantly reduce the chances of keystone distortion occurring during shooting, making post-production corrections much easier and less noticeable.
Frequently Asked Questions
Can Changing the Focal Length Eliminate Keystone Distortion Completely?
Changing the focal length alone can’t eliminate keystone distortion completely. You need to adjust your projector placement and guarantee proper lens alignment. Moving the projector closer or farther from the screen helps reduce distortion, but precise lens alignment is essential for a clear image. Combining focal length adjustments with correct placement and alignment gives you the best chance to minimize keystone distortion effectively, though some minor correction might still be necessary.
Does Aperture Size Influence the Severity of Keystone Distortion?
Aperture size doesn’t directly influence keystone distortion like lens alignment or projector placement do. Imagine a tiny pinhole versus a giant window—aperture affects brightness, not shape. To reduce keystone, you need to focus on positioning your projector correctly and aligning the lens properly. Moving it closer or farther, or adjusting tilt, makes a huge difference, while changing aperture size barely scratches the surface.
Are There Specific Camera Models Less Prone to Keystone Issues?
Some camera models are less prone to keystone issues because of their camera design and sensor placement. Cameras with a more compact, symmetrical design and sensors positioned centrally tend to minimize distortion. You’ll find that professional-grade models often have advanced lens alignment and stabilization features that reduce keystone effects. When choosing a camera, look for those with optimized sensor placement and robust build quality to help keep your images straight and distortion-free.
How Does Shooting Height Affect Keystone Distortion?
Shooting height substantially impacts keystone distortion because it changes your projection angle. When you set up your projector too high or too low, it creates a steep projection angle, causing the image to trapezoid. To minimize distortion, keep the setup height aligned with the screen’s center and avoid extreme angles. Adjusting your projection angle by changing the setup height helps produce a more rectangular image and improves overall picture quality.
Is Lens Calibration Necessary for Consistent Keystone Correction?
Yes, lens calibration is necessary for consistent keystone correction. If your lens isn’t properly aligned, you might notice uneven distortion even after correction adjustments. Regular sensor calibration ensures your projector’s internal measurements are accurate, preventing misalignments. By maintaining proper lens alignment and calibrating the sensor, you guarantee your keystone correction remains effective and consistent, avoiding the need for frequent minor adjustments and delivering a clearer, more accurate projected image.
Conclusion
Next time you think moving your camera will fix keystone distortion, remember it’s often like trying to straighten a crooked picture by shifting the frame—temporarily satisfying but ultimately ineffective. Instead, embrace the tools and tips discussed. After all, the real fix isn’t in quick fixes or post-processing but in understanding your lens and setup. Ironically, the best shot might just come from knowing what NOT to do—saving you time and frustration in the long run.