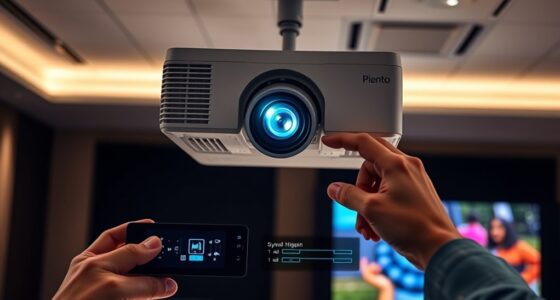
The receiver setting that often causes lip sync issues is the audio delay or lip sync adjustment feature. If this setting is misconfigured or set too high, it can make the audio lag behind or move ahead of the video. To fix this, you’ll need to find it in your receiver’s menu, usually labeled “Audio Delay” or “Lip Sync,” and tweak it until the sound matches the visuals perfectly. Keep going to discover how to optimize your setup.
Key Takeaways
- Check the audio delay or lip sync setting in your receiver’s audio options; improper adjustment can cause sync issues.
- Disabling or incorrectly configuring the receiver’s audio processing features (like audio enhancement or surround sound modes) may break lip sync.
- Firmware bugs or outdated receiver software can interfere with audio-video synchronization, affecting lip sync.
- The receiver’s HDMI or audio output settings, such as bitstream vs. PCM, can impact sync accuracy if misconfigured.
- Excessive audio delay or processing within the receiver’s settings can cause lip sync problems, requiring adjustment or reset.

Denon AVR-X1700H 7.2 Channel AV Receiver - 80W/Channel, Advanced 8K HDMI Video w/eARC, Dolby Atmos, DTS:X, Built-in HEOS, Amazon Alexa Voice Control
HIGH-PERFORMANCE 7-CHANNEL AMPLIFIER WITH NEXT-GEN MOVIE IMMERSION - Enjoy Denon sound in movies, games, and music with full...
As an affiliate, we earn on qualifying purchases.
What Causes Lip Sync Problems in Your Home Theater System?
Lip sync problems in your home theater often happen because audio and video signals travel through different paths or devices, causing delays. Poor speaker placement can make audio seem out of sync because sound may arrive either too early or too late relative to the visuals. Additionally, cable quality plays a vital role; low-quality or damaged cables can introduce signal degradation, adding lag to audio transmission. When cables aren’t shielded properly or are too long, they can cause delays that throw off lip sync. Ensuring proper speaker placement and using high-quality cables are essential steps toward maintaining proper audio and video synchronization in your home theater. Incorporating signal processing features in your receiver can also help correct minor sync issues and improve overall performance. Regularly updating your home theater equipment firmware can further help reduce such issues by optimizing signal handling. Being aware of cable management techniques can help prevent signal interference that contributes to lip sync problems.
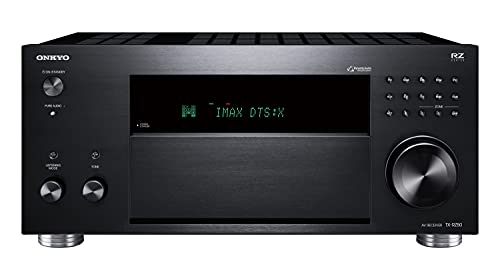
Onkyo TX-RZ50 9.2-Channel AV Receiver - 120 Watts Per Channel, Dirac Live Out of Box, Works with Sonos Certified, THX Certified and More
TAKE THE ROOM OUT OF THE EQUATION: Dirac Live automatically calibrates sound in your room using either your...
As an affiliate, we earn on qualifying purchases.
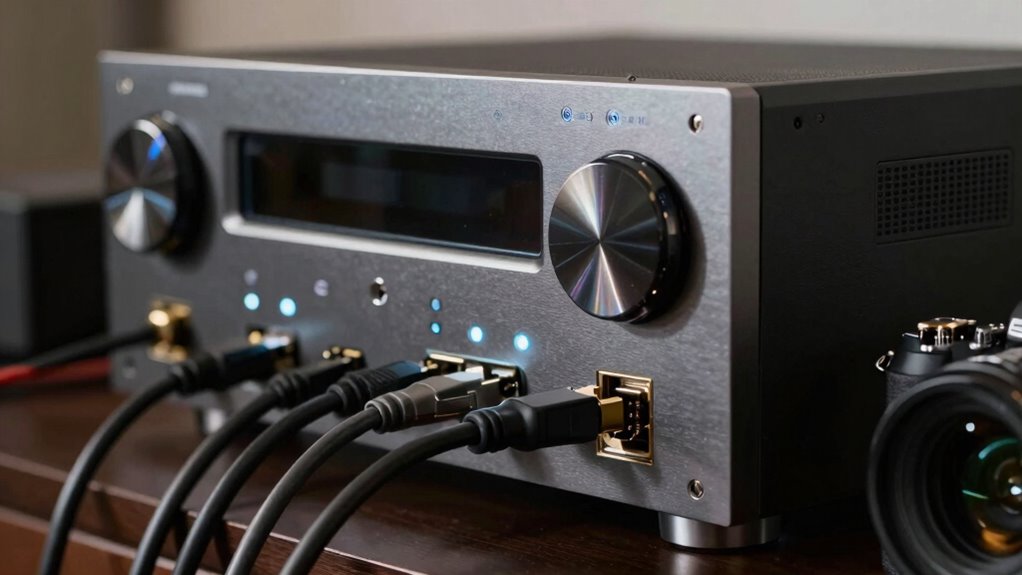
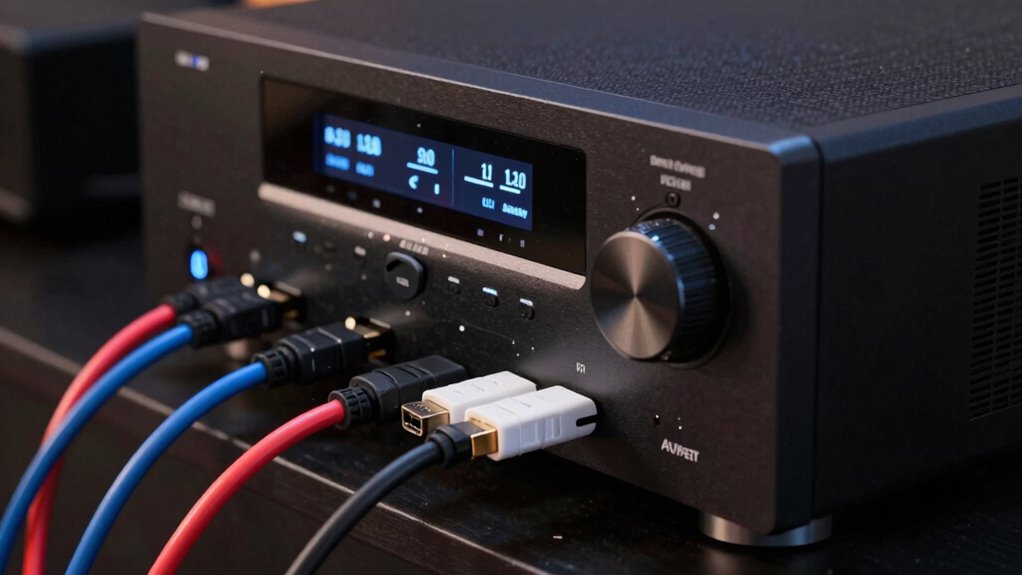
How to Find the Audio Delay Setting in Your Receiver

Finding the audio delay setting on your receiver is usually straightforward, but it varies depending on the brand and model. First, check your receiver’s on-screen menu or display, often under audio, sound, or advanced settings. Speaker placement can influence how the delay is set, so consider if your speakers are close or far from your listening position. Cables and connections also matter—poorly connected or long cables may require more delay to sync audio properly. Some receivers label this setting as “Lip Sync,” “Audio Delay,” or “Lip Sync Adjustment.” If you can’t find it, consult your user manual or manufacturer’s website. Once located, you can tweak the delay until the audio aligns with the video, ensuring seamless synchronization. Understanding audio delay settings can help optimize your viewing experience and prevent lip sync issues, especially when dealing with audio-visual synchronization challenges caused by different device configurations. Additionally, being aware of Speaker placement can significantly reduce the need for extensive delay adjustments and improve overall sound quality.
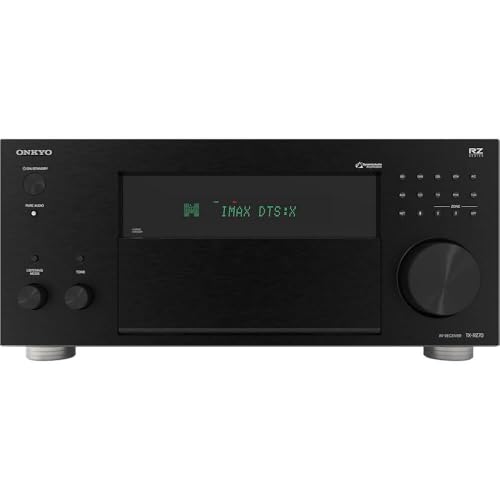
Onkyo TX-RZ70 11.2-Channel AV Receiver - 140 Watts Per Channel, Dirac Live Out of Box, Works with Sonos Certified, THX Certified and More
11 CHANNELS, 140 WATTS: Home theater buffs rejoice! The Onkyo TX-RZ70 is our most powerful AVR yet, giving...
As an affiliate, we earn on qualifying purchases.
How to Adjust Your Receiver’s Lip Sync or Audio Delay Setting
Once you’ve located the audio delay or lip sync setting on your receiver, adjusting it is straightforward. Start by tweaking the delay incrementally while observing the video. Keep in mind that proper speaker placement can influence perceived sync issues, so ensure your speakers are positioned correctly during calibration. For better results, consider these tips:
Adjust audio delay gradually and verify speaker placement for perfect lip sync.
- Use your TV’s test pattern or a lip sync video for accuracy
- Adjust the delay in small steps to find the perfect sync
- Revisit your video calibration to ensure ideal picture quality
- Check that all speakers are correctly positioned and connected
- Test with different content to confirm consistent lip sync
- Remember that audio-video synchronization can be affected by multiple factors, so patience during calibration is essential. Additionally, being aware of audio processing delays within your receiver can help you identify and compensate for potential lag issues. Understanding receiver settings can also assist in troubleshooting and fine-tuning your audio experience. Properly configuring your audio settings can make a significant difference in achieving perfect lip sync. Adjusting your receiver’s lip sync adjustment feature can further refine the synchronization process for optimal viewing.
Making these adjustments helps align your audio with the video, providing a seamless viewing experience.

Marantz AV7706 11.2Ch 8K Ultra HD AV Surround Pre-Amplifier with HEOS Built-in and Voice Control
CINEMATIC EXPERIENCE & LAG-FREE GAMING - The Marantz 11.2 Channel Preamplifier delivers extraordinary visuals in latest 8K UHD...
As an affiliate, we earn on qualifying purchases.
How to Test and Confirm Your Lip Sync Is Fixed
To guarantee your audio and video are properly synchronized, it’s essential to test the fix effectively. Begin by playing a scene with clear lip movements and matching sound, such as a dialogue-heavy clip. Use an audio calibration tool or test pattern to ensure your receiver’s audio delay adjustments are accurate. Observe how well the lips match the spoken words, noting any lag or ahead motion. Pay attention to your TV’s video processing settings, as excessive processing can cause delays that affect lip sync. If everything appears aligned, try switching sources or content to confirm consistency. Adjust as needed, then re-test. Confirming your lip sync is fixed involves multiple checks, ensuring both your receiver’s audio calibration and your TV’s video processing work in harmony. Additionally, understanding the audio-video synchronization protocols can help troubleshoot persistent issues more effectively. Keep in mind that receiver settings such as audio delay adjustments can sometimes be reset after firmware updates or power cycles, so rechecking these is advisable. Regularly updating your receiver’s firmware can also prevent lip sync issues from recurring unexpectedly. Incorporating proper calibration tools can further enhance the accuracy of your adjustments and maintain synchronization over time. Furthermore, familiarizing yourself with TV settings and how they impact processing delay can assist in achieving optimal lip sync.
Tips to Prevent Lip Sync Issues in Your Home Theater Setup
Preventing lip sync issues starts with proper equipment setup and consistent calibration. Focus on accurate audio calibration to guarantee your sound aligns perfectly with the video. Correct speaker placement is essential; position speakers to maximize sound timing and clarity. Regularly check your connections and settings, especially after updates or adjustments. Adjust audio delay settings in your receiver if needed. Keep your system’s firmware up to date for peak performance. Consider using test videos that highlight lip sync issues to fine-tune your setup. Here are some tips to help prevent problems:
Proper calibration and speaker placement ensure perfect lip sync and optimal sound quality.
- Calibrate audio levels regularly
- Position speakers at ear level
- Use high-quality cables and connectors
- Minimize interference by avoiding near electronics
- Perform routine system updates
- Be aware of audio/video synchronization techniques to maintain optimal lip sync. Additionally, understanding signal processing delays can help you better troubleshoot and fine-tune your setup. To further enhance your setup, familiarize yourself with cable safety practices that prevent heat buildup and interference, ensuring your equipment operates reliably. Staying informed about audio calibration tools can also streamline the process and improve your overall home theater experience.
Frequently Asked Questions
Can Software Updates Resolve Lip Sync Issues Automatically?
Yes, software updates can often resolve lip sync issues automatically. They improve audio calibration features and address bugs that cause delays. However, for the best results, you should guarantee your hardware compatibility is maintained, as outdated devices may still experience problems. Regular updates help synchronize audio and video, but sometimes manual calibration or checking hardware settings is necessary for perfect lip sync.
Do Different Audio Formats Affect Lip Sync Accuracy?
Different audio formats can impact lip sync accuracy because some formats handle audio compression and timing differently. You might notice a mismatch if your device struggles to process certain formats quickly. To improve lip sync, try using a standard format like AAC or PCM, which tend to sync better. Always check your device settings and verify your software supports the audio format you’re using for maximum lip sync performance.
Is There a Recommended Delay Setting for Specific Content Types?
You should adjust the audio delay setting based on your content type for ideal lip sync. For movies and TV shows, a delay of around 100 milliseconds usually works well, while gaming might require less. Use lip sync calibration features on your receiver to fine-tune the audio delay, ensuring perfect sync between sound and picture. Regular calibration helps maintain accurate lip sync across different content types.
Can HDMI Cable Quality Impact Lip Sync Problems?
Yes, HDMI cable quality can impact lip sync issues. Poor-quality cables or those not adhering to current HDMI standards may cause signal delays or data loss, leading to audio and video desynchronization. To fix this, use high-quality cables that meet HDMI standards like HDMI 2.0 or higher. Investing in certified, well-made cables helps guarantee smooth data transfer and reduces the chances of lip sync problems.
Are There Third-Party Devices That Improve Lip Sync Synchronization?
You might find that third-party external devices and calibration tools can help improve lip sync issues. These devices analyze and adjust audio-visual timing, ensuring better synchronization. While some claim to fix lip sync problems, their effectiveness varies, and not all are compatible with every system. It’s worth researching reputable options and checking user reviews to find a device that genuinely helps you achieve smoother audio-visual sync.
Conclusion
By mastering your receiver’s settings, you can effortlessly eliminate lip sync lag. Don’t forget to fine-tune, test, and tweak your audio delay until it’s perfectly paired with your picture. With patience and a little practice, you’ll prevent future problems and enjoy seamless sounds and sights. So, stay savvy, stay steady, and let your home theater shine with synchronized sound and stunning visuals!