
To confidently fix color tints, start by understanding their causes, like camera settings and lighting issues. Assess your image with calibrated tools, checking for color imbalances and tints before making adjustments. Choose the right tools, like adjustment layers and color wheels, and plan a clear workflow—adjust exposure, then hue and saturation. Fine-tune subtly and review your edits for consistency. Keep practicing these steps, and you’ll master creating professional, balanced images in no time.
Key Takeaways
- Assess lighting conditions and use calibrated monitors to identify and understand color tint issues accurately.
- Follow a systematic workflow: adjust exposure first, then correct color balance, and refine saturation for natural results.
- Utilize tools like color wheels, histograms, and adjustment layers for precise, subtle hue and tone corrections.
- Apply color harmony principles and layer masking techniques to fine-tune edits confidently and efficiently.
- Develop a consistent editing process and understand your personal style to achieve professional, cohesive results.
Understanding Color Tints and Their Causes
Color tints in images often occur because of camera settings, lighting conditions, or display calibration. These tints happen when the color balance isn’t accurate, causing certain hues to dominate. A common cause is improper hue adjustment during editing or capture, which skews the overall color distribution. For example, a slight shift in hue can give your photo a warm or cool cast, affecting its natural appearance. Understanding these causes helps you identify why your images have unwanted tints. When you notice a color imbalance, it’s usually due to incorrect settings or environmental factors that influence lighting. Recognizing these factors allows you to correct the issue effectively, ensuring your images reflect the true colors and maintain visual harmony. Additionally, sound healing science reveals how specific frequencies can impact perception, including color perception, which highlights the importance of accurate calibration and adjustment in visual media. Proper calibration techniques are essential to maintain color accuracy, especially as advancements like on-device AI capabilities are integrated into devices to enhance image processing and correction. Moreover, understanding the role of lighting conditions can help prevent or correct unwanted color tints before they affect your final image, and awareness of AI vulnerabilities can guide you in choosing reliable tools for editing.
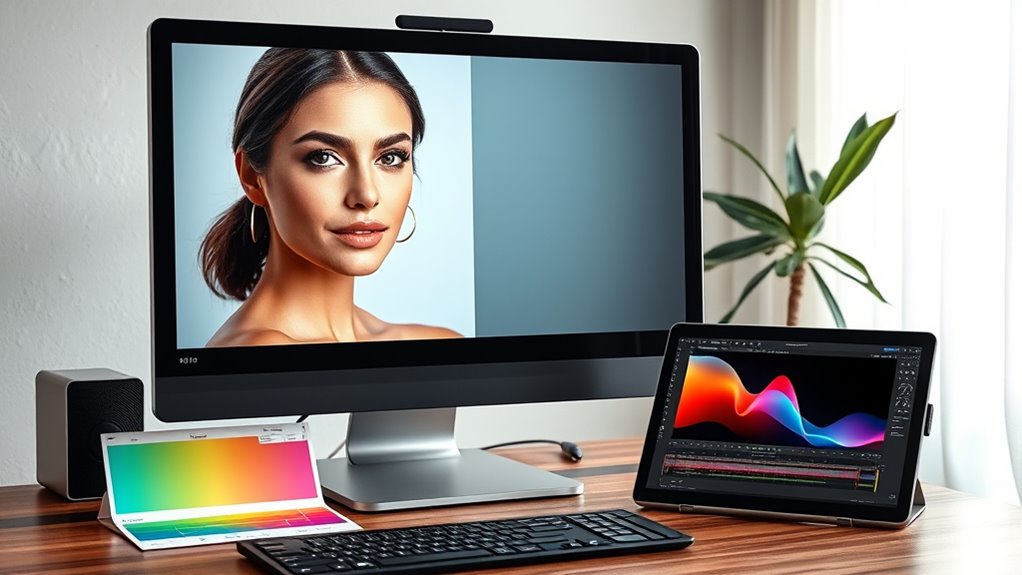
Assessing Your Image Before Making Adjustments
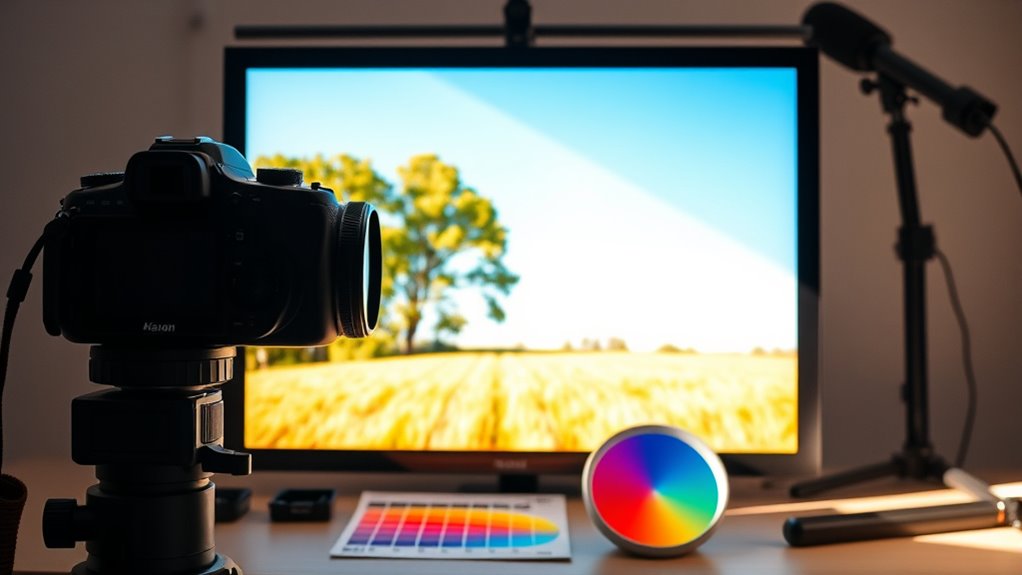
How can you guarantee you’re making effective corrections? Start by evaluating your image carefully, considering the lighting conditions and color accuracy. Poor lighting can distort colors, so evaluate the image in a neutral setting. Use a calibrated monitor for true color representation. Check the image’s histogram and color balance to identify any tint issues. Here’s a quick guide:
| Aspect to Check | What to Look For |
|---|---|
| Lighting Conditions | Are shadows or highlights affecting color? |
| Color Accuracy | Do colors appear natural or skewed? |
| Overall Tone | Is the image balanced or overly warm/cool? |
This evaluation helps you decide whether adjustments are needed before editing, ensuring your corrections are precise and effective. Additionally, understanding how vehicle tuning impacts color and appearance can help you make more informed decisions when adjusting images. Recognizing Glycolic Acid benefits for skin can also inspire you to consider subtle enhancements in your editing process, aiming for a more natural look. Being aware of AI advancements in education can inform you about emerging tools that assist in image assessment and correction, making your workflow more efficient. Incorporating color correction techniques can further refine your results and achieve a professional finish. Moreover, learning about lighting conditions can significantly improve your ability to evaluate images accurately before making adjustments.
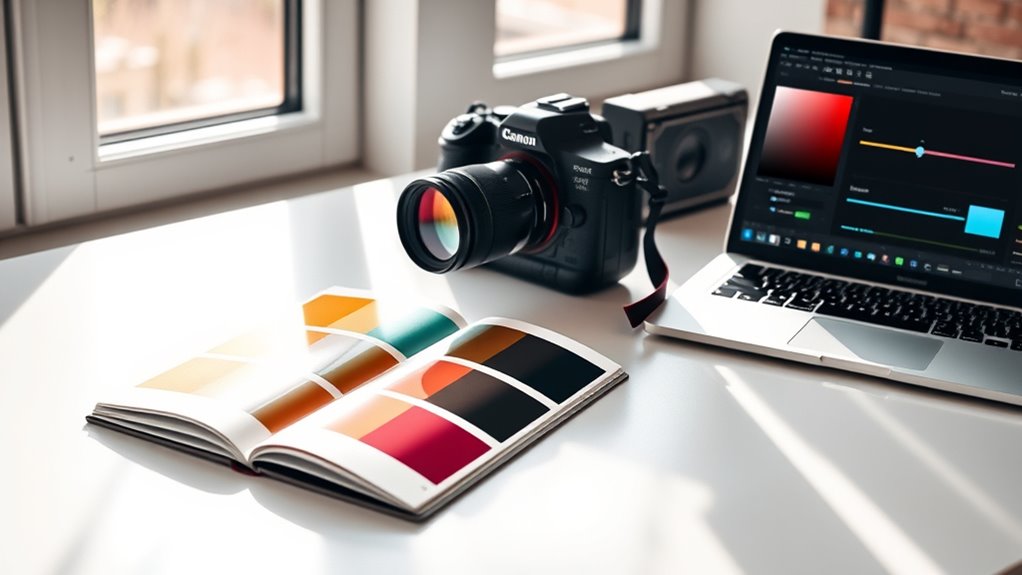
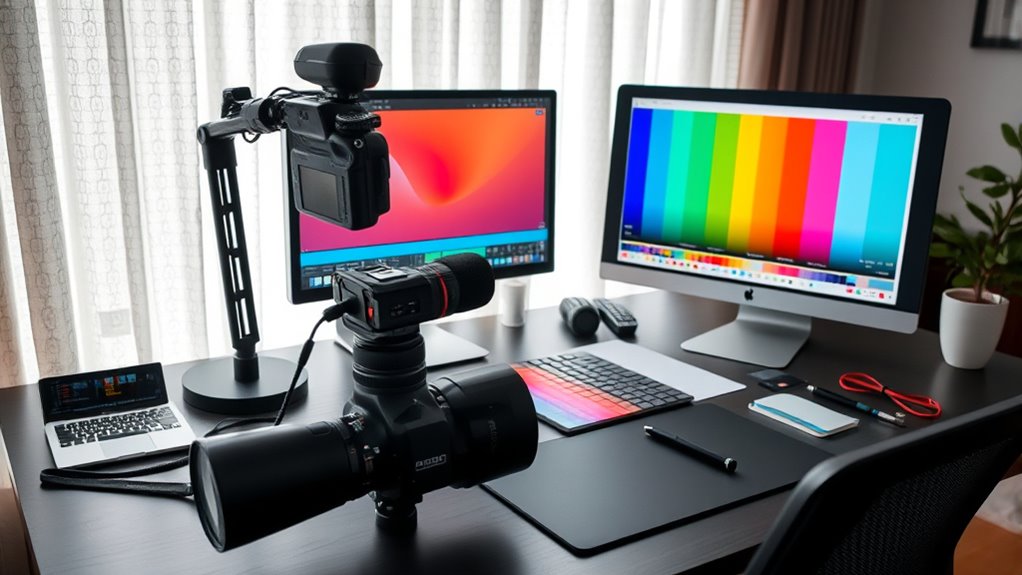
Choosing the Right Tools and Settings for Corrections
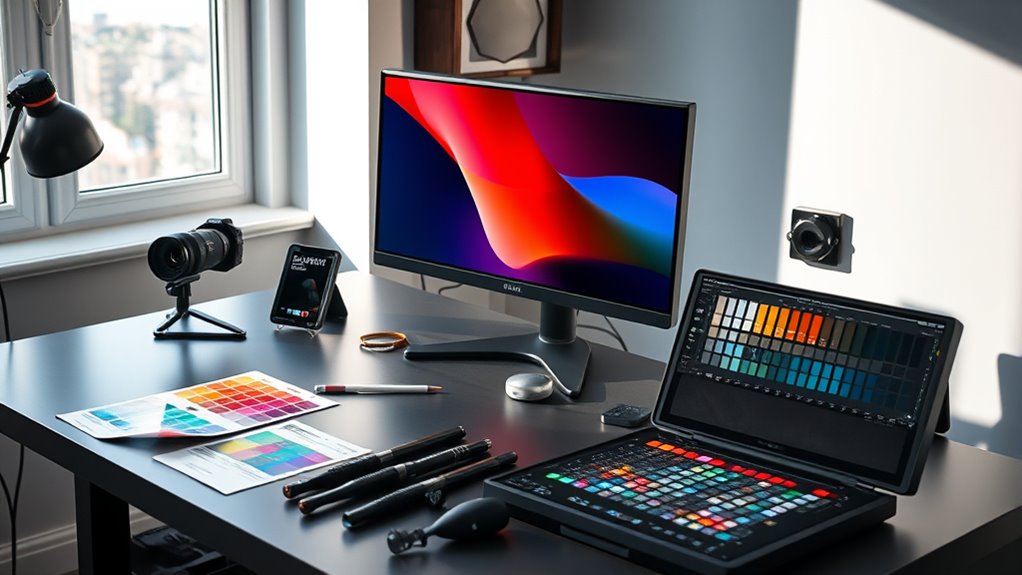
Selecting the appropriate tools and settings is essential for achieving accurate color tint corrections. Your editing software offers a variety of options, so understanding which tools to use makes a significant difference. The color wheel is a key feature, allowing you to adjust hues precisely to balance the tint. Use sliders or adjustment layers within your software to fine-tune the color temperature and saturation. Start by choosing tools that provide control over shadows, midtones, and highlights, ensuring a natural look. Experiment with different settings, observing how each change affects your image. Remember, the goal is subtlety—small adjustments often produce the best results. Paying attention to color correction techniques ensures your edits look seamless and professional. Incorporating accurate color calibration can further enhance the consistency and realism of your edits. Additionally, understanding how contrast ratio influences image depth can help you make more informed adjustments for a balanced and vivid result. Utilizing proper lighting conditions during editing can also significantly improve your correction accuracy.
Planning Your Workflow for Consistent Results
To achieve consistent results in your color tint corrections, it’s essential to plan a clear workflow before diving into edits. Start by understanding the basics of color theory to determine how different hues interact and influence the mood of your image. Next, organize your editing software tools—set up layers or adjustment panels to streamline your process. Define a step-by-step approach, such as adjusting exposure, then fine-tuning color balance, and finally refining saturation. Consistency comes from knowing what to do first and maintaining a logical sequence. Establishing this workflow helps you avoid unnecessary backtracking and ensures all edits complement each other. Recognizing common symbols and their meanings can also aid in interpreting subtle nuances in your images. Incorporating curiosity-driven techniques into your process can further enhance your understanding of color interactions and improve your results. Additionally, understanding resources and tools available for color correction can help you select the most effective methods for your needs. Exploring popular apps for editing can provide additional insights into efficient workflows. With a solid plan, you’ll save time and achieve reliable, professional-looking results every time you work on color tint fixes. Incorporating versatile tools such as color wheels and histograms can also assist in precise adjustments.
Tips for Fine-Tuning and Finalizing Your Edits

Once you’ve established your workflow, the final step is fine-tuning your edits to guarantee a polished look. Use color theory principles to subtly adjust hues and saturation, ensuring consistency across your project. Employ editing shortcuts to speed up this process—such as keyboard commands for quick adjustments and layer masks for targeted corrections. To deepen your understanding, consider this table:
| Tip | Technique |
|---|---|
| Use color harmony | Apply complementary or analogous schemes |
| Adjust with shortcuts | Use shortcut keys for precise tweaks |
| Balance saturation | Keep colors vibrant but natural |
| Preview in different lights | Check edits under varied lighting conditions |
This approach helps you refine your work efficiently, resulting in visually appealing, cohesive edits that resonate with your audience. Additionally, understanding color contrast can significantly enhance the impact of your final edits, making your work more engaging and professional-looking. Cultivating an awareness of self-understanding can also improve your ability to make intuitive editing decisions and develop a unique visual style. Recognizing how personality traits influence your creative choices allows for more authentic and satisfying results.
Frequently Asked Questions
How Do Lighting Conditions Affect Color Tint Corrections?
Lighting conditions greatly impact your color tint corrections. When lighting isn’t consistent, your screen reflections and ambient light can cause color shifts, making adjustments tricky. You need to guarantee consistent lighting to accurately judge color balance and tint. Avoid changing light sources or angles during editing, and use neutral lighting environments to see true colors. This way, your color corrections will be more precise, and your final results will look professional.
Can Color Tint Fixes Be Applied to Videos?
Yes, you can apply color tint fixes to videos through color grading, which enhances the overall look. Using editing software, you can adjust the hue, saturation, and balance to correct unwanted tints and improve color consistency. This process is essential for video enhancement, ensuring your footage looks natural and professional. Mastering these techniques allows you to achieve the desired visual style and correct color issues efficiently.
What Are Common Mistakes to Avoid During Tint Adjustments?
Think of tint adjustments like tuning a musical instrument—you want harmony, not discord. Avoid overcorrecting, which can intensify color cast and distort saturation balance. Don’t rely solely on auto settings; manual tweaks give you control. Watch out for uneven patches, which ruin the flow. Keep your adjustments subtle, like a gentle breeze, ensuring the colors stay natural and balanced, creating a smooth, professional look.
How Do Monitor Calibrations Impact Color Correction Accuracy?
Monitor calibrations directly impact your color correction accuracy by ensuring the display’s color temperature is accurate. Using proper calibration tools, you can fine-tune your monitor’s settings, making sure colors remain consistent and true to life. Without regular calibration, your colors may appear off, leading to errors in tint adjustments. Keep your calibration tools handy and perform routine calibrations to maintain precise color correction for your projects.
Are There Any Software Plugins That Simplify Tint Correction Processes?
Yes, there are several software plugins that simplify tint correction processes. Tools like DaVinci Resolve’s built-in tint correction features and third-party plugins such as Red Giant’s Magic Bullet suite make it easier to adjust and refine color tints quickly. These tint correction tools offer intuitive interfaces and automated options, helping you achieve accurate color balance without extensive manual work, making your workflow more efficient and professional.
Conclusion
Mastering color tints can dramatically improve your images, boosting your confidence in editing. Did you know that studies show over 70% of viewers judge a photo’s credibility based on color accuracy? By understanding causes, choosing the right tools, and planning your workflow, you’ll achieve consistent, professional results. Keep experimenting and fine-tuning your edits—before you know it, you’ll move from zero to confident in your photo editing skills.


")