
To fix color tints accurately, focus on essential calculations like color balancing using color space transformations (RGB or CMY) and applying gamma correction to maintain brightness. You should analyze hue shifts with vectors to understand deviations and adjust hue and saturation carefully for harmony. Quantifying color consistency through metrics like delta E helps guarantee uniformity across shots. Mastering these calculations enables precise, effective color fixes—continue exploring to open even deeper control over your color corrections.
Key Takeaways
- Understanding hue shifts involves analyzing color vectors to quantify deviations and determine necessary adjustments.
- Calculating color balance adjustments requires transforming color spaces and applying gamma correction for accurate results.
- Using delta E metrics helps quantify color consistency and identify adjustments needed across different shots or images.
- Hue and saturation corrections are performed by manipulating color wheel parameters to restore accurate tint and vibrancy.
- Visualizing tint shifts with color vectors aids in precise correction, ensuring tonal harmony and consistent color reproduction.

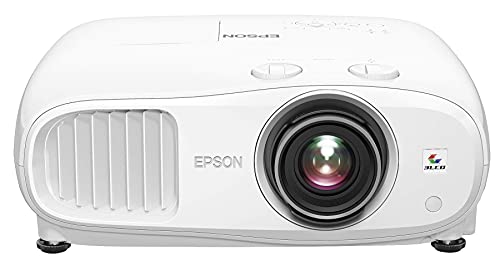
Epson Home Cinema 980 3-Chip 3LCD 1080p Projector 4,000 Lumens Color and White Brightness, Streaming/Gaming/ Media Room, Built-In Speaker, Auto Picture Skew, 16000:1 Contrast, 2 HDMI Ports
Exceptional Picture Quality — Provides stunning, detailed 1080p images and fast data processing that’s optimized for fast-action sports,...
As an affiliate, we earn on qualifying purchases.
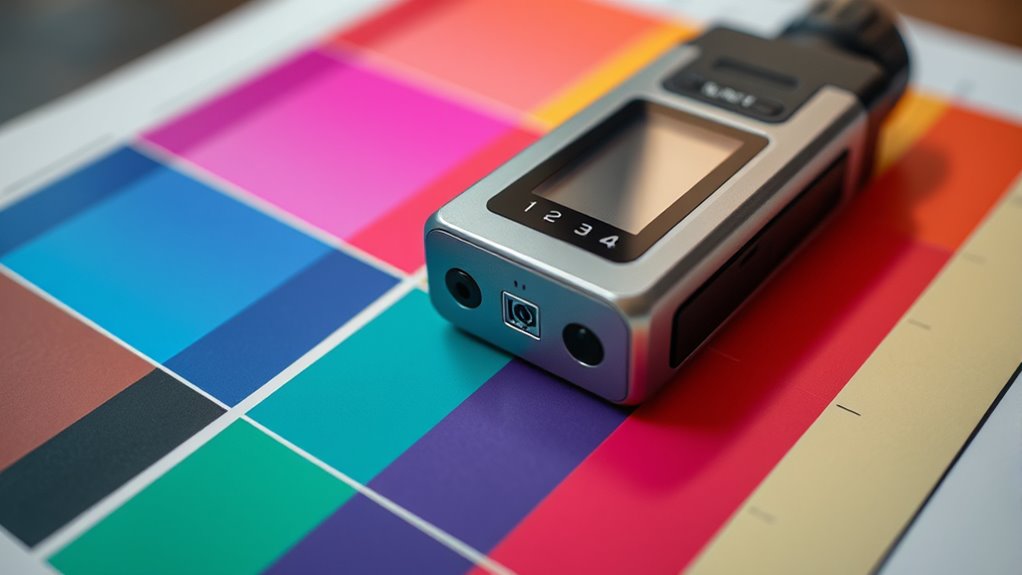
Understanding RGB and CMY Color Models

To understand how colors are created and manipulated in digital and print media, you need to grasp the fundamentals of the RGB and CMY color models. RGB, which stands for Red, Green, and Blue, is used in screens and digital displays. It relies on color mixing by combining light wavelengths to produce a wide spectrum of hues. CMY, or Cyan, Magenta, and Yellow, is typical in printing and works through subtractive color mixing; blending these inks absorbs certain wavelengths, revealing others. Recognizing how these models influence color psychology helps you predict how colors evoke emotions and perceptions. Whether designing for screens or print, understanding these models allows you to manipulate colors effectively, ensuring your visuals communicate the intended mood and message with precision. Additionally, understanding the contrast ratio of a projector can significantly enhance how vivid and detailed your visuals appear across different media. Knowing how color models work enables you to make informed choices that improve visual clarity and impact.
Epson Home Cinema 3800 4K PRO-UHD 3-Chip Projector with HDR
4K PRO-UHD (1) Projection technology — a new type of 4K home theater experience, utilizing advanced technologies for...
As an affiliate, we earn on qualifying purchases.
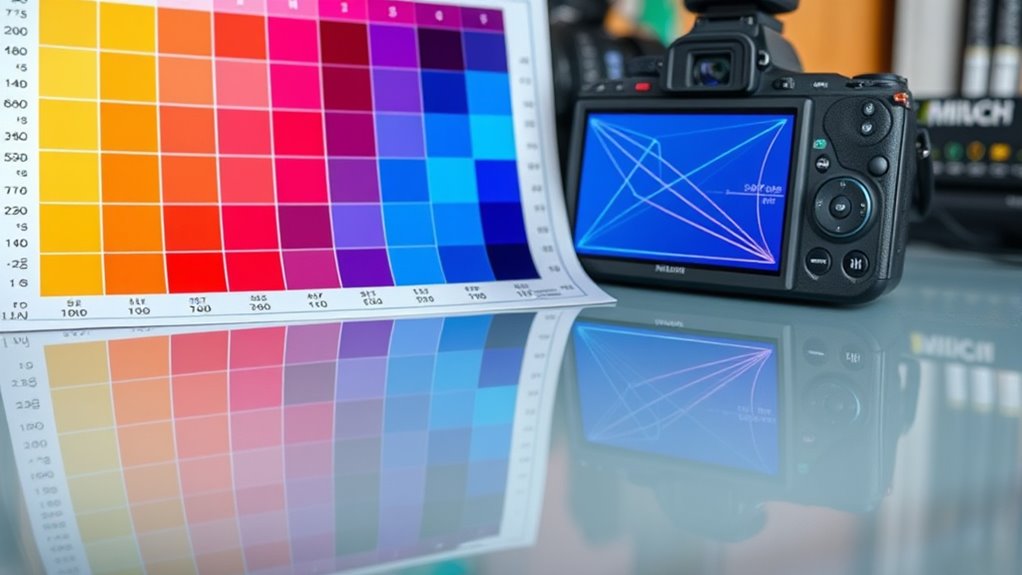
Calculating Color Balance Adjustments
Understanding how color models influence your images sets the stage for making precise adjustments. Calculating color balance adjustments involves understanding processes like color space transformation and gamma correction, which directly impact how colors appear on screens. By analyzing how these transformations affect your image, you can target specific color shifts more accurately. To refine your adjustments, consider these key points:
Master color adjustments by understanding space transformation and gamma correction for accurate, vibrant images.
- Recognize how color space transformation shifts color data between different formats, especially when converting between RGB and other color models.
- Use gamma correction to ensure consistent brightness and contrast across devices, which is crucial for maintaining color fidelity.
- Apply calculated adjustments to fine-tune the balance without distorting overall image quality.
- Be aware of necessary cookies that support core functionalities during your editing workflow. Additionally, understanding how color rendering impacts perceived hues can help in achieving a natural look.
- An awareness of security considerations, such as the protection of your editing environment, can help maintain the integrity of your work and prevent unauthorized access.
- Understanding how AI-driven discovery accelerates the development of new tools provides insight into future advancements in image editing technologies.
Mastering these calculations enables you to correct tint issues precisely, resulting in vibrant, true-to-life images that match your creative intent.

Epson Home Cinema 2350 4K PRO-UHD Smart Gaming Projector with Android TV, 3-Chip 3LCD, HDR10, HLG, 2,800 Lumens, Low Latency, 10 W Speaker, Bluetooth, Streaming Capability
4K PRO-UHD (1) — An amazing 4K experience utilizing advanced processing for resolution enhancement, color and image processing;...
As an affiliate, we earn on qualifying purchases.
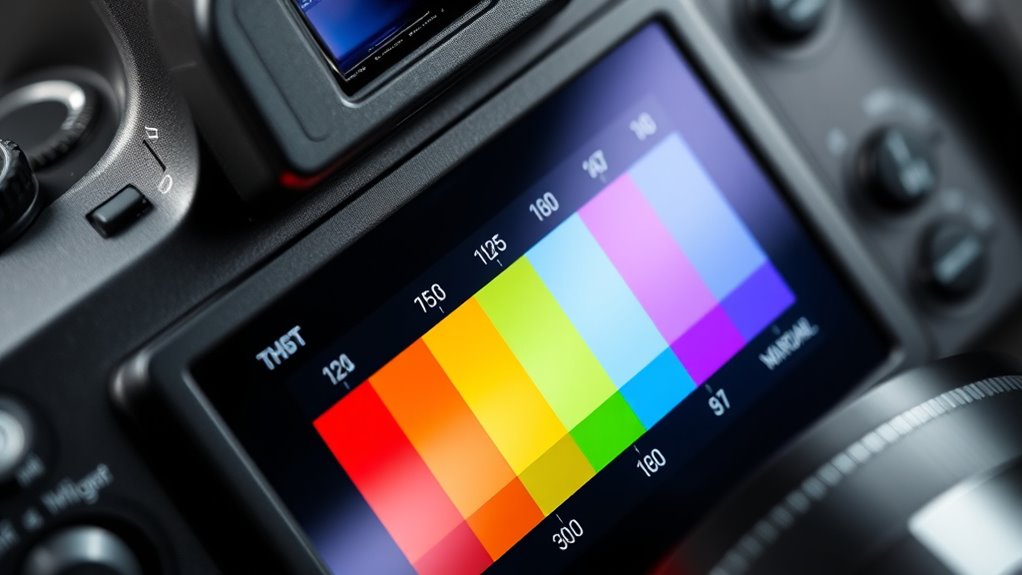
Determining Tint Shifts Using Color Vectors
Determining tint shifts in your images involves analyzing how colors deviate from their intended hues, and one effective method is using color vectors. These vectors help visualize the direction and magnitude of color shifts, essential for precise tint calibration during color grading. By plotting color deviations in vector form, you can identify if colors lean toward green or magenta, for example. Use the table below to understand key components:
| Vector Component | Description | Impact on Tint Calibration |
|---|---|---|
| Direction | Hue deviation (e.g., green) | Guides hue correction |
| Magnitude | Degree of shift | Indicates intensity of change |
| Reference Point | Original color position | Sets baseline for adjustments |
Applying this method ensures your color grading maintains accurate, consistent tonal balance. Additionally, understanding color vectors can help streamline the correction process and improve overall image fidelity. Recognizing how color shifts influence the final image is fundamental for achieving professional results. Moreover, familiarity with headphone compatibility can assist in monitoring color accuracy during grading sessions, especially when working with calibrated audio-visual setups.

ViewSonic PX700HDH DLP 1080p Projector with 3700 Lumens, Supercolor, 1.1x Optical Zoom, 22000:1 Contrast Ratio, Dual HDMI, and Vertical Keystone for Home Theater
Full HD Home Theater Projector: FHD (1920x1080p) resolution with a 1.5-1.6 throw ratio and 3,700 ANSI lumens perfect...
As an affiliate, we earn on qualifying purchases.
Applying Hue and Saturation Corrections
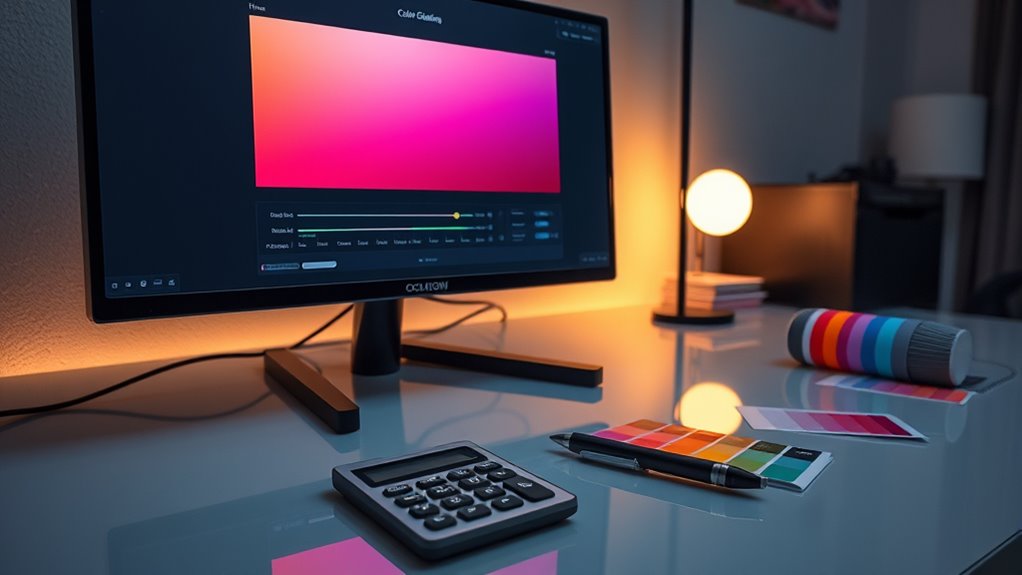
Applying hue and saturation corrections allows you to fine-tune your colors for a more balanced and vibrant image. By adjusting the hue, you shift colors along the color wheel, helping you target specific tones. Saturation tweaks intensify or mellow colors, making them pop or recede as needed. Using complementary colors on the color wheel can enhance contrast and harmony, creating striking visual effects. To get the most out of these adjustments, consider these key points:
Fine-tune colors using hue and saturation for vibrant, balanced images and striking visual effects.
- Identify which hues need correction based on the overall color balance
- Use the color wheel to find complementary colors for natural contrast
- Adjust saturation gradually to avoid oversaturation or dullness
- Remember that color harmony is essential for creating visually appealing images.
- Achieving a balanced color palette can also improve the overall visual impact of your images.
- Regularly reviewing your adjustments in different lighting conditions can help maintain color consistency across images.
These techniques enable precise control over your image’s color harmony, ensuring your corrections are both subtle and impactful.
Quantifying Color Consistency Across Shots
To guarantee your footage maintains a consistent look, you need to quantify color variation across shots. This helps ensure your color grading and tint correction stay uniform, avoiding jarring differences. Use metrics like delta E or histogram analysis to evaluate color shifts. These tools measure how much colors deviate between shots, giving you clear data to guide adjustments. When you quantify consistency, you’re not guessing—you’re making informed decisions that enhance visual harmony. Additionally, monitoring nutrient-rich ingredients can help identify subtle variations that impact overall color balance. Incorporating color correction techniques can further refine and stabilize the color output throughout your footage. Understanding color calibration processes and legal procedures is essential to maintain compliance during the process. Recognizing the importance of accurate color measurement ensures that your assessments are reliable and precise. Below is a table showing common metrics for assessing color consistency:
| Metric | Purpose |
|---|---|
| Delta E | Measures perceptual color difference |
| Histogram Analysis | Tracks tonal and color distribution changes |
| Color Variance | Quantifies overall color variation |
| Brightness Difference | Ensures uniform luminance across shots |
Frequently Asked Questions
How Do Lighting Conditions Affect Color Tint Calculations?
Lighting conditions directly impact color tint calculations because ambient lighting and color temperature alter how colors appear. When lighting is warmer or cooler, it shifts the perceived hue, making calculations more complex. You need to modify for these factors to get accurate color tint results. By considering the ambient lighting and color temperature, you guarantee your color adjustments reflect real-world conditions, leading to more precise and consistent color outcomes.
Can These Calculations Be Automated in Editing Software?
Yes, these calculations can be automated in editing software. Modern programs incorporate color profiles and advanced algorithms that adjust for lighting conditions automatically. You just need to select the right color profile, and the software handles the rest, ensuring consistent color tint corrections. This streamlines your workflow, saves time, and improves accuracy, letting you focus on creative decisions instead of manual adjustments.
What Are Common Mistakes to Avoid in Tint Correction?
When correcting tints, avoid common mistakes like overlooking color matching and shade consistency. Don’t assume a single adjustment works for all areas; instead, check each section carefully. Be cautious with overcorrection, which can cause unnatural hues. Always monitor how your edits affect the overall image, and use reference points to maintain uniformity. These steps guarantee your tint correction looks seamless and professional.
How Do Monitor Calibrations Influence Color Accuracy?
Monitor calibrations directly impact your color accuracy by ensuring proper color temperature and gamma correction. When you calibrate your monitor, you set the right color temperature to match the lighting conditions, preventing color shifts. Gamma correction adjusts the luminance response, making sure midtones display correctly. This process helps you achieve consistent, true-to-life colors, essential for precise work. Without calibration, your colors may appear inaccurate or inconsistent across different devices.
Are There Industry Standards for Acceptable Tint Shifts?
Yes, industry benchmarks set standards for acceptable tint shifts in color grading. These standards guarantee consistent color accuracy across projects, helping you maintain visual integrity. When calibrating your monitors, aim for tint shifts within these benchmarks to achieve professional results. Regularly checking against industry standards keeps your work aligned with industry expectations, ensuring your color grading stays precise and reliable for clients and audiences alike.
Conclusion
Think of color tint fixes as tuning a fine instrument—you need precise calculations to keep everything harmonious. By understanding RGB and CMY models, adjusting balance, and measuring tint shifts, you’re crafting a visual symphony that flows seamlessly. Remember, each correction is a brushstroke shaping your masterpiece. When you master these calculations, your color grading becomes a flawless melody, ensuring every shot sings in perfect harmony.