
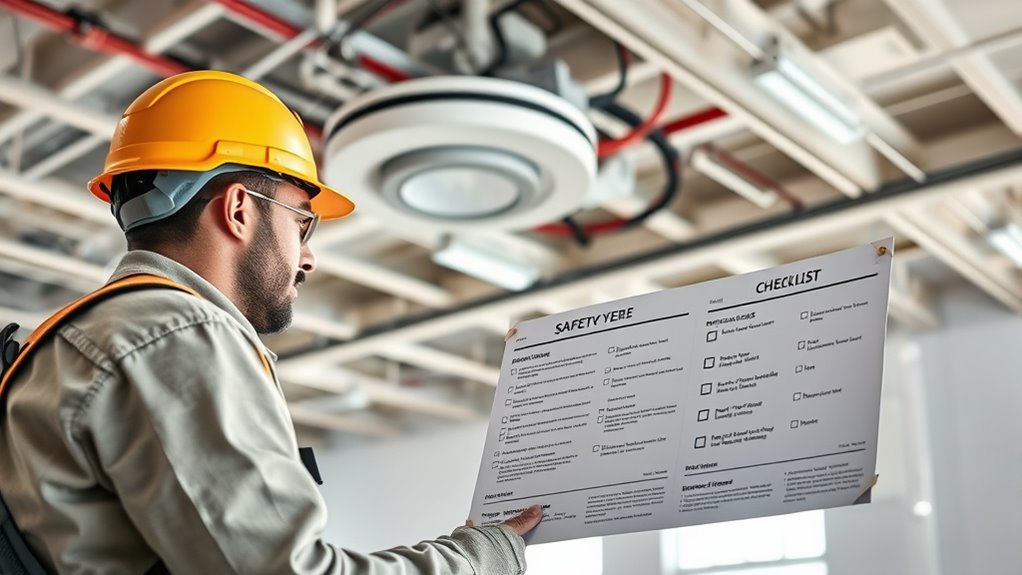
Before starting your ceiling mount installation, verify your ceiling’s support structure and material, like drywall or concrete, to make certain it can handle the equipment’s weight. Gather all necessary tools, hardware, and safety gear, and plan each step carefully. Check local building codes and regulations for compliance and permits. Confirm equipment compatibility and cable management needs. Following a thorough safety checklist helps prevent accidents and damage. Keep following the guidelines to learn essential safety and support tips for a secure setup.
Key Takeaways
- Verify ceiling material, support structure, and weight capacity before mounting.
- Use appropriate tools, hardware, and safety gear, and follow manufacturer instructions.
- Locate and confirm sturdy support beams or joists to ensure secure mounting.
- Check local building codes and obtain permits if necessary for compliance.
- Plan each step carefully, including cable management and safety precautions, to ensure stability and safety.

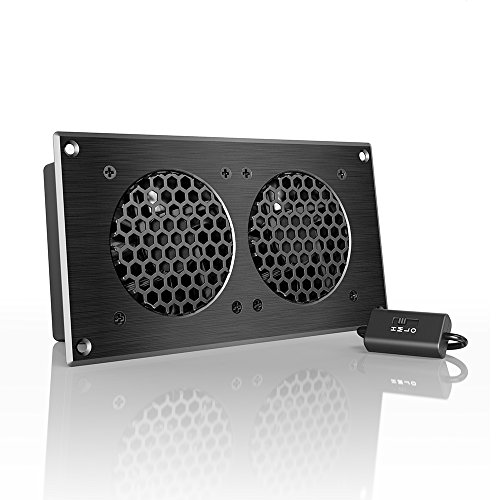
AC Infinity AIRPLATE S1, Quiet Cooling Fan System 4" with Speed Control, for Home Theater AV Cabinets
An ultra quiet fan system designed for cooling cabinets that requires minimal noise.
As an affiliate, we earn on qualifying purchases.
Assess Your Ceiling and Space Requirements
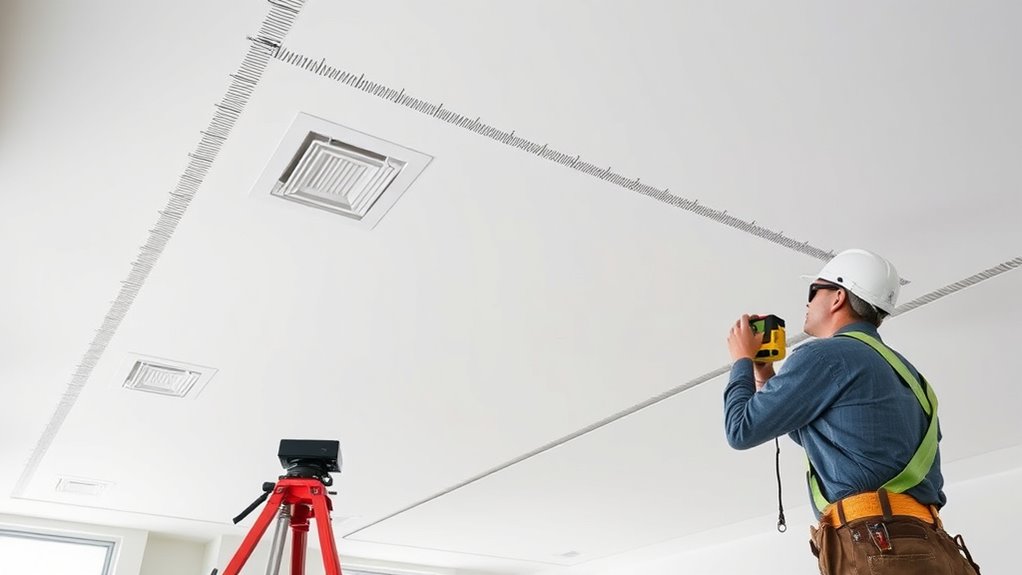
Before choosing a ceiling mount, you need to evaluate your ceiling and space to guarantee compatibility. First, consider the ceiling material, such as drywall, concrete, or wood, as this impacts the type of mount and anchors you’ll need. Next, examine your room layout to determine available space and clearance. Is the ceiling height sufficient for your device and any necessary safety buffers? Also, check for obstructions like beams, vents, or light fixtures that could interfere with installation. Understanding your ceiling’s structure and the overall room setup helps you select the right mount and avoid future issues. Proper assessment ensures your ceiling mount will be secure, stable, and safe, giving you peace of mind during use. Additionally, assessing the signs of spoilage in your environment helps prevent potential hazards or damage caused by improper installation conditions. Recognizing potential structural weaknesses before installation can also prevent accidents and ensure long-term safety of your setup. Conducting a thorough environmental inspection can reveal hidden issues that might compromise the mount’s stability or safety, especially considering how sound vibrations might affect mounting components over time.
AC Infinity AIRPLATE S5, Quiet Cooling Fan System 8" with Speed Control, for Home Theater AV Cabinets
An ultra-quiet UL-certified fan system designed for cooling cabinets that requires minimal noise.
As an affiliate, we earn on qualifying purchases.
Gather Necessary Tools and Materials

Before you start installing your ceiling mount, make sure you have all the essential tools on hand, like a drill, level, and screwdriver. Double-check that your materials are compatible with your ceiling type to avoid issues later. Having everything ready guarantees a smooth and safe installation process. Additionally, considering professional voice actors can help ensure your setup is optimized for clear communication and safety. Being aware of cheating tendencies and potential pitfalls can also help you plan a more secure and reliable installation. Incorporating digital literacy resources can further enhance your understanding of safe installation practices and troubleshooting techniques. Staying informed about AI discoveries and emerging technologies can also provide insights into innovative safety measures for your project.
Essential Tools Needed
To make certain a safe and efficient ceiling mount installation, you need to gather the essential tools and materials beforehand. Start with a drill, level, screwdriver, and measuring tape to ensure precise placement and secure mounting. A stud finder helps locate ceiling joists for stable support, especially when considering different mounting options for ceiling fixtures. A ladder or scaffolding ensures safe access to higher areas. You might also need anchors and screws suited to your ceiling type. Having these tools ready prevents delays and reduces safety risks during installation. Remember, choosing the right tools for your specific ceiling fixtures and mounting options makes the process smoother and safer. Preparing everything in advance sets a solid foundation for a successful ceiling mount project. Additionally, understanding privacy and cookie policies can help in selecting appropriate accessories or decorations to complement your mounted fixtures. Considering firearm-specific payment processors can also be relevant if you’re managing security or access systems that involve firearm safety measures. Ensuring familiarity with safety protocols related to working at heights can further prevent accidents during installation. Moreover, consulting the type of ceiling and its weight capacity can prevent overloading the mount and ensure long-term stability.
Material Compatibility Check
Ensuring your tools and materials are compatible with your ceiling fixture is essential for a safe and secure installation. Start with a thorough material testing process to verify compatibility. This prevents potential failures or damage during installation. To do this effectively, check the following:
- Confirm the mounting hardware matches your ceiling type
- Verify the strength and weight capacity of brackets and anchors
- Ensure screws and bolts are suitable for your fixture and ceiling material
- Inspect all components for defects or corrosion before installation
- Consider material compatibility with your fixture’s design and intended use to prevent future issues
- Be aware of automation advancements that can enhance your installation process through modern tools and techniques
- Understand how climate control factors might influence the selection of materials and hardware for optimal performance in different environments
- Recognize that performance upgrades in hardware can influence the durability and safety of your ceiling mount
Additionally, selecting hardware that aligns with manufacturing standards ensures compliance and long-term reliability. Performing proper material testing and compatibility verification minimizes risks and guarantees the fixture’s stability. Taking these steps ensures your ceiling mount is secure, safe, and long-lasting. Always double-check compatibility before proceeding to avoid costly mistakes.

ECHOGEAR 20U Open Frame Rack for Servers & AV Gear - Wall Mountable Design Includes 2X Vented Shelves, 25x Rack Mounting Screws, 4X Leveling Feet, 4X Shelf Stops, & 2X Securement Straps
Includes all the goodies you need to rack 'em up: Entire 20U open frame rack structure, 4x leveling...
As an affiliate, we earn on qualifying purchases.
Identify Wall and Ceiling Support Structures
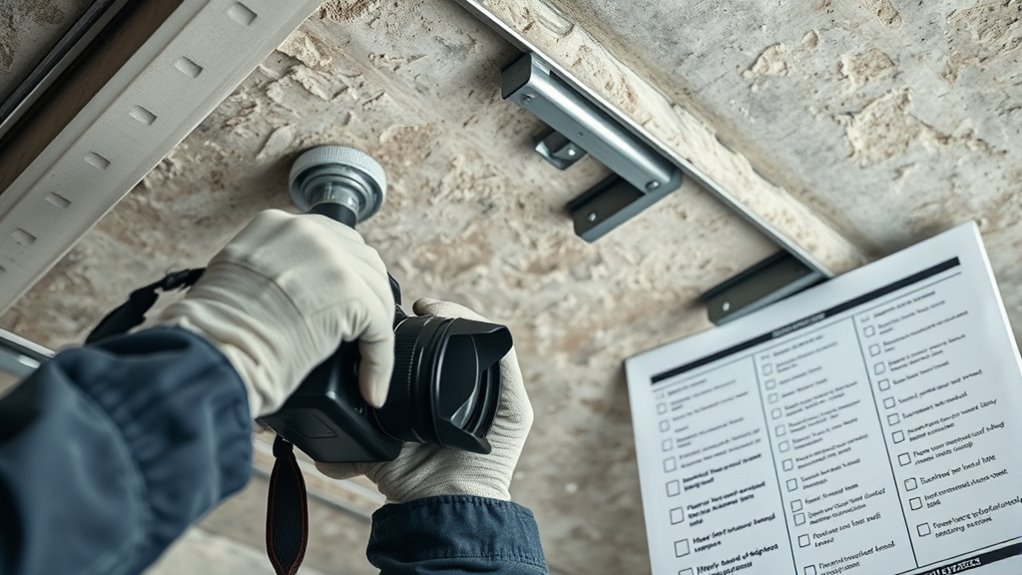
The first step in installing a ceiling mount safely is to identify the wall and ceiling support structures. You need to check for wall reinforcement, such as sturdy studs or additional framing, to ensure they can handle the weight of your mount and equipment. Look for support beams in the ceiling, which provide essential stability. Use a stud finder to locate these structures accurately. Avoid mounting on drywall alone, as it may not support the load. Confirm that the support beam or wall reinforcement is solid and free of damage. Properly identifying these structures prevents accidents and guarantees your installation remains secure over time. Incorporating industry best practices can further enhance the safety and durability of your ceiling mount installation. Additionally, consulting professional installers can ensure that the support structures are evaluated correctly and the installation adheres to safety standards, especially considering structural integrity and load-bearing capacity.

RIVECO 2 PCS 10” Rack Shelves for 19 inches Network Rack & Cabinets, 1U Rack Mount Shelf Vented Cantilever Tray, for Server, IT & Sound Equipment
DIMENSION: 19”(W) X 10”(D) X 1.7”(H) .Also other sizes shelves are available: 6” rack shelves, 8” rack shelves...
As an affiliate, we earn on qualifying purchases.
Determine the Weight and Compatibility of Your Equipment
Before mounting your equipment, you need to know its weight and make sure it’s compatible with your chosen mount. Check the weight limits specified by the mount manufacturer and compare them to your device’s weight. Also, verify that your ceiling’s structural support can handle the combined load safely.
Equipment Weight Limits
Knowing the weight of your equipment is essential to selecting a ceiling mount that can support it safely. Your mount’s weight capacity must meet or exceed your device’s weight to prevent accidents. To determine if your equipment fits within safe limits, consider these factors:
- Check the manufacturer’s specified mount weight capacity.
- Measure your equipment’s total weight accurately.
- Understand the equipment load limits for your chosen mount.
- Ensure the mount can handle any additional accessories or attachments.
Ignoring these details can lead to structural failure or damage. Always prioritize safety by verifying that your ceiling mount’s load capacity aligns with your equipment’s weight. Proper assessment ensures secure installation and peace of mind during use.
Compatibility With Mounts
Accurately determining the weight and compatibility of your equipment guarantees you select a ceiling mount that fits perfectly and functions safely. Confirm your device’s weight and ensure it aligns with the mount’s capacity. Also, check mount compatibility, especially if you’re using adapters or unique mounting options. Consider these factors:
| Equipment Type | Weight (lbs) | Adapter Options |
|---|---|---|
| Flat-screen TV | 15-50 | VESA, custom brackets |
| Projector | 5-15 | Ceiling mounts, swivel |
| Security Camera | 1-5 | Adjustable brackets |
| Large Display | 50+ | Heavy-duty mounts |
Matching your equipment with the right mount and available adapter options ensures stability and safety, preventing accidents.
Assessing Structural Support
To guarantee your ceiling mount supports your equipment safely, you need to assess both its weight and compatibility first. Start by identifying the ceiling material, such as drywall, concrete, or wood, as this affects mounting options. Next, locate a support beam or joist capable of bearing the load; unsupported sections may need reinforcement. Then, determine the weight of your equipment, including any added accessories, to ensure it doesn’t exceed the support beam’s capacity. Finally, verify that your chosen mount is compatible with the ceiling material and support structure.
- Confirm the support beam’s weight capacity
- Check if the ceiling material can handle the mount and equipment
- Identify the location of support beams or joists
- Ensure the mount’s compatibility with your ceiling type
Check Local Building Codes and Regulations
Before starting your ceiling mount installation, it’s vital to review local building codes and regulations to ensure compliance. Check if you need a building permit before drilling into your ceiling, as failing to do so can lead to fines or delays. Zoning laws may also restrict the type or weight of mounts allowed in your area. Some regions have specific rules about mounting heavy fixtures or using certain materials, so it’s indispensable to verify these requirements beforehand. Contact your local building department or review their website to understand what’s needed. Making sure you follow the proper codes not only keeps you legal but also guarantees your installation is safe and secure. Ignoring regulations can compromise safety and cause complications down the line.
Plan Your Mounting Location Carefully

Choosing the right location for your ceiling mount is crucial to guarantee safety and peak performance. You need to assess the ceiling material and confirm the mounting surface can support the weight of your equipment. Proper planning prevents accidents and damage. Consider these factors:
Selecting the ideal ceiling spot ensures safety and optimal performance.
- Verify the ceiling material (drywall, concrete, or wood) and its load-bearing capacity.
- Locate ceiling joists or other structural supports for secure mounting.
- Avoid areas with electrical wiring, ductwork, or plumbing that might interfere.
- Choose a spot with ideal viewing angles and minimal obstructions.
Prepare for Electrical and Cable Management

Proper electrical and cable management is crucial to guarantee safety and a clean setup. Before installing your ceiling mount, plan your cable routing carefully to avoid tangled or exposed wires. Determine where the electrical wiring will run and ensure it’s properly insulated and grounded. Use cable clips or conduit to secure wires along beams or walls, preventing movement or damage. Keep power sources and switches accessible but out of sight for a tidy appearance. Avoid overloading circuits, and verify that your electrical wiring complies with local codes. Label cables clearly to simplify future maintenance. Taking these steps ensures a safe, organized installation, reduces fire hazards, and creates a professional, clutter-free look. Proper planning now saves time and trouble later.
Ensure Personal Safety Equipment Is Available

Make sure you have your work gloves, protective eyewear, and proper footwear ready before starting. These safety items protect you from potential hazards and keep your work efficient. Always double-check that your safety gear is in good condition and within reach.
Secure Work Gloves
Before starting work on the ceiling mount, guarantee you have your work gloves readily available. Proper safety gloves are essential protective gear that shield your hands from cuts, splinters, and debris. Ensuring your safety gloves fit well and are in good condition helps prevent accidents. Here’s what to consider:
- Check for tears or holes in your safety gloves.
- Choose gloves suitable for handling tools and sharp objects.
- Keep multiple pairs nearby in case one gets damaged.
- Replace worn-out gloves immediately to maintain protection.
Having the right protective gear on hand minimizes injury risk and keeps your focus on the task. Securing your work gloves is a small step that substantially impacts your safety during ceiling mount installation.
Wear Protective Eyewear
Wearing protective eyewear is essential to shield your eyes from dust, debris, and potential sparks generated during ceiling mount installation. Safety goggles provide a secure barrier, preventing particles from causing injuries or irritation. Always choose goggles that fit snugly and stay in place as you work. Keep your safety eyewear clean and free of scratches to guarantee clear vision. When handling tools or drilling into the ceiling, debris can quickly become airborne, increasing the risk of eye injury. Wearing protective eyewear not only complies with safety regulations but also protects your vision, allowing you to work confidently. Make sure your safety goggles are readily available before starting, so you don’t risk skipping this critical safety step. Proper eye protection is a simple yet essential part of your ceiling mount safety checklist.
Use Proper Footwear
Are you equipped with the right footwear to stay safe during ceiling mount installation? Proper footwear safety is essential to prevent slips and falls. Wearing the right shoes can make a significant difference in maintaining stability and safety. Confirm your footwear provides good grip and support. Here are four tips to prioritize slip prevention and footwear safety:
- Choose shoes with non-slip soles for maximum traction.
- Avoid open-toe or loose-fitting shoes that may cause tripping.
- Use sturdy, closed-toe footwear with ankle support.
- Replace worn-out shoes to maintain effective slip prevention.
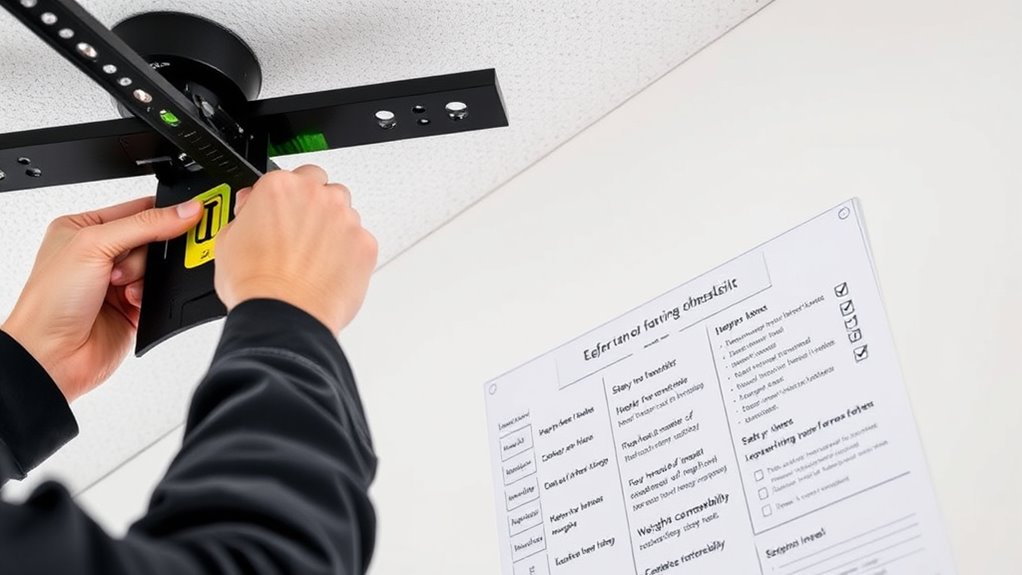
Review Manufacturer Instructions and Guidelines
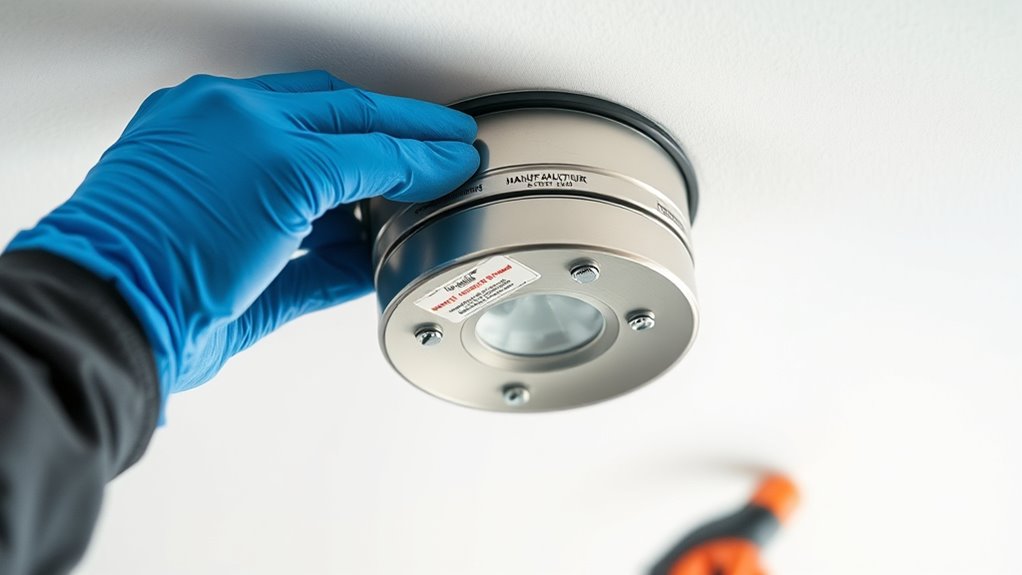
Reviewing the manufacturer’s instructions and guidelines is a essential step to guarantee the ceiling mount is installed safely and correctly. These instructions provide critical details on weight limits, compatible hardware, and proper mounting techniques. By carefully reading the manufacturer instructions, you ensure you’re following the safety guidelines designed to prevent accidents or damage. Skipping this step can lead to improper installation, which may cause the mount to fail or fall. Pay close attention to any specific tools or materials recommended. Following the safety guidelines outlined by the manufacturer helps protect you and your space. Always keep these instructions nearby during installation, and double-check that all steps are understood before proceeding. This preparation minimizes risks and sets a solid foundation for a secure, safe ceiling mount.
Develop a Step-by-Step Installation Plan
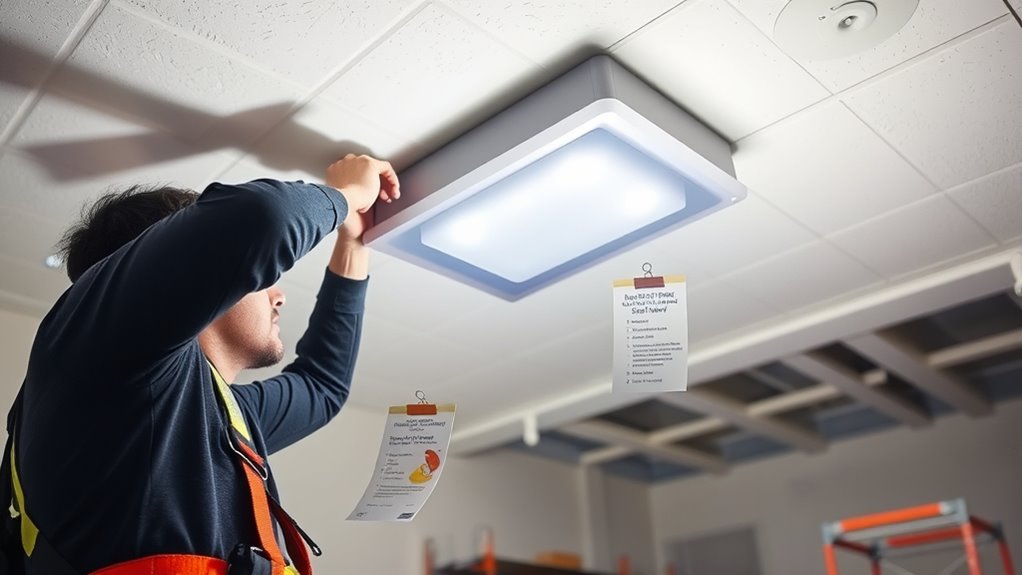
Creating a detailed step-by-step installation plan is essential to guarantee a safe and efficient ceiling mount setup. Your plan should consider the ceiling material and the mounting surface’s strength to ensure stability. To start, identify the best mounting points, checking for joists or beams. Next, gather all necessary tools and hardware, confirming they’re compatible with your ceiling material. Then, outline each step clearly—from marking drill points to securing the mount—so nothing gets overlooked. Finally, plan for safety measures like using a sturdy ladder and wearing protective gear. A solid plan minimizes surprises and potential hazards, making the installation smoother. Keep these four steps in mind to ensure your ceiling mount is secure and safe for long-term use.
Frequently Asked Questions
What Are Common Ceiling Types Suitable for Mounts?
You’ll find that drywall, wood, and concrete ceilings are common and suitable for mounts. Make certain the ceiling material compatibility is high, so your mount stays secure. Before installation, prepare the mounting surface properly by ensuring it’s clean, dry, and sturdy. This prevents accidents and ensures stability. Always check weight limits and use the right hardware for your ceiling type, so your setup stays safe and reliable.
How Do I Verify Ceiling Support Strength Safely?
To verify your ceiling’s support strength safely, start with a visual inspection for signs of damage or sagging. Then, consider ceiling reinforcement if needed. Perform load testing by gradually applying weight to ensure it can handle the mount’s load without issues. Always use proper safety equipment and consult a professional if you’re unsure about the strength or reinforcement requirements to prevent accidents.
Are There Specific Tools for Different Ceiling Materials?
Yes, there are specific tools for different ceiling materials to guarantee proper mount compatibility and safe installation. For drywall, you might need a drill, stud finder, and anchors. If you’re working with concrete or brick, a hammer drill and masonry bits are essential. For wood ceilings, a standard drill and screws often suffice. Using the right tools minimizes damage and guarantees a secure mount, ensuring your setup remains stable and safe.
Can I Install Mounts Without Professional Help?
Thinking you can pull off DIY installation? You absolutely can, but don’t forget safety precautions. You’ll need the right tools for your ceiling material and a steady hand. Always double-check the weight limits and use a ladder safely. If you’re unsure or the ceiling’s tricky, it’s wise to call in a professional. This way, you avoid mishaps, and your mount stays secure—just like a well-placed classic in a vintage shop.
What Are Signs of Potential Ceiling Structure Issues?
If you notice ceiling cracking or sagging ceilings, it could signal structural issues. Cracks might be small, but if they are wide or spreading, they could indicate damage. Sagging ceilings are a clear warning sign of underlying problems, like water damage or weakened supports. Don’t ignore these signs; you should have a professional inspect your ceiling promptly to prevent further damage or potential safety hazards.
Conclusion
By following this safety checklist, you’re not just installing a ceiling mount—you’re safeguarding your space and peace of mind. Remember, a well-planned setup is the foundation of safety and success. Don’t let haste or oversight turn your project into a risk. With careful preparation and attention, you create a secure environment where your equipment can thrive. Because in the end, safety isn’t just a step—it’s the heartbeat of every successful installation.