To manage ceiling cables effectively, start by planning your layout around fixture locations, sketching routes, and ensuring compliance with safety codes. Choose quality materials like sturdy supports and appropriate wires, then install supports such as brackets or channels to keep cables organized and secure. Use clips or zip ties to prevent tangling, and regularly check for damage or sagging. Keep your system tidy and safe—if you keep going, you’ll discover simple tips to master seamless ceiling wiring.
Key Takeaways
- Plan cable routes carefully by identifying fixture locations and visualizing paths from the power source.
- Use appropriate supports like brackets or raceways to secure and hide cables for a neat appearance.
- Select quality wiring with proper insulation and gauge suitable for the load to ensure safety and durability.
- Secure wires with clips or ties along supports, and label cables for easy identification during maintenance.
- Regularly inspect and maintain the ceiling cable system to prevent damage, sagging, and safety hazards.

Amazon Echo Hub, 8” smart home control panel, Designed for Alexa+, Compatible with thousands of devices
Echo Hub — An easy-to-use Alexa-enabled control panel for your smart home devices—just ask Alexa or tap the...
As an affiliate, we earn on qualifying purchases.
Planning Your Ceiling Cable Layout
Have you ever wondered how to create an efficient and safe cable layout for your ceiling? Start by planning where your lighting fixtures will go, as they influence cable routes. Measure and sketch your ceiling layout, marking the locations of all fixtures and outlets. Verify your plan complies with electrical codes, which specify safe distances, cable types, and secure mounting. Think about how cables will run from your power source to each fixture, avoiding obstructions and potential hazards. Use a detailed diagram to visualize the entire setup, making adjustments before starting installation. Proper planning prevents costly mistakes and ensures a tidy, safe, and code-compliant ceiling cable system. Remember, a well-organized layout simplifies future upgrades and maintenance. Embracing attention to detail during planning can significantly improve the overall safety and efficiency of your installation. Additionally, understanding cable management best practices helps prevent damage and clutter. Incorporating cable protection measures, such as conduits or cable ties, further enhances longevity and safety. Paying close attention to safety standards ensures your setup remains reliable and compliant over time. For example, considering the horsepower of electric tools can inform appropriate cable gauge selection, reducing overheating risks.
Amazon Product B001EHAI6Y
As an affiliate, we earn on qualifying purchases.
Choosing the Right Materials and Tools
Selecting the right materials and tools sets the foundation for a smooth ceiling cable installation. You need to choose quality components to guarantee safety and durability. First, pick the correct wire gauge; thinner wires may be easier to handle but can’t support heavy loads, while thicker wires provide more strength. Second, check the cable insulation to prevent electrical hazards and protect against moisture. Third, gather essential tools like wire strippers, a drill, and mounting brackets. Fourth, consider cable ties or clips to keep your cables organized and secure. Using the proper wire gauge and cable insulation ensures your setup is safe and efficient. Additionally, understanding electrical safety standards can help prevent potential hazards and ensure compliance with local regulations. Having the right tools on hand makes installation faster and more precise, setting you up for success from the start.

Projector Screen Pull Down Mount Kit, Universal Projector Screen Ceiling & Wall Mount, 6 Inch Adjustable L-Brackets with Hooks & Hardware for Home Projector and Movie Screens, Holds 66lbs, Black
Universal ceiling & wall mount kit for projector screens – securely anchors your screen to ceilings or walls,...
As an affiliate, we earn on qualifying purchases.
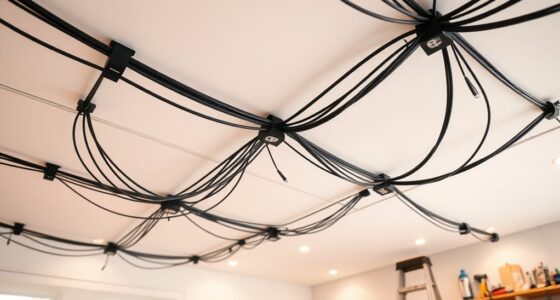
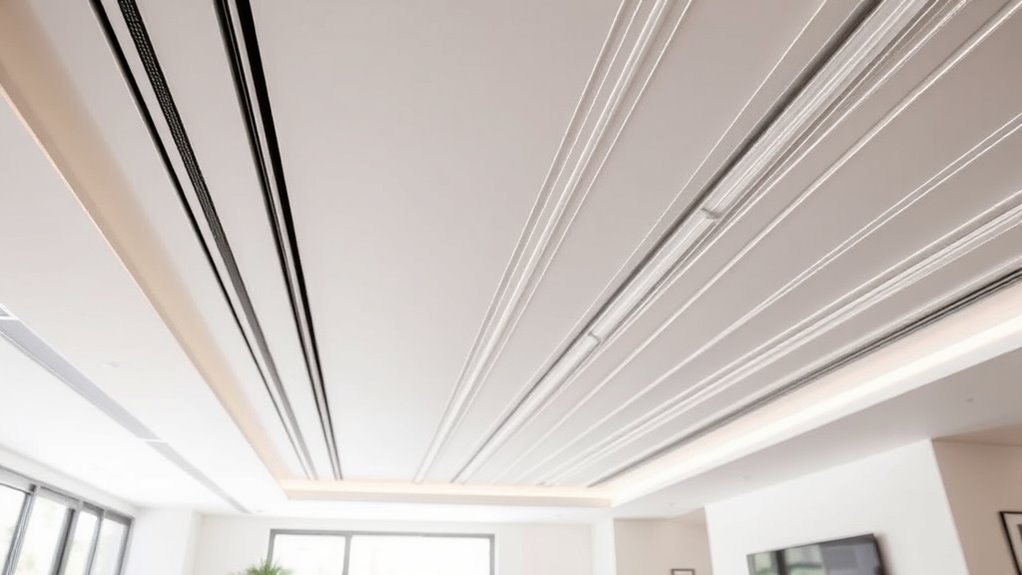
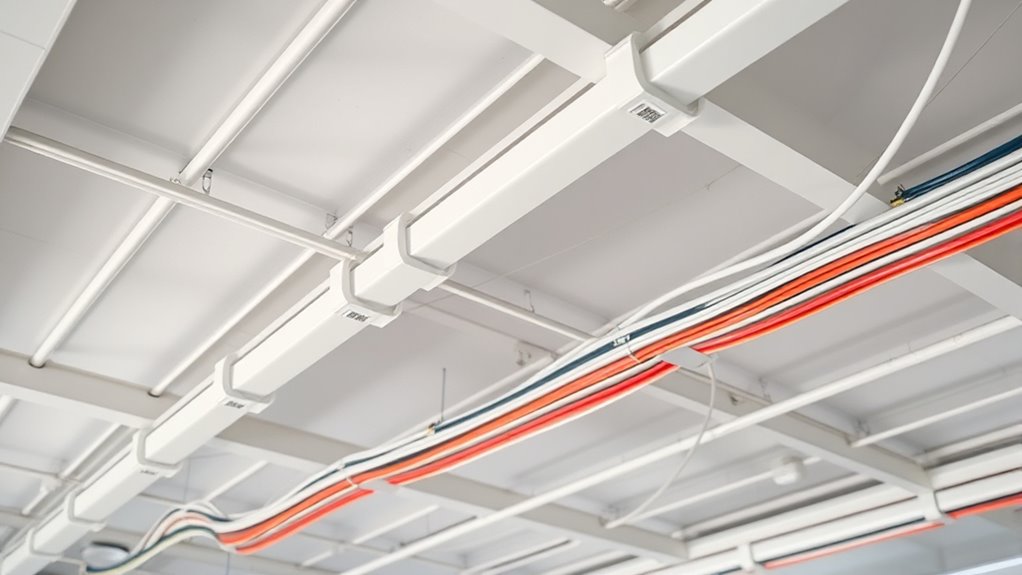
Installing Ceiling Cable Supports and Channels
How do you guarantee your ceiling cables stay organized and secure? Installing ceiling cable supports and channels is key. Supports hold cables in place, preventing sagging or damage, while channels hide wires for a clean look. To visualize, picture this table:
| Support Type | Function |
|---|---|
| Adjustable Hooks | Easy wire concealment, flexible setup |
| Fixed Brackets | Secure heavy cables, enhance aesthetics |
| Cable Trays | Organize multiple cables, improve appearance |
| Raceway Channels | Hide wires, provide neat aesthetic enhancements |
Choose supports that match your ceiling type and cables’ weight. Proper installation ensures your cables stay tidy and secure, elevating the room’s look and minimizing hazards.

Projector Screen Pull Down Mount Kit, Universal Projector Screen Ceiling & Wall Mount, 6 Inch Adjustable L-Brackets with Hooks & Hardware for Home Projector and Movie Screens, Holds 66lbs, White
Universal ceiling & wall mount kit for projector screens – securely anchors your screen to ceilings or walls,...
As an affiliate, we earn on qualifying purchases.
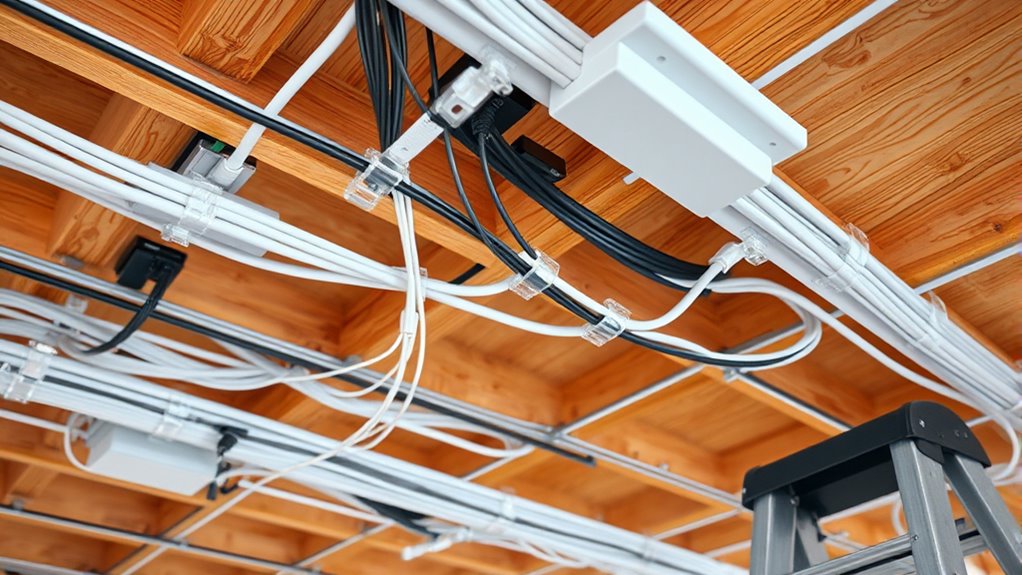
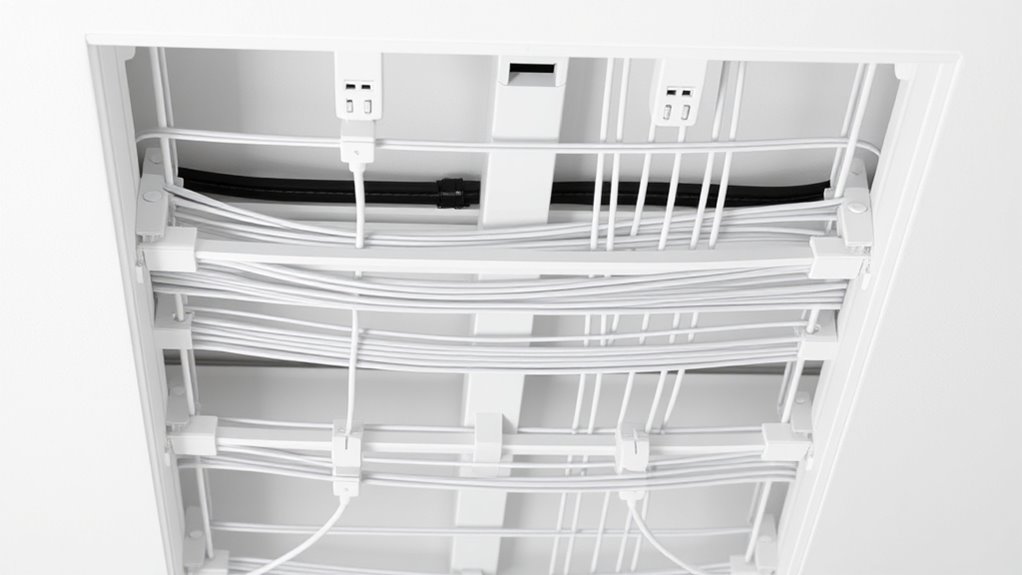
Managing and Securing Wires Effectively
Once your ceiling supports and channels are in place, the next step is managing and securing wires effectively. Proper wire concealment keeps cables hidden and organized, creating a clean look. Use cable clips or ties to secure wires along supports, preventing sagging or tangling. Consider labeling cables clearly with cable labeling to identify each wire easily, saving time during maintenance or troubleshooting. Here are four tips:
- Use zip ties or Velcro straps to bundle wires neatly.
- Run wires along supports to avoid crossing or clutter.
- Conceal wires inside channels or conduits for a tidy appearance.
- Label each cable at both ends for quick identification.
- Ensuring proper wire management contributes to safety and prevents damage over time. Good wire management also involves understanding the types of cables used, which can influence how you organize and secure them effectively. Additionally, using appropriate cable conduits can further protect wires from environmental damage and accidental disconnection. Properly selecting and installing cable connectors is also crucial for maintaining a secure and reliable wiring system.
Following these steps helps you maintain a safe, organized, and professional ceiling system.
Tips for Maintaining a Safe and Neat Ceiling System

Maintaining a safe and neat ceiling system requires regular inspections and prompt adjustments. Check for loose wires, damaged insulation, or sagging cables, and address issues immediately. Consider using wireless alternatives where possible to reduce clutter and eliminate tangled cords. This not only enhances safety but also keeps your ceiling tidy. Decorative coverings, such as cable conduits or decorative moldings, can conceal wires neatly and protect them from damage. Keep pathways clear and avoid overloading circuits to prevent fire hazards. Regularly clean the ceiling area to prevent dust buildup, which can compromise insulation and safety. Additionally, understanding the importance of proper cable management techniques can significantly improve the safety and appearance of your ceiling system. Proper cable management can also help prevent electrical hazards, ensuring your home remains safe. Being aware of eye patch benefits and their proper use can contribute to overall eye health, especially if you experience eye strain or fatigue from prolonged screen time. Incorporating the use of cable organizers can help streamline your wiring setup, making maintenance easier and safer. By staying vigilant and incorporating these tips, you’ll ensure your ceiling remains both safe and visually appealing, with wires securely managed and out of sight.
Frequently Asked Questions
How Do I Estimate the Total Cable Length Needed?
To estimate the total cable length needed, start with cable length estimation by measuring the distances between your power source and each device along the ceiling. Use measurement techniques like a tape measure or laser distance meter to get accurate readings. Add extra length for slack and future adjustments. Always double-check your measurements before purchasing cables to avoid shortages or excess. This guarantees a smooth installation process with reliable cable management.
What Are the Common Mistakes Beginners Make in Ceiling Cable Management?
Did you know that 65% of beginners face issues like cable sag or improper grounding? When managing ceiling cables, avoid common mistakes like underestimating cable lengths, which causes sag, or neglecting proper grounding, risking safety. Always measure carefully, use appropriate fasteners, and follow grounding protocols. Overlooking these basics leads to messiness and hazards. Pay attention to detail, and you’ll create a tidy, safe ceiling cable setup that lasts.
Can I Install Ceiling Cables Without Professional Help?
Yes, you can do a DIY installation of ceiling cables, but you need to follow safety precautions carefully. Make sure you turn off power at the breaker and use proper tools. If you’re unsure about electrical codes or working at heights, it’s best to consult a professional. Taking these precautions guarantees your installation is safe and effective, even if you’re doing it yourself.
How Do I Troubleshoot Cable Issues After Installation?
If you encounter cable issues after installation, start by performing cable testing with troubleshooting tools like a multimeter or cable tester. Check for continuity, shorts, or disconnections. If problems persist, inspect the connections and verify cables are properly secured. Use troubleshooting tools to identify faults quickly. Remember, testing systematically helps pinpoint issues, making repairs easier and ensuring your ceiling cable setup functions safely and reliably.
Are There Specific Codes or Regulations to Follow for Ceiling Wiring?
You definitely need to follow building codes and safety regulations when wiring ceilings, or risk creating a hazard that could rival an earthquake! Always check your local electrical codes, which specify requirements for wiring methods, insulation, and fixture placement. Use certified materials and verify your work complies with regulations like the NEC (National Electrical Code). Ignoring these can lead to dangerous situations or costly fines, so stay compliant for safety’s sake.
Conclusion
Now that you’ve learned the essentials of ceiling cable management, it’s clear how important planning and proper tools are. As you start your project, you’ll find that the right materials and careful securing make all the difference. It’s funny how, with just a little attention, your ceiling can look professional and stay safe. So, take your time, stay organized, and enjoy the satisfaction of a neat, secure cable system—your future self will thank you!