To find your projector’s perfect throw distance, start by knowing its throw ratio. Measure your room’s space and guarantee the projection path is clear of obstructions. Match the throw distance with your desired screen size and room layout, considering whether you’re using a short-throw or long-throw projector. Adjust positioning for sharp focus and image clarity, and consult manufacturer specs or tools for precise placement. Keep reading to master every step for flawless projection every time.
Key Takeaways
- Measure your desired screen size and check the projector’s throw ratio to determine the ideal distance.
- Use a tape measure to establish the correct throw distance based on the projector’s specifications.
- Adjust the projector placement to match the calculated throw distance for optimal image size and clarity.
- Consider room size, ambient light, and projection angle to fine-tune the perfect throw distance.
- Utilize manufacturer tools or projection calculators to precisely determine your projector’s ideal throw distance.
Understanding Throw Ratio and Its Significance
Understanding throw ratio is essential because it determines how much space you need to produce a specific image size. Your projector’s throw ratio impacts the projection angle, which affects how large your image appears from a given distance. A lower throw ratio means you can place the projector closer to the screen, creating a wider projection angle, ideal for small rooms. Conversely, a higher throw ratio requires more distance, suitable for larger spaces. Additionally, ambient light plays a role here—brighter rooms demand a projector with a suitable throw ratio to guarantee clear, visible images without distortion. By understanding your projector’s throw ratio, you can optimize placement to achieve the perfect image size and quality, even in challenging lighting conditions. Incorporating technological advancements like automated adjustments can further enhance your viewing experience. Recognizing the impact of contrast ratio on image depth can help you select the best projector for your environment. A thorough understanding of resources and tools can also inform your choices for an optimal setup during movie nights.
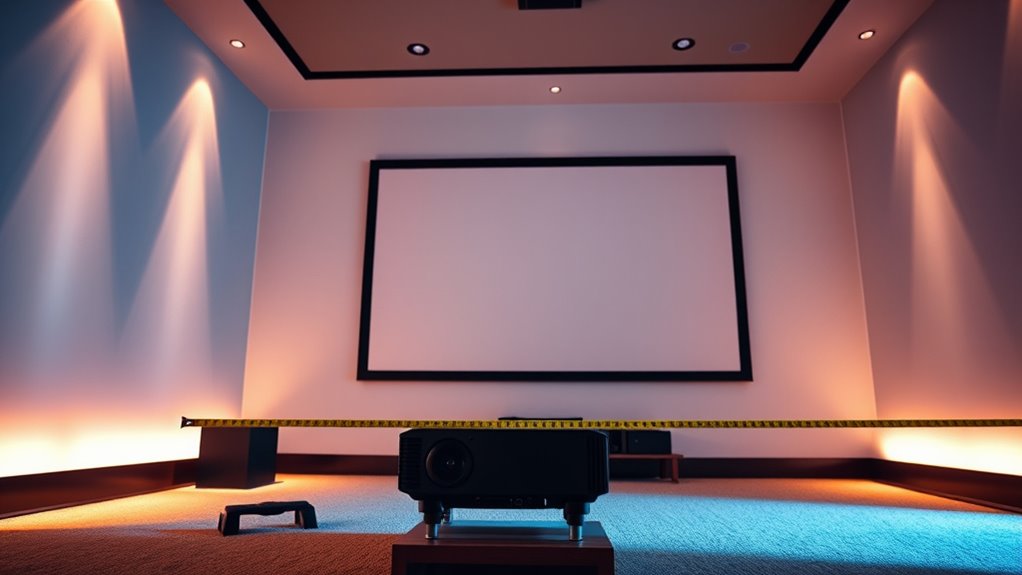
Measuring Your Space: How to Determine Your Available Distance
To figure out your available space, start by measuring your room dimensions accurately. Next, identify a clear projection path free of obstructions, and finally, consider your wall or screen size to make certain your projector fits. Taking these steps helps you determine the perfect distance for your setup. Additionally, understanding the building and legal considerations of your space can ensure your setup complies with any local regulations. Knowing the water park attractions nearby can also help you plan recreational activities around your viewing setup. Being aware of the best juice cleanses for weight loss can also inspire healthy habits to complement your home entertainment environment. Incorporating sustainable sourcing practices into your space can further promote an environmentally friendly setup and reduce your ecological footprint. Finally, integrating ergonomic furniture into your space can further enhance comfort during long viewing sessions.
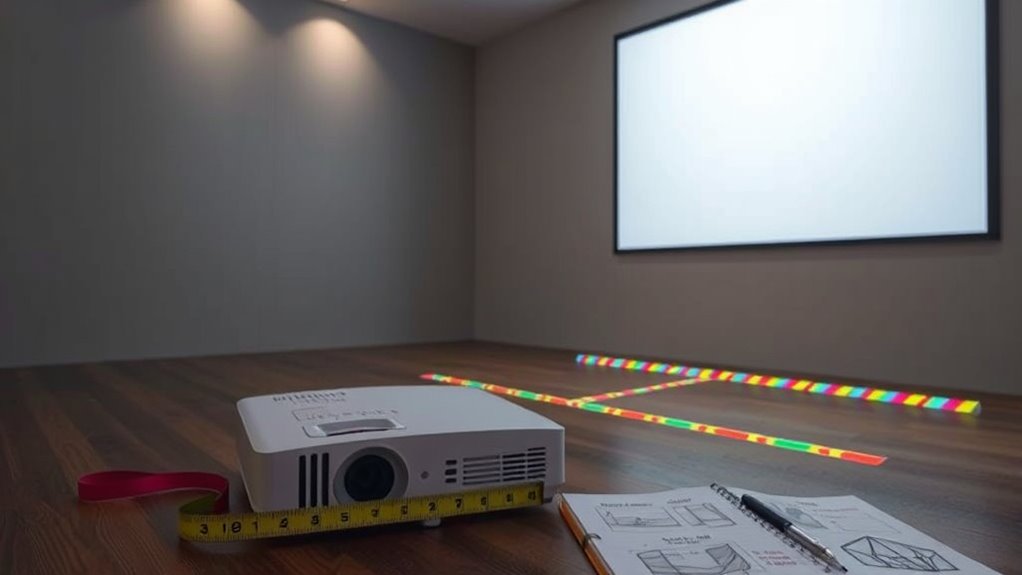
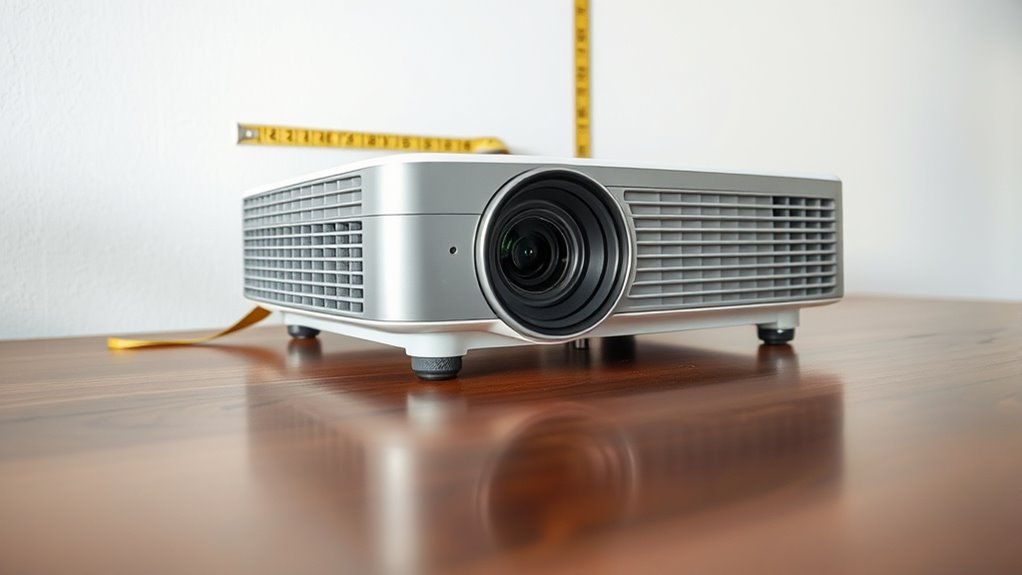
Measure Room Dimensions Accurately
Accurately measuring your room dimensions is essential to determine the ideal projector placement. Use a tape measure to record the length, width, and height of your space. This helps you calculate the maximum and minimum throw distances, guaranteeing your projector fits comfortably. Keep in mind that proper color calibration depends on projector placement, so knowing your room size allows for the best image quality. Additionally, consider sound integration; placement near speakers or sound systems requires precise measurements to avoid distortion or interference. Double-check your measurements for accuracy, especially if you plan to mount or position the projector on furniture or a ceiling mount. Precise room dimensions ensure you select the right projector model and achieve the best picture and sound experience. Understanding asset division laws can also help you plan your space effectively if you are coordinating multiple electronics or setups. Moreover, considering the room layout can help optimize projector placement for both viewing comfort and equipment accessibility. To maintain a clear image, be mindful of potential obstructions that could block the projection path. Additionally, taking note of ambient light conditions can influence your projector choice and placement to enhance viewing clarity. Being aware of available space can further assist in selecting the correct projector and setup method for your environment.
Identify Clear Projection Path
Before choosing a projector, you need to identify a clear, unobstructed projection path across your room. Check the space between your projector’s location and the screen or wall to guarantee nothing blocks the projection angle. Consider how furniture, decor, or fixtures might interfere with the beam. Also, evaluate ambient lighting, as excessive light can wash out the image, so a space with controlled lighting will give you a clearer picture. Make sure there’s enough room for the projector’s throw distance without obstructions that could distort or block the image. A straightforward path helps you determine the ideal placement and ensures your projector can deliver a sharp, bright image without glare or shadows. This step is essential for a successful setup and clear display. Being aware of room layout can help optimize your projector placement for the best viewing experience, especially by understanding how projector placement impacts image quality and clarity.
Account for Wall and Screen Size
Measuring your available space is essential to guarantee your projector fits properly and produces a clear image. Start by considering your wall placement and screen mounting options. The size of your wall or designated screen area impacts how close or far your projector needs to be. Larger screens require more throw distance, so confirm your space can accommodate this without crowding furniture or obstructing pathways. If you’re mounting the screen, measure from the mounting point to where the projector will be placed, accounting for the image size you want. Keep in mind that wall features and mounting brackets can affect placement. Properly factoring in wall and screen size ensures your projector can deliver a sharp, well-sized image without the need for constant adjustments. Additionally, understanding self watering planters can help optimize space for indoor gardening, which is often a consideration when arranging a multimedia or entertainment area.
Types of Projectors and Their Typical Throw Ranges
Different types of projectors are designed to suit various space constraints and presentation needs, which directly influence their typical throw ranges. Standard, short-throw, and ultra-short-throw projectors each have unique projection angles that affect how close they can be placed to the screen. Ambient lighting also impacts their performance; brighter rooms may require projectors with higher lumens. Here’s a quick overview:
| Type | Typical Throw Range | Ideal Use |
|---|---|---|
| Standard | 8-20 feet | Large auditoriums, home theaters |
| Short-throw | 3-8 feet | Classrooms, small conference rooms |
| Ultra-short-throw | Less than 3 feet | Limited space, interactive displays |
| Portable | Varies | On-the-go presentations, small rooms |
Understanding these categories helps you select the right projector for your space and lighting conditions, especially considering projector placement and the room size. Selecting the appropriate throw type can also influence image clarity and overall viewing experience, which can be affected by factors like room size, ambient light levels, and the projection angle. Additionally, choosing the right throw distance can optimize cost efficiency by reducing the need for expensive mounting options or specialized screens.
Calculating the Ideal Throw Distance for Your Screen Size
To determine the best throw distance for your projector, you need to match it with your screen size. First, consider the projection angles; a wider angle can help maximize image size without moving the projector too far back. Measure your available space and choose a screen size that fits comfortably within that area. Keep ambient lighting in mind—brighter rooms may require a larger image for clarity and brightness, which influences the ideal throw distance. The goal is to find a balance where the projector is close enough to produce a sharp, well-lit image without causing distortion or glare. Understanding the projection angles and how ambient lighting interacts with screen size is crucial. By understanding your screen size and how projection angles and ambient lighting interact, you can accurately calculate the perfect throw distance for a flawless viewing experience.
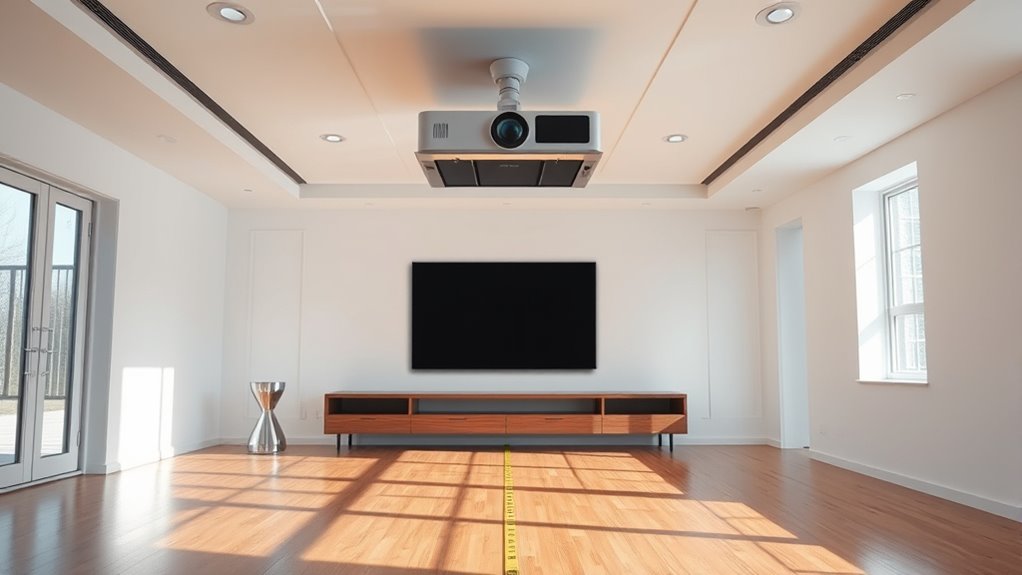
Adjusting Position for Short-Throw and Long-Throw Projectors
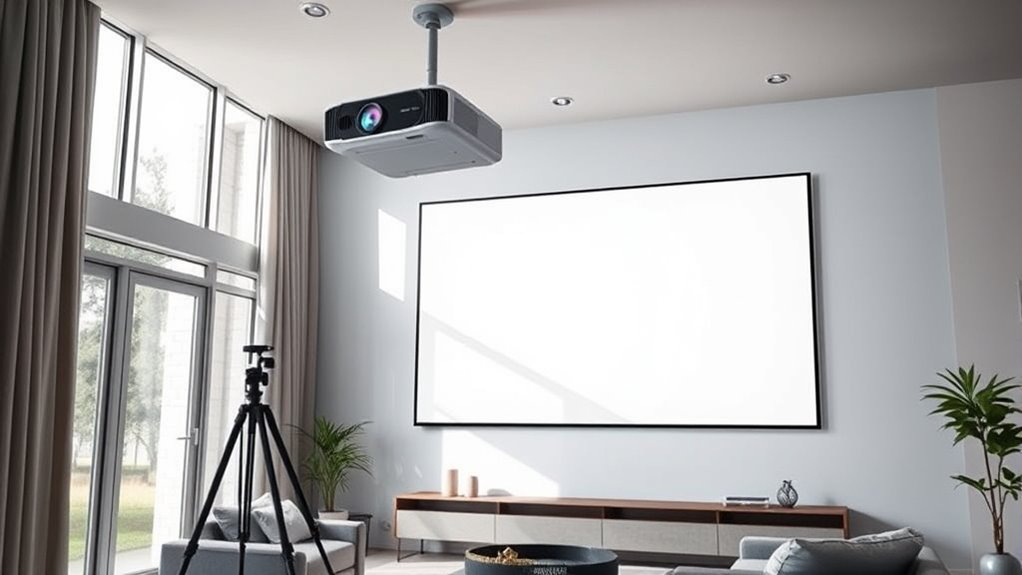
Adjusting the position of your projector is essential to optimize image size and quality, especially when working with short-throw and long-throw models. For short-throw projectors, you’ll want to position it closer to the screen, which requires careful adjustment of installation height to avoid shadows and distortion. Confirm the projector’s brightness matches your room’s lighting conditions to maintain a clear image. Long-throw projectors need to be placed farther back, often requiring additional ceiling or floor mounting adjustments. Proper positioning minimizes keystone distortion and ensures an even projection. Always measure the distance carefully, considering your projector’s throw ratio, to achieve the best image size without compromising brightness or clarity. Fine-tuning these factors guarantees a sharp, vibrant display tailored to your space.
Tips for Achieving Sharp Focus and Image Clarity

To get the clearest image, start by properly adjusting the focus dial until the picture appears sharp. Make sure your lens settings are optimized for your specific projection environment, such as brightness and zoom. Small tweaks can make a big difference in achieving crisp, clear visuals.
Proper Focus Adjustment
Achieving sharp focus is essential for a clear and crisp image when using a projector. To do this effectively, start with proper lens calibration, ensuring the lens is aligned correctly. If your image isn’t sharp, focus troubleshooting can help identify issues like misadjusted focus rings or dirty lens surfaces. Here are some tips to improve focus:
- Fine-tune the focus ring slowly until the image becomes sharp and clear.
- Check for any dirt or smudges on the lens and clean gently if needed.
- If focus remains blurry, recalibrate the lens or perform troubleshooting steps to identify hardware issues.
Optimal Lens Settings
Proper lens settings play an essential role in capturing sharp, clear images with your projector. To achieve this, start with accurate lens calibration, confirming the lens is correctly aligned and focused. Adjust the projection angle carefully; a steeper or shallower angle can distort the image and reduce clarity. Fine-tune the lens focus until the projected image appears crisp and detailed. Some projectors offer manual focus rings or digital adjustments—use these controls to enhance sharpness. Remember, the lens calibration process helps eliminate blurriness caused by misalignment, while adjusting the projection angle can prevent distortion. Regularly checking and refining these settings guarantees the best possible image quality, regardless of your room’s setup or projector position. Proper lens calibration combined with an ideal projection angle ensures consistently sharp images every time.
Common Mistakes to Avoid When Setting Up Your Projector
When setting up your projector, it’s easy to make mistakes that can compromise image quality and viewing experience. Common errors include ignoring projection height, which can cause distorted images, or setting up in areas with too much ambient lighting, reducing clarity. To avoid these pitfalls, keep in mind:
- Don’t place the projector too high or low—proper projection height ensures a sharp, evenly sized image.
- Avoid installing in brightly lit rooms without controlling ambient lighting, which can wash out the picture.
- Never assume a perfect setup without testing different placement options; small adjustments can make a big difference in image quality.
Being mindful of projection height and ambient lighting helps you create a crisp, vibrant display, avoiding common setup mistakes that diminish your viewing experience.
Using Manufacturer Specifications and Tools for Precision Placement

Utilizing manufacturer specifications and dedicated setup tools is essential for guaranteeing your projector is positioned accurately. Start by consulting the projection angles provided in the user manual, which guide ideal placement for clear images without distortion. These specifications help you determine the perfect throw distance and height for your setup. When selecting mounting options, use tools like laser distance measurers or alignment guides to achieve precise positioning. Properly aligning your projector according to these specifications minimizes keystone distortion and ensures sharp focus. Many manufacturers also offer calibration tools or apps that simplify the process further. By following these guidelines and leveraging the right tools, you’ll set your projector at the perfect distance, ensuring a crisp, well-aligned image every time.
Frequently Asked Questions
Can Ambient Light Affect the Optimal Projector Throw Distance?
Ambient lighting can definitely impact your projector’s ideal throw distance. When there’s more ambient light, you might need to reduce the throw distance to guarantee a brighter, clearer image. Adjusting your projector’s brightness settings helps compensate for the extra light, maintaining image quality. So, yes, ambient lighting affects how you set up your projector, and making proper brightness adjustments ensures you get the best picture every time, regardless of lighting conditions.
How Does Projector Placement Impact Image Distortion or Keystone Effects?
When you place your projector, lens alignment and screen size are key. Poor lens alignment causes image distortion, making your picture look skewed or blurry. If you position the projector too close or too far, keystone effects may occur, altering the image shape. To avoid this, guarantee the projector is aligned with the center of the screen and adjusted for the correct screen size. Proper placement keeps your image sharp and rectangular.
Are There Portable Projectors With Adjustable Throw Distances?
Are there portable projectors with adjustable throw distances? Absolutely, yes. You can find portable projectors featuring adjustable lenses that let you modify the throw distance easily. These projectors offer flexibility, allowing you to resize the image, adapt to different spaces, and optimize clarity. Whether you’re presenting on the go or setting up for movie night, adjustable lenses give you control, making your portable projector a versatile, user-friendly device.
What Accessories Can Help Fine-Tune Projector Positioning?
You can use accessories like mounting options and lens adjustments to fine-tune your projector’s positioning. Mounting options, such as adjustable ceiling mounts or stands, give you flexibility to set the right height and angle. Lens adjustments allow you to focus or zoom for a sharper image. These accessories make it easier to achieve ideal projection without hassle, ensuring your setup looks perfect and functions smoothly.
How Often Should I Recalibrate My Projector’S Throw Settings?
Think of your projector as a garden that needs regular tending. You should recalibrate your projector’s throw settings during routine maintenance, ideally every 3 to 6 months. Calibration frequency depends on usage and environmental changes. Regular projector maintenance, including recalibration, ensures sharp images and peak performance. Don’t wait for blurry visuals to notice it’s time for a check-up—stay proactive to keep your viewing experience flawless.
Conclusion
Now that you know how to find your projector’s perfect throw distance, you’re ready to set it up for stunning images every time. Remember, it’s about more than just measurements—it’s about creating an immersive experience. Don’t you deserve a crisp, clear picture that transforms your space? With these tips, you’ll confidently position your projector and enjoy your favorite movies and presentations at their best. Your perfect setup is just a few adjustments away!