
To guarantee your projector shelf is stable, first assess your wall type—drywall, concrete, or brick—and reinforce if needed with anchors. Choose hardware compatible with your surface and capable of supporting your projector’s weight, ensuring even weight distribution. Install the shelf securely, double-checking for levelness and tight fasteners. Regularly inspect and maintain your setup to prevent loosening or damage. Keep cables organized for safety—remaining details will help you master a secure, steady mount.
Key Takeaways
- Verify wall material and reinforce drywall with anchors for secure support.
- Choose a sturdy shelf and compatible hardware rated for the projector’s weight.
- Measure placement carefully, ensuring load limits and proper cable management.
- Securely mount the shelf with appropriate anchors, checking for levelness and stability.
- Regularly inspect hardware, tighten loose components, and maintain cable organization for safety.

Official Licensed Google TV Smart Projector, HAPPRUN 4K UHD Home Theater with Dolby Sound, Wi-Fi & Bluetooth, Built-in Streaming Apps, Compatible with Games Consoles & Smartphone, Indoor & Outdoor Use
[ Built-in Official Licensed Google TV ] - Without additional equipment, the smart projector can directly access Netflix,...
As an affiliate, we earn on qualifying purchases.
Evaluate Your Wall Material and Surface for Mounting Stability
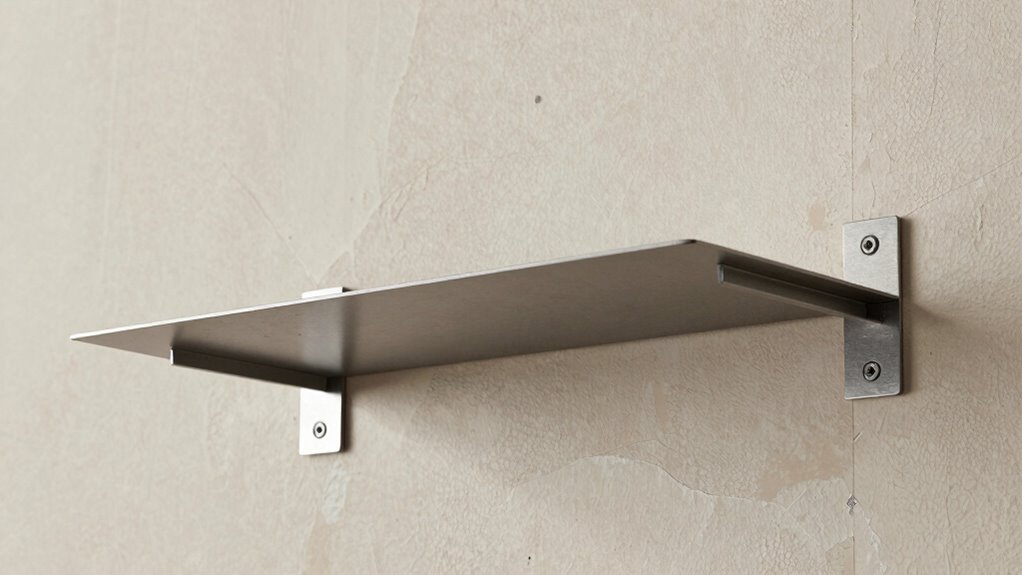
Before mounting your projector shelf, it’s essential to assess your wall material and surface to guarantee stability. Check if your wall can support the weight by inspecting its material—drywall, concrete, or brick. For drywall, consider wall reinforcement options like adding anchors or supports to improve surface adhesion. If your wall is brick or concrete, ensure it’s in good condition and capable of bearing the load without crumbling. Test surface adhesion by gently pressing on the wall to feel for any loose spots or softness. Reinforcing weak areas beforehand helps prevent the shelf from shifting or falling. Additionally, understanding basic wall repair techniques can help you strengthen weak spots for a more secure mount. Ensuring your wall’s support capacity is adequate is crucial for a safe and durable installation. Proper evaluation of your wall’s strength and surface adhesion guarantees a secure, long-lasting mount, giving you peace of mind and a stable setup for your projector. Also, considering projector weight distribution can further enhance the stability of your shelf mount. Incorporating knowledge about water resistance can be beneficial if your mounting area is exposed to moisture or humidity, ensuring longevity and safety. Furthermore, evaluating the wall surface texture can affect how well mounting hardware adheres, impacting overall stability.

VEVOR 12U AV Rack Stand with Caster Wheels, Component Rack Cabinet Recording Studio Racks, Removable Side Panels, Universal Network Server Case, Special Vents for 19'' Audio Video Rack Mounting
Heavy-Duty, Built to Last: Crafted from premium Q235 carbon steel, , ensuring your equipment remains stable and secure,...
As an affiliate, we earn on qualifying purchases.
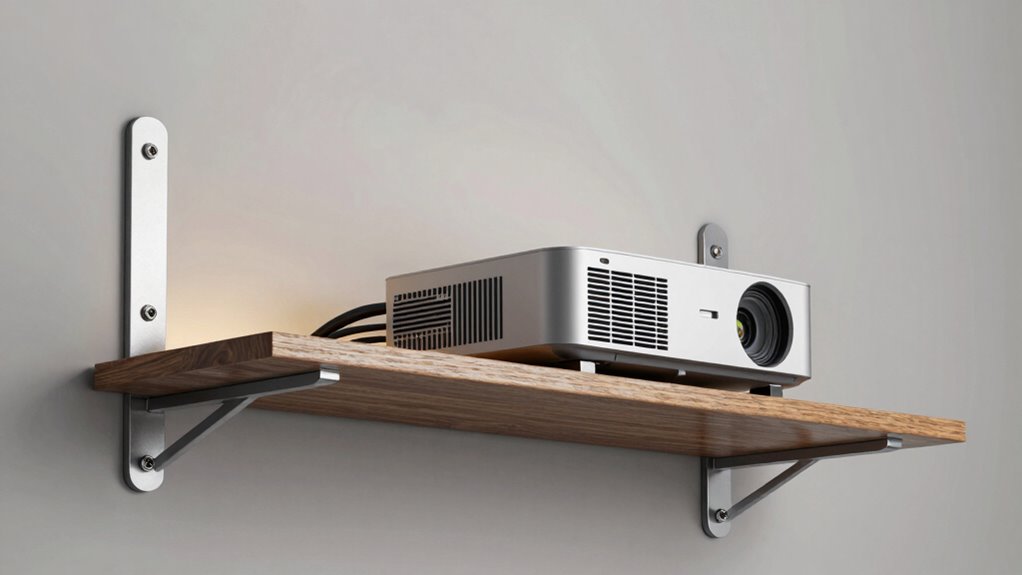
Select the Right Projector Shelf and Hardware for Your Wall
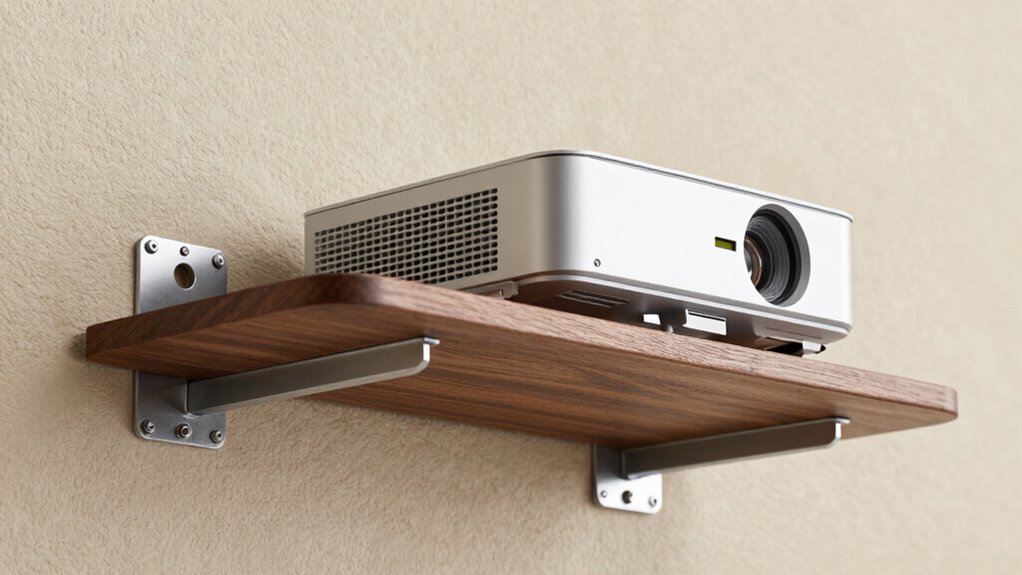
Once you’ve assessed your wall’s material and surface strength, it’s time to choose the right projector shelf and hardware that will fit your space and support your equipment. Look for a shelf that matches your aesthetic considerations, whether sleek and modern or more traditional. Consider cable management features to keep cords organized and hidden, reducing clutter and improving appearance. Select hardware that’s compatible with your wall type and capable of supporting the weight of your projector and shelf. Make sure the brackets or mounts are sturdy and designed for your chosen shelf. Proper hardware guarantees stability and safety, preventing accidents or damage. Additionally, verifying mounting compatibility ensures your hardware is suitable for your specific setup. Investing in quality mounting hardware enhances overall software quality by reducing risks of failure and ensuring long-term reliability. Ensuring your hardware is securely fastened is crucial to prevent accidental falls or damage over time. To further enhance stability, consider wall anchors that provide extra support on weaker surfaces. Also, choosing hardware with adjustable features can help achieve precise leveling and alignment for a professional look. Balancing functionality with style helps create a clean, professional look while ensuring your projector stays securely mounted.

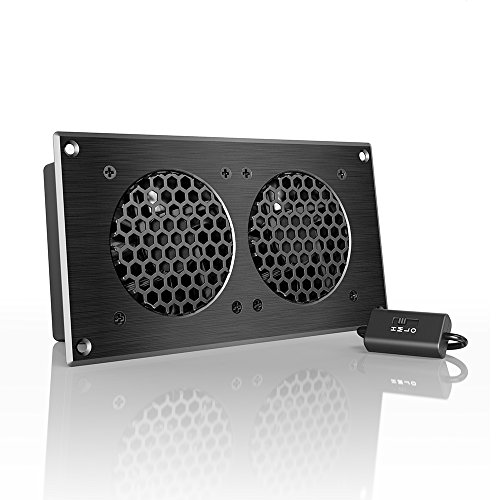
AC Infinity AIRPLATE S1, Quiet Cooling Fan System 4" with Speed Control, for Home Theater AV Cabinets
An ultra quiet fan system designed for cooling cabinets that requires minimal noise.
As an affiliate, we earn on qualifying purchases.
Plan Placement and Confirm Weight Support Limits
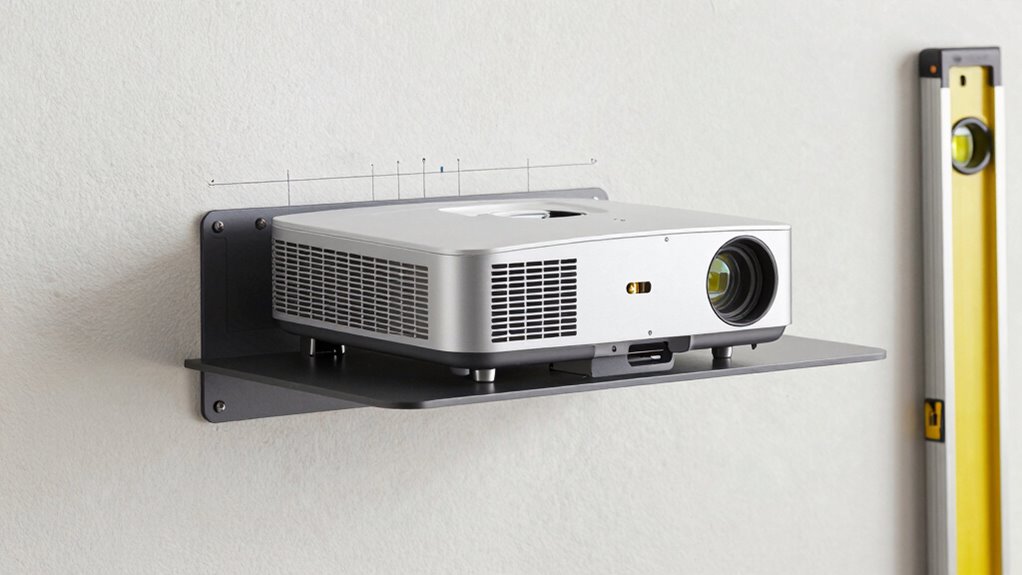
How do you guarantee your projector shelf is positioned correctly and can handle the weight? First, measure the ideal location, considering viewing height and cable management needs. Check the shelf’s weight support limits to ensure it can hold your projector and accessories safely. Consult the manufacturer’s specifications and verify wall anchors can bear the load. Proper planning prevents sagging or damage over time. Think about aesthetic considerations as well—place the shelf where cables can be neatly managed, keeping the setup clean and unobtrusive. Avoid clutter and ensure the weight distribution is even. Confirm the wall can support the combined weight of the shelf and projector. Additionally, understanding load-bearing capacity can help you make informed decisions about mounting and safety standards. Knowing the wall structure is essential for selecting appropriate anchors and mounting methods. Taking these steps guarantees stability, safety, and a tidy appearance for your mounted projector shelf. Being aware of wall material can also influence the choice of hardware and installation techniques. Conducting a stability assessment prior to installation can further enhance safety and durability over time.
AC Infinity AIRPLATE S5, Quiet Cooling Fan System 8" with Speed Control, for Home Theater AV Cabinets
An ultra-quiet UL-certified fan system designed for cooling cabinets that requires minimal noise.
As an affiliate, we earn on qualifying purchases.
Install the Shelf Securely and Test for Stability
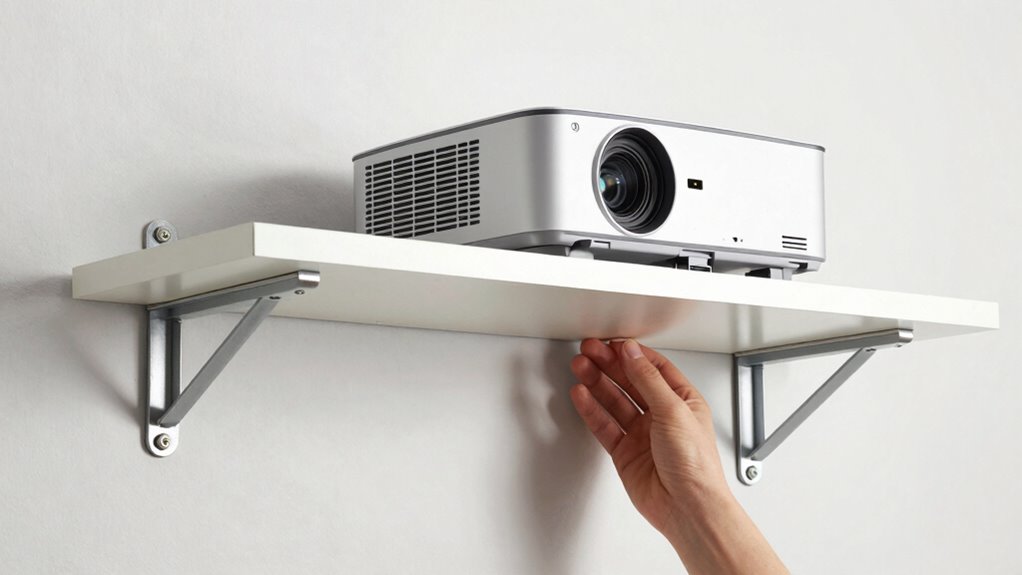
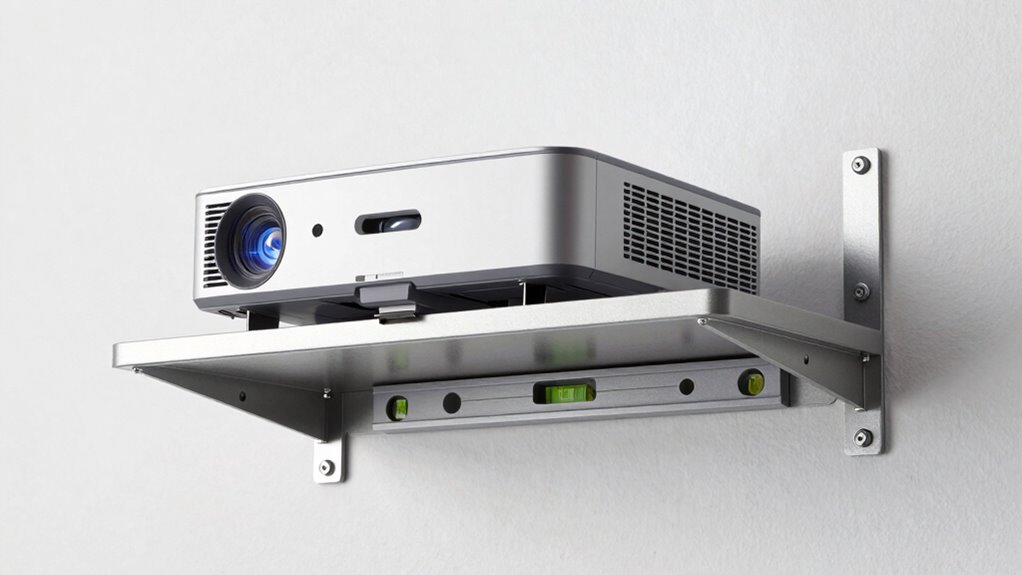
To guarantee your projector shelf is secure, start by attaching it firmly to the wall using appropriate anchors and screws specified for your wall type. Use proper mounting techniques to ensure the shelf is level and evenly supported. Tighten all fasteners securely, checking for any looseness or movement. Once installed, test stability by gently applying pressure to the shelf’s edges and center. Observe for any wobbling or shifting, and make adjustments as needed. Always follow safety precautions, such as wearing safety glasses and ensuring power is off during installation. Confirm that the shelf can handle the projected weight without sagging or detaching. Proper installation and testing are vital to prevent accidents and protect your equipment. Additionally, verifying the weight capacity of the mounting hardware ensures the shelf can support your projector safely. Ensuring mounting security is essential for long-term stability and safety. Checking the wall type before installation helps choose the correct anchors and hardware for a more secure mount. Understanding the load distribution can help prevent uneven stress on the mounting points. Incorporating proper support techniques can further enhance stability and durability over time.
Regularly Check and Maintain Your Projector Shelf for Safety
Regularly inspecting your projector shelf is vital to guarantee ongoing safety and stability. Check for loose brackets, screws, or mounting hardware that might have shifted over time. Make sure that decorative accents on the shelf remain secure and don’t interfere with stability. Make sure support breakfast options are adequate to hold the projector securely, especially if you have added extra weight or accessories. Good cable management is also essential; regularly tidy and secure cables to prevent strain on the shelf and avoid accidental disconnections or damage. Look for signs of wear, corrosion, or damage that could compromise the mount’s integrity. If you notice any issues, tighten or replace components immediately. Consistent maintenance not only prolongs the life of your projector setup but also keeps it safe for daily use. Incorporating checks for mounting hardware integrity can help prevent unexpected failures. Making these checks a routine helps prevent accidents and keeps your equipment secure.
Frequently Asked Questions
Can I Mount a Projector Shelf on Textured or Uneven Walls?
You can mount a projector shelf on textured or uneven walls, but wall surface compatibility is key. To guarantee stability, use heavy-duty anchors or toggle bolts designed for uneven surfaces. If the wall is too rough or fragile, consider alternative mounting options like a ceiling mount or a freestanding stand. These options provide secure support and prevent your projector from slipping or falling, ensuring safety and ideal viewing.
What Tools Are Essential for Installing a Projector Shelf Securely?
To install a projector shelf securely, you need essential tools like drill bits suited for your wall type and level tools to guarantee proper alignment. Use the drill bits to make precise holes, and the level tools to keep the shelf straight. These tools help you achieve a stable, professional mount, preventing wobbling or slipping. Always double-check measurements and positioning before drilling to ensure a safe, secure installation.
How Do I Conceal Wires and Cables for a Clean Look?
Clever cable concealment creates a clean, clutter-free look. You can use cable management solutions like raceways, conduit, or cord covers to hide wires along walls or ceilings. Concealment techniques like paint-matching covers or running cables behind furniture also work wonders. By organizing and disguising cords, you achieve a seamless, professional appearance that enhances your space’s aesthetics and keeps everything safely secured and easily accessible.
What Safety Precautions Should I Take During Installation?
During installation, you should prioritize mounting safety by ensuring the wall is compatible with the weight of your projector and shelf. Use the correct tools and anchors to secure the mount firmly. Always wear safety gear like gloves and goggles, and double-check that all brackets are level and tight before finishing. Avoid rushing, and if you’re unsure about wall compatibility, consult a professional to prevent accidents or damage.
How Often Should I Inspect the Shelf for Signs of Wear?
Think of your shelf like a trusted friend—you check on it regularly. You should examine it at least every three to six months for signs of wear, such as cracks or loose brackets. Regular inspections help catch problems early, preventing accidents. If you notice any wear signs sooner, don’t wait—address them immediately. Maintaining this routine ensures your projector stays safe and secure, and your setup remains reliable.
Conclusion
Remember, a sturdy projector shelf keeps your setup safe and your space organized. Take the time to evaluate your wall, choose the right hardware, and install carefully. Regular checks guarantee it stays secure over time. As the saying goes, “A stitch in time saves nine.” Don’t wait for a mishap—maintain your shelf now so your projector remains stable and your viewing experience stays flawless. Safety starts with a solid foundation!


")