
Your projector looks better in menus because they use static, high-contrast images optimized for clarity, while movies often have lower resolution, heavy compression, and dynamic scenes that can introduce blurriness or pixelation. Additionally, poor calibration or faulty connections can worsen movie quality. Adjusting settings like contrast, brightness, and sharpness, as well as checking your hardware, can improve both. Keep exploring to understand how to get the best movie experience consistently.
Key Takeaways
- Menus use static images optimized for lower resolution, resulting in sharper, clearer visuals compared to scaled, high-resolution movie content.
- Movie videos often require scaling beyond native resolution, causing blurriness or pixelation, unlike static menu images.
- Content compression in streaming movies introduces artifacts, reducing clarity, while menus are less affected due to lower complexity.
- Calibration differences for movies and menus can lead to dull or washed-out images during films if display settings aren’t adjusted.
- Hardware and connection issues may degrade dynamic content quality more noticeably in movies than in static menu images.

Valerion StreamMaster Plus 4K Laser Projector - 300" IMAX Enhanced Home Theater, 4ms |240Hz Response, Gaming Projector with 3D & Dolby Vision, HDR10, GTV, Smart Home & AI Assistant
Speed and Power Like Never Before - Experience unmatched speed with the AI-9618 chipset, 4GB RAM/ 128GB ROM—delivering...
As an affiliate, we earn on qualifying purchases.
Why Does My Projector Look Better in Menus Than in Movies?

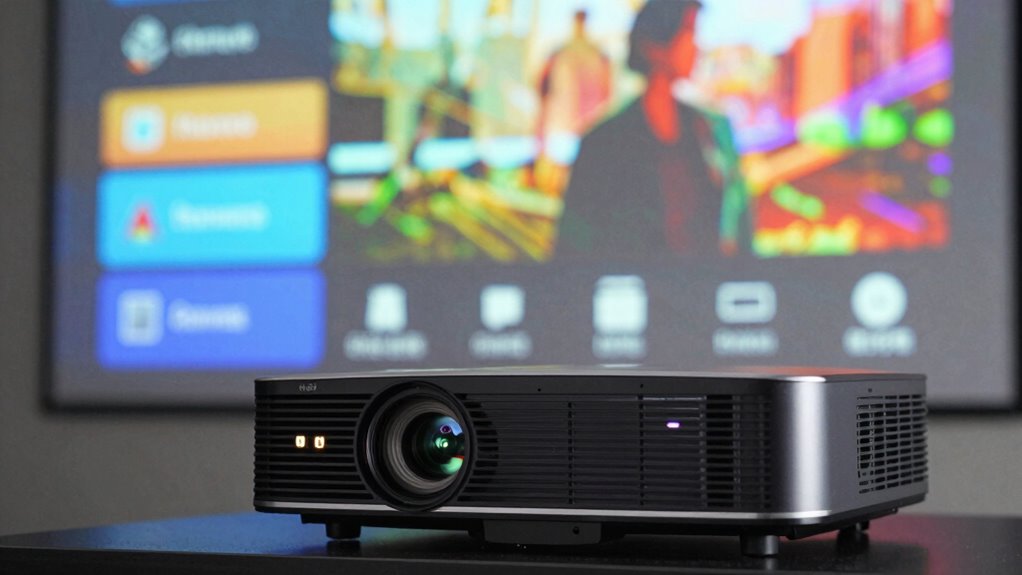
You might notice that your projector displays menus with sharper, more vibrant images than movies, and several factors contribute to this difference. The key reasons are menu contrast and menu brightness. Menus are designed with high contrast levels, making text and icons stand out clearly against the background. This boosts perceived image quality and sharpness. Additionally, menus often use brighter settings, which enhance visibility and color vibrancy without the complexities of motion or detailed scenes. In contrast, movies involve darker scenes and a broader color palette, which can challenge your projector’s contrast and brightness capabilities. As a result, menus look crisper and more vivid because they are optimized for clarity at lower complexity levels, highlighting the differences in how your projector handles static images versus dynamic content. Content optimization also plays a role, as static images require less processing power, allowing the projector to maintain higher quality settings more easily.

NothingProjector Motorized ALR Screen for Ultra Short Throw Projector, 95% Ambient Light Rejecting, 100 inch, Floor Rising, 4K/8K UHD, Active 3D, Anti Daylight, Electric Retractable Automatic NothPJ
✔ Adjustable Height, Zero Installation – Effortlessly adjust the screen to any height with a single press of...
As an affiliate, we earn on qualifying purchases.
What’s the Difference Between Menu Content and Movie Content on My Projector?
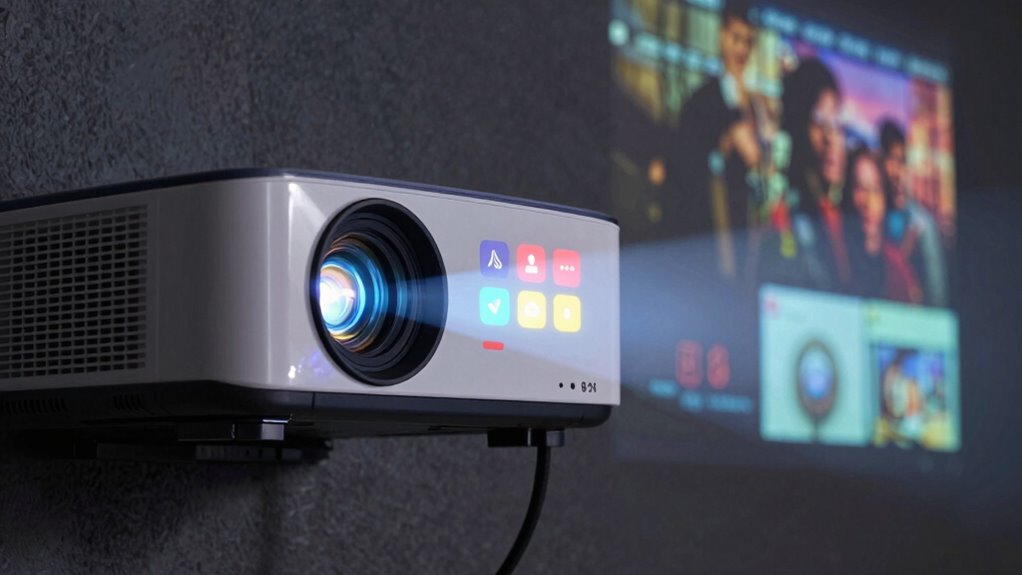
You’ll notice that menu content often appears sharper and clearer than movies on your projector. This is because menus usually have higher resolution and simpler signals, making them easier to process. Movies, on the other hand, involve more complex signals and compression, which can affect picture quality. Additionally, digital signal processing plays a significant role in how different types of content are rendered, impacting overall image clarity.
Content Resolution Differences
Content resolution on your projector can vary markedly between menu displays and movie playback. Menus often use lower, fixed resolutions that match the projector’s native resolution, minimizing resolution mismatch and reducing the need for image scaling. In contrast, movies can have much higher or different native resolutions, leading to frequent image scaling. This mismatch can cause blurry or pixelated images during movies, despite sharp menu visuals. Key points to contemplate include:
- Menu content is optimized for consistent, lower resolutions
- Movie content often exceeds native resolution, requiring scaling
- Image scaling can introduce blurriness or artifacts
- Resolution mismatch impacts picture clarity during movies, not menus
Understanding these differences helps explain why your projector looks great in menus but struggles during movies.
Signal and Processing Variations
While menu content typically relies on simple signal processing with minimal adjustments, movies often demand more complex processing to handle high-resolution video streams. Your projector applies different signal processing techniques depending on the content type, which can affect image quality. Menu screens usually require little input calibration, so the projector uses basic settings that look sharp and clear. However, when playing movies, the projector needs to process larger, more detailed signals, often requiring advanced calibration to optimize image quality. Variations in signal processing can cause movies to appear less sharp or accurate if your input calibration isn’t adjusted properly. To improve movie performance, you may need to fine-tune your input calibration settings, ensuring the projector handles high-resolution signals effectively and maintains consistent processing across different content types. Additionally, understanding signal processing techniques can help you better optimize your setup for a consistent viewing experience, especially considering how input calibration plays a crucial role in adapting to different content demands.
![[Built-in Official Apps/4K Support] Smart Outdoor Projector with WiFi and Bluetooth, 800ANSI Movie Projector, DoIby Audio with Dual Speaker, Auto Focus w/ YouTube&PrimeVideo Proyector, Upgrad P62 Pro](https://m.media-amazon.com/images/I/51h241YxtmL._SL500_.jpg)
[Built-in Official Apps/4K Support] Smart Outdoor Projector with WiFi and Bluetooth, 800ANSI Movie Projector, DoIby Audio with Dual Speaker, Auto Focus w/ YouTube&PrimeVideo Proyector, Upgrad P62 Pro
[Upgraded Classic – P62 Pro Movie Projector] Building on the reliability and low return rate of the classic...
As an affiliate, we earn on qualifying purchases.
How Do Source Material and Compression Affect Movie Clarity?
The quality of source material and the level of compression substantially influence how clear a movie appears when projected. Poor source quality means you’re starting with blurry, pixelated, or poorly detailed footage, which limits clarity no matter how good your projector is. Excessive compression introduces compression artifacts—visible distortions like blockiness, banding, or ghosting—that degrade image sharpness. To get the best picture, look for high-resolution, minimally compressed content. Keep in mind that:
- Low-quality sources limit detail and sharpness
- Heavy compression creates distracting artifacts
- Streaming services often compress videos to save bandwidth
- Uncompressed or lightly compressed files maintain maximum clarity
Understanding these factors helps you choose better source material, ensuring your projector delivers the clearest, most vibrant movie experience possible. Additionally, video encoding standards influence how well a video retains its quality during compression and transfer. Recognizing how compression techniques affect image integrity allows you to better select content that maximizes your viewing quality. Furthermore, bitrate management plays a crucial role in balancing file size and image fidelity, impacting overall clarity during playback. Maintaining a proper balance in compression settings can significantly improve the viewing experience by reducing artifacts without sacrificing too much detail. Being aware of support for various formats can also help you select compatible files that optimize quality for your projector setup.

Official Licensed Google TV Smart Projector, HAPPRUN 4K UHD Home Theater with Dolby Sound, Wi-Fi & Bluetooth, Built-in Streaming Apps, Compatible with Games Consoles & Smartphone, Indoor & Outdoor Use
[ Built-in Official Licensed Google TV ] - Without additional equipment, the smart projector can directly access Netflix,...
As an affiliate, we earn on qualifying purchases.
Which Display Settings Make the Biggest Difference for Movie Quality?

Adjusting your display settings can substantially enhance your movie quality, especially when working with high-quality source material. Proper calibration techniques optimize contrast, brightness, and sharpness, making scenes more vivid and immersive. Ambient lighting plays a vital role—dim environments reduce glare and improve contrast, ensuring you see every detail. Use the table below to understand which settings impact your viewing experience most:
| Setting | Impact on Movie Quality | Best Practice |
|---|---|---|
| Brightness | Controls overall light output | Adjust to match ambient lighting |
| Contrast | Defines scene depth | Increase for richer blacks |
| Gamma | Affects mid-tone brightness | Fine-tune for natural skin tones |
Additionally, understanding how display calibration affects overall picture quality can help you make more informed adjustments for an optimal viewing experience. Proper calibration involves fine-tuning multiple parameters, including color accuracy and color temperature, to achieve the best possible image quality. Getting these settings right transforms your projector into a cinema-like experience.
How Do Color, Brightness, and Gamma Settings Impact Movie Viewing?
Color, brightness, and gamma settings directly shape how your movies look and feel. Proper color calibration guarantees accurate hues, making scenes appear natural and vibrant. Brightness controls how visible details are in dark or bright scenes, affecting overall clarity. Gamma adjustment influences the contrast and tonal range, impacting shadow depth and highlight brightness. Tweaking these settings can enhance cinematic immersion or cause washed-out images if misadjusted. Remember:
Adjusting color, brightness, and gamma ensures vibrant, natural-looking movies with optimal contrast and clarity.
- Poor color calibration can make colors look dull or unnatural.
- Incorrect brightness levels obscure shadow details or wash out highlights.
- Improper gamma adjustment results in either overly flat or overly contrasted images.
- Fine-tuning these parameters helps achieve a balanced, true-to-life picture. Additionally, understanding content calibration ensures your display is optimized for the best viewing experience. Regularly calibrating your projector with professional tools can help maintain consistent picture quality over time. Using test patterns can assist in identifying calibration issues quickly. For optimal results, monitoring ambient light conditions is essential, as it can significantly influence perceived image quality and consistency. Properly managing ambient light and screen placement can further enhance your viewing experience. Getting these right ensures you enjoy movies as intended, with vibrant colors, appropriate contrast, and sharp details.
Are Hardware and Connection Issues Causing Poor Movie Images?
Hardware and connection issues are common culprits behind poor movie images on your projector. If your picture looks fuzzy, pixelated, or uneven, it’s time for hardware troubleshooting. Check that all cables are securely connected and compatible, as loose or faulty connections can degrade image quality. Use connection diagnostics tools to identify signal bottlenecks or interference. Inspect your HDMI, VGA, or optical cables for damage or wear, replacing any suspect ones. Ensure the projector’s input source matches the device output and that settings are correctly configured. Sometimes, outdated firmware or incompatible hardware can cause image problems during movies. Additionally, signal quality can significantly impact your viewing experience, so assessing and optimizing your setup can make a notable difference. For optimal performance, consider hardware upgrades that support higher resolutions or better compatibility. Properly managing your connection setup can also reduce interference and improve overall image clarity. Regularly updating your firmware can fix bugs and improve compatibility with newer devices. Being aware of auditory processing issues in your setup can also help identify hidden causes of visual anomalies, ensuring your projector delivers the best possible movie experience. By systematically troubleshooting hardware and connections, you eliminate simple issues that may be causing poor visuals, ensuring your projector delivers the best possible movie experience.
How Can I Adjust My Projector to Get Consistent Quality Across All Content?

To guarantee your projector delivers consistent image quality across all types of content, start by calibrating its basic settings, such as brightness, contrast, and sharpness. Adjust these using calibration techniques to match your room’s environment. Keep in mind that ambient lighting greatly affects perceived image quality; dim the lights or close curtains for movies, and increase brightness for menus in bright rooms. To fine-tune your projector, consider these steps:
Calibrate basic settings and adjust for ambient light for optimal projector image quality.
- Use test patterns to identify idealcontrast and color accuracy
- Adjust color temperature for natural tones
- Set keystone correction to straighten the image
- Regularly recalibrate as ambient lighting or content changes
Frequently Asked Questions
Why Does My Projector Display Menus Differently Than Movies?
Your projector displays menus differently than movies because menus are often optimized for screen calibration and color accuracy, making them look sharp and vibrant. Movies, however, rely on dynamic lighting and detailed color grading, which your projector may not handle well if it’s not properly calibrated. Adjust your settings to improve color accuracy and calibration, ensuring both menus and movies display consistently high quality.
Can Ambient Light Affect Movie Quality More Than Menu Displays?
Yes, ambient light can affect movie quality more than menu displays because it interacts with screen reflectivity, making images less sharp and colors duller. Menus are often designed with higher contrast and less detail, so they withstand ambient light better. Movies require darker, controlled lighting to display detail vividly. To improve, reduce ambient light and choose a projector with higher contrast and better reflectivity suited for well-lit rooms.
Do Different HDMI Cables Impact Movie Image Clarity?
Yes, different HDMI cables can impact your movie image clarity. Higher-quality cables that meet current HDMI standards, like HDMI 2.0 or 2.1, support higher resolutions and faster refresh rates, ensuring sharper images. Poor-quality cables may cause signal degradation, leading to pixelation or color issues. Always choose cables with good build quality and proper certification to guarantee ideal transmission and the best viewing experience for movies.
Is My Projector’s Resolution Sufficient for High-Quality Movies?
Your projector’s resolution might be enough for menus, but for high-quality movies, it depends on its resolution limits and your screen size. If your projector has a lower resolution, you’ll notice less detail and sharpness on larger screens. To improve movie quality, consider upgrading to a higher-resolution projector or adjusting your screen size to match its capabilities. This guarantees a clearer, more immersive viewing experience.
How Does Projector Lamp Age Influence Movie Picture Quality?
When your projector’s lamp ages, you’ll notice a decline in picture quality, like in the case of a home theater setup where colors become dull and contrast drops. Lamp degradation causes the lamp to produce less brightness, and color shifting occurs as the bulb ages, distorting hues. As the lamp deteriorates over time, your movie images will look less vibrant and more washed out, impacting your viewing experience.
Conclusion
So, by tuning your settings and understanding the dance between source quality and hardware, you can turn your projector into a true cinematic canvas. Think of your projector as a painter—once you adjust the brushes and colors just right, every scene, whether menu or movie, will burst with life. With patience and a little tweaking, your home theater experience will shine brighter than ever, transforming every flicker into a masterpiece waiting to unfold.