If you're seeing white dots on your projector screen, don't worry—many issues can lead to this. Start by checking for dust on the lens and filters, as cleaning them may solve the problem. Next, inspect your input sources to verify the issue isn't coming from the devices you're using. If the dots persist, it could be pixel issues, so observe a uniform screen to identify dead or stuck pixels. Regular maintenance, including cleaning filters and components, can help you avoid this problem in the future. Want to explore more tips to tackle those pesky white dots?
Key Takeaways
- Check different input sources to determine if white dots persist across all devices, indicating an internal issue.
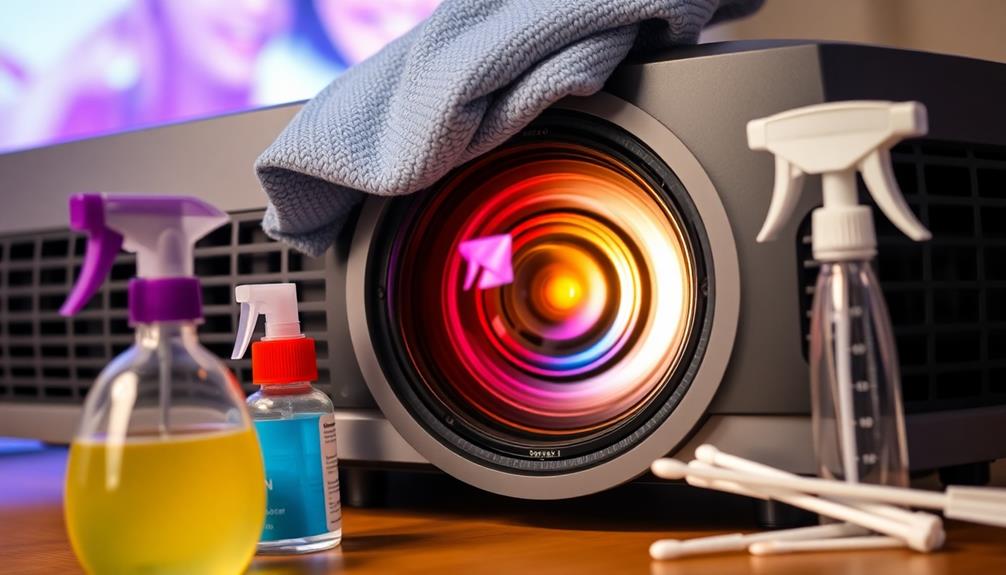
- Inspect the projector lens and filters for dust; clean them regularly to maintain image quality.
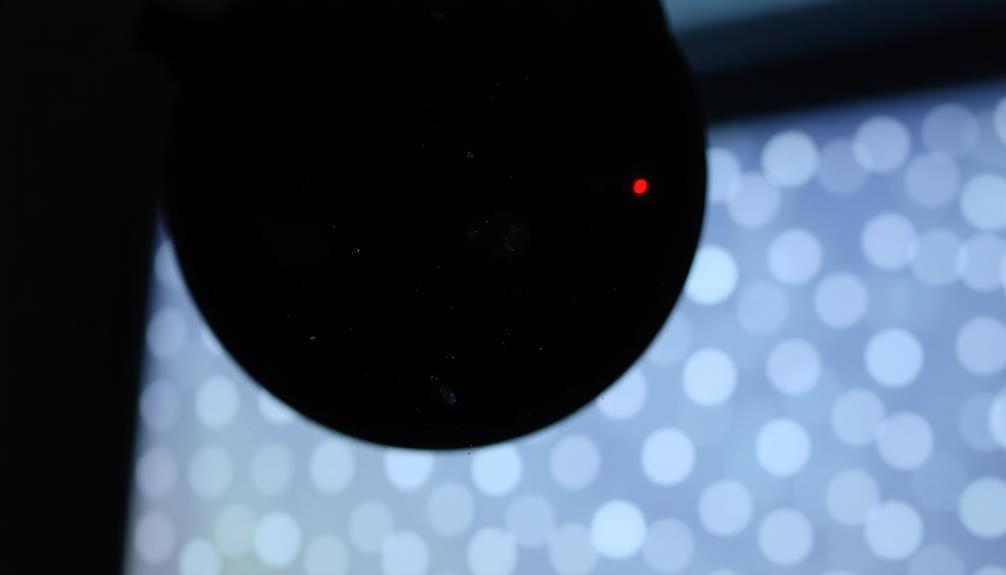
- Use a uniform background to identify dead or stuck pixels by observing the projector output.
- Ensure all cables are securely connected and free from visible damage to prevent signal issues.
- Consider professional repair for persistent pixel issues or internal component cleaning, especially for DMD chip problems.

【Now with Netflix & 3000ANSI】Smart 4K Projector with WiFi and Bluetooth, VISSPL 3D Dolby Audio and Auto Focus Portable Outdoor Projector, Movie Home Theater Projectors for Bedroom/Ceiling
[ Netflix Ready - No Extra Devices Needed ] – VISSPL Smart Projector: No TV stick, no casting,...
As an affiliate, we earn on qualifying purchases.
Understanding White Dots
When it comes to white dots on your projector screen, pinpointing the cause can help you tackle the issue effectively. These white dots can often stem from dust or debris that accumulates on the optical components or lens.
Regular maintenance, similar to the care needed for robot vacuum cleaners, can prevent dust buildup that exacerbates white dot problems. When light scatters off these particles, it creates those noticeable patches you see.
In the case of DLP projectors, white dots may indicate problems with the DMD chip, where dead or stuck pixels fail to display correctly due to heat or damage.
You'll notice that these white dots persist across different input sources, which suggests there's an internal issue rather than a problem with your image feed. Regular maintenance is essential; cleaning filters and internal components can prevent dust buildup that exacerbates white dot problems.
If you find yourself struggling with persistent white dots, it's often best to seek professional help. They can assist in identifying and replacing malfunctioning DMD chips or conduct a thorough internal cleaning to restore your projector to its best performance.
Understanding the nature of these white dots is your first step toward a clearer, more enjoyable viewing experience.
![Outdoor-Projector-4K with WiFi and Bluetooth:[3500 Bright/60W Dolby Audio/Official Licensed Apps],Smart-Projector with AI Auto Focus,ONOAYO ONO5Pro 2.0 Movie Projector for Indoor/Outdoor 2026New](https://m.media-amazon.com/images/I/41fylkjOTIL._SL500_.jpg)
Outdoor-Projector-4K with WiFi and Bluetooth:[3500 Bright/60W Dolby Audio/Official Licensed Apps],Smart-Projector with AI Auto Focus,ONOAYO ONO5Pro 2.0 Movie Projector for Indoor/Outdoor 2026New
[Hear the Difference–Hollywood-Grade Dual 60W Dolby Audio] Why spend more on a TV + soundbar or settle for...
As an affiliate, we earn on qualifying purchases.
Common Causes of White Dots
White dots on your projector screen can be frustrating, and understanding their common causes is vital to fixing the issue. One major culprit is dust and debris accumulation on internal components. When these particles scatter light, they create visible white dots during projection.
Regular maintenance, similar to the upkeep of heat pumps, can prevent dust buildup and enhance overall performance efficient energy use.
Another common cause is dead pixels, which are pixels that fail to display correctly and often result in stationary white dots. Stuck pixels can also appear as white patches because they remain in the "on" position.
Additionally, unclean filters can distort images and contribute to white patches. Regular maintenance and cleaning are important to prevent these problems.
Hardware malfunctions, including issues with the projector's internal components, may also create white dots, signaling potential failures that require professional attention.
Finally, connection problems, such as faulty cables or loose connections, can lead to image abnormalities like white spots. It's essential to inspect all cables and ports to guarantee everything's functioning properly.
![[Built-in Apps/4K Support] Smart Outdoor Projector with WiFi and Bluetooth, Movie Projector, DoIby Audio with Dual Speaker, Auto Focus w/ YouTube&PrimeVideo Proyector, Upgrad P62 Pro](https://m.media-amazon.com/images/I/51yAGv8VI7L._SL500_.jpg)
[Built-in Apps/4K Support] Smart Outdoor Projector with WiFi and Bluetooth, Movie Projector, DoIby Audio with Dual Speaker, Auto Focus w/ YouTube&PrimeVideo Proyector, Upgrad P62 Pro
[Upgraded Classic – P62 Pro Movie Projector] Building on the reliability and low return rate of the classic...
As an affiliate, we earn on qualifying purchases.
Initial Troubleshooting Steps

Start by checking your input sources to see if the white dots appear across all of them; this helps pinpoint whether the issue is with the signal.
If the issue persists, consider how the projector's performance can be affected by factors such as budget management or the quality of your cables.
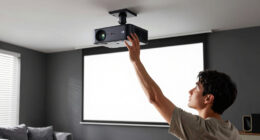
Next, inspect the projector for any dust on the lens and filters, as even a small amount can scatter light and create those annoying white patches.
Taking these initial steps can save you time and lead you toward a solution more quickly.
Check Input Sources
To tackle the issue of white dots on your projector screen, begin by checking all input sources. This initial step is essential in pinpointing whether the problem lies within the projector or a specific device.
Follow these steps to effectively troubleshoot:
- Test Different Devices: Connect a different input source, like a laptop or DVD player, to see if the white dots persist.
- Check Connections: Verify all cables connecting the projector to the input sources are secure and undamaged. Faulty connections can lead to image issues.
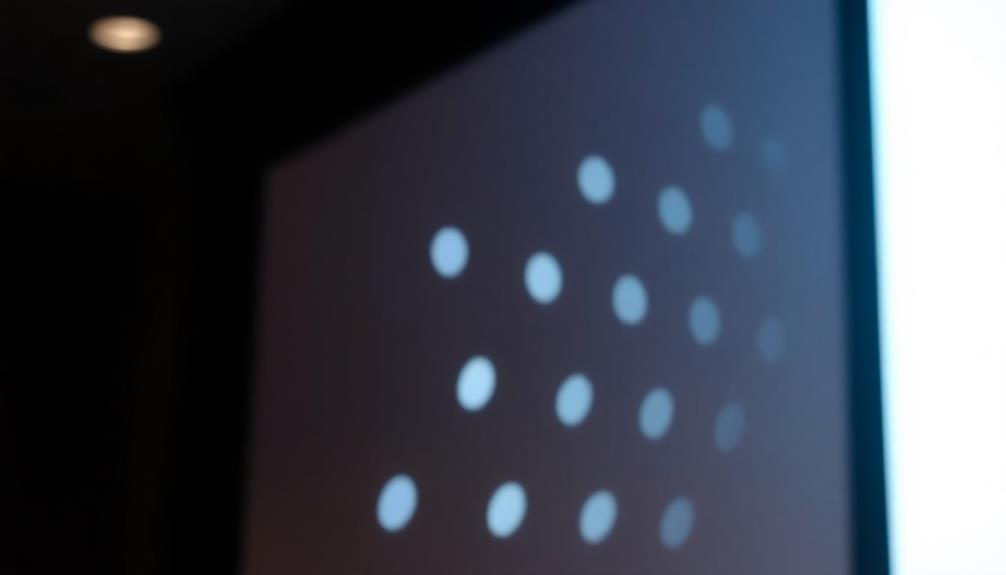
- Use a Blue Screen: Display a blue or blank screen to better visualize those pesky white dots. They're usually easier to spot against a uniform background.
- Isolate the Problem: If the white dots only appear with one device, test that source on another display to rule out any issues with it.
Inspect for Dust
Dust buildup on your projector can greatly impact image quality, often leading to the appearance of white dots on the screen.
Start by examining the projector's lens for any visible dust or smudges. Even minor contaminants can scatter light, affecting the clarity of your images. Use a microfiber cloth to gently wipe the lens, ensuring it's free from dust and debris that could interfere with your viewing experience.
Next, check the air intake and exhaust vents for dust buildup. Blocked airflow can cause overheating and exacerbate internal dust issues, which might also contribute to those pesky dots on the screen.
Regularly clean or replace the filters according to the manufacturer's guidelines—usually every 100 hours of use—to prevent dust accumulation and maintain peak performance.

Aurzen Roku TV Smart Projector with Wifi and Bluetooth, Roku TV Built-in, 1080P FHD, DoIby Audio, Auto Focus & Keystone, Zoom, Movie Portable Outdoor Mini Projector for Soccer Football Game, White
A Roku account and internet connection are required for activation (Creating an account is free). Note: Power Supply:...
As an affiliate, we earn on qualifying purchases.
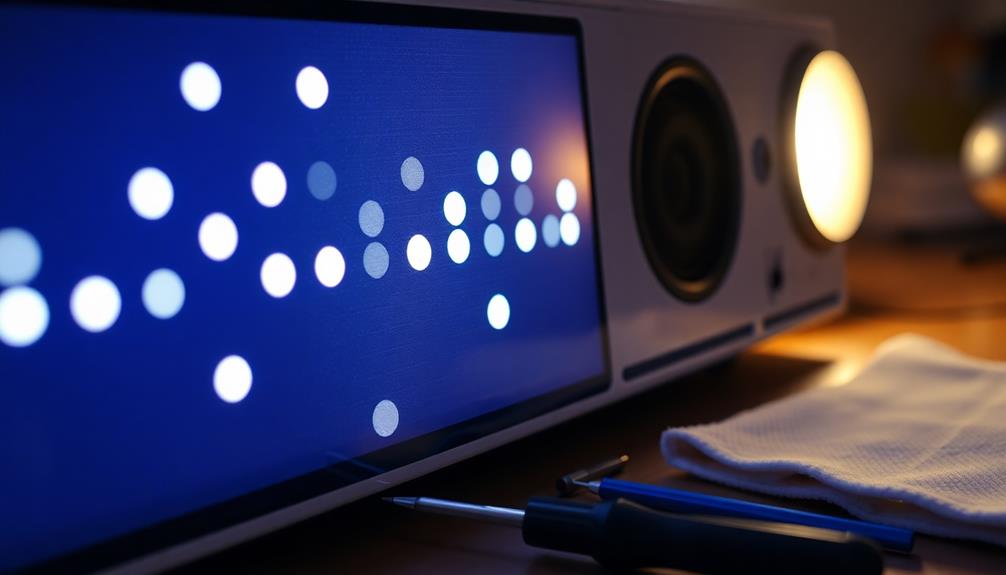
Cleaning Techniques for Projectors
Cleaning your projector regularly is crucial for maintaining its performance and image quality. Neglecting this task can lead to unsightly white dots on your projector screen and diminish your viewing experience.
Here are some effective cleaning techniques to keep your projector in top shape:
- Clean the lens: Use a microfiber cloth with a few drops of glass cleaner or degreaser. This helps remove smudges and enhances clarity.
- Check air filters: Clean or replace the air filters every 100 hours to prevent dust buildup, which is a common culprit for those pesky white dots.
- Use compressed air: Blow dust out of vents and inaccessible areas without disassembling your projector. This quick step can greatly reduce dust accumulation.
- Consider professional help: If you're facing complex issues, don't hesitate to hire a professional service. They can guarantee thorough cleaning and maintenance of your projector's internal components.
Inspecting for Pixel Malfunctions
Even with regular maintenance and cleaning, you might still encounter white dots on your projector screen. These dots can often be attributed to dead pixels on the DMD chip. Dead pixels fail to display correctly and remain unresponsive, while stuck pixels continuously show as white, creating visible disturbances.
To diagnose the issue, observe the projector's output against a uniform color background. This simple test can help you distinguish between dead pixels and potential dust or dirt interference.
| Issue Type | Description |
|---|---|
| Dead Pixels | Unresponsive pixels that don't display at all. |
| Stuck Pixels | Continuous white display, creating stationary dots. |
| Dust/Dirt Interference | Moving dots suggest external contaminants. |
If you identify dead pixels, professional replacement of the DMD chip may be your best option, as repairing individual pixels isn't feasible. Regular monitoring for pixel malfunctions is essential to prolong your projector's lifespan and maintain peak image quality. Keep an eye out for any changes, and address issues promptly to enjoy the best viewing experience possible.
Checking Optical Components
A thorough inspection of the optical components is crucial for resolving white dots on your projector screen.
These white spots can often be traced back to issues within the projector's lens and other optical parts. Here's what you should check:
- Projector Lens: Inspect for dust or smudges. Cleaning with a microfiber cloth can greatly improve image quality.
- Filters: Look for dust accumulation. Regularly cleaning or replacing filters every 100 hours is necessary to maintain peak performance.
- Physical Damage: Examine the optical components, including the light path and lens. Any damage or misalignment could distort images and create those pesky white patches.
- Component Connections: Verify all optical elements are properly seated and connected. Loose components can lead to inconsistent light transmission and image quality.
Evaluating Hardware Connections
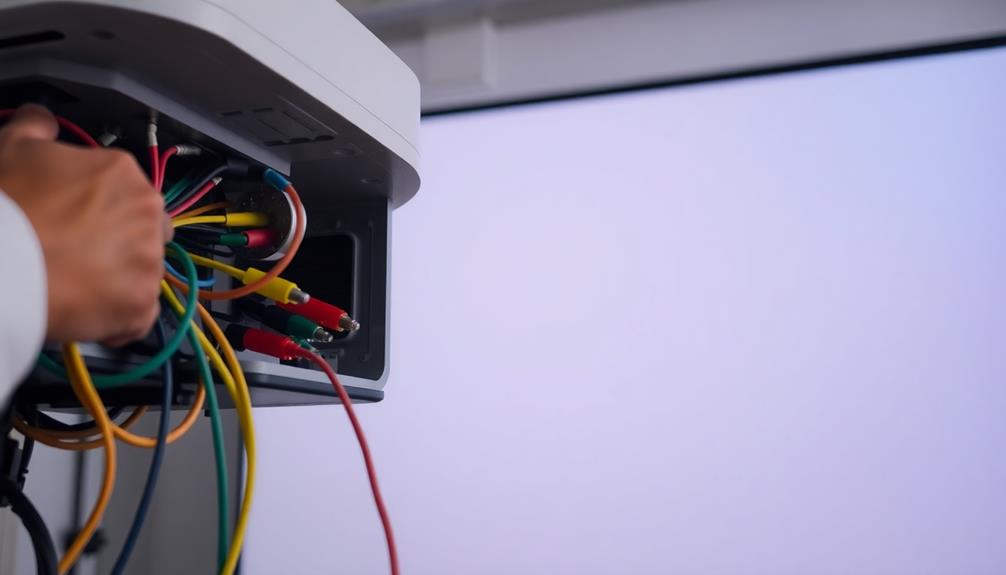
Properly evaluating hardware connections is essential for identifying and resolving issues like white dots on your projector screen. Start by ensuring that all cables connecting your projector to external devices are securely plugged in. Loose connections can lead to image abnormalities, including those pesky white dots.
Next, inspect the cables and ports for any visible damage, as faulty hardware connections can disrupt signal transmission, causing display issues. It's also important to use high-quality, compatible cables to minimize the risk of connection problems that contribute to white dots or other image artifacts.
Take a moment to check your projector's input source settings, ensuring they're correctly configured. Incorrect settings can sometimes mimic hardware connection issues, leading you to think there's a more significant problem.
If you're using adapters or converters, verify that they're functioning properly, as these can introduce connectivity problems that affect image quality. By thoroughly examining these aspects of your hardware connections, you can often pinpoint the cause of the white dots and take the necessary steps to fix them.
Professional Repair Options
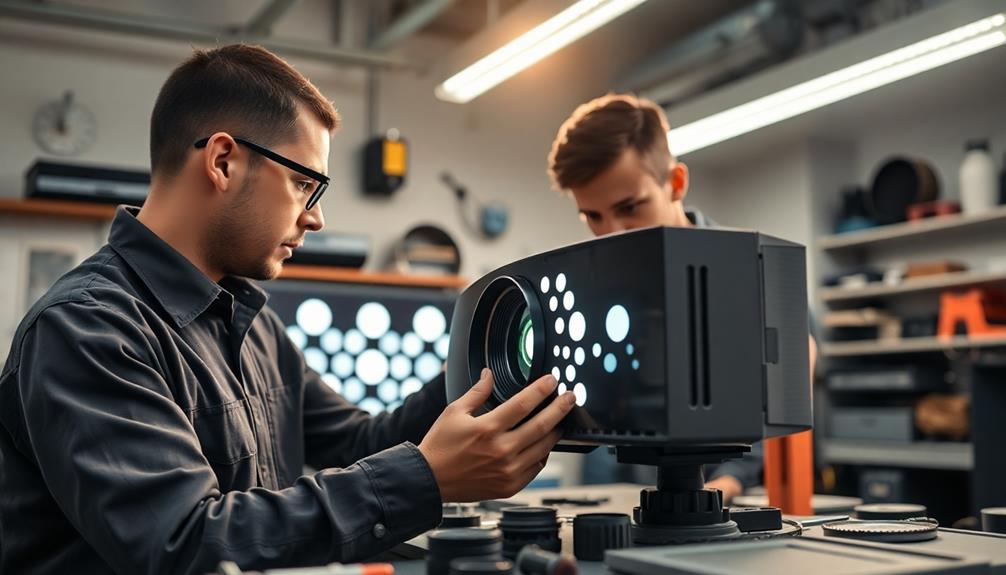
When dealing with persistent white dots on your projector screen, seeking professional repair options is often the best course of action.
These experts can accurately diagnose whether the issue stems from dust accumulation or a failing DMD chip, guaranteeing you get the right fix.
Here are four reasons to evaluate professional repair services:
- Expert Diagnosis: Technicians can pinpoint the exact cause of the problem, saving you time and frustration.
- Thorough Cleaning: Professionals guarantee internal components are cleaned properly, reducing the risk of further issues.
- Cost-Effective: Repairing or replacing a DMD chip typically costs between $200 and $300, which is worthwhile given your projector may be worth around $1000.
- Support Access: Many brands, like Casio, offer dedicated customer support lines, helping you navigate your repair options.
Engaging local technicians who specialize in projector repairs can lead to detailed quotes and insights into necessary maintenance or replacements.
Preventative Maintenance Tips
To keep your projector in top shape, establish a regular cleaning schedule for its filters and internal components.
Make sure to maintain an ideal environment by reducing dust around the projector, which can minimize potential image distortion.
Regular Cleaning Schedule
Regularly cleaning your projector is essential for maintaining its performance and image quality. A solid cleaning schedule not only helps prevent projector white dots but also extends the life of your device.
Here's how to keep your projector in prime shape:
- Clean filters every 100 hours of use to prevent dust accumulation that can affect image clarity.
- Use compressed air to blow out dust from vents and internal components—it's effective without needing disassembly.
- Wipe the projector lens with a microfiber cloth to avoid scratches and guarantee peak light transmission.
- Inspect air intake and exhaust vents regularly to maintain proper airflow, as blocked vents can lead to overheating.
If you're in a high-dust environment, consider cleaning filters every 50 hours instead.
By sticking to this cleaning schedule, you'll not only enhance your projector's performance but also minimize the chances of encountering those pesky white dots on your screen.
Your projector deserves this care, so don't let dust ruin your viewing experience!
Optimal Environment Settings
Creating an ideal environment for your projector is crucial for preventing issues like white dots on the screen. By focusing on the best environment settings, you can greatly reduce the risk of damage to critical components like the DMD chip.
Here are some key tips to maintain a projector-friendly environment:
| Tip | Description | Benefits |
|---|---|---|
| Regular Cleaning | Dust and vacuum regularly to minimize dust accumulation. | Reduces chances of internal dust. |
| Proper Ventilation | Maintain a few inches of space around the projector. | Prevents overheating and damage. |
| Use Air Purifiers | Employ air purifiers to lower airborne particles. | Keeps lens and internals clean. |
| Avoid Direct Sunlight | Position the projector away from direct sunlight. | Protects components from UV damage. |
Maintaining a clean environment, guaranteeing adequate airflow, and protecting your projector from sunlight can help preserve its lifespan and performance. Regularly checking and cleaning filters every 100 hours will further enhance your projector's functionality, keeping those pesky white dots at bay.
Proper Filter Maintenance
Maintaining the filters of your projector is just as important as guaranteeing a clean environment. Neglecting them can lead to dust accumulation, resulting in those pesky white dots on your screen.
Here are some essential tips for proper filter maintenance:
- Clean or replace filters every 100 hours of use. This simple step prevents image quality degradation.
- Use the right filters. Confirm compatibility with your projector model to maintain peak performance and airflow.
- Gently vacuum the filters to remove dust without causing damage. Alternatively, use compressed air to blow out dust from the vents.
- Inspect for wear and tear. If your filters look excessively dirty or torn, replace them to guarantee your projector runs smoothly.
Community Resources and Support

Finding reliable community resources and support can greatly ease the troubleshooting process for projector issues like white dots. One excellent place to start is AVForums, where you'll find an engaged community discussing projector problems. With over 60,700 views on related threads, you can tap into a wealth of shared experiences and advice.
Look for dedicated threads tagged "white dots" to uncover insights and troubleshooting tips from users who've faced similar challenges.
Another valuable resource is the JustAnswer platform, which provides 24/7 access to verified experts. You can get quick responses and expert guidance on projector maintenance and repair, ensuring you have the right information at your fingertips.
Engaging with online forums and communities not only offers real-time support but also gives you diverse perspectives on troubleshooting your projector.
Don't overlook YouTube channels that focus on projector repair. These can enhance your understanding of maintenance techniques and provide DIY solutions tailored to your specific issue.
Frequently Asked Questions
Why Is My Projector Showing White Spots?
Your projector's showing white spots likely due to dust on internal components or dead pixels. Regular cleaning and maintenance can help prevent this issue, but persistent spots may require professional assessment for potential damage.
What Causes White Pixels on Projector?
White pixels on your projector can stem from dead or stuck pixels, dust accumulation, or a failing DMD chip. Overheating and neglecting maintenance can worsen these issues, leading to an unsatisfactory viewing experience.
What Are the Speckles on My Projector?
Those speckles on your projector could be dust on the lens or inside components. They might also indicate dead pixels on the DMD chip. Regular cleaning can help you maintain clear image quality and minimize distractions.
How to Fix Dead Pixels on a Projector?
When you notice those pesky little stars on your projector, it's time to act. First, test with a solid color. If they persist, consider replacing the DMD chip or seek professional help for a smoother viewing experience.
Conclusion
To sum up, tackling those pesky white dots on your projector screen doesn't have to feel like climbing a mountain. By following the troubleshooting steps and staying proactive with maintenance, you can restore your viewing experience to its former glory. Remember, a little care goes a long way; much like a garden needs tending to flourish, your projector requires attention to keep its brilliance alive. Don't hesitate to seek help if needed—your screen deserves the best!


")