Projector screen masking is essential for optimizing your viewing experience by adapting to different aspect ratios. It helps eliminate black bars and enhances image clarity, allowing you to showcase various content types seamlessly. Side masking is great for wider films, while top-bottom masking works well for scope movies, preventing light leaks. To get the best results, measure your throw distance and calculate the ideal screen size. With the right screen options, like the Seymour Screen Excellence TRIM series, you can achieve an immersive feel in any setting. Keep exploring to discover even more tips for enhancing your setup!
Effective masking techniques, like side and top-bottom masking, enhance viewing by adapting to various aspect ratios and reducing black bars.
Accurate throw distance measurements are essential for selecting the ideal screen size based on the chosen aspect ratio.
Utilize motorized masking solutions for seamless transitions between different formats, improving image quality and viewer experience.
Testing and marking the screen area helps visualize the setup and fine-tune adjustments for optimal performance and alignment.
Choosing the right screen type and size, such as the Seymour Screen Excellence TRIM series, maximizes space while maintaining high image quality.
ViewSonic LS740W 5500 Lumens WXGA Laser Projector with 1.3X Optical Zoom, H/V Keystrone, 360 Degrees Projection for Auditorium, Conference Room, and Education
High Brightness Laser Projector: WXGA (1280x800p) resolution with a 1.2-1.5 throw ratio and 5,500 ANSI lumens for clear,...
As an affiliate, we earn on qualifying purchases.
Understanding Projector Screen Masking
Projector screen masking is an important technique that enhances your viewing experience by adapting the screen's dimensions to fit various aspect ratios. This adjustment guarantees that you enjoy content, whether it's a blockbuster movie or a professional presentation, without the distraction of black bars.
When you use side masking, for instance, you can effectively present wider films, like those in a 2.35:1 format, on standard 16:9 screens. This not only blocks excess light but also improves image quality, allowing you to immerse yourself in the cinematic experience.
Additionally, top-bottom masking addresses light leak-through for scope movies, guaranteeing optimal viewing conditions. Implementing effective screen masking techniques is vital for minimizing those pesky black bars, greatly enhancing the overall aesthetics of your setup.
You'll find that CIH (Constant Image Height) setups are often preferred for an immersive experience, as they maintain a consistent image height across multiple formats. On the other hand, CIW (Constant Image Width) setups mightn't deliver the same level of satisfaction.
Ultimately, your choice of masking solutions, whether DIY or professional, will impact both the cost and effectiveness of adapting your projector screens to various aspect ratios.
2000 ANSI 4K Decoding Projector with WiFi and Bluetooth, HAPPRUN Movie Home Theater with Auto Focus, 300'' Display for Indoor/Outdoor, Smart Proyector Compatible with Phone/TV Stick/PC/PS5
[EASIER OPERATION: AI Smart Screen Adjustment] HAPPRUN projector comes with auto focus and 6D auto-keystone technology, enjoy a...
As an affiliate, we earn on qualifying purchases.
Measuring Distance and Aspect Ratios
Getting the measurements right is essential for achieving the best viewing experience with your projector screen. The throw distance, or the distance from your projector lens to the screen, plays a critical role in determining your ideal screen size. This distance varies based on the aspect ratio you choose.
Here's a quick reference table to guide you:
Aspect Ratio
Throw Distance (feet per foot of screen width)
4:3
1.33
16:9
1.87
2.35:1
2.35
For a 16:9 aspect ratio, you can calculate the screen width using the formula: Screen Width (inches) = Throw Distance (feet) / 1.87. To find the screen height, use: Screen Height (inches) = Diagonal Size (inches) / 2.2.
Epson Home Cinema 980 3-Chip 3LCD 1080p Projector 4,000 Lumens Color and White Brightness, Streaming/Gaming/ Media Room, Built-In Speaker, Auto Picture Skew, 16000:1 Contrast, 2 HDMI Ports
Exceptional Picture Quality — Provides stunning, detailed 1080p images and fast data processing that’s optimized for fast-action sports,...
As an affiliate, we earn on qualifying purchases.
Calculating Ideal Screen Size
Understanding the throw distance sets the stage for calculating the ideal screen size for your setup. By knowing how far your projector is from the screen, you can accurately determine the dimensions that will enhance your viewing experience.
Here are some key points to take into account:
For a 16:9 projector, use the formula: Screen Width (inches) = Throw Distance (feet) / 1.87.
For a 4:3 projector, apply: Screen Width (inches) = Throw Distance (feet) / 1.5.
To find the screen height for a 16:9 format, use: Screen Height (inches) = Diagonal Size (inches) / 2.2.
For a 4:3 screen, the calculation is: Screen Height (inches) = Diagonal Size (inches) / 1.6.
Accurate calculations of screen size based on throw distance and common aspect ratios are essential to minimize image distortion.
【Scene Adapt Engine】Enjoy higher-contrast visuals with our Scene Adapt Engine (SAE), the technology behind Dynamic Iris and Dynamic...
As an affiliate, we earn on qualifying purchases.
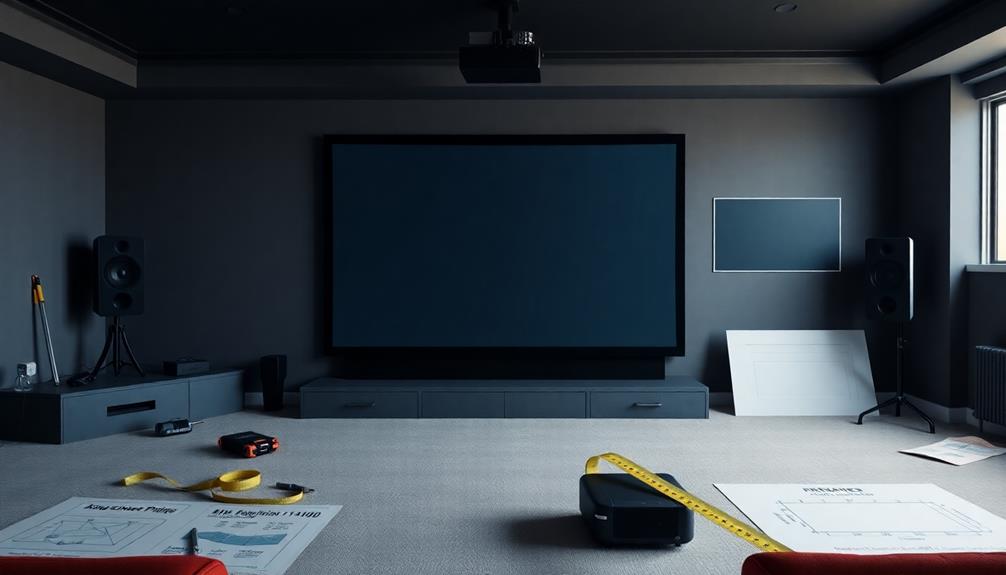
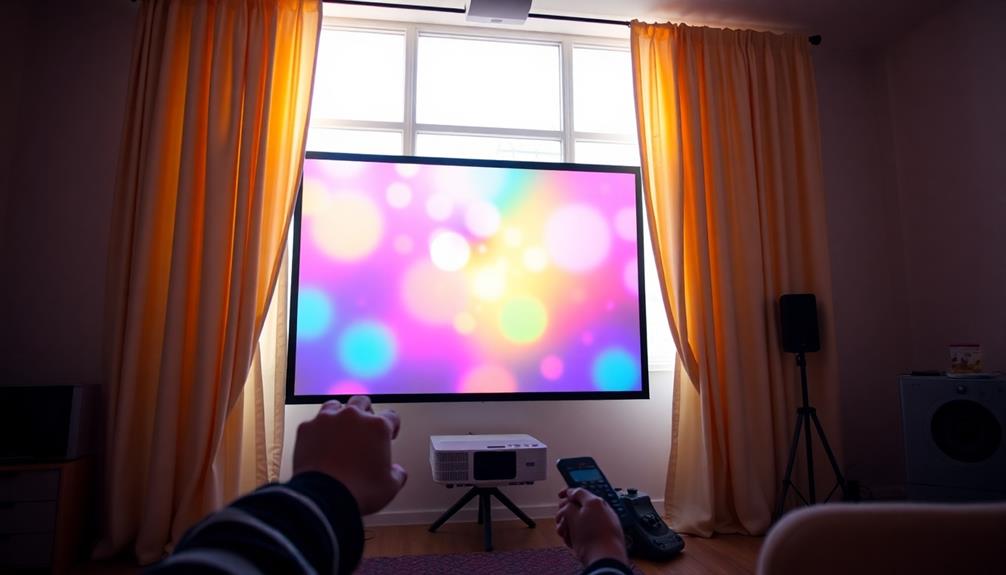
Marking and Testing Screen Area
To guarantee your projector screen fits perfectly, start by marking the area with painter's tape or chalk, keeping the aspect ratio in mind.
Once you've outlined the dimensions, project an image onto the wall to see how it looks and make any necessary adjustments.
This temporary testing will help you fine-tune the setup for the best viewing experience.
Accurate Area Measurements
Accurate area measurements are essential for ensuring your projector delivers the best viewing experience. To achieve this, you'll need to focus on the throw distance from your projector lens to the wall or screen location. This measurement directly affects your ideal screen size and aspect ratio.
Start by marking the screen area with painter's tape or chalk, carefully outlining the projected dimensions based on your chosen aspect ratio, like 16:9 or 4:3. It's also important to take into account the role of color accuracy in home cinema projectors, as it can greatly enhance your visual experience.
Once you've outlined the area, test it by temporarily placing the screen or projecting directly onto the wall. This step allows you to adjust based on the image clarity and distortion you observe. Pay close attention to the alignment of your marked area with the projector's output; proper alignment is key for avoiding cuts or distortions.
To help you visualize this process, think about:
Using painter's tape for clean, defined edges
Choosing a location with minimal ambient light
Testing image clarity before final installation
Ensuring the projector is correctly positioned
Making final adjustments for ideal projection performance
Aspect Ratio Alignment
Achieving the right aspect ratio alignment is key to a great viewing experience. To guarantee this, you should start by marking the screen area with painter's tape or chalk. This visual representation helps you see the projected dimensions and assures that they align with the calculated aspect ratio.
It's vital to match these markings to your projector's output to avoid distortion and maintain ideal viewing quality. Using temporary outlines allows you to make adjustments before the final installation, confirming that the chosen dimensions fit well within your intended viewing space.
As you test with the projector, observe the marked area closely. This step is significant for confirming the aspect ratio aligns correctly with the content being displayed.
Clear visibility of the marked area aids in making necessary adjustments for both height and width. You want to enhance the viewing experience based on the content format, whether it's a movie, video game, or presentation.
Temporary Testing Adjustments
Getting the screen area just right is essential for a successful projection setup. You'll want to perform some temporary testing to guarantee everything aligns perfectly with your desired aspect ratio. Start by marking the projected area using painter's tape or chalk. This temporary outline will help you visualize the screen dimensions before you finalize your setup.
Here's what to take into account during your testing:
Clarity: Guarantee the image is sharp and free of distortion.
Alignment: Check that the marked area matches the projector's output.
Size: Assess whether the projected image fits well within your temporary markings.
Content Variety: Test with different types of media to see how they fit.
Viewing Distance: Evaluate how far away viewers will be seated for the best experience.
After marking, project directly onto a wall or temporarily place a screen to assess the image quality.
Make precise adjustments based on your tests to achieve ideal viewing conditions. This hands-on approach guarantees you're ready to enjoy your content with the right aspect ratio, enhancing your overall experience.
Screen Options and Specifications
When choosing a projector screen, you've got several types to evaluate, each with its own benefits.
Customizing your screen for specific content formats can greatly enhance your viewing experience.
Plus, knowing the ideal size guidelines guarantees you make the most of your space without sacrificing image quality.
Screen Type Comparisons
While selecting the right projector screen, it's essential to evaluate the various types available and their specific features.
Screen type comparisons can greatly influence your viewing experience, especially when considering masking options for different content.
Seymour Screen Excellence TRIM series: Offers economical motorized masking solutions tailored for varying aspect ratios.
Two-way masking screens: Convert seamlessly between standard and cinematic formats, providing flexibility for diverse content.
Enlightor Neo fabric: With a gain of 0.9, this fabric excels in light-controlled environments, enhancing picture quality and reducing reflections.
Screen size options: Typical widths can reach up to 153 inches, while a minimum of 120 inches guarantees a satisfactory field of view.
Fixed screens vs. 2-way masking: Fixed screens are cost-effective and straightforward, while 2-way side masking offers adaptability for different formats without compromising image quality.
Customization for Content
Choosing the right projector screen goes beyond just looking at types; customization for content is key to enhancing your viewing experience. The Seymour Screen Excellence TRIM series offers economical motorized masking solutions that adapt to different aspect ratios, which is particularly beneficial when you're presenting various media formats.
With two-way side masking screens, you can effortlessly switch between aspect ratios like 16:9 and 2.40:1, guaranteeing that your content is displayed in the best possible format.
If you're in a light-controlled environment, the Enlightor Neo fabric, featuring a gain of 0.9, will provide excellent image clarity and contrast, enhancing the viewing experience further.
When it comes to screen width, a maximum of 153 inches fits most rooms, while a minimum of 120 inches is recommended for an immersive field of view.
If cost and simplicity are priorities, fixed screens might be your go-to option. However, investing in a 2-way side masking screen allows you to adapt to various content formats without compromising image quality.
This flexibility guarantees that every movie, presentation, or video looks its best on your projector screen.
Optimal Size Guidelines
Selecting the ideal size for your projector screen is essential to achieving the best viewing experience possible. To guarantee you're making the right choice, consider these excellent size guidelines:
Width: Aim for a screen width between 120 and 153 inches for a satisfying field of view.
Height: Keep height limitations at a maximum of 72 inches to maintain proper aspect ratios.
Type: Fixed screens are often more cost-effective and simpler for home theater setups.
Material: Choose Enlightor Neo fabric with a gain of 0.9, perfect for light-controlled spaces.
Flexibility: Consider options like the Seymour Screen Excellence TRIM series for motorized masking that adjusts between different aspect ratios.
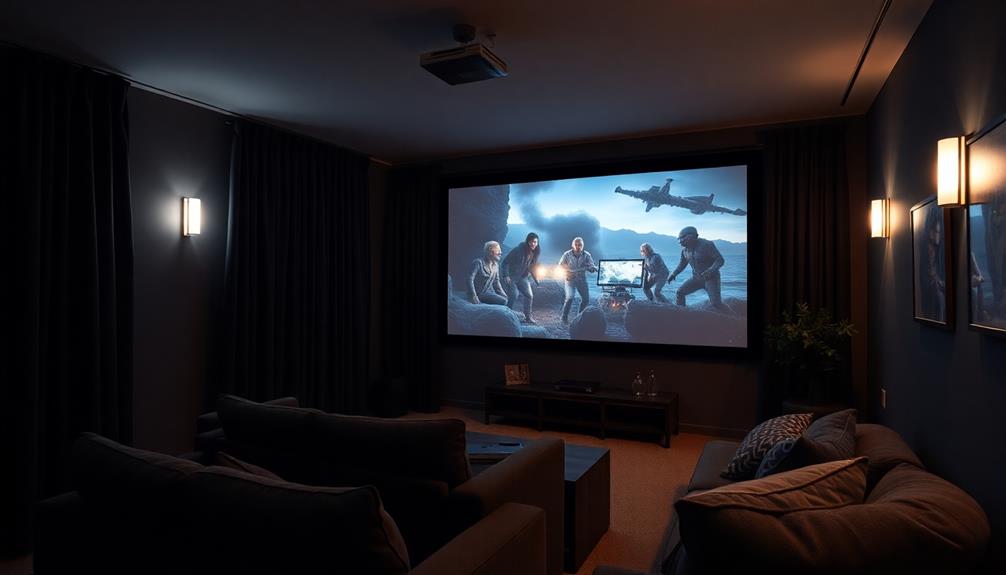
Effective Masking Techniques
Effective masking techniques are crucial for optimizing your home theater experience, particularly when dealing with varying aspect ratios. Utilizing side masking for 1:2.35 screens allows you to block projected light for flat movies, while top-bottom masking effectively prevents light leak-through for scope films.
These methods guarantee that you get the most out of your content without distractions from black bars.
If you're looking for a budget-friendly option, reflect on DIY solutions like roller blinds. They can deliver effective masking without the complexity and cost of more advanced systems.
Additionally, painting a dark wall behind your screen can minimize the visibility of black bars during playback, creating a more immersive environment.
Don't overlook the benefits of combining an A-lens with your masking techniques. This can notably enhance image quality and further reduce the impact of black bars.
Remember, the key to proper masking is to think about the type of content you're watching and adjust your projector settings accordingly.
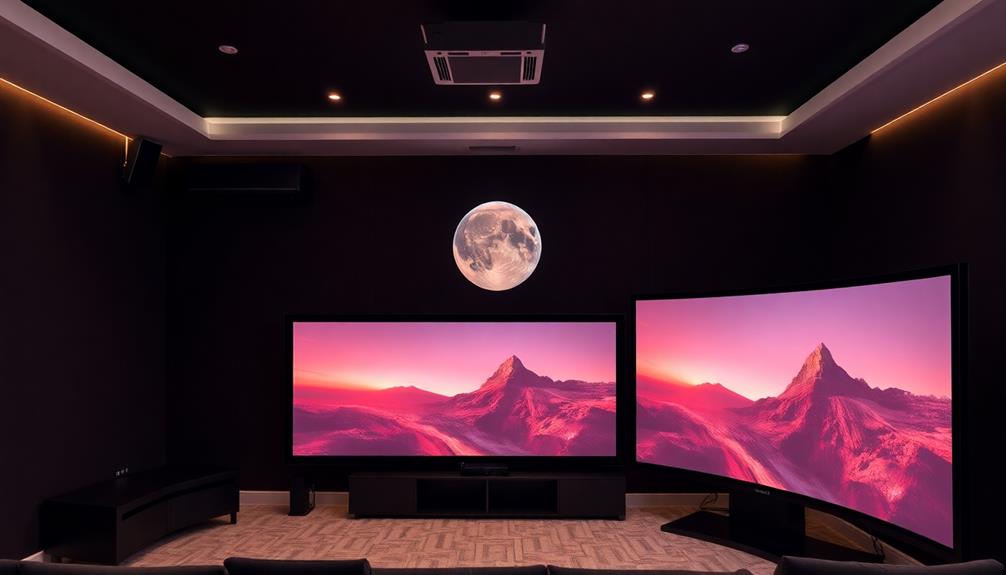
Enhancing Viewing Experience
Masking techniques not only improve image quality but also play a significant role in enhancing your overall viewing experience. By minimizing light leakage and eliminating those pesky black bars, you get to enjoy clearer visuals and a more immersive atmosphere.
When you utilize two-way masking systems, you can seamlessly shift between various aspect ratios, like adapting a 2.40:1 screen for 16:9 content without losing quality.
Consider these enhancements for your setup:
A dark wall behind your screen to reduce black bar visibility
An A-lens to mitigate black bars during scope movie presentations
Adjusting your screen size to achieve an ideal horizontal field of view (40-55 degrees)
Testing different masking setups on a blank wall for personal preferences
Enjoying a truly cinematic experience with optimized aspect ratios
Frequently Asked Questions
What Is the Best Aspect Ratio for a Projector Screen?
The best aspect ratio for your projector screen depends on your content. If you watch movies, a 2.35:1 ratio enhances the experience. For general use, 16:9 offers versatility for various media formats. Choose wisely!
How Do I Fix the Aspect Ratio on My Projector?
To fix your projector's aspect ratio, enter the menu settings. You'll find options like "Aspect Ratio" or "Image Settings." Select your desired format, and you'll enjoy a clearer, more immersive viewing experience.
What Is the Difference Between 4:3 and 16 9 Aspect Ratio Projector?
The 4:3 aspect ratio is ideal for traditional content, while 16:9 suits high-definition media. Your choice affects viewing quality, so consider what you're watching to guarantee the best experience for your audience.
What Aspect Ratio Should a Projector Presentation Be?
For projector presentations, you should use a 16:9 aspect ratio. It works best for most media, minimizing black bars and ensuring a clear, engaging display for both contemporary films and standard presentations.
Conclusion
To sum up, mastering projector screen masking makes a monumental difference in your viewing experience. By meticulously measuring and calculating, you can craft an enthralling display tailored to your content. Remember, the right ratio and size greatly enhance your cinematic satisfaction. So, whether you're binge-watching a blockbuster or showcasing stunning slides, don't overlook the power of perfecting your projector setup. With a bit of effort, you'll transform any space into a sensational screening sanctuary!
Learn how to create the ultimate home theatre experience that captivates your senses and transforms movie nights into unforgettable events—discover the essential steps now!
Troubleshooting Guide: Fixing White Dots on Your Projector Screen
Be prepared to tackle those frustrating white dots on your projector screen with our troubleshooting guide that reveals crucial steps for a clearer viewing experience.