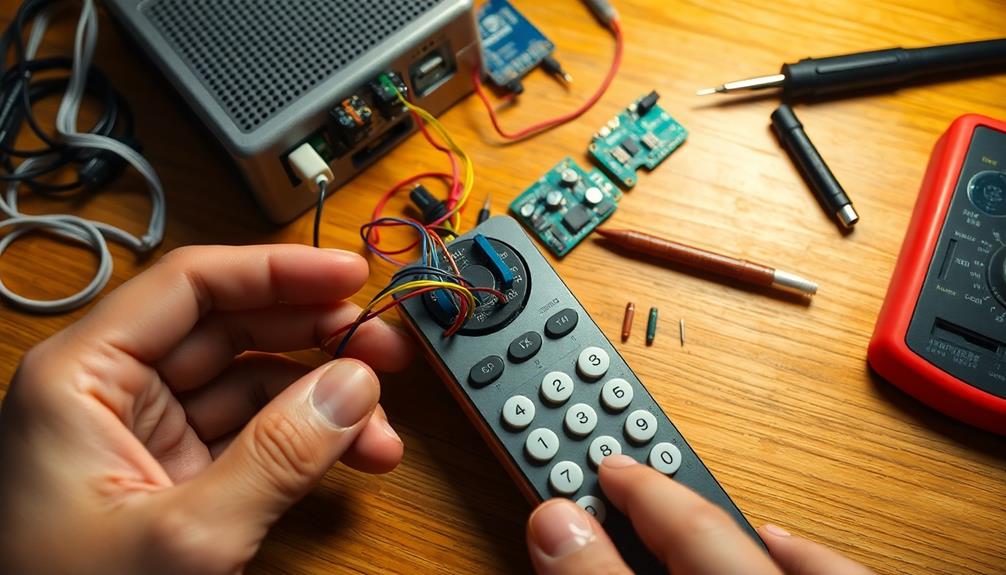
Customizing your DIY projector remote control interface makes using it easier and more enjoyable. Start by accessing 'switches.yaml' to assign friendly names and create toggle buttons for power and volume control. Use 'scripts.yaml' to develop organized commands for seamless operation, simplifying complex actions into single clicks. Designing an intuitive layout with vertical and horizontal stacks enhances navigation. Don't forget to integrate popular apps for quick access to streaming services. By focusing on user experience and testing your setup, you can achieve an efficient interface. Keep going, and you'll discover more tips to elevate your remote control project.
Key Takeaways
- Access 'switches.yaml' to define user-friendly toggle switches for power and volume control, enhancing ease of use.
- Develop scripts in 'scripts.yaml' to combine multiple commands into single clicks, streamlining remote functionality with ADB commands.
- Design an intuitive remote UI using vertical and horizontal stacks, incorporating Material Design Icons for improved navigation and visual appeal.
- Integrate popular streaming apps like Netflix and Plex by defining buttons in 'switches.yaml' for quick access to content.
- Test and troubleshoot configurations thoroughly, ensuring commands execute correctly and adjusting as needed for optimal performance.

SOULWIT 50Pcs Self Adhesive Cable Management Clips - Black
🔷SUPER EASY TO USE: Stick to clean surface, open tab, insert multiple cables, close the tab, enjoy the...
As an affiliate, we earn on qualifying purchases.
Understanding Remote Control Basics
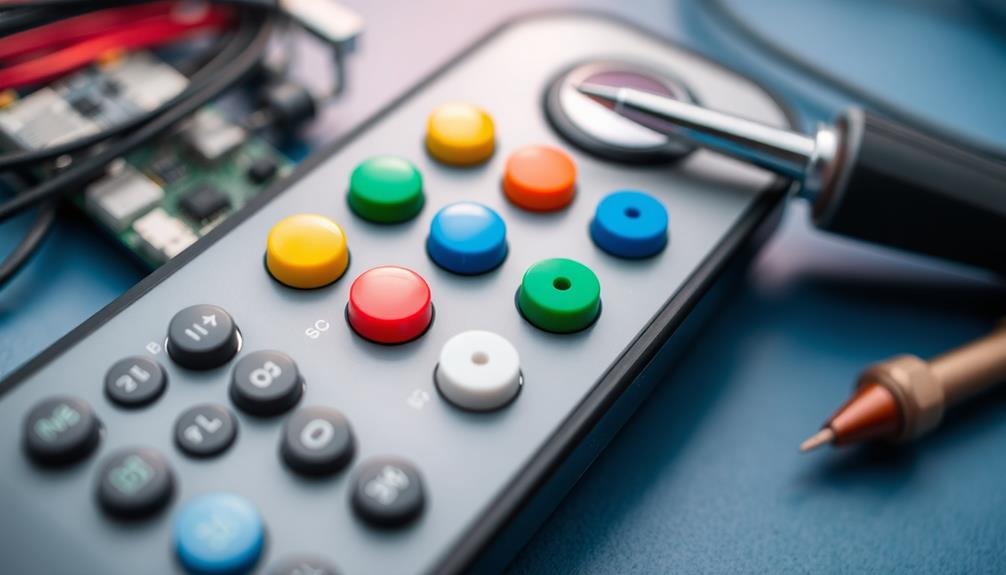
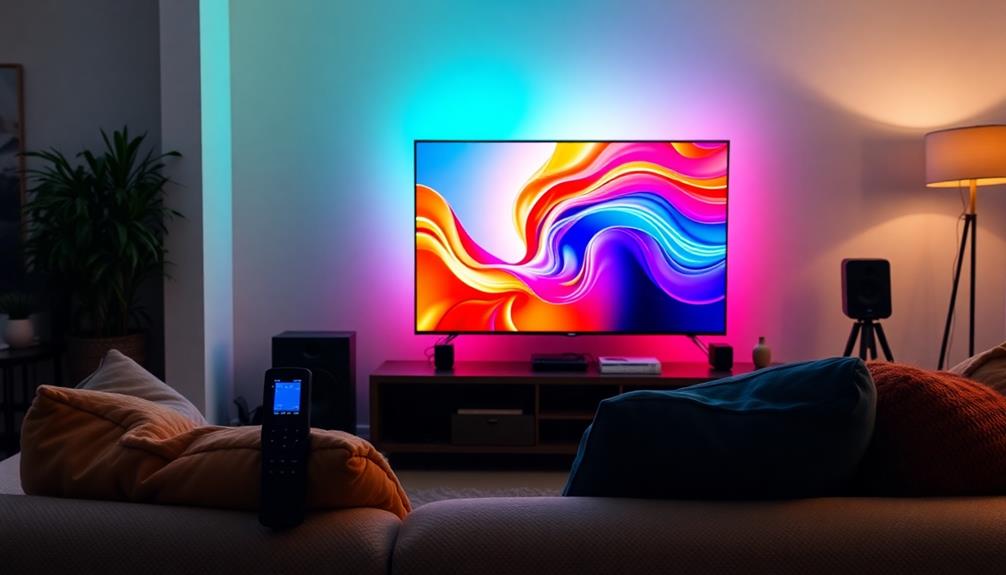
When you think about remote controls, it's easy to appreciate how they simplify our lives by allowing us to operate devices from a distance. Most remote controls utilize infrared or wireless signals, so you can easily control your projector without getting up. This convenience is a game changer, especially when you're settled in for a movie night.
The design of a remote is essential. For basic functions, toggle buttons work just fine for power switches, but when it comes to more intricate tasks like volume adjustments, they mightn't be the best choice. Instead, a well-organized layout lets you quickly find the buttons you need. Imagine pressing the left button to lower the volume and the right button to increase it—simple and effective!
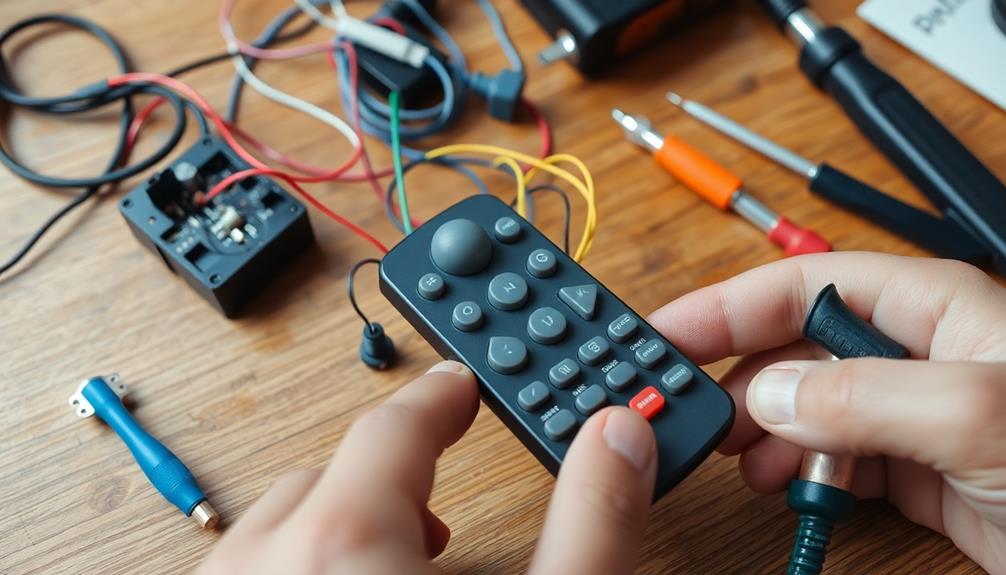
To enhance your experience, consider how configuration files like 'switches.yaml' can tailor your remote's functionality. By customizing these settings, you can guarantee your remote control meets your specific needs.
Plus, using scripts in 'scripts.yaml' can combine several commands into a single click, streamlining your remote control experience even further. You'll love how easy it gets!

XHF 120 PCS Adhesive Cable Wire Clips Black, Outdoor Christmas Light Clips, Cable Management Wire Organizer Cord Holder for Under Desk, Car, Wall, TV PC Ethernet Cable
High quality material:XHF Adhesive Cable Clips are manufactured from Strong Adhesive and PA66 nylon
As an affiliate, we earn on qualifying purchases.
Configuring Your Switches
Configuring your switches is a straightforward process that enhances your DIY projector remote's functionality. Start by accessing the 'switches.yaml' file, where you can define toggle switches for essential functions like power and volume control.
It's important to use friendly names in your switch definitions, making it easier to recall and reference them later. Incorporate underscores for better readability.
For volume control, implement single toggle commands to streamline user experience. This allows for simple up and down adjustments with just one click, making it user-friendly.
When labeling directional buttons, verify they're clearly marked (e.g., left, up) in your configuration. This clarity boosts usability and helps users navigate the interface intuitively.
Once you've set up your switches, don't forget to test their functionality within the overall remote interface. This step is vital to confirm seamless integration and operation.

120PCS XHF Adhesive Cable Wire Clips White, Cable Staples Outdoor Cable Management Wire Organizer Cord Holder for Under Desk, Car, Wall, TV PC Ethernet Cable
High quality material:XHF Adhesive Cable Clips are manufactured from Strong Adhesive and PA66 nylon
As an affiliate, we earn on qualifying purchases.
Developing Effective Scripts

Creating effective scripts for your projector remote control starts with understanding the command structure in the 'scripts.yaml' file.
By incorporating ADB commands, you can enhance functionality and streamline your setup, making it more user-friendly.
Remember to specify service and entity IDs correctly to guarantee your scripts run smoothly and efficiently.
Script Command Structure
To guarantee your DIY projector remote control functions smoothly, you need to focus on the script command structure. Start by developing scripts in 'scripts.yaml' using a clear sequence format that specifies both service and entity IDs. This guarantees accurate command execution every time.
When creating your scripts, replace button names with ADB commands to enhance functionality and achieve smoother operations. It's also vital to utilize underscores in friendly names for consistency, which helps avoid errors during execution. For example, when scripting power and volume control, you can streamline user interactions by combining complex commands into a single click.
Organizing commands logically within your scripts not only enhances readability but also simplifies modifications or troubleshooting in the future. It's easier to manage your project if you can quickly identify and edit specific commands without sifting through disorganized code.
Enhancing Functionality With ADB
When it comes to enhancing the functionality of your DIY projector remote control, ADB commands can make a significant difference. By utilizing ADB, you can streamline remote control functions, replacing traditional button names with efficient scripts for single-click execution. This not only saves time but also simplifies your user experience.
Here are three key steps to effectively develop your ADB scripts:
- Define Your Scripts: Organize commands in 'scripts.yaml'. This allows you to group multiple commands into a single function, making tasks like power management and volume control a breeze.
- Use the Correct Format: Specify both the service and entity IDs in your scripts. This guarantees that your commands are correctly recognized and executed by the system.
- Keep It Friendly: Remember to use underscores in friendly names within your scripts. This practice helps with proper identification and prevents errors during execution.
Incorporating ADB commands into your remote setup not only enhances functionality but also allows for greater customization. You'll find it much easier to control various device features from a unified interface, making your DIY projector experience even better.

【Built-in APPS & Electric Focusing & 210° Rotation】Mini Projector With Wifi And Bluetooth, 1080P Portable Projector, Movie Projector for Bedroom, Supports Smartphones/TV Stick/iPad/PS5/Laptop/HDMI/USB
【The Latest WIFI 6 Technology And Bluetooth 5.3】This projector with Wi-Fi and Bluetooth is equipped with the latest...
As an affiliate, we earn on qualifying purchases.
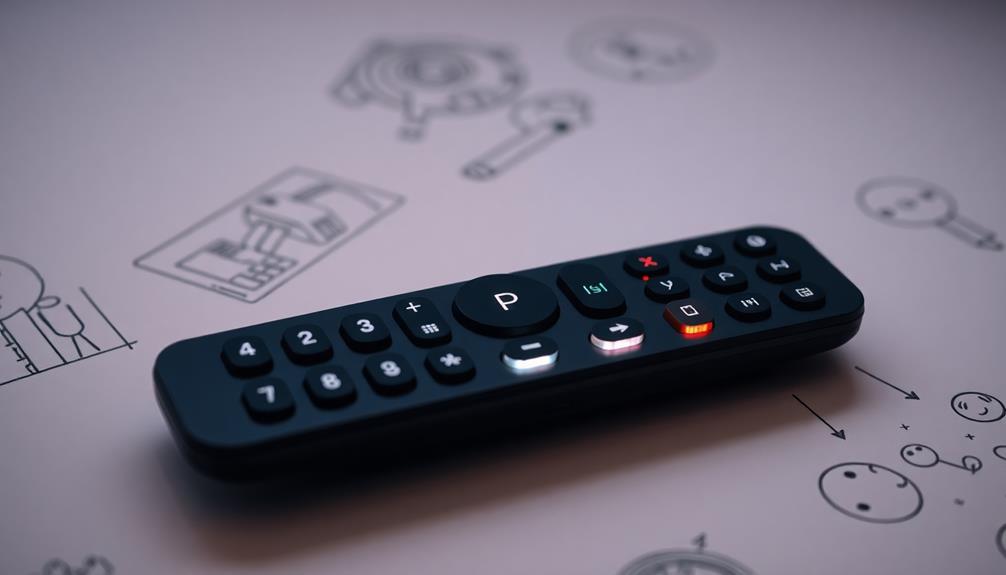
Designing Your Remote UI

Designing an intuitive remote UI can greatly enhance your DIY projector experience. Start by creating a new panel using vertical and horizontal stacks to organize buttons in a way that feels natural. This structure helps users navigate easily, so they can find what they need without frustration.
Incorporate Material Design Icons for visual appeal. Each button should be easily recognizable, making it user-friendly. Place a power button in the first row, linked to a dedicated power script, for quick access. This small detail can considerably enhance your experience.
When it comes to naming your buttons, use friendly names with underscores in the 'switches.yaml' configuration file. Clear commands guarantee that even new users can understand and remember how to operate your remote.
Don't forget to customize icon size and layout to fit your aesthetic preferences. This not only improves functionality but also guarantees your UI looks great across different devices.
Integrating Popular Apps
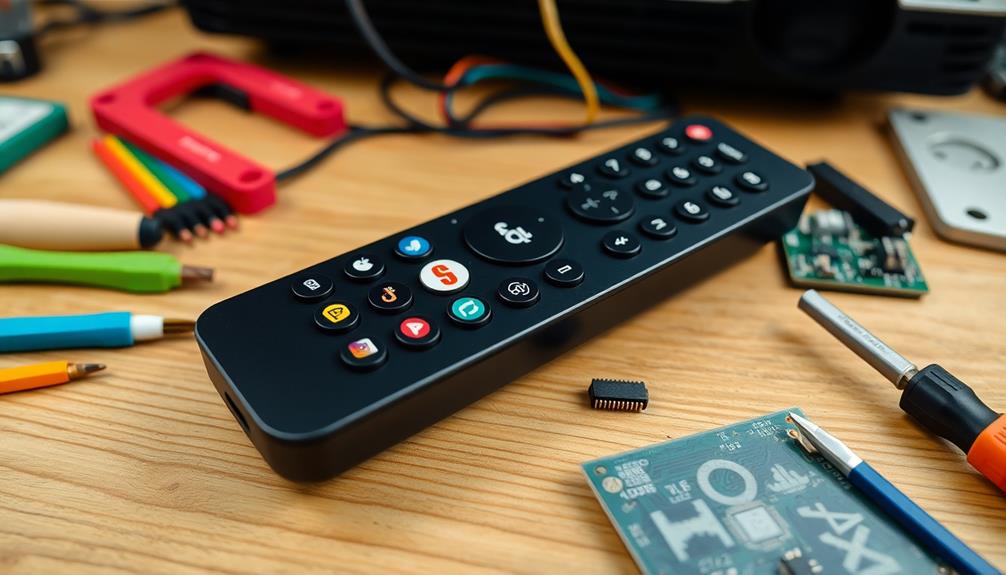
Incorporating popular apps like Netflix and Plex into your DIY projector remote control elevates your viewing experience by providing instant access to your favorite streaming content.
This is especially beneficial for home cinema enthusiasts who want seamless integration with their setup, enhancing overall enjoyment. By setting up built-in buttons for these apps in the 'switches.yaml' file, you can navigate effortlessly to your preferred services, much like how the role of color accuracy enhances cinematic experiences.
Here are three key steps to integrate these apps:
- Create Buttons: Define buttons for Netflix and Plex in your 'switches.yaml' file, making them easily accessible from your remote.
- Add Icons: Use Material Design Icons for these buttons to enhance the visual appeal and guarantee that your interface looks sleek and modern.
- Custom Scripts: Assign custom scripts in 'scripts.yaml' to these buttons. This allows you to launch your favorite apps with just a single click, eliminating the need for extra navigation.
Enhancing User Experience
To enhance your remote control experience, focus on creating an intuitive button layout that makes navigation effortless.
Consider the impact of visual design elements on user engagement, as seen in the cozy workspace improvements that promote well-being.
Streamlining command execution with clear labels helps you quickly access the functions you need.
Additionally, incorporating visual design elements can make the interface not only more appealing but also easier to use.
Intuitive Button Layout
Creating an intuitive button layout is essential for enhancing the user experience of a DIY projector remote control. When you design your remote, think about how you can make it user-friendly and efficient. Reflect that just like a good home security system requires thoughtful design and functionality, your remote should too.
Here are three key strategies to reflect upon:
- Organize Controls Effectively: Stack frequently used functions in vertical and horizontal arrangements. This way, you can access them quickly without fumbling around.
- Use Clear Labels: Opt for friendly and straightforward names for each button. This will help you recall commands easily when you're scripting and using the remote.
- Incorporate Directional Buttons: Include clearly labeled directional buttons (like left, right, up, and down) for easy navigation. This simplifies controlling your projector functions during use.
Additionally, reflect on using Material Design Icons for visual appeal. They enhance usability by allowing you to identify button functions at a glance.
Don't forget to customize icon sizes and layouts to fit your preferences, ensuring comfort and ease of use while operating your remote. By following these tips, you'll create a remote that's not just functional but truly enjoyable to use.
Streamlined Command Execution
An intuitive button layout sets the stage for a more streamlined command execution in your DIY projector remote control. By utilizing scripts in 'scripts.yaml', you can perform multiple actions with a single click, eliminating the hassle of toggling through various buttons. This functionality is further enhanced by implementing ADB commands, allowing for a more intuitive experience without complex sequences.
To boost readability and recall, use friendly names in your scripts with underscores. This simple change makes it easy to identify and execute commands quickly. The sequence format in scripts, specifying service and entity IDs, simplifies your command structure and improves responsiveness.
Directional buttons can also enrich user experience. Clarity in labeling, such as 'left' and 'up', makes navigation straightforward and accessible.
Here's a quick overview:
| Feature | Benefit |
|---|---|
| Scripts in 'scripts.yaml' | Perform multiple actions easily |
| ADB commands | Simplifies command execution |
| Friendly names | Enhances readability |
With these strategies, your DIY projector remote control becomes a breeze to use, making your viewing experience more enjoyable.
Visual Design Elements
Incorporating effective visual design elements can greatly enhance your DIY projector remote control's user experience. By focusing on aesthetics and functionality, you can create a more engaging interface that encourages ease of use.
Here are three key design elements to contemplate:
- Material Design Icons: Use these for a visually appealing interface that boosts user engagement and intuitiveness. Well-designed icons can simplify navigation and make your remote control feel more modern.
- Logical Button Organization: Arrange buttons in a logical flow, both vertically and horizontally. This organization helps users navigate quickly to essential functions, reducing frustration during use.
- Clear and Intuitive Names: Confirm button labels are friendly and easy to understand. Using underscores can enhance readability and recall, making it simpler for users to remember their functions.
Additionally, customize icon sizes and layouts to accommodate user preferences, enhancing accessibility.
Incorporating built-in buttons for popular apps offers immediate access to frequently used features, improving overall functionality.
Customizing Button Functions

Customizing button functions on your projector remote can greatly enhance your viewing experience. To get started, access the 'switches.yaml' file where you can define toggle switches for actions like power and volume control.
By utilizing single toggle commands, you can effectively manage your volume, allowing you to adjust it up and down with just one button press.
For more advanced functionality, implement scripts in the 'scripts.yaml' file. This allows you to create command sequences and replace button names with ADB commands.
Make sure to use friendly names for buttons that incorporate underscores; this not only improves recall in scripts but also enhances organization and usability.
To create a visually appealing layout, organize your buttons using vertical and horizontal stacks. This arrangement makes navigation intuitive and efficient.
You can also enhance the interface by incorporating Material Design Icons, which will help you easily identify each function.
With these customizations, you'll have a projector remote that not only looks great but also operates according to your unique preferences, making your viewing sessions more enjoyable and convenient.
Testing and Troubleshooting
After you've set up your customized button functions, it's important to test and troubleshoot to verify everything works smoothly. Here are three steps to guarantee your remote's functionality:
- Check Your Scripts: Make sure all commands in your 'scripts.yaml' file are correctly formatted. Errors in the sequence of service and entity IDs can prevent your remote from functioning as intended.
- Test Each Button: After configuration, test each button individually. Confirm that they execute the expected actions, like power on/off and volume adjustments. This step is vital for identifying any issues early on.
- Utilize Logging Features: Use the logging feature in your system to troubleshoot any problems. Check for error messages that may indicate misconfigured commands or scripts.
If a script doesn't work, verify that the friendly names in your 'switches.yaml' match those referenced in your scripts. Discrepancies can cause execution failures.
If you continue to face issues, consider resetting your remote interface and re-uploading your configurations. This can help resolve conflicts stemming from outdated settings or corrupted files.
Sharing Your Custom Setup

Sharing your custom remote control setup can be a rewarding experience, allowing you to help others while showcasing your creativity.
To get started, export your 'switches.yaml' and 'scripts.yaml' files. These files contain your configurations and scripts, making it easy for others to integrate your setup into their own devices.
Don't forget to capture screenshots of your UI design. Visuals are powerful, so show how your remote interface is organized, highlighting button arrangements and icon choices. This clarity helps others understand your design better.
Consider creating a step-by-step tutorial video or guide. Break down how you set up each button and script, which can greatly ease the replication process for others.
Engage with online communities or forums, where you can showcase your setup and gather feedback. This interaction can inspire further improvements and customizations.
Frequently Asked Questions
How to Make Remote Universal?
To make your remote universal, start by accessing configuration files to set up device controls. Incorporate command sequences and ADB commands for seamless functionality, then design a user-friendly interface that simplifies your experience.
How to Program Remote to Projector?
To program your remote to the projector, access the 'switches.yaml' file for essential functions and use 'scripts.yaml' for advanced commands. Incorporate ADB commands for improved functionality and organize buttons for user-friendly navigation.
What Does IR Remote Mean?
An IR remote means it uses infrared light to send commands wirelessly. You point it at your device, typically within 30 feet, and it needs a clear line of sight to work effectively.
How Does Universal Remote Work?
Think of a universal remote as a key that opens multiple doors. It sends infrared or radio signals to control various devices, allowing you to streamline your entertainment experience with just a single click.
Conclusion
Now that you've transformed your projector remote into a personalized powerhouse, imagine effortlessly gliding through your favorite movies with just a touch. Picture the ease of switching from a thrilling action scene to a cozy rom-com, all at your fingertips. Your custom interface not only enhances your viewing experience but also brings a spark of joy to every movie night. So go ahead, embrace your creativity, and let your customized remote light up your cinematic adventures!