How to Use a Projector for Classroom and Educational Settings
With the right setup and techniques, a projector can transform your classroom experience—discover how to maximize its potential for student engagement.
Using a projector in your classroom can really boost student engagement. Start by setting it up correctly; make sure to connect your device and adjust the display settings. You can enhance lessons with interactive features, like multimedia presentations and real-time collaboration tools. Don't forget to manage your classroom environment by controlling lighting and sound for the best visibility and clarity. Troubleshoot any issues on the spot—like blurry images or connection problems. With some practice, you can create a dynamic teaching experience that captivates your students. There's so much more to explore, so keep going for tips and techniques!
Set up the projector by logging into the computer, turning it on, and adjusting display settings for Windows or Mac devices.
Ensure devices are compatible and connected wirelessly, using the BenQ Smart Control App for enhanced management.
Utilize interactive features for engaging presentations, allowing for annotations and digital content integration.
Manage classroom environment with appropriate lighting, volume control, and microphone settings for optimal audio-visual experience.
Troubleshoot common issues by checking power sources, display settings, and ensuring clear audio and image quality.
2000 ANSI 4K Decoding Projector with WiFi and Bluetooth, HAPPRUN Movie Home Theater with Auto Focus, 300'' Display for Indoor/Outdoor, Smart Proyector Compatible with Phone/TV Stick/PC/PS5
[EASIER OPERATION: AI Smart Screen Adjustment] HAPPRUN projector comes with auto focus and 6D auto-keystone technology, enjoy a...
As an affiliate, we earn on qualifying purchases.
Setting Up the Projector
Setting up the projector is essential for a smooth classroom experience. Start by logging into the FIT computer, and if you encounter any issues, perform a hard reboot to guarantee everything's running smoothly.
Once you're logged in, head to the designated wall panel to turn on the projector. You should hear an audible beep, confirming it's activated. Allow the projector to warm up until it illuminates.
If you're using a Windows computer, press the Windows key + P to access display options. Choose "Duplicate" to mirror your screen or "Extend" for separate displays.
For Mac users, toggle your display settings by pressing Command key + F1 until you get the desired outcome, selecting either "Mirror" or "Extend Desktop" as needed.
After your class, make sure to power off the projector completely using the wall panel.
Finally, log off or restart the computer instead of performing a complete shutdown. This helps preserve your settings for next time.
ViewSonic LS740W 5500 Lumens WXGA Laser Projector with 1.3X Optical Zoom, H/V Keystrone, 360 Degrees Projection for Auditorium, Conference Room, and Education
High Brightness Laser Projector: WXGA (1280x800p) resolution with a 1.2-1.5 throw ratio and 5,500 ANSI lumens for clear,...
As an affiliate, we earn on qualifying purchases.
Connecting Devices
Connecting devices to a projector can markedly enhance your classroom presentations.
Whether you're using a Windows laptop, a Mac, or even a mobile device, making the right connections is key to a smooth experience.
Here's how to connect your devices effectively:
Windows Devices: Press the Windows key + P to choose display options like "Duplicate" or "Extend," maximizing your screen usage for presentations.
Mac Devices: Use Command + F1 to toggle between display modes, allowing you to mirror or extend your desktop effortlessly.
Wireless Connections: Verify the projector's wireless settings are configured properly. This enables devices such as MacBooks, Windows laptops, and mobile phones to connect seamlessly.
BenQ Smart Control App: Utilize this app for enhanced remote control capabilities, allowing you to manage projections easily from your device.
Always be aware of compatibility issues; confirm your devices are set to the correct resolution and display settings.
This helps avoid connection problems and guarantees superior projection quality with your projectors, making your teaching more effective and engaging.
Epson Home Cinema 980 3-Chip 3LCD 1080p Projector 4,000 Lumens Color and White Brightness, Streaming/Gaming/ Media Room, Built-In Speaker, Auto Picture Skew, 16000:1 Contrast, 2 HDMI Ports
Exceptional Picture Quality — Provides stunning, detailed 1080p images and fast data processing that’s optimized for fast-action sports,...
As an affiliate, we earn on qualifying purchases.
Adjusting Projector Settings
Once you've connected your device, it's time to adjust the projector settings for ideal viewing.
You'll want to explore display options to choose how your content appears, whether it's duplicating your screen or extending it.
Don't forget to tweak the brightness and contrast to enhance clarity and make sure everyone can see your presentation clearly.
Display Options Overview
When using a projector in the classroom, it's essential to adjust the display settings for best performance. Whether you're a Windows or Mac user, you'll find options that help tailor the projector to your needs.
Start by ensuring the projector is turned on and warmed up for peak display quality.
Here are some display options to take into account:
Windows Users: Press 'Windows key + P' to choose from:
Duplicate: Show the same content on both screens.
Extend: Use the projector as an additional display.
PC Screen only: Use only your computer screen.
Second Screen only: Display content solely on the projector.
Mac Users: Press 'Command key + F1' to toggle between:
Mirror: Duplicate your Mac screen on the projector.
Extend Desktop: Create a separate workspace on the projector.
Use the Video Mute function on the projector to hide the image temporarily.
Familiarize yourself with the remote or wall panel to adjust other display options for brightness and contrast as needed.
These adjustments will enhance your presentation experience.
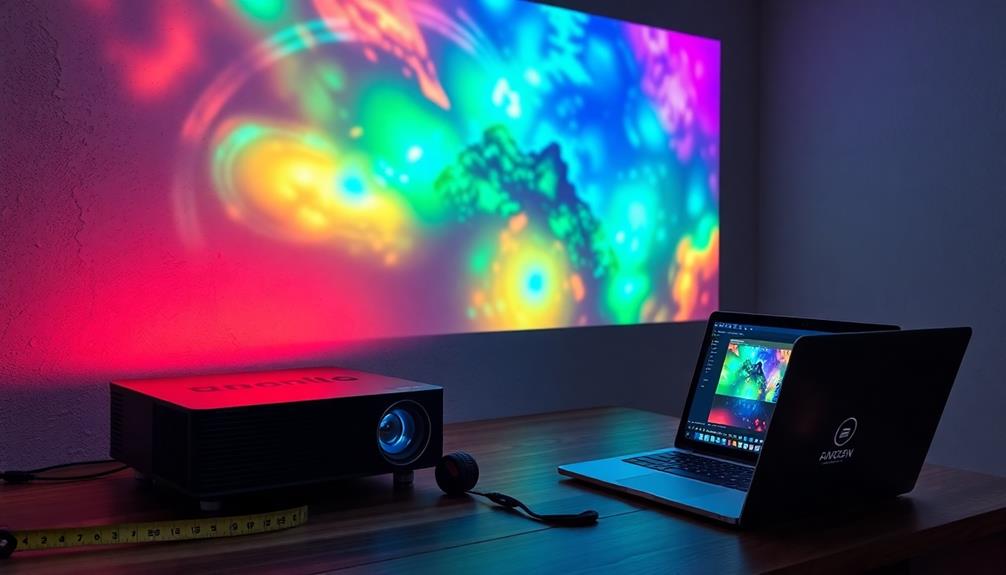
Adjusting Brightness and Contrast
Adjusting brightness and contrast on a projector is essential for achieving a clear and vibrant image in your classroom. To get started, access the projector's menu using the remote control or touch panel interface, usually found under the "Picture" or "Display" options.
You'll find brightness settings that can be adjusted in percentage increments, allowing you to fine-tune based on the ambient light conditions around you.
Next, focus on contrast, which enhances the difference between light and dark areas of the image. Adjust this setting on a scale that varies by model, often ranging from 1 to 100.
Many projectors also provide preset modes tailored for specific environments, like "Presentation," "Movie," or "Bright Room," which automatically optimize brightness and contrast for the best viewing experience.
It's a good idea to regularly calibrate these settings, especially when the classroom lighting changes or when you switch between different types of content.
[Official Google TV]Smart Projector 4K Supported with WiFi & Bluetooth, Built-in Official Apps, GoogIe Voice, Outdoor Movie Projector with DoIby Audio, Auto Focus, Home Theater Proyector WIMIUS G1
[All-in-One Google TV Built-In] G1 Smart projector comes fully integrated Google TV—no website version, no stripped-down system. Access...
As an affiliate, we earn on qualifying purchases.
Utilizing Interactive Features
When you use interactive features in your projector, you can create engaging multimedia presentations that capture your students' attention.
Real-time collaboration tools allow everyone to participate actively, making learning more dynamic and enjoyable.
Engaging Multimedia Presentations
Engaging multimedia presentations can transform your classroom into an interactive learning environment that captures students' attention and fosters collaboration.
By utilizing interactive projectors, you can create dynamic lessons that cater to various learning styles and deepen understanding.
Here are four ways to enhance your multimedia presentations:
Touch Capabilities: Use the touch features of interactive projectors to let students physically engage with the content, making learning more hands-on and memorable.
Annotation Tools: Encourage active participation by allowing students to annotate directly on the screen. This feature promotes discussion and helps clarify complex topics.
Digital Content Integration: Incorporate videos, simulations, and interactive activities into your lessons. These immersive experiences captivate students and improve information retention.
Customizable Software: Utilize programs like SMART Learning Suite or ViewBoard 2.1 to streamline lesson preparation. Their customizable templates make it easy to design engaging and interactive presentations.
Real-Time Collaboration Tools
With interactive projectors in your classroom, real-time collaboration becomes an exciting reality for students. These projectors allow multiple users to annotate and manipulate projected content simultaneously, fostering a sense of teamwork and engagement.
You can utilize real-time collaboration tools like SMART Response 2, which lets you create quick quizzes and gather instant feedback from your students. This enhances participation and helps you gauge understanding during lessons.
Additionally, the integration of AI-Powered Virtual Reality in E-Learning can further elevate the collaborative experience by providing immersive learning scenarios for group projects.
Consider using Google Lit Trips with your interactive projector. This tool helps students explore the geographical contexts of literature, promoting collaborative discussions and deeper literary analysis through shared exploration.
The collaborative features of interactive projectors also enable wireless screen sharing, making it easy for students to engage in group activities and track contributions during projects, ensuring accountability.
Moreover, the integration of multimedia resources caters to diverse learning styles, allowing your students to work together on dynamic tasks that stimulate critical thinking and problem-solving.
Managing Classroom Environment
To create an ideal learning atmosphere, managing the classroom environment is crucial when using a projector. Proper adjustments can enhance visibility and guarantee that students stay focused on the presentation. Here are four key aspects to take into account:
1. Lighting Control: In smaller classrooms, use the Crestron touch panel or wall switch to adjust lighting for peak projector visibility.
In larger classrooms, the dedicated controls let you choose between "Projection High" or "Projection Low" settings.
2. Volume Management: Gradually adjust the audio output to prevent ear damage during presentations.
This guarantees that your students can hear clearly without discomfort.
3. Microphone Settings: Utilize the touch panel to manage individual microphone settings, guaranteeing peak audio clarity for both you and your students.
4. Screen Operation: In larger classrooms, automatic screen lowering simplifies setup, while manual operation in smaller spaces offers flexibility to adapt to different activities.
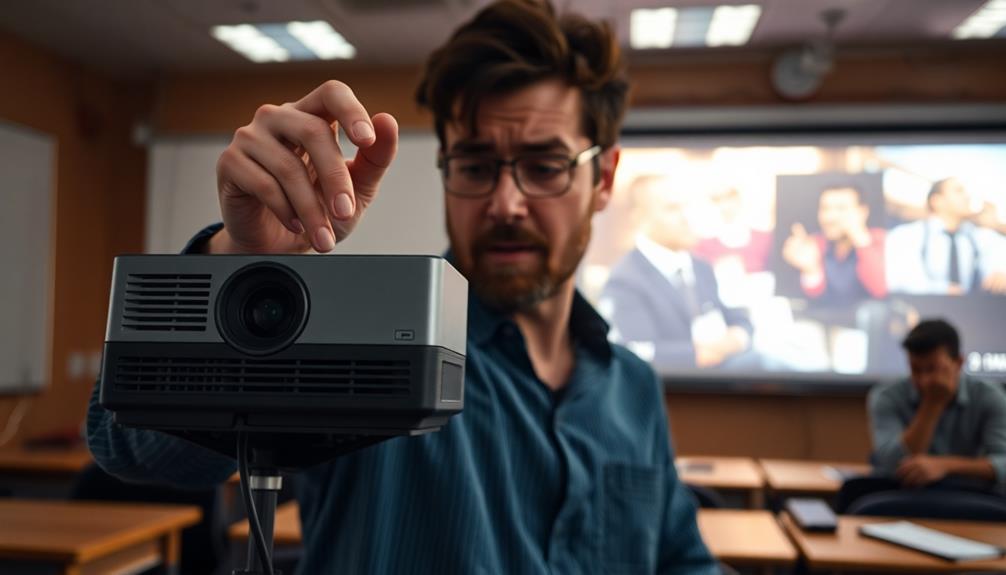
Troubleshooting Common Issues
When troubleshooting common issues with a classroom projector, it's vital to pinpoint the problem quickly so you can get back to teaching.
First, if the projector doesn't turn on, check that it's properly connected to a power source and look at the wall panel controls for activation.
For connectivity issues, verify you've selected the right display settings on your computer. Use "Duplicate" or "Extend" for Windows, or toggle display options on a Mac using Command + F1.
If the image appears blurry or isn't displaying correctly, adjust the focus and zoom settings.
Also, inspect the lens for any obstructions that could affect clarity.
If you see a "No Signal" message, confirm that the input source is selected correctly and that all cables are securely connected to both the computer and projector.
For audio problems, make sure the volume is turned up on the projector and the connected device, while also checking that the correct audio output is selected in system settings.
Projectors provide an effective way to enhance classroom learning, but resolving these common issues is necessary for seamless use.
Exploring Educational Software
Integrating educational software into your classroom can transform the learning experience for students. These tools not only engage learners but also streamline lesson delivery and assessment.
Here are four powerful educational software options to evaluate:
SMART Learning Suite: This software includes SMART Notebook and SMART Response 2, enabling you to create interactive lessons and assess student understanding in real-time.
ViewBoard 2.1 Software: Offering standard whiteboard functionalities, it allows you to enhance lessons with multimedia project creation, incorporating audio, video, and interactive elements.
Google Lit Trips: This unique software uses Google Earth to connect literature studies with geographical contexts, fostering deeper discussions and engagement through interactive mapping of story locations.
AMS (Account Management Service): With this tool, you can access personal cloud storage for multimedia files, making it easier to integrate digital resources into your presentations.
Using these educational software options not only enhances your teaching but also empowers students to engage actively in their learning journey.
With enhanced control features, you can manage classroom technology effectively, ensuring a smooth educational experience.
Frequently Asked Questions
How Can a Projector Be Used in Teaching and Learning?
You can use a projector to display engaging multimedia content, facilitate interactive lessons, and support diverse learning styles. It fosters collaboration among students, enhances discussions, and transforms your teaching approach into a more dynamic experience.
How to Operate a Projector in Class?
Imagine a wizard wielding a magical wand; you're that wizard in class. To operate the projector, press the "On" button, adjust lights and volume, choose display options, then power down properly when finished.
How Are Film Projectors Used in Education?
Film projectors enhance your educational experience by displaying documentaries and animations, simplifying complex topics. They encourage collaboration, allowing you and your classmates to engage in discussions, analyze content, and reflect on themes presented in the films.
How Do I Connect My School Computer to a Projector?
To connect your school computer to a projector, power on the projector, select the input source, and use the appropriate display options on your computer. Make certain any needed adapters are securely connected for peak performance.
Conclusion
In the classroom, your projector serves as a bridge, connecting students to a world of knowledge. By mastering its setup and features, you're not just illuminating a screen; you're lighting the path to understanding and engagement. Embrace technology as a tool to transform learning, creating an interactive environment where ideas blossom. As you troubleshoot and adapt, remember: each challenge is a stepping stone, leading your students to brighter horizons and a deeper appreciation for discovery.


![[Official Google TV]Smart Projector 4K Supported with WiFi & Bluetooth, Built-in Official Apps, GoogIe Voice, Outdoor Movie Projector with DoIby Audio, Auto Focus, Home Theater Proyector WIMIUS G1](https://m.media-amazon.com/images/I/515NcMYy-FL._SL500_.jpg)