DIY Projector Lifts: Concealing Your Device When Not in Use
Unlock the secrets to creating a stylish DIY projector lift that protects your device and elevates your space—discover the essential tips and ideas inside.
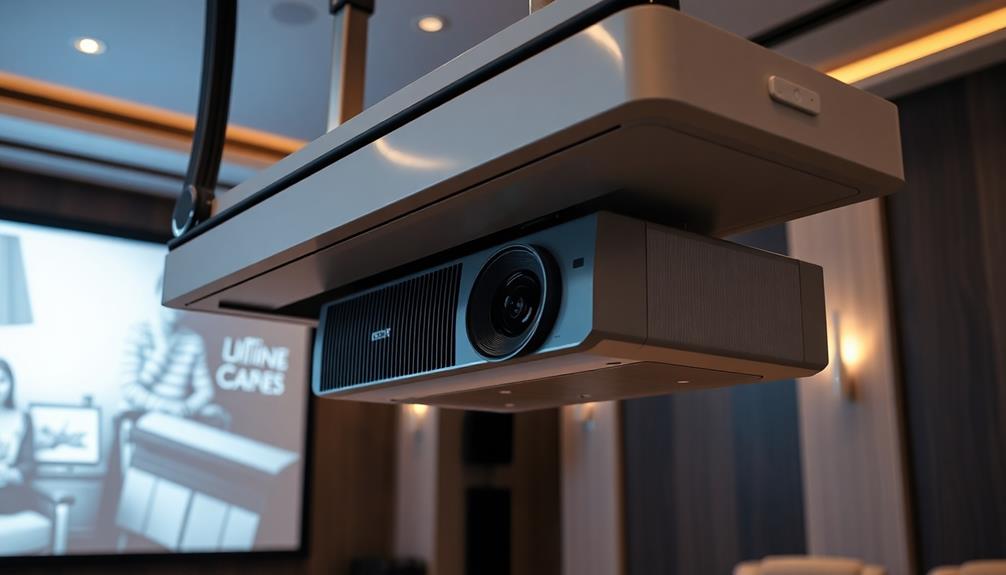
DIY projector lifts are a fantastic way to conceal your projector when it's not in use, blending seamlessly into your room's design. These lifts not only protect the device from dust and damage but also save valuable floor space. When designing your lift, choose lightweight yet sturdy materials and consider a motorized mechanism for easy operation. Make certain you follow safety standards during installation for peak performance. Plus, regular maintenance keeps everything running smoothly. If you're looking for inspiration and ideas on your DIY journey, there's plenty more to explore that can elevate your project.
Key Takeaways
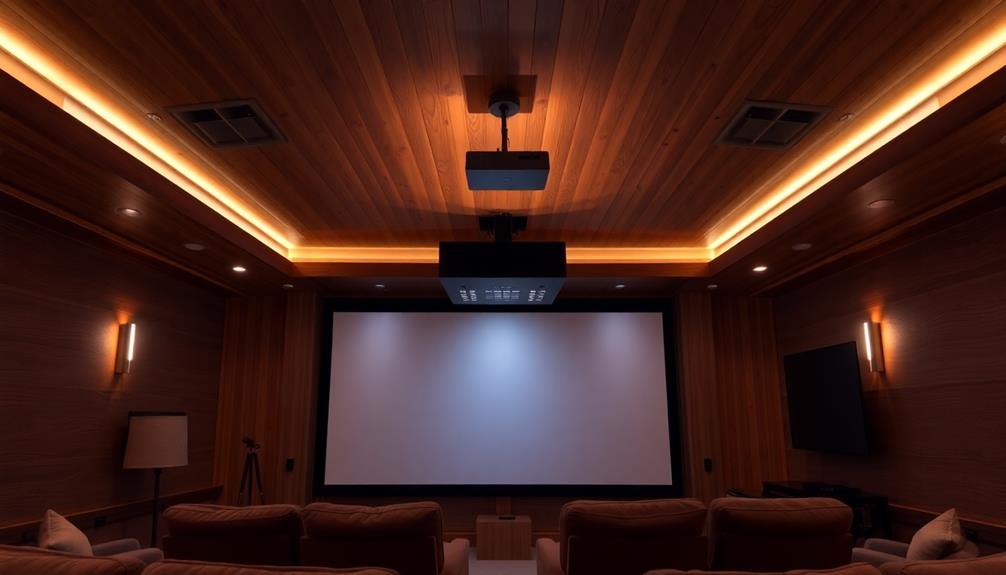
Design a projector lift that allows the device to retract into the ceiling when not in use, keeping it hidden from view.
Utilize a motorized mechanism for smooth operation, enabling easy concealment and accessibility with remote control or wall switch.
Incorporate stylish ceiling panels or covers that blend seamlessly with your room's decor, enhancing the aesthetic appeal when the projector is concealed.
Ensure proper alignment and secure fastening of the lift to prevent any operational issues when the projector is lowered for use.
Regularly maintain the lift to ensure reliable performance, checking for wear and tear, and lubricating moving parts as needed for smooth operation.
SOULWIT 50Pcs Self Adhesive Cable Management Clips - Black
🔷SUPER EASY TO USE: Stick to clean surface, open tab, insert multiple cables, close the tab, enjoy the...
As an affiliate, we earn on qualifying purchases.
Benefits of Projector Lifts
Projector lifts offer a range of benefits that can greatly enhance your viewing experience. By positioning your projector at ideal angles, you'll enjoy clearer images and better presentations in larger rooms, whether it's for business or a home theater experience.
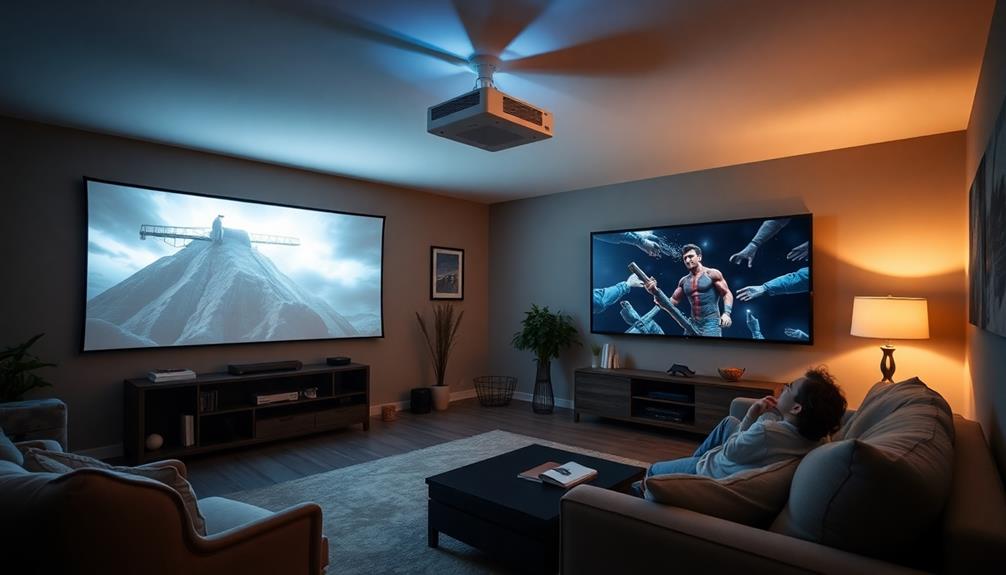
In addition, a projector lift can accommodate the specific needs of gaming enthusiasts, providing ideal viewing conditions for high refresh rates and low input lag, ensuring you make the most out of your setup top projectors for gaming.
Hiding the projector when it's not in use protects it from dust and potential damage, extending its lifespan and ensuring consistent performance. This means you won't have to worry about constant replacements or repairs.
Additionally, projector liftssave valuable floor space and declutter your entertainment area, creating a cleaner, more organized environment.
The minimalist aesthetic achieved by concealing the projector contributes to your room's overall design integrity, allowing your space to look sleek and modern.
Plus, adding smart features like projector lifts can increase your home's value, attracting potential buyers who appreciate these functional design elements.
Incorporating a projector lift into your setup not only enhances your viewing experience but also elevates the overall style and functionality of your space.
It's a win-win for anyone looking to create an impressive home theater or presentation area.
XHF 120 PCS Adhesive Cable Wire Clips Black, Outdoor Christmas Light Clips, Cable Management Wire Organizer Cord Holder for Under Desk, Car, Wall, TV PC Ethernet Cable
High quality material:XHF Adhesive Cable Clips are manufactured from Strong Adhesive and PA66 nylon
As an affiliate, we earn on qualifying purchases.
Designing Your DIY Lift
Creating a DIY projector lift can transform your viewing experience and add a sleek touch to your space. When designing your lift, start by choosing lightweight yet sturdy materials like aluminum or steel for the frame. This choice guarantees durability and stability during operation.
It's also beneficial to take into account energy efficiency, as incorporating elements inspired by heat pump efficiency can enhance the overall functionality of your design. Carefully plan the dimensions of your projector lift, reflecting on the size and weight of your projector, as well as your ceiling height and available space.
Incorporate a motorized mechanism for smooth lifting; electric motors are ideal for reliable operation. It's also essential to include a secure projector mount that safely supports both the lift and your projector. Use a stud finder to locate ceiling joists, guaranteeing proper weight distribution and structural support.
Lastly, think about adding features like a remote control or wall switch for easy access and operation. These enhancements can notably improve the overall user experience of your DIY projector lift, making it convenient and functional.
120PCS XHF Adhesive Cable Wire Clips White, Cable Staples Outdoor Cable Management Wire Organizer Cord Holder for Under Desk, Car, Wall, TV PC Ethernet Cable
High quality material:XHF Adhesive Cable Clips are manufactured from Strong Adhesive and PA66 nylon
As an affiliate, we earn on qualifying purchases.
Installation Process Overview
When you're ready to install your DIY projector lift, start by evaluating your ceiling height and the structural support available. This step is vital to guarantee there are no obstructions that could affect your image quality.
Here's a quick overview of the installation process:
Locate Ceiling Joists: Use a stud finder to mark the joists for secure mounting. Proper alignment is essential for stability.
Assemble the Lift Mechanism: Follow the manufacturer's instructions carefully to attach the lift mechanism to the ceiling bracket. Make sure it's securely fastened and aligned correctly.
Connect Power and Control Wires: Safely route the wires to prevent tangling and ensure they comply with electrical safety standards.
Test Functionality: After installation, conduct thorough testing to verify the lift's functionality. Listen for unusual noises and ensure all components operate smoothly.
Completing these steps accurately won't only enhance your projector lift's performance but also elevate your viewing experience.
You'll appreciate the seamless integration of your lift while enjoying your favorite movies and presentations!
Mini Projector, Portable Projector with Wifi and Bluetooth, Built in Apps
【Built-in WiFi & Bluetooth Projector with Apps】Dual-band WiFi 2.4G + 5G ensures fast and stable wireless streaming. Bluetooth...
As an affiliate, we earn on qualifying purchases.
Maintenance and Troubleshooting Tips
Maintaining your DIY projector lift is vital for guaranteeing its longevity and peak performance. Start by regularly inspecting the lift components for any wear and tear. This proactive maintenance helps prevent unexpected failures that could interrupt your viewing experience.
Lubricate moving parts like pulleys and joints periodically to maintain smooth operation and guarantee quiet operation during use.
Next, check the electrical wiring and connections. Make sure they're secure and free from damage, as this is vital for the lift's performance. Testing the safety features, including emergency stops and locking mechanisms, is also important to choose. Confirm they function correctly for reliable operation.
Additionally, keep replacement parts on hand for quick repairs. This strategy minimizes downtime and guarantees your projector lift remains effective.
If you encounter issues, refer to the manufacturer's guidelines or troubleshooting tips specific to your model. By staying on top of these maintenance tasks, you'll enhance the lifespan of your projector lift and enjoy uninterrupted presentations or movie nights.
Community Ideas and Input
Many DIY enthusiasts find community forums to be invaluable resources for sharing ideas and experiences related to projector lifts.
These platforms foster collaboration, helping you explore various designs and mechanisms for your home theatre. You'll discover insights on manual, hydraulic, and motorized options that fit your preferences and budget.
Here are four key benefits of engaging with the community:
Diverse Designs: Gain inspiration from unique lift designs that others have successfully implemented.
Cost-Saving Tips: Learn where to source affordable parts, whether online or at local stores, saving you money on your DIY projects.
Safety Insights: Understand essential safety features, like secure locking mechanisms and emergency stops, to keep your projector lift reliable.
Troubleshooting Help: Get guidance on common installation and operational issues, ensuring you don't get stuck along the way.
Frequently Asked Questions
How Do You Hide a Motorized Projector Screen?
You can hide a motorized projector screen by installing a ceiling-mounted housing that allows it to retract completely. Customize the housing to blend with your ceiling for a seamless, aesthetically pleasing look when not in use.
Conclusion
Incorporating a DIY projector lift not only enhances your space but also protects your device when it's not in use. You might worry about the complexity of the project, but imagine the satisfaction of effortlessly lowering your projector with a simple switch, instantly transforming your room into a home theater. Plus, with minimal maintenance, you'll enjoy years of seamless operation. So why not elevate your entertainment experience and keep your setup sleek and organized? It's easier than you think!