To create a home cinema experience in your small apartment, start by measuring your space for perfect projector placement. A short throw projector can deliver a large image without taking up much room. Use a retractable screen to save space and consider audio systems that won't disturb your neighbors. Enhance your setup with soundproofing techniques and dimmable warm LED lights to set the mood. Finally, choose cozy furniture that maximizes comfort while ensuring ideal viewing angles. With these elements in place, you're well on your way to enjoying movie nights like never before. Discover more tips to elevate your experience even further.
Key Takeaways
- Measure your space to determine the appropriate projector placement and screen size, aiming for at least a 100-inch screen for immersion.
- Choose a short throw or ultra-short throw projector to maximize image size while minimizing distance from the screen.
- Invest in a compact audio system with surround sound for an immersive audio experience without disturbing neighbors.
- Create a cozy atmosphere with dimmable lighting and soundproofing techniques, such as acoustic panels and heavy curtains.

Aurzen Roku TV Smart Projector with Wifi and Bluetooth, Roku TV Built-in, 1080P FHD, DoIby Audio, Auto Focus & Keystone, Zoom, Movie Portable Outdoor Mini Projector for Soccer Football Game, White
A Roku account and internet connection are required for activation (Creating an account is free). Note: Power Supply:...
As an affiliate, we earn on qualifying purchases.
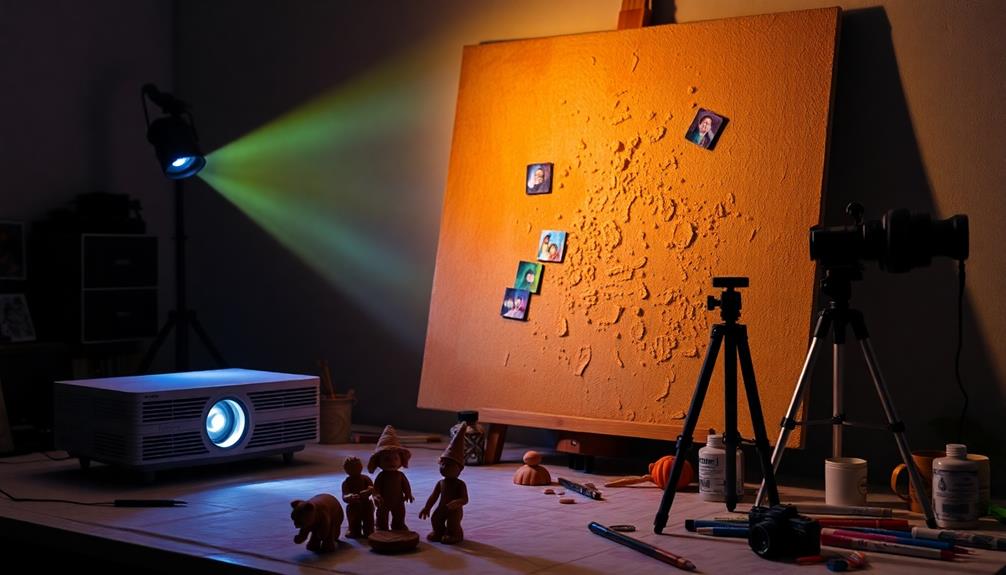
Assessing Your Space
To create the perfect home cinema experience, start by carefully evaluating your space to guarantee everything fits and functions at its best. Measure your apartment's dimensions, including length, width, and height. This'll help you determine the best projector placement and the appropriate size for your projector screen. Aim for a screen size of at least 100 inches for that immersive feel, but remember to take into account the throw distance and your projector's specifications.
Additionally, think about investing in a high-quality HDMI audio extractor to ascertain you achieve the best sound quality possible in your setup.
Next, ponder your furniture arrangement. Make sure your seating doesn't obstruct the projection path and allows for ideal viewing angles. Identify potential wall space for your projector screen, and reflect on how ambient light might affect your viewing.
Using blackout curtains or shades can minimize light interference, enhancing picture quality remarkably.
![[Built-in Apps/4K Support] Smart Outdoor Projector with WiFi and Bluetooth, Movie Projector, DoIby Audio with Dual Speaker, Auto Focus w/ YouTube&PrimeVideo Proyector, Upgrad P62 Pro](https://m.media-amazon.com/images/I/51yAGv8VI7L._SL500_.jpg)
[Built-in Apps/4K Support] Smart Outdoor Projector with WiFi and Bluetooth, Movie Projector, DoIby Audio with Dual Speaker, Auto Focus w/ YouTube&PrimeVideo Proyector, Upgrad P62 Pro
[Upgraded Classic – P62 Pro Movie Projector] Building on the reliability and low return rate of the classic...
As an affiliate, we earn on qualifying purchases.
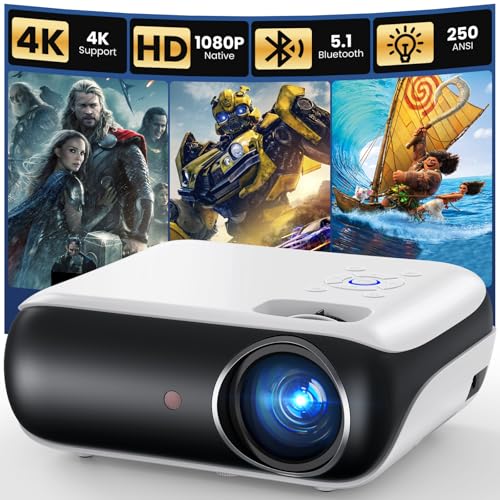
Choosing the Right Equipment
Selecting the right equipment is essential for transforming your space into an enchanting home cinema experience. In a small apartment, you want to maximize every inch, so consider a short throw projector like the BenQ GV30. This model can project a stunning 100-inch image from just 6.6 feet away, making it perfect for tight spaces.
If you prefer a TV, aim for a size between 50-60 inches, as it offers ideal viewing without overwhelming your small space.
For picture quality, invest in a 4K Ultra HD projector, such as the Epson Home Cinema 4010. It delivers superior clarity, enhancing your viewing experience, especially on smaller screens.
Don't forget about audio; a compact 2.1 or 5.1 surround sound system can provide immersive sound without disturbing your neighbors.
Lastly, choose multi-functional furniture that complements your home theater setup. Look for options like the SeatUp Space Saver collection, which offers theater-style recliners without taking up too much room.
![Outdoor-Projector-4K with WiFi and Bluetooth:[3500 Bright/60W Dolby Audio/Official Licensed Apps],Smart-Projector with AI Auto Focus,ONOAYO ONO5Pro 2.0 Movie Projector for Indoor/Outdoor 2026New](https://m.media-amazon.com/images/I/41fylkjOTIL._SL500_.jpg)
Outdoor-Projector-4K with WiFi and Bluetooth:[3500 Bright/60W Dolby Audio/Official Licensed Apps],Smart-Projector with AI Auto Focus,ONOAYO ONO5Pro 2.0 Movie Projector for Indoor/Outdoor 2026New
[Hear the Difference–Hollywood-Grade Dual 60W Dolby Audio] Why spend more on a TV + soundbar or settle for...
As an affiliate, we earn on qualifying purchases.
Projector Installation Tips

When you're setting up your projector, ideal placement is key to achieving the best viewing experience.
You'll also need to think about essential wiring considerations to keep everything organized and functional.
Optimal Placement Strategies
Properly positioning your projector is essential for achieving the best image quality and overall home cinema experience. Start by measuring the distance between your projector and screen to determine the appropriate throw ratio. This guarantees your projector can create a sharp, clear image at your desired screen size without distortion. In a small apartment, you might want to take into account an ultra-short throw projector. These can project a 100-inch image from less than 3.3 feet away, making them ideal for limited wall space.
Once you've chosen your projector, use a sturdy shelf or a projector mount to secure it in place. Make sure it's level and centered with the screen to prevent image skewing.
If you can't perfectly align the projector with the screen, don't worry—many modern projectors come with keystone correction or lens shift features. These allow you to adjust the image without sacrificing visual quality.
Essential Wiring Considerations
Making sure your projector has the right power and video connections is essential for a seamless home cinema setup. Start by evaluating your available power outlets. Make certain there's a dedicated outlet near the installation location, as some projectors can demand more power than standard outlets provide.
Using HDMI cables is critical for high-quality video and audio. If you need to run longer distances, consider HDMI extenders or a wireless HDMI solution to keep your setup tidy.
Plan cable routing carefully to avoid visible wires. Here's a simple table to help you with wiring considerations:
| Wiring Aspect | Tips | Notes |
|---|---|---|
| Power Outlets | Use a dedicated outlet | Check power requirements of your projector |
| HDMI Connections | Use high-quality HDMI cables | Consider extenders for longer distances |
| Cable Management | Use raceways or conduit | Conceal wiring along walls or ceilings |
| Mounting Stability | Securely mount the projector | Make sure easy access for maintenance |
| Ideal Distance | Check throw ratio for image size | Adjust placement based on your screen size |
Following these tips will help you create an efficient and visually appealing home cinema experience.
Lens Adjustment Techniques
To achieve the best image quality in your home cinema, mastering lens adjustment techniques is essential.
Start by understanding the throw ratio of your projector; this will help you determine the ideal distance from the screen. For example, if your projector has a 1.2:1 throw ratio, you'll need to position it 12 feet away to create a 10-foot wide image.
Next, consider using projectors with lens shift capabilities. This feature allows you to physically move the lens to adjust the image position without degrading quality or introducing distortion. It's particularly useful if your projector isn't perfectly aligned with the screen.
Also, confirm you mount the projector at the right height—ideally, the lens should be aligned with the top of the screen. If your image still appears distorted, utilize digital keystone correction for both vertical and horizontal adjustments.
HAPPRUN Native 1080P Projector, Bluetooth Home Theater Movie Projector with Built-in Speaker, Compatible with Smartphone, HDMI, Fire Stick, PS5, Indoor & Outdoor Use - Without Google TV System
[ Native 1080P Full HD Resolution ] - Enjoy crystal-clear visuals with HAPPRUN H1's native 1920x1080 resolution, delivering...
As an affiliate, we earn on qualifying purchases.
Setting Up Your Screen

Setting up your screen is essential for creating an immersive home cinema experience that maximizes your viewing pleasure. In small apartments, consider investing in an 80-inch retractable projector screen. This type of screen can be easily stored when not in use, helping you save valuable space.
Mount it using suspension U-hooks for stability, allowing for quick setup and takedown without making permanent alterations—perfect for renters. If wall space is limited, you can project directly onto a bare wall or choose a portable projection screen with a stand that you can move as needed.
Verify that the projection area is free of obstructions and positioned at a height that aligns with your eye level for the best viewing experience. Also, opt for a higher gain screen to enhance brightness and clarity, especially in rooms with ambient light.
This choice will markedly improve the overall picture quality, making your movie nights more enjoyable. By carefully setting up your screen, you're one step closer to enjoying a remarkable home cinema experience right in your small apartment.
Optimizing Sound Quality

To truly enjoy your home cinema, you need to focus on speaker placement and soundproofing techniques.
Positioning your speakers correctly can enhance clarity and create an immersive experience, while soundproofing helps keep the audio from spilling over to your neighbors.
Let's explore how to set up your sound system for the best quality possible.
Speaker Placement Strategies
Properly placing your speakers can greatly enhance your audio experience and create a more immersive home cinema atmosphere. When setting up your home theater system, start by considering speaker placement strategies that improve sound quality.
For a 2.1 setup, position the two front speakers at ear level and 6-8 feet apart. This creates a balanced soundstage, perfect for smaller spaces.
If you're using a 5.1 configuration, place the center speaker directly above or below your screen. Position the side speakers 22-30 degrees from your listening spot to achieve ideal surround sound.
Elevate your speakers on platforms or use wall-mounting options to save floor space while improving audio clarity. This also helps minimize sound transmission to neighbors in your apartment.
For compact areas, satellite speakers are a great choice; they're smaller and can be discreetly mounted to blend with your decor.
Soundproofing Techniques
Achieving an immersive home cinema experience goes beyond speaker placement; soundproofing techniques play a pivotal role in optimizing sound quality and minimizing disturbances from the outside.
To start, consider installing acoustic panels on your walls. These panels absorb sound reflections and reduce echo, considerably enhancing audio clarity in your home theater.
You can also lay down thick carpets or rugs to improve sound absorption, which helps minimize sound transmission to your neighbors while creating a warmer acoustic environment.
Sealing gaps around windows and doors with weather stripping or soundproof curtains prevents external noise from disrupting your viewing experience.
For a more advanced approach, think about incorporating soundproofing materials like mass-loaded vinyl or acoustic insulation into your wall construction. This can drastically dampen sound transmission between rooms.
Additionally, elevating your speakers on platforms or wall mounts not only enhances the audio experience but also reduces the likelihood of sound traveling through floors and walls.
Lighting for Ambiance

Setting the right lighting can transform your home cinema into an immersive experience, allowing you to tailor the ambiance to match each film's mood. Dimmable lighting is essential; it lets you adjust brightness according to the scene requirements, enhancing your viewing pleasure.
Consider using warm LED lights at around 2700K, which create a cozy atmosphere while reducing glare on screens. Incorporating Monroe Sconces provides vertical light that minimizes distractions, ensuring a comfortable environment for everyone. For easy control, the Lutron Caseta Dimmer system allows seamless shifts between different lighting setups before and during your viewing.
You can take your setup a step further by installing commercial-grade LED Ultra Slim lights with color-changing capabilities. This feature lets you customize the ambiance to match different movie genres or themes.
Here's a quick reference table to help you choose your lighting options:
| Lighting Type | Features |
|---|---|
| Warm LED Lights | Cozy, reduces screen glare |
| Monroe Sconces | Vertical light, minimizes distractions |
| Lutron Caseta Dimmer | Easy control, dimmable options |
| Commercial LED Ultra Slim | Color-changing, customizable |
| Ambient LED Strips | Flexible, enhances overall appeal |
Creating Comfortable Seating

To create a truly comfortable seating arrangement, you should prioritize compact and versatile options that fit your space while enhancing the viewing experience.
Opt for narrow yet comfortable theater-style recliners like the SeatUp Space Saver collection, which are perfect for small apartments. These seating solutions allow you to enjoy your movies without overwhelming your living area.
Consider incorporating multi-functional furniture that doubles as both seating and storage. This way, you can maximize your available space without sacrificing comfort.
When arranging your seating, ascertain that the layout allows for proper viewing angles. Aim for a distance of 5.5 to 6 feet from a 50-60 inch screen to optimize your experience.
Adding accessories like ottomans or bean bags can also help. They're easily movable and can be tucked away when not in use, providing flexibility for guests.
Finally, choose seating with a lower profile to avoid obstructing views, especially if you have multiple rows of seating.
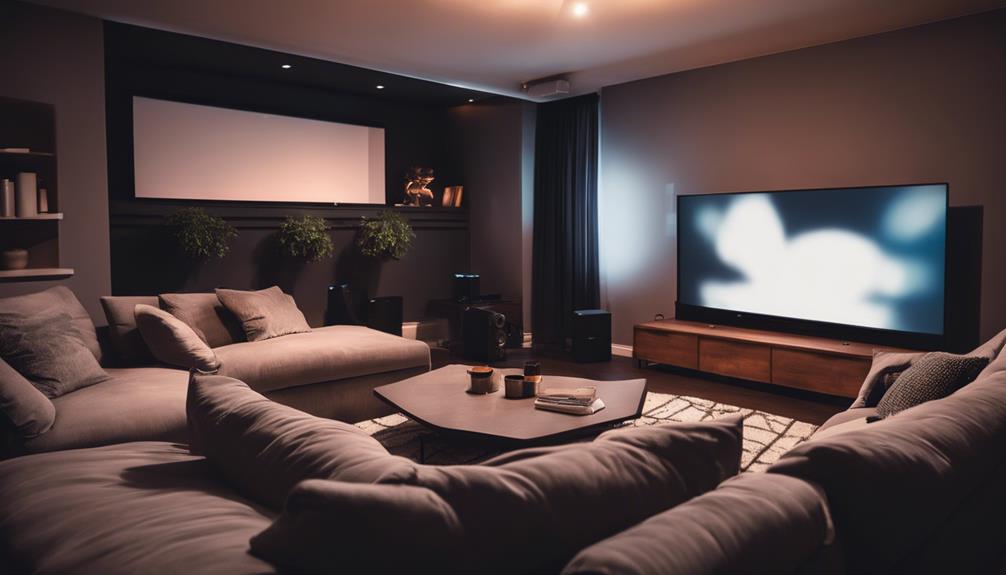
Enhancing the Viewing Experience

Creating an immersive viewing experience hinges on a combination of comfortable seating, proper lighting, and exceptional audio-visual elements that transform your space into a personal cinema.
Start by controlling the light; blackout curtains or shades are essential for managing natural light, ensuring you get vibrant picture quality. For that cozy atmosphere, use dimmable LED lights set to around 2700K, which create a warm glow that enhances the cinema experience.
Next, focus on sound. Incorporate soundproofing elements like acoustic panels or heavy curtains to minimize distractions and improve audio quality. This will make your home movie theater feel more like a real cinema.
Don't forget the snacks! A dedicated popcorn maker can help replicate that authentic movie theater feel right in your home.
Frequently Asked Questions
Can You Have a Home Theater System in an Apartment?
Yes, you can absolutely have a home theater system in your apartment. By using compact projectors, wall-mounted TVs, and space-saving furniture, you'll create a cozy and immersive viewing experience without sacrificing valuable living space.
How Do You Host a Movie Night in a Small Apartment?
Imagine transforming your cozy space into a cinematic escape! To host a movie night, set up a compact projector, cozy seating, dim lighting, and tasty snacks. You'll create an unforgettable experience for you and your guests!
How to Make a Movie Theater Experience at Home?
To make a movie theater experience at home, invest in a quality projector, surround sound system, and comfortable seating. Enhance the atmosphere with blackout curtains, dimmable lighting, and themed decor for a cozy, immersive setting.
How to Turn a Small Room Into a Movie Theater?
Turning a small room into a movie theater feels intimidating, yet it's entirely achievable. Use a compact projector, blackout curtains, and strategic seating to craft an immersive experience that transforms your space without overwhelming it.
Conclusion
As you draw the curtains and dim the lights, you can almost feel the excitement building.
With the right setup, every movie night transforms into a cinematic adventure.
You'll find yourself lost in the story, the sound enveloping you, and the visuals enthralling your imagination.
But just when you think you've achieved the perfect home cinema, there's always one more tweak to discover, one more enhancement that could elevate your experience to a whole new level.