
To connect your gaming console to a projector like the PS5, Xbox, or Switch, start by using a High-Speed HDMI cable. Plug one end into your console's HDMI output and the other into the projector's HDMI input. Make sure the projector supports at least 1080p resolution and matches your console's display settings for ideal clarity. Position the projector at the required throw distance for clear images, and consider connecting external audio systems for enhanced sound. Proper adjustments can elevate your gaming experience, and by following these tips, you'll reveal even more insights for an impressive setup.
Key Takeaways
- Use a High-Speed HDMI cable to connect your console's HDMI output to the projector's HDMI input for video and audio.
- Ensure the projector supports at least 1080p resolution and has a minimum brightness of 2000 lumens for optimal viewing.
- Adjust console display settings to match the projector's capabilities, selecting the highest supported resolution and refresh rate.
- Consider using external sound systems via HDMI ARC or audio extractors for enhanced audio quality if the projector lacks built-in audio output.
- Regularly update firmware for both the projector and gaming console to ensure compatibility and improved performance.
![[Now with Netflix & 2000ANSI] 4K Smart Projector with WiFi and Bluetooth,Auto Focus & Keystone Portable Mini Projector with Stand,Outdoor Home Theater Small Proyector for bedroom white](https://m.media-amazon.com/images/I/51+w1LIZZBL._SL500_.jpg)
[Now with Netflix & 2000ANSI] 4K Smart Projector with WiFi and Bluetooth,Auto Focus & Keystone Portable Mini Projector with Stand,Outdoor Home Theater Small Proyector for bedroom white
[Built in APP- Cinema-Quality Streaming] This Smart projector with wifi and bluetooth comes with pre-installed with YouTube, and...
As an affiliate, we earn on qualifying purchases.
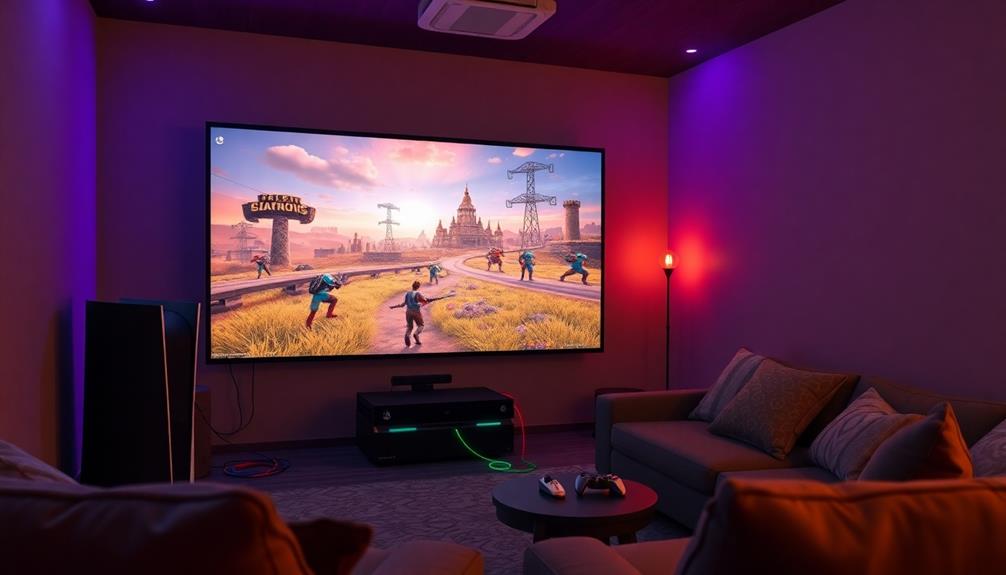
Evaluating Room Space
When setting up your gaming console with a projector, evaluating your room space is essential. Start by examining your wall dimensions to guarantee they're compatible with your desired screen size. For instance, a 100-inch screen requires a wall width of at least 221 cm, while a 120-inch screen needs about 265 cm.
Additionally, consider the air quality in your room; using an air purifier can help maintain a comfortable environment, especially during long gaming sessions.
Next, check the wall surface for smoothness, as any protruding outlets or hardware can interfere with the projection quality. Room lighting plays a significant role too; if you have a lot of ambient light, you'll need a brighter projector to maintain clear visuals, especially on larger screens.
Consider the placement of windows and whether you can effectively control the room lighting. Inadequate light control can diminish your gaming experience.
Finally, evaluate the distance between the projector and the screen—this is where the throw ratio comes into play. By dividing the projection distance by the screen width, you'll find the ideal setup for achieving the desired image size.
Taking time to analyze these factors will help guarantee your gaming experience is immersive and visually stunning.

Official Licensed Google TV Smart Projector, HAPPRUN 4K UHD Home Theater with Dolby Sound, Wi-Fi & Bluetooth, Built-in Streaming Apps, Compatible with Games Consoles & Smartphone, Indoor & Outdoor Use
[ Built-in Official Licensed Google TV ] - Without additional equipment, the smart projector can directly access Netflix,...
As an affiliate, we earn on qualifying purchases.
Projector Placement Techniques
When it comes to projector placement, you need to evaluate the ideal projection distance to guarantee a clear and vibrant image.
A projector with a high refresh rate and low input lag is essential for an immersive gaming experience, especially for competitive play.
Think about different projection methods, like front or ceiling mounting, and how your room layout can affect the setup.
By paying attention to these factors, you'll create the best viewing experience for your gaming sessions.
For peak performance, also take into account the role of contrast ratio in enhancing image quality.
Ideal Projection Distance
Finding the right projection distance is vital for achieving the best viewing experience with your gaming console and projector setup. The ideal projection distance depends on your screen size; for a 100-inch screen, you'll need about 221 cm (87 inches) from the projector, while a 120-inch screen requires around 265 cm (104 inches).
Utilizing a projector with a high Seasonal Energy Efficiency Ratio (SEER) can enhance your overall setup by ensuring peak performance and efficiency.
Understanding the throw ratio is important in this process. It's calculated by dividing the projection distance by the screen width, which helps you determine the best projector placement for peak image quality. For instance, if you're using an Ultra Short Throw projector, you can place it closer to the screen while still enjoying a large image. This makes it perfect for setups on a TV stand.
If you're considering ceiling or side projection, pay close attention to any potential obstructions that might distort the image.
It's also wise to recalibrate your projector settings if you've stored it for a while, ensuring you achieve the desired display quality once you set it up again. By taking these factors into account, you'll enjoy a seamless gaming experience on your projector.
Projection Method Options
Choosing the right projection method can greatly enhance your gaming experience. You have several projection method options to evaluate, each with its benefits.
Front projection is popular, requiring you to place the projector at an appropriate distance for a clear image. If space is tight, an Ultra Short Throw projector can help, but understanding throw ratio is essential. This ratio is calculated by dividing the distance from the projector to the screen by the screen width, ensuring you achieve the desired screen size.
Ceiling projection is another viable technique, offering excellent viewing angles while saving floor space. However, it requires precise throw distance calculations to avoid image distortion.
Side projection can work, but you'll need to assess viewing angles and potential obstructions that may impact image quality.
If your setup isn't perfectly aligned, keystone correction can help adjust the image to prevent distortion. However, be cautious, as using this feature might introduce input lag, which is something you want to minimize for a superior gaming experience.
Room Layout Considerations
To guarantee a superior gaming experience with your projector, carefully consider your room layout and projector placement. The distance from your projector to the screen is vital; for a 100-inch screen, aim for about 3.5 meters away.
Understanding your projector's throw ratio helps confirm you fill the screen without distortion, so calculate it by dividing the projection distance by the screen width.
Also, evaluate your room lighting conditions. If you're in a bright environment, opt for a projector with at least 2000 lumens to maintain image clarity.
Here are some tips to keep in mind:
- Use a ceiling mount: Secure it to avoid obstructed views and vibrations.
- Test different seating arrangements: Flexibility can improve viewing angles.
- Consider elevation: Higher seating can enhance the experience, especially for larger screens.
- Limit ambient light: Use blackout curtains if possible.
- Check for reflections: Minimize reflective surfaces near the screen.

TMY 1080P Full HD Portable Mini Projector, Bluetooth Movie Projector, Compatible with TV Stick/Smartphone/PC/Game Console/HDMI/USB, Indoor & Outdoor Use, with Projector Screen
【Everything You Need – 80" Foldable Projector Screen Included】No need to spend extra on a separate screen. We’ve...
As an affiliate, we earn on qualifying purchases.
Connecting Consoles Overview
Connecting your gaming console to a projector can transform your gaming experience, allowing you to enjoy stunning visuals on a larger screen. To get started, you'll need a High-Speed HDMI cable. Simply connect the console's HDMI output to the projector's HDMI input for ideal video quality.
Make certain your projector supports at least 1080p resolution, and check that it can handle refresh rates of 1080p at 120Hz or 4K at 60Hz with HDR. This will guarantee your games look their best.
Next, verify your console's display settings to match the projector's capabilities. Adjust the resolution and aspect ratio to achieve a clear and properly aligned image.
Position the projector at the correct throw distance according to its specifications; this helps create a large, immersive gaming screen without distortion.
Lastly, while we won't explore audio options just yet, keep in mind that if you want enhanced sound, you might need an external sound system or an audio extractor if your projector lacks direct audio output.
With these steps, you're well on your way to enjoying a fantastic gaming setup!

【2200ANSI & Officially-Licensed APP】Smart 4K Projector with WiFi and Bluetooth, VISSPL 3D Dolby Audio and Auto Focus Portable Outdoor Projector, Movie Home Theater Proyector with 360° Adjustable Stand
[ Netflix Ready - No Extra Devices Needed ] – VISSPL Smart Projector: No TV stick, no casting,...
As an affiliate, we earn on qualifying purchases.
Audio Connection Options
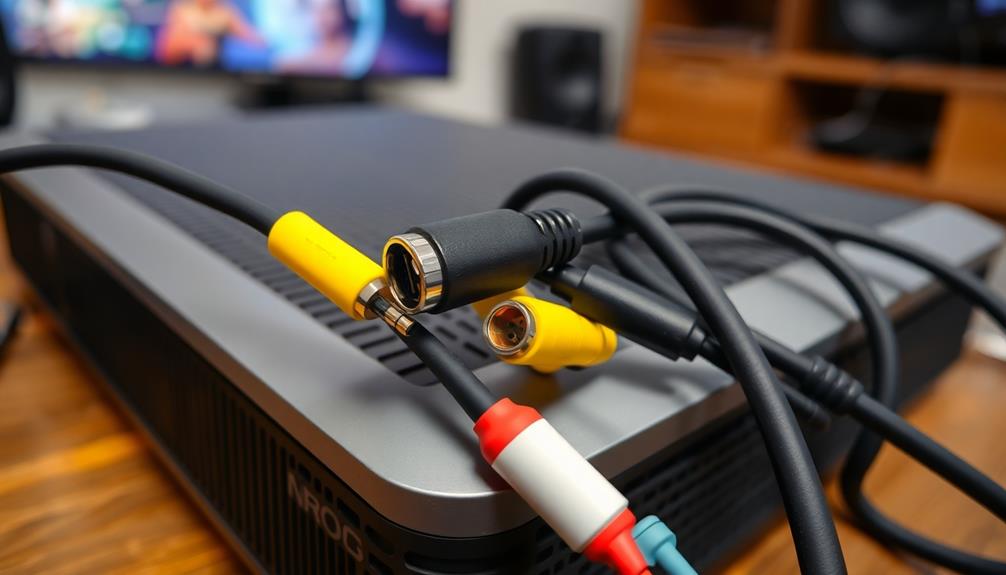
While setting up your gaming console with a projector enhances the visual experience, audio quality plays a significant role in immersion. To achieve the best sound, you have several options for connecting audio.
- Connect your console's HDMI output directly to the projector's HDMI input for basic 2-channel audio through the projector's internal speakers.
- For enhanced audio quality, use HDMI to connect your console to a soundbar or AV receiver (AVR). Then, link the projector's HDMI ARC output to the soundbar's HDMI ARC port.
- If your sound system doesn't have HDMI ports, use an HDMI cable for video. For audio, connect via SPDIF or a 3.5mm jack to older systems.
- No HDMI? No problem! Use an audio extractor by connecting your console's HDMI to the extractor, and then link the extractor's audio output to your sound system.
- Finally, make sure your sound system supports multi-dimensional audio formats like Dolby Atmos to really enjoy that enhanced audio quality when using HDMI ARC or eARC connections.
With these options, you can easily elevate your gaming experience!
Understanding HDMI Cable Types
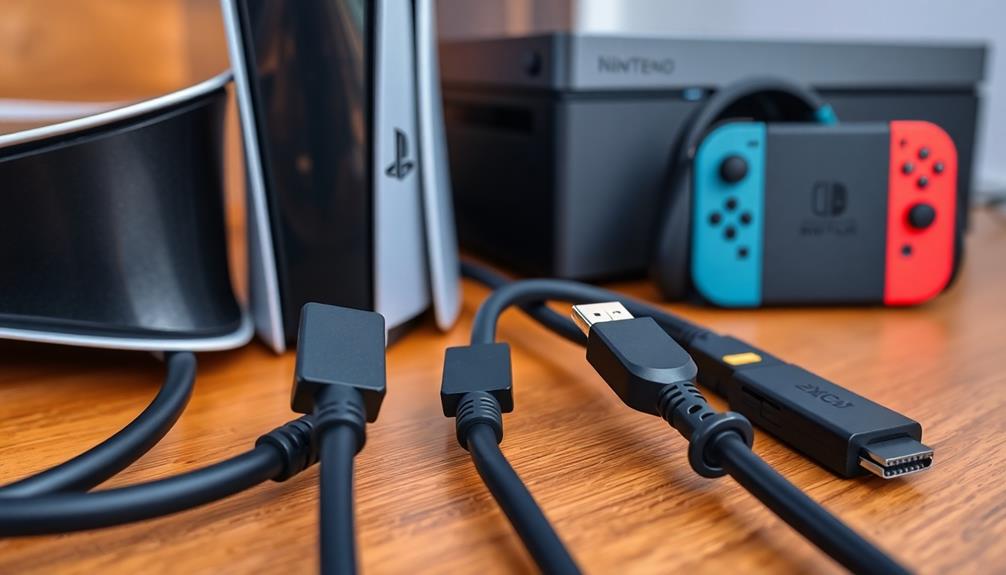
HDMI cables are essential for transmitting high-quality video and audio signals from your gaming console to a projector. You'll encounter different HDMI cable types, each suited for various resolutions and refresh rates. Standard HDMI is outdated and only supports up to 1080i resolution, which won't cut it for modern gaming. High-Speed HDMI (HDMI 1.4) does a decent job, allowing for 1080p at 60Hz, but if you're looking for something more robust, Premium HDMI (HDMI 2.0) is your best bet for 4K at 30Hz, perfect for consoles like the PS4 Pro and Xbox One X.
However, if you own next-gen consoles like the PS5 or Xbox Series X|S, you'll need Ultra High Speed HDMI (HDMI 2.1). This cable supports 4K at refresh rates of 60Hz to 120Hz, releasing the full potential of your gaming experience. Using the wrong HDMI cable can limit your console's output capabilities, so make certain to choose wisely. Additionally, consider the cable length based on your room size to avoid signal loss and guarantee a high-quality connection.
Choosing the Right Projector
When you're picking a projector for gaming, focus on key features like resolution and brightness.
Aim for at least 1080p resolution and a brightness level of 2000 lumens to guarantee a vibrant picture, even in well-lit rooms.
Additionally, check for low input lag and high refresh rates to keep your gameplay smooth and responsive.
Key Projector Features
Choosing the right projector for gaming involves several key features that can greatly enhance your experience.
To guarantee you get the most out of your gaming setup, focus on these essential aspects:
- Resolution: Look for projectors that support at least 1080p, with many gaming-specific models offering 4K capabilities for stunning visuals.
- High Refresh Rates: Aim for projectors with refresh rates of 120Hz or higher. This guarantees smooth gameplay and minimizes motion blur during fast-paced action.
- Low Input Lag Specifications: Opt for projectors with input lag under 16ms. This is vital for a responsive gaming experience, especially in competitive settings.
- Multiple HDMI Input Ports: Having several HDMI input ports allows you to connect different gaming consoles easily and switch between them without hassle.
- Brightness Levels: While not the main focus here, keep in mind that a brightness level of at least 2000 lumens is ideal for daylight use, enhancing your overall viewing experience.
Pay attention to these features, and you'll be well on your way to choosing the perfect projector for your gaming needs.
Brightness and Resolution
Brightness and resolution are critical factors in selecting the right projector for gaming. Ideally, you'll want a projector with a brightness level of at least 2000 lumens. This guarantees clear visibility, especially in well-lit environments where you might be gaming.
For resolution, aim for a projector that supports a minimum of 1080p. Many high-end models offer 4K resolution, providing an enhanced level of detail that makes your gaming experience more immersive.
When you're playing fast-paced games, low input lag is essential; look for projectors with an input lag below 16ms for a responsive experience.
Don't forget about the throw distance! If you're aiming for a 100-inch screen, you'll need a throw distance of about 221 cm to get the best picture quality.
Enhancing Audio Experience
How can you elevate your gaming audio experience to new heights? To achieve this, connect your console's HDMI output to the projector's HDMI input.
Then, use the projector's HDMI ARC output to link to a compatible soundbar. This setup enhances your audio output, delivering superior sound quality for immersive gameplay.
Here are some tips to maximize your audio experience:
- Verify your sound system supports advanced audio formats like Dolby Atmos and DTS:X for the best sound.
- If your sound system lacks HDMI ports, consider using an audio extractor to connect via SPDIF or a 3.5mm jack.
- Regularly check for firmware updates on your projector and sound system to access the latest audio enhancements.
- Optimize your console's audio settings to match your sound system's capabilities, activating surround sound features.
- Don't forget to adjust the volume and equalizer settings on your soundbar for a personalized audio experience.
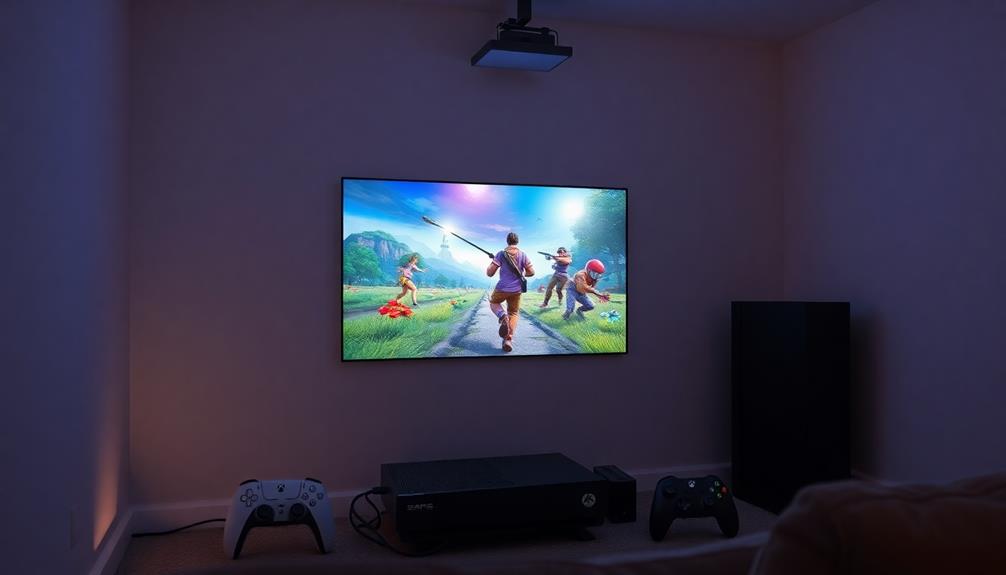
Mounting Projectors Effectively
After enhancing your audio experience, it's time to focus on mounting your projector effectively for ideal performance.
Start by selecting a suitable height, typically between 8-12 feet above the floor, to guarantee a clear line of sight to the screen without any obstructions. Using a ceiling mount is your best option; it provides excellent viewing angles and keeps your setup tidy, minimizing the risk of accidental disconnections or damage.
Next, calculate the throw ratio of your projector to determine the necessary distance from the screen. For instance, a projector with a 1.5:1 throw ratio needs to be placed 1.5 feet away from the screen for every foot of screen width.
Once you've decided on the location, make sure to use secure mounting brackets. This prevents any movement or vibration during gameplay and assures stability.
Also, check that the mounting surface can support the projector's weight. Finally, after mounting, adjust the projector's lens shift and keystone correction features to properly align the image on the screen, minimizing distortion and guaranteeing an ideal viewing experience.
Optimizing Display Settings
To get the best gaming experience on your projector, you need to tweak a few display settings.
Start by adjusting your console's resolution to match the projector's capabilities, and don't forget to enable HDR if it's supported.
Setting the correct refresh rate can also make a significant difference in how smooth your gameplay feels.
Resolution Settings Adjustment
When connecting your gaming console to a projector, adjusting the resolution settings is critical for achieving the best possible image quality.
To make the most out of your gaming experience, follow these guidelines for resolution settings adjustment:
- Access the console's display settings menu to match the output with your projector's native resolution.
- For PS5, go for 4K at 60Hz if your projector supports it; otherwise, opt for 1080p at 120Hz for smoother gameplay.
- On Xbox Series X, select the '4K UHD' option under 'Video output' and set the refresh rate to 60Hz for enhanced visuals.
- Switch users should choose either 720p or 1080p, depending on their projector's capabilities, to maintain clarity without scaling issues.
- Always double-check the projector's input source settings after making changes to verify the correct display output.
Refresh Rate Configuration
Adjusting the refresh rate is just as important as setting the right resolution for your gaming experience. For consoles like the PS5 and Xbox Series X, aim for a refresh rate of 120Hz at 1080p to guarantee smooth gameplay and reduce motion blur. You can configure this by going to your console's settings menu, usually under "Display" or "Video Output."
Make certain to select a resolution and refresh rate that your projector can handle through its HDMI output port. Many gaming projectors support 1080p at 120Hz, but they might've limitations at higher resolutions like 4K.
If you're using a Nintendo Switch, remember it only supports a maximum refresh rate of 60Hz at 1080p when docked, so adjust your display settings accordingly for the best performance.
To maintain an immersive gaming experience, regularly check and update the firmware of both your gaming console and projector. Doing this guarantees compatibility and may reveal new features that enhance refresh rate performance.
HDR Activation Process
Activating HDR is crucial for elevating your gaming visuals, allowing you to experience richer colors and greater contrast. Here's how to enable HDR on your gaming consoles:
- For PS5: Go to Settings > Screen and Video > Video Output. Set "HDR" to "On When Supported" to guarantee peak performance with compatible projectors.
- For Xbox Series X: Navigate to Settings > General > TV & display options > Video modes. Enable "Allow HDR" so you can fully utilize HDR capabilities during gameplay.
- Check your projector: Make sure it supports HDR content and that you're using the correct HDMI input, as not all ports may handle HDR signals.
- Nintendo Switch users: While HDR isn't natively supported, connect your Switch to a 4K HDR projector via the Dock and tweak the projector settings for better visuals.
- Update firmware: Confirm your projector's firmware is up to date, which can improve compatibility with HDR content and enhance overall display quality.
With these steps, you'll be ready to enjoy an immersive gaming experience on your projector!
Additional Setup Considerations
Setting up your gaming console with a projector involves several key considerations to guarantee a seamless experience. First, verify that the projector supports your desired resolution and refresh rate—ideally 1080p at 120Hz or 4K at 60Hz with HDR. This will enhance your gaming performance.
When connecting your console, use High-Speed or Ultra High-Speed HDMI cables to prevent signal loss and ensure crisp visuals without artifacts.
Next, pay attention to the projector's throw distance. For example, if you're aiming for a 100-inch screen, place it approximately 221 cm away for the best projection. Adjust your projector's input settings to match the console's output, and set the aspect ratio to 16:9 to avoid image distortion.
Lastly, consider the ambient light in your gaming space. A projector with at least 2000 lumens is ideal for clear visibility during daytime play.
Frequently Asked Questions
How to Connect a PS5 to a Projector?
To connect your PS5 to a projector, use a High-Speed HDMI cable. Make certain the projector supports at least 1080p, power both devices, select the correct input, and adjust the PS5 video settings for best performance.
How to Hook up a Gaming System to a Projector?
You're about to elevate your gaming experience, but first, grab that High-Speed HDMI cable. Connect your console to the projector, power everything on, and select the right input. Get ready for stunning visuals!
Can I Connect My Xbox to a Projector?
Yes, you can connect your Xbox to a projector. Just use a High-Speed HDMI cable, guarantee your projector supports 1080p, and adjust your settings for the best gaming experience. Don't forget about audio!
Can I Connect a Nintendo Switch to a Projector?
Yes, you can connect your Nintendo Switch to a projector easily. Use a High-Speed HDMI cable for docked mode or a USB-C to HDMI adapter for handheld mode. Adjust the projector's input source for ideal viewing.
Conclusion
Now that you know how to connect your gaming console to a projector, you can transform your gaming experience from a small screen to a grand display. While some might prefer the intimacy of a TV, others revel in the immersive adventure a projector offers. By following these steps, you can enjoy vibrant visuals and superior sound, making every gaming session feel epic. So, embrace the big screen and elevate your gaming nights to a whole new level!