TL;DR

Get business pricing on your home office setup
- Business-only prices and quantity discounts
- Tax-exempt purchasing
- Multiple users, one account, clear invoices
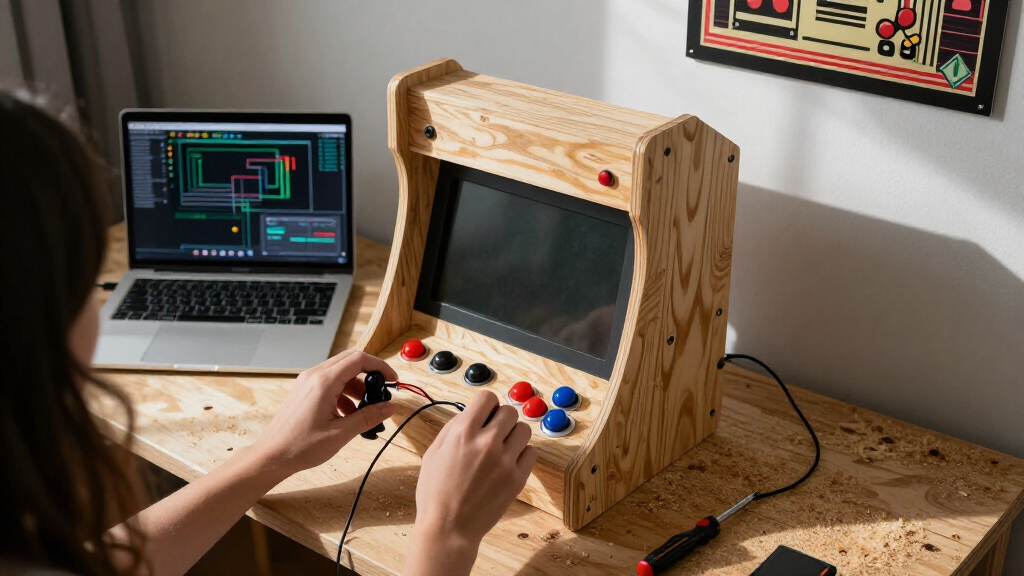
Family Handyman has published a complete build guide for a DIY arcade cabinet powered by a Raspberry Pi, estimating a cost of $750 to $1,000 and multiple days of work at an advanced skill level. The guide provides full cutting lists, tool requirements, and step-by-step instructions.
Family Handyman has published a complete build guide for constructing a full-size DIY arcade cabinet from scratch, estimating the project at $750 to $1,000 in materials and requiring multiple days of work at an advanced complexity level. The guide walks readers through every stage of the build, from cutting the plywood sides to wiring a Raspberry Pi that runs the games.
The project is built around a 27-inch to 32-inch flat-screen monitor, which the guide says should be purchased before any wood is cut, because “every dimension in this build comes from your monitor.” Builders add half an inch to the monitor’s measured width to set the cabinet’s interior clearance, and the monitor’s mounting-hole spacing determines where holes are drilled into the monitor mount panel. The guide recommends skipping curved or tube-style panels unless extra cabinet depth is built in, and suggests matching screen resolution to the games being played — 1080p or higher for modern or emulated titles, lower resolution for a more period-accurate classic arcade look.
The cutting list specifies 14 distinct components, including two large side panels cut from 3/4-inch plywood, a monitor frame, button panel, front panel and speaker panel cut from 3/4-inch MDF, plus braces, a floorboard, a hinged door and a top door panel. Several panels require beveled edges — among them a 24-degree bevel along one edge of the button panel — ripped on a table saw along their 28-1/2-inch length.
The tool list is extensive, spanning a table saw, track saw, router with a straight-cutting bit and circle-cutting jig, jigsaw, miter saw, drill press, brad nailer, pin nailer, clamps, an edge-banding iron and even a pyrography pen. Materials include a Raspberry Pi starter kit, a single-player joystick-and-button arcade kit, a soundbar, two 4-inch cooling fans, a piano hinge, oak edge banding, stain and polyurethane. The guide notes that laying out and cutting the side panels is the most time-consuming step, combining straight angled cuts with a large curved arc that it recommends routing with a jig set to a 30-1/4-inch radius in three or four passes.
Why This Build Guide Matters to Hobbyists
The guide lowers the barrier to a project that once required salvaging an original cabinet or buying expensive prefabricated units. By pairing standard sheet goods with a Raspberry Pi and an off-the-shelf arcade control kit, the build makes a full-size cabinet achievable for home woodworkers who already own the necessary shop tools. The $750-$1,000 estimated cost is a concrete benchmark for readers budgeting the project, though it excludes the cost of the monitor and any tools that must be purchased.
The piece also reflects the continued popularity of retro gaming and emulation-based cabinets, with Family Handyman framing the project as a way to, in its words, bring the arcade’s glory days home and pass gaming on to the next generation. That framing is editorial; the practical value lies in the guide’s documented dimensions, sequences and hardware specifications.
Products Worth Considering

Samsung 85 M80H Series Mini LED 4K Smart TV (2026)

Dyson Big Ball Multi Floor Canister Vacuum, Yellow

Coway Airmega 250 Air Purifier for Large Rooms
As an affiliate, we earn on qualifying purchases.
How the Cabinet Comes Together
Family Handyman structures the build in numbered steps. The first step sizes the cabinet around the chosen monitor. The second covers the side panels, which combine angled straight cuts with a large arc; builders draw the layout using a protractor or speed square, cut the arc first with a jigsaw or router jig, then complete straight cuts with a track saw. The first finished side serves as a template for the second, or a scrap-goods template can be made first and transferred to the project plywood.
The third step covers the remaining components, cut at the table saw and miter saw from plywood and MDF according to the published cutting list. The excerpted portion of the guide ends mid-description of the bevel cuts, indicating the full article continues through assembly, finishing and Raspberry Pi wiring, which the introduction promises to cover.
“From cutting the sides to wiring the Pi, here’s everything you need to build a DIY Arcade Cabinet from scratch.”
— Family Handyman project introduction
What the Guide Doesn’t Spell Out
Several practical points remain unclear from the available material. The $750-$1,000 cost estimate does not itemize which parts it includes — the monitor, Raspberry Pi and tools could push the total higher depending on what a builder already owns. The excerpt ends partway through the bevel-cutting instructions, so the full assembly, finishing and wiring steps cannot be independently summarized here.
The guide also does not state a total build time beyond “multiple days,” and it does not address software setup in the excerpt — including which emulator or operating system to install on the Raspberry Pi, or the legal considerations around obtaining game files. Builders will need to consult the full article and additional resources for those steps. The single-player joystick kit specified in the materials list also means the cabinet as documented supports one player, not two.
Getting From Cut List to Working Cabinet
Readers intending to attempt the build would need to acquire a monitor first, then source the plywood, MDF, Raspberry Pi kit and arcade controls before cutting. The most involved upcoming steps per the guide are routing the side-panel arcs, ripping the beveled panel edges, and the later assembly and Pi-wiring stages covered in the full article. Anyone without experience on a table saw, router or track saw should treat the advanced complexity rating seriously and practice on scrap first, following standard shop safety practices — eye protection, proper blade guards and secure clamping — throughout the woodworking phases.
Key Questions
How much does the DIY arcade cabinet cost to build?
Family Handyman estimates $750 to $1,000 for the build. The guide does not itemize the estimate, so the monitor, tools and Raspberry Pi peripherals could add to the total depending on what the builder already owns.
How difficult is the project, and how long does it take?
The guide rates the complexity as advanced and the time as multiple days. The side panels are identified as the most time-consuming component to lay out and cut, and the build requires a table saw, router, track saw and other serious shop tools.
What screen should be used?
The guide recommends a 27-inch to 32-inch flat-screen monitor, chosen before any wood is cut, since every cabinet dimension derives from it. Curved or tube-style panels should be avoided unless the cabinet is built deeper to accommodate them.
How does the cabinet actually run games?
The build uses a Raspberry Pi starter kit paired with a single-player joystick-and-button arcade kit and a soundbar. The introduction says the guide covers wiring the Pi, but the available excerpt does not detail the software setup or emulator configuration.
Can two people play at once?
Not as documented. The materials list specifies a single-player joystick and button kit, so the cabinet supports one player unless the builder modifies the control layout.
Source: rss