To set up your first AV receiver, choose a well-ventilated spot away from direct sunlight, with enough space for airflow. Connect your devices with quality HDMI cables, making sure to match the correct inputs and outputs. Position your speakers at ear level around your listening area and secure the wiring properly. Use the receiver’s calibration to optimize sound, and double-check all connections. If you keep exploring, you’ll discover more tips for creating a seamless home theater system.
Key Takeaways
- Choose a well-ventilated, accessible location away from heat and direct sunlight for optimal setup.
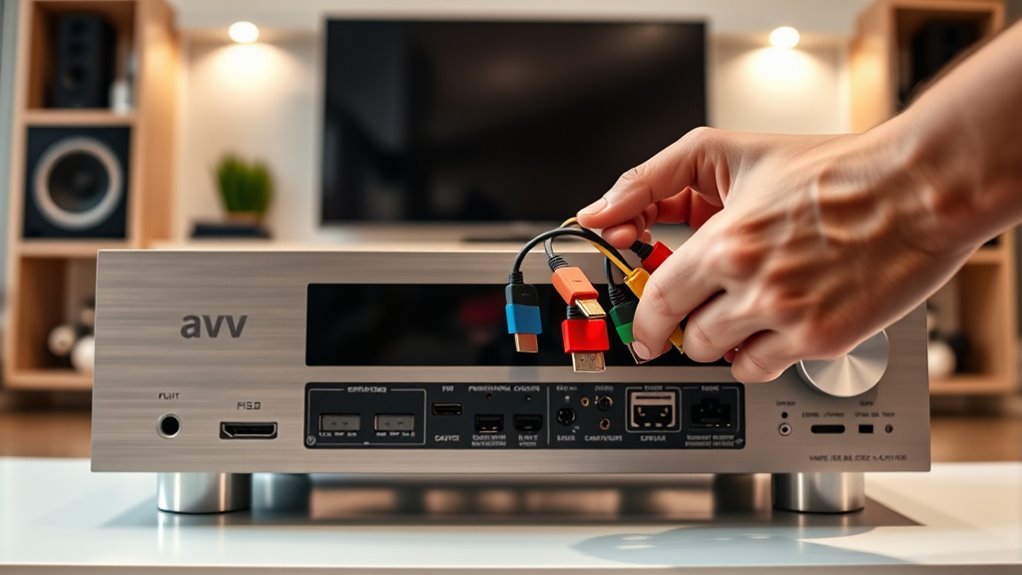
- Connect source devices using high-quality HDMI cables, ensuring correct input labeling on the receiver.
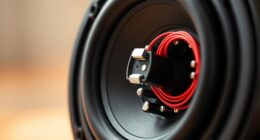
- Position speakers at ear level and connect them securely, matching positive and negative terminals.
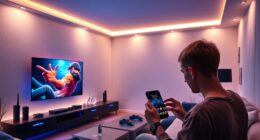
- Use the receiver’s calibration microphone to automatically optimize sound levels and speaker distances.
- Double-check all connections, update firmware if needed, and test content to fine-tune your home theater experience.
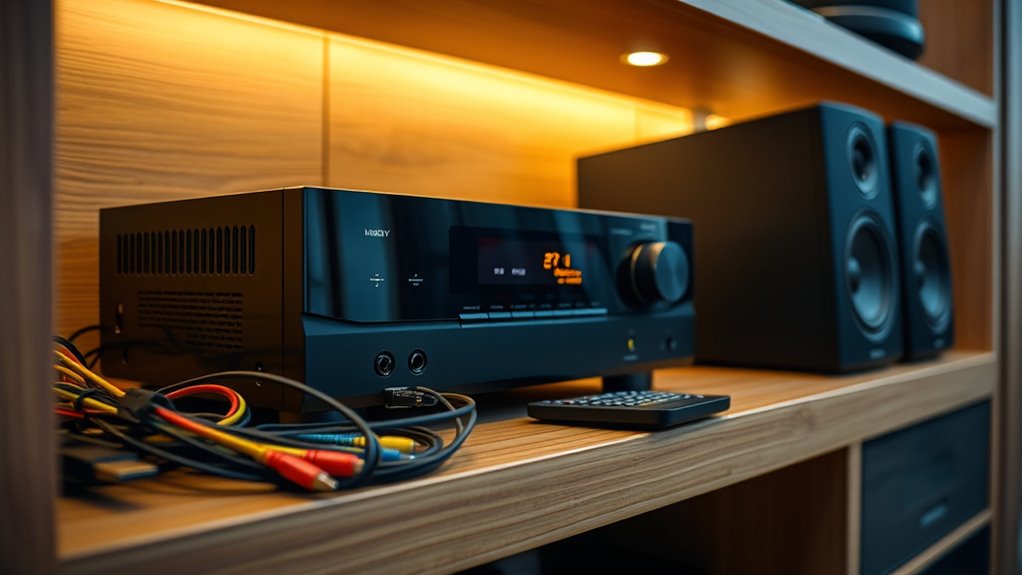
Setting up your first AV receiver might seem intimidating, but with a clear plan, you can get your home theater running smoothly in no time. The key is to understand the basic steps involved and approach the process step by step. First, find a suitable location for your receiver. It should be in a well-ventilated area, away from direct sunlight and heat sources. Make sure there’s enough space around it for air to circulate, preventing overheating. Position your TV and speakers so that you’re comfortable with the viewing angle and sound direction. Before connecting anything, read the user manual carefully; each model has specific instructions that can save you time and prevent mistakes.
Start by connecting your TV to the AV receiver using an HDMI cable. Modern receivers typically support HDMI ARC (Audio Return Channel), which allows your TV to send audio back to the receiver with a single cable. This simplifies your setup and reduces clutter. Next, connect your source devices—such as Blu-ray players, gaming consoles, or streaming devices. Use high-quality HDMI cables for the best picture and sound quality. When connecting, ensure each device is plugged into the correct input port on the receiver, which is usually labeled clearly on the back panel.
Connect your TV and source devices via HDMI for a streamlined, high-quality home theater setup.
Then, move on to your speakers. Place your front left and right speakers at ear level, flanking your TV for a balanced soundstage. The center channel speaker should be directly above or below your TV, aimed toward your listening position. Surround speakers go slightly behind and to the sides, creating an immersive experience. Connect each speaker to the receiver with speaker wire, making sure to match positive (+) and negative (-) terminals. Secure connections firmly to prevent sound issues later. Once everything is wired, power on the receiver and your devices.
Most modern AV receivers come with setup microphones for automatic calibration. Plug in the microphone, place it at your listening position, and run the calibration process. This feature adjusts speaker levels and distances, optimizing sound for your room. If your receiver lacks this feature, you’ll need to manually set speaker levels and distances through the receiver’s menu system. Take your time during this step to ensure balanced sound across all channels.
Finally, double-check all connections, update your receiver’s firmware if needed, and tweak settings to match your preferences. Test everything by playing content from your sources and listening carefully. Adjust volume levels and sound modes until you’re satisfied. With patience and careful setup, you’ll enjoy a home theater experience that rivals the cinema, all from a well-configured AV receiver.
Frequently Asked Questions
How Do I Optimize Audio Calibration for Best Sound Quality?
To optimize audio calibration for the best sound quality, start by using your receiver’s room calibration microphone. Position the mic at ear level where you’ll sit, then run the auto-calibration process. Make certain your speakers are correctly placed and adjusted before calibration. Afterward, fine-tune settings like speaker levels and crossover frequencies manually if needed. Regularly recalibrate to account for room changes or new equipment, guaranteeing consistent, high-quality sound.
Can I Connect Multiple Devices Simultaneously to My AV Receiver?
Did you know that most AV receivers can handle at least 4 to 8 devices simultaneously? Yes, you can connect multiple devices at once, like your gaming console, Blu-ray player, and streaming box. Just make certain your receiver has enough HDMI or other ports. Use an HDMI switch if needed. Keep track of connected devices to avoid overload and ensure smooth switching between them for the best experience.
What Should I Do if My Receiver Doesn’t Recognize My HDMI Source?
If your receiver doesn’t recognize your HDMI source, first check the cable connection and verify it’s securely plugged in. Try unplugging and reconnecting the HDMI cable, and test it with another device or cable to rule out faults. Make sure your firmware is up to date. If issues persist, reset your receiver or consult the user manual for specific troubleshooting steps. This can often resolve recognition problems quickly.
How Do I Update My AV Receiver’S Firmware?
To update your AV receiver’s firmware, start by checking the manufacturer’s website for the latest version. Connect your receiver to the internet via Ethernet or Wi-Fi, then navigate to the setup menu. Select the firmware update option, follow the on-screen instructions, and guarantee the process completes without interruption. Updating keeps your receiver compatible with new devices and fixes bugs, enhancing overall performance and stability.
Is It Safe to Mount My AV Receiver in a Closed Cabinet?
Did you know most AV receivers generate enough heat to cause overheating issues? Mounting yours in a closed cabinet isn’t ideal, as it can trap heat and damage the device. To keep it safe, make certain of proper ventilation and leave space around vents. If you must use a cabinet, consider adding small fans or vents to improve airflow. Your receiver’s longevity depends on maintaining a cool, well-ventilated environment.
Conclusion
Now that you’ve taken the first steps, your home theater is ready to come alive. Think of your AV receiver as the beating heart, orchestrating every sound and picture with precision. With a little patience and these tips, you’ll transform your space into a cinematic sanctuary. Remember, mastery comes with practice—soon, you’ll be immersed in a world where every note and scene feels just right, turning your setup into a symphony of entertainment.