
To measure your room for perfect sound and picture, start by accurately noting the room’s length, width, and height using a tape measure or laser device. Position speakers to form an equilateral triangle with your listening spot, and mark their locations for consistency. Use calibration tools or sound level meters to fine-tune sound levels and image settings. Combining these measurements with speaker placement and acoustic treatments helps you optimize your setup—exploring these steps more thoroughly will improve your experience.
Key Takeaways
- Measure room dimensions (length, width, height) to understand acoustics and optimize speaker and display placement.
- Position speakers to form an equilateral triangle with your listening spot for balanced sound.
- Use calibrated microphones or sound level meters during setup to fine-tune speaker levels and equalization.
- Adjust display settings based on screen size, viewing distance, and calibration tools for accurate picture quality.
- Incorporate acoustic treatments like bass traps and diffusers based on room measurements to reduce echoes and improve sound clarity.
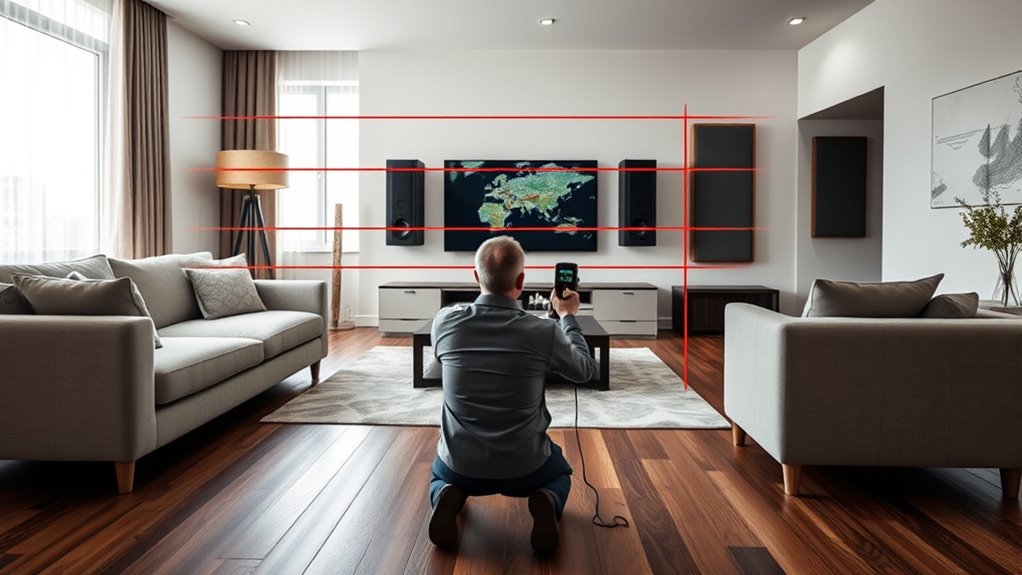
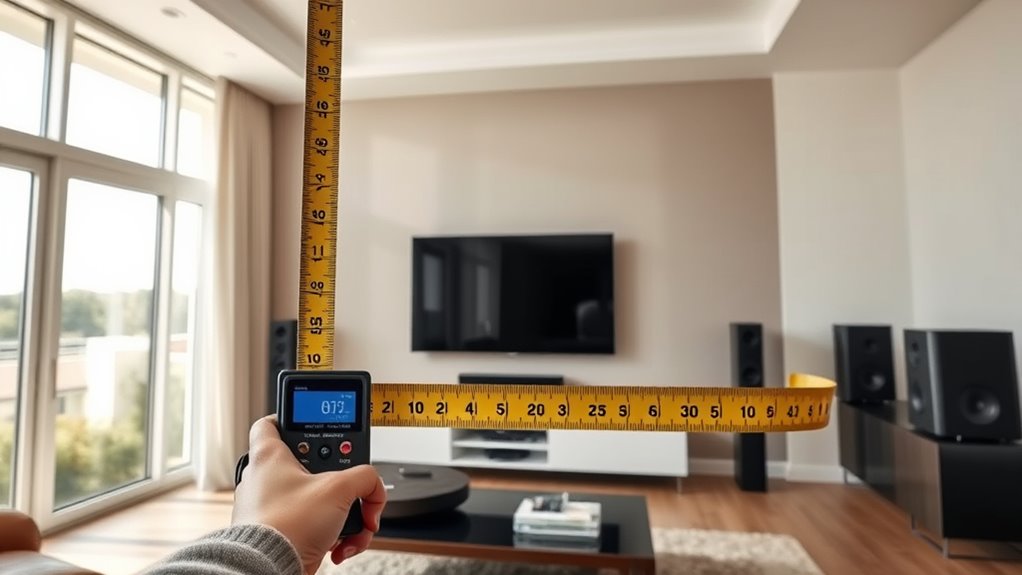
Achieving the perfect sound and picture in your room starts with accurate measurements. The foundation of great audio and visual quality lies in understanding your space and how it interacts with your equipment. To begin, focus on speaker placement, which is essential for immersive sound. Proper positioning ensures that audio reaches your ears evenly and that no sound waves are obstructed or reflected excessively. Measure the distances between your speakers and your listening position, aiming for a setup where the speakers form an equilateral triangle with your seat. This means the distance from each speaker to your listening spot should be roughly the same, creating a balanced stereo image. Use a tape measure or a laser distance meter for precision, and mark the positions on the floor if necessary. Once your speakers are positioned, you should consider calibration techniques to fine-tune your sound system. Calibration involves adjusting settings to compensate for room acoustics and speaker placement, guaranteeing consistent sound quality across your listening area. Many modern receivers come with built-in calibration tools that utilize microphones to analyze sound at your listening position. To use these effectively, place the microphone at your usual listening height and run the calibration process. This will automatically adjust speaker levels, delay, and equalization to optimize the sound. If your system lacks automatic calibration, you can perform manual adjustments. Listen critically to how the sound interacts with your room—notice if certain frequencies are overpowering or if some areas sound dull. Use a sound level meter to measure decibel levels and make incremental adjustments to speaker volume and equalization. Additionally, consider the room’s shape and furnishings, as these influence sound reflections and absorption. Measure the dimensions of your room, including length, width, and height, to understand how sound waves will behave. Larger rooms may require additional acoustic treatments, such as bass traps or diffusers, to eliminate unwanted echoes and standing waves. When it comes to picture quality, measurements of screen size relative to your viewing distance are key, but also ensure your display is correctly calibrated. Use calibration discs or professional tools to adjust brightness, contrast, and color settings. Keep in mind that lighting conditions and room reflections impact picture quality, so measure and control ambient light as much as possible. Precise measurements of your room’s dimensions, thoughtful speaker placement, and effective calibration techniques work together to deliver the best possible sound and picture. Additionally, understanding the contrast ratio of your projector or display can help you optimize image quality further. Taking the time to measure and adjust ensures that your setup is optimized for your unique environment, transforming your space into a true home theater or audio haven.

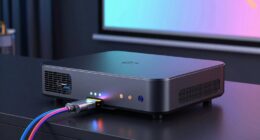
Official Licensed Google TV Smart Projector, HAPPRUN 4K UHD Home Theater with Dolby Sound, Wi-Fi & Bluetooth, Built-in Streaming Apps, Compatible with Games Consoles & Smartphone, Indoor & Outdoor Use
[ Built-in Official Licensed Google TV ] - Without additional equipment, the smart projector can directly access Netflix,...
As an affiliate, we earn on qualifying purchases.
Frequently Asked Questions
What Tools Do I Need to Measure My Room Accurately?
To measure your room accurately, you need calibration tools like a laser distance meter and a tape measure for precise measurements. Use measurement techniques such as marking key points on walls and floors, and recording distances from your listening position to walls and corners. These tools and methods help you gather the data necessary for ideal speaker placement and acoustic treatment, ensuring you get the best sound and picture quality in your space.
How Do I Account for Furniture in Room Measurements?
Think of your room like a living canvas—furniture placement shapes the scene. When measuring, include all furniture because it impacts acoustics and sound reflection. Move larger pieces out of the way temporarily, then measure around them to get an accurate picture of space and potential acoustic impact. This way, you’ll guarantee your setup accounts for real-world conditions, leading to better sound quality and optimized picture placement.
Can Room Shape Affect Sound and Picture Quality?
Yes, room shape definitely affects sound and picture quality. Irregular or oddly shaped rooms can cause poor room acoustics, leading to echoes and uneven sound distribution. They can also create visual distortions, especially if walls or ceilings aren’t properly aligned. Rectangular or symmetrical rooms usually provide better acoustics and clearer visuals. To optimize your setup, consider room shape when positioning speakers and your display, and use acoustic treatments to minimize distortions.
How Often Should I Re-Measure My Room?
You should re-measure your room whenever major changes happen, like rearranging furniture or upgrading equipment. Think of it as keeping your finger on the pulse of your space, since room acoustics and equipment positioning can shift over time. Typically, checking every 6 to 12 months guarantees your sound and picture stay sharp. Staying proactive helps your setup remain optimized, keeping the environment in harmony like a well-tuned instrument.
Is Professional Calibration Necessary for Optimal Setup?
Professional calibration isn’t always necessary, but it can markedly improve your setup. It ensures proper speaker placement and light calibration, optimizing sound quality and picture clarity. If you’re serious about getting the best experience, investing in expert calibration helps fine-tune your system, reducing distortions and enhancing overall performance. For casual use, careful manual adjustments might suffice, but a pro calibration guarantees the most accurate and immersive audio-visual experience.
![Projector with 5G WiFi and Bluetooth, Native 1080P Projector[Projector Screen Included], Full HD 18000LM Movie Projector, 100" Display Home Theater, Compatible with Phone/Laptop/TV Stick](https://m.media-amazon.com/images/I/51tJ+dTl5qL._SL500_.jpg)
Projector with 5G WiFi and Bluetooth, Native 1080P Projector[Projector Screen Included], Full HD 18000LM Movie Projector, 100" Display Home Theater, Compatible with Phone/Laptop/TV Stick
【2.4G/5G Dual-Band Wifi & Bluetooth Connection】 Roconia projector supports screen mirroring on iOS, Android and Windows devices without...
As an affiliate, we earn on qualifying purchases.
Conclusion
By accurately measuring your room, you can optimize sound and picture quality, creating an immersive experience. Remember, the theory that room dimensions directly influence acoustics and visuals holds some truth—larger rooms can reduce sound reflection, but improper placement can still cause issues. So, take your measurements seriously, experiment, and trust the process. With patience and attention to detail, you’ll achieve a setup that truly elevates your entertainment experience.
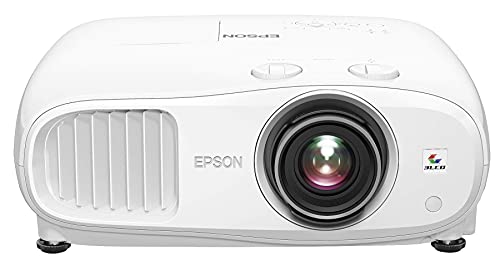
Epson Home Cinema 3800 4K PRO-UHD 3-Chip Projector with HDR
4K PRO-UHD (1) Projection technology — a new type of 4K home theater experience, utilizing advanced technologies for...
As an affiliate, we earn on qualifying purchases.

Epson Home Cinema 2350 4K PRO-UHD Smart Gaming Projector with Android TV, 3-Chip 3LCD, HDR10, HLG, 2,800 Lumens, Low Latency, 10 W Speaker, Bluetooth, Streaming Capability
4K PRO-UHD (1) — An amazing 4K experience utilizing advanced processing for resolution enhancement, color and image processing;...
As an affiliate, we earn on qualifying purchases.