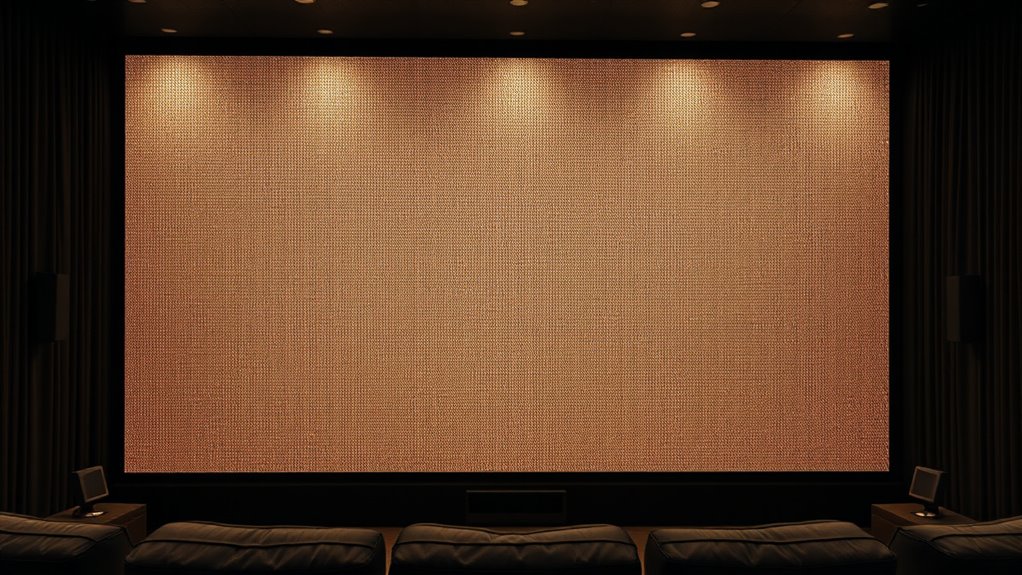
To get the most out of advanced acoustically transparent screens, focus on choosing the right fiber materials and weave patterns that allow sound to pass through with minimal distortion. Proper speaker placement behind the screen and managing room acoustics are essential. Balancing screen gain, size, and aspect ratio helps optimize both sound and visuals. Regular maintenance, ventilation, and careful mounting guarantee long-term performance. Keep exploring, and you’ll uncover more tips to perfect your setup.
Key Takeaways
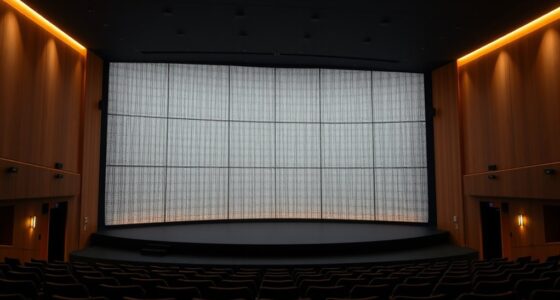
- Material composition and weave patterns directly influence acoustic transparency and visual clarity of screens.
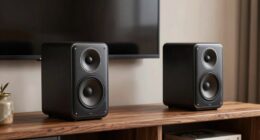
- Proper speaker placement behind screens enhances sound clarity and reduces reflections.
- Selecting the right screen gain, size, and aspect ratio balances sound quality with visual performance.
- Hardware and mounting techniques, including vibration control, prevent sound distortion and ensure stability.
- Regular maintenance and environmental management preserve the acoustic and visual integrity of advanced screens.
Polk Audio T30 Home Theater Center Channel Speaker - Vocal Clarity, Deep Bass Response, Dolby and DTS, Home Speaker, Single, Black
DUAL 5.25" WOOFERS & 1" TWEETER FOR CLEAR, FULL-RANGE SOUND – As TV speakers, the T30’s two 5.25"...
As an affiliate, we earn on qualifying purchases.
Understanding the Material Composition and Its Impact on Sound Transparency
Understanding the material composition of acoustically transparent screens is essential because it directly affects how sound passes through them. The fiber composition plays a vital role, as different fibers absorb, reflect, or transmit sound differently. Natural fibers like cotton or silk tend to be more transparent acoustically, while synthetic fibers can vary based on density and elasticity. Material layering also influences sound transparency—thin, carefully arranged layers allow sound waves to pass with minimal distortion. Thicker or densely layered materials tend to block or absorb more sound, reducing transparency. Knowing how fiber composition and layering work together helps you select screens that balance visual appeal with ideal acoustic performance, ensuring sound passes through clearly without compromise. Additionally, fiber properties such as elasticity and permeability significantly impact the overall sound transmission quality, especially when considering sound transmission efficiency in different environments. Environmental factors like humidity and temperature can cause fibers to expand or contract, affecting their sound transmission capabilities over time. Understanding these material characteristics can help optimize acoustic transparency for specific applications. Recognizing how environmental factors like humidity and temperature affect fiber behavior is also crucial for maintaining optimal performance over time.

Yamaha Audio NS-C210BL Center Channel Speaker - Each (Black)
Yamaha NS-C210 2-Way Bass-Reflex Center Speaker - 4m Speaker Cable - Yamaha Warranty
As an affiliate, we earn on qualifying purchases.
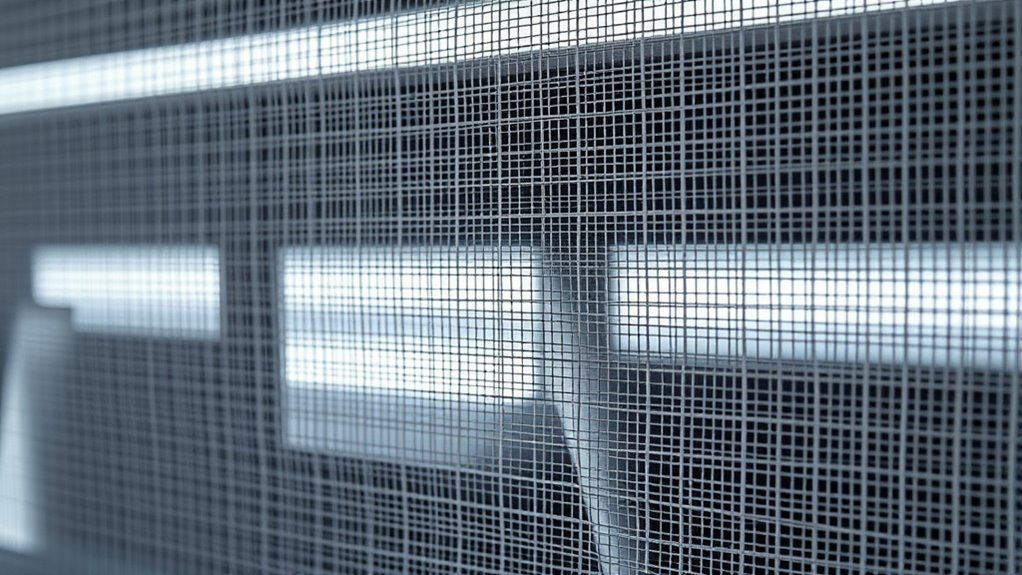
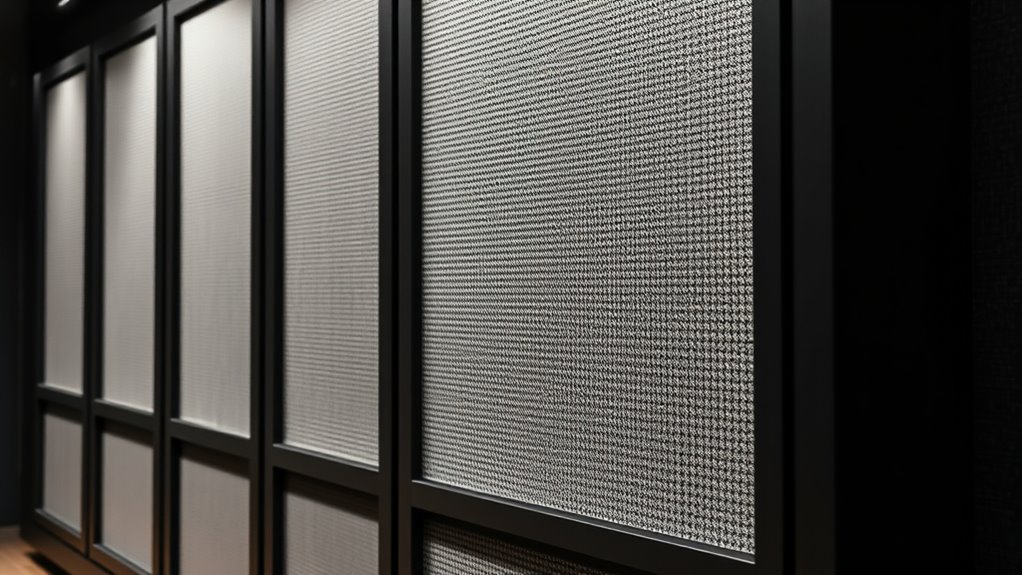
The Importance of Screen Weave Patterns and Their Acoustic Properties
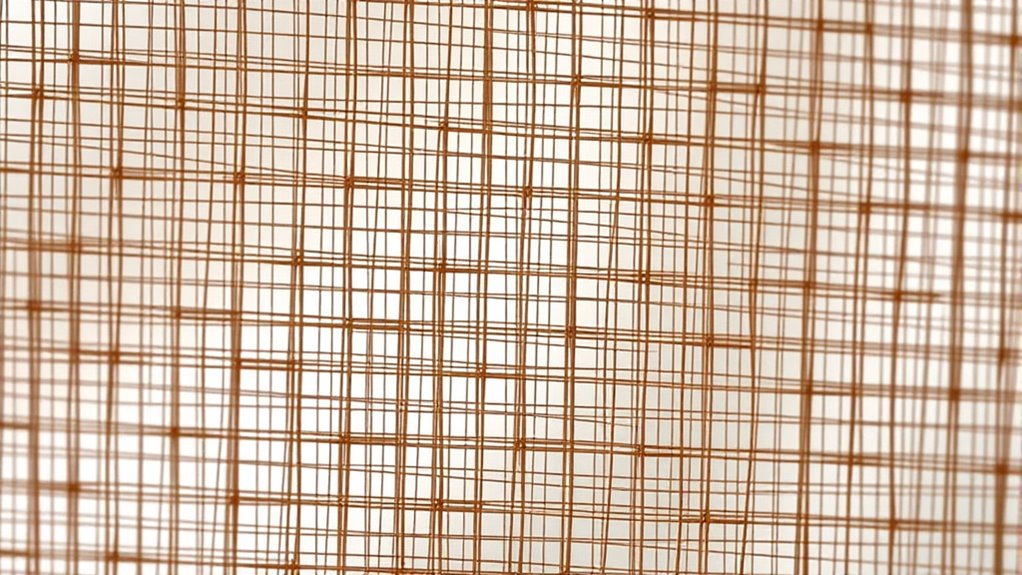
The weave pattern of your screen directly affects how sound passes through it. Denser weaves can block more sound, while open weaves allow better transparency but may impact appearance. Understanding the balance between weave density, material, and transparency helps you choose the best option for your acoustical needs.
Weave Density and Sound
While a denser weave might seem like it would block more sound, in acoustically transparent screens, the pattern plays a essential role in how sound waves pass through. Woven textures with varying densities influence sound permeability, affecting how effectively sound travels. A tighter weave can still maintain transparency if designed correctly, allowing sound waves to pass with minimal distortion. The key is understanding that weave density isn’t solely about blocking sound but about balancing opacity and permeability. Different patterns create unique pathways for sound to move through, so selecting the right weave density is critical. Additionally, the structure of the weave pattern impacts how sound interacts with the material, making it essential to consider both pattern and density when designing acoustically transparent screens. Material composition also plays a significant role in how sound waves are transmitted, influencing the overall acoustic performance. Proper material selection and weave pattern design can optimize the balance between visual clarity and sound transmission, ensuring an immersive home theater experience. When you choose a weave pattern, consider how it interacts with sound, ensuring that your screen maintains its transparency while supporting ideal acoustic performance. Furthermore, understanding the interplay between weave density and sound quality can help in selecting the most suitable materials for your specific acoustic needs.
Material Impact on Acoustics
Choosing the right weave pattern is essential because it directly shapes how sound waves pass through an acoustically transparent screen. The material’s fiber density plays a pivotal role in this process; higher fiber density can slightly reduce sound transmission, affecting clarity. Material durability also impacts acoustic performance, as sturdier fabrics maintain their weave integrity over time, preventing distortions. Lightweight, flexible fabrics often allow better sound passage, but they must balance durability to withstand wear. The weave pattern influences how sound interacts with the material, so selecting fabrics with ideal fiber density ensures minimal acoustic interference. Additionally, understanding how different material properties affect sound transmission helps you select screens that deliver both durability and excellent acoustic transparency, enhancing your listening experience without compromising aesthetics. Properly choosing the right fabric and weave pattern is vital for achieving optimal sound clarity and maintaining the integrity of your acoustic environment. It is also beneficial to consider fabric weave tightness, as it can influence the overall acoustic transparency of the screen. For example, fiber arrangement within the weave can significantly affect how sound waves are absorbed or transmitted through the material.
Transparent vs. Opaque Weaves
Selecting the right weave pattern directly impacts how sound passes through an acoustically transparent screen. Transparent weaves typically have a lower fiber density, allowing sound waves to pass more freely, which enhances acoustic transparency. Opaque weaves, on the other hand, tend to have a higher fiber density, reducing sound transmission and providing more visual privacy. The choice between transparent and opaque weaves also involves color influence; lighter colors often reflect more sound, while darker shades absorb some frequencies. Understanding these differences helps you select the ideal weave pattern for your space, balancing sound quality with aesthetic preferences. By considering fiber density and color influence, you guarantee your screen meets both acoustic and visual needs effectively.

Polk Monitor XT35 Slim Center Channel Speaker - Hi-Res Audio Certified, Dolby Atmos & DTS:X Compatible, 1" Terylene Tweeter & Four 3" Dynamically Balanced Woofers, Wall-Mountable, Midnight Black
SLIM CENTER CHANNEL THAT WON’T BLOCK TV - Enjoy crisp, focused dialogues & dynamic, hi-res sound with Polk...
As an affiliate, we earn on qualifying purchases.
Optimal Placement of Speakers Behind the Screen for Clearer Sound
To get the clearest sound, you need to carefully position your speakers behind the screen. Focus on strategies that reduce sound reflection and guarantee direct audio delivery. Proper placement makes a noticeable difference in overall sound quality. Additionally, ensuring the room’s acoustics are optimized and free from excessive echoes can further enhance sound clarity and immersion. Implementing room acoustic optimization policies that address room acoustics can help in maintaining an optimal listening environment. Being aware of the special occasions that may influence room setup, such as hosting a celebration or a religious gathering, can also assist in tailoring the acoustic environment for the event.
Speaker Positioning Strategies
Positioning your speakers correctly behind the acoustically transparent screen is essential for achieving clear, balanced sound. Focus on proper speaker orientation to aim sound directly at your listening area. Adjust placement based on your room acoustics; avoid placing speakers too close to walls to prevent unwanted reflections. For ideal results, experiment with angles and height to find the sweet spot that maximizes clarity. Keep in mind that even slight changes can considerably impact sound quality. Use the table below to guide your positioning:
| Speaker Placement | Recommended Adjustment |
|---|---|
| Height | Align with ear level |
| Distance from Screen | 2-4 feet behind |
| Angle | Slightly inward (toe-in) |
| Room Corners | Avoid corners for clarity |
| Speaker Orientation | Direct toward listening position |
Additionally, understanding AI’s role in cybersecurity can help you better appreciate how technological advancements influence sound system security and integrity. Staying informed about advancements in automation can also guide you in optimizing your speaker setup for better performance.
Minimizing Sound Reflection
Ensuring minimal sound reflection from your speakers behind the screen is essential for achieving clear and natural audio. Proper placement helps reduce echo and unwanted reverberations that can muddy sound quality. Use soundproofing techniques like angling speakers slightly downward or inward to direct sound toward your listening area. Consider aesthetic considerations by choosing discreet mounts or enclosures that blend with your decor. Position speakers away from reflective surfaces such as walls or glass to prevent sound bouncing back. Adding acoustic panels or diffusers behind the screen can absorb stray reflections without compromising visual appeal. Remember, the goal is to optimize sound clarity without sacrificing the room’s design or comfort. Additionally, understanding acoustic treatments can help you select the best solutions for your space, including soundproofing techniques that are tailored to your specific setup. Incorporating speaker placement strategies aligned with room acoustics can further enhance overall sound quality.
Polk Audio TL1 Center Channel Speaker, Center Speakers for Home Theater (Each, Black)
Time Lens technology aligns the drivers for better soundstaging and imaging in bookshelf speakers
As an affiliate, we earn on qualifying purchases.
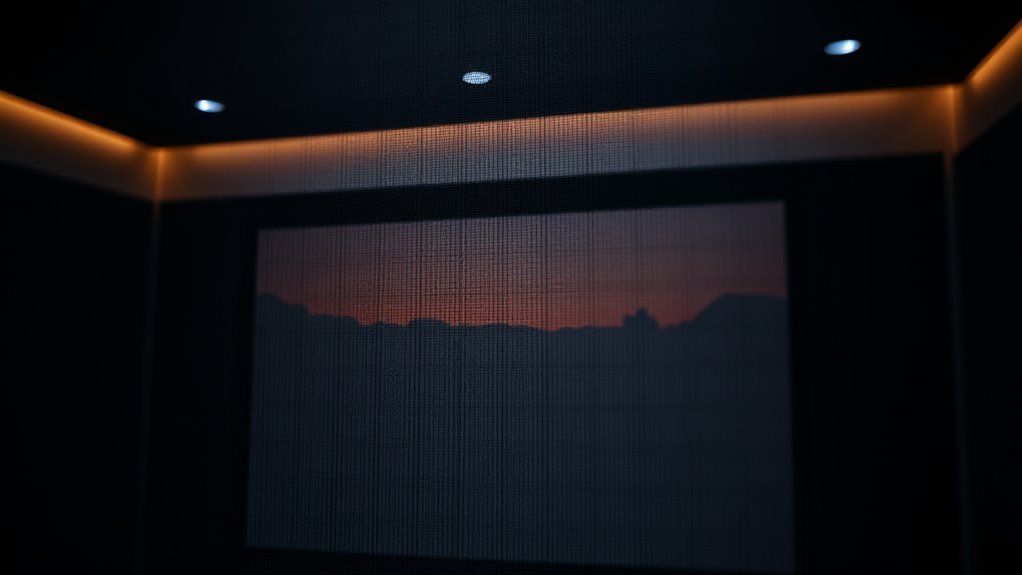
Balancing Screen Gain and Acoustic Transparency for Best Performance

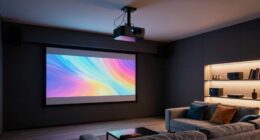
Balancing screen gain and acoustic transparency is essential for achieving peak audio-visual performance. Too much gain can amplify reflections, causing sound distortion, while insufficient gain reduces brightness and image clarity. You need a screen that offers enough sound absorption to prevent unwanted reflections without compromising transparency. An overly opaque screen can introduce visual distortion, affecting image sharpness and color accuracy. Conversely, a highly transparent screen may lack enough gain to produce vivid images, forcing you to increase projector brightness and risking hotspots. The key is selecting a material that strikes a balance—providing enough gain for a bright picture while maintaining sound absorption properties that minimize sound reflection and visual distortion. This ensures your viewing experience is both clear and acoustically optimized.
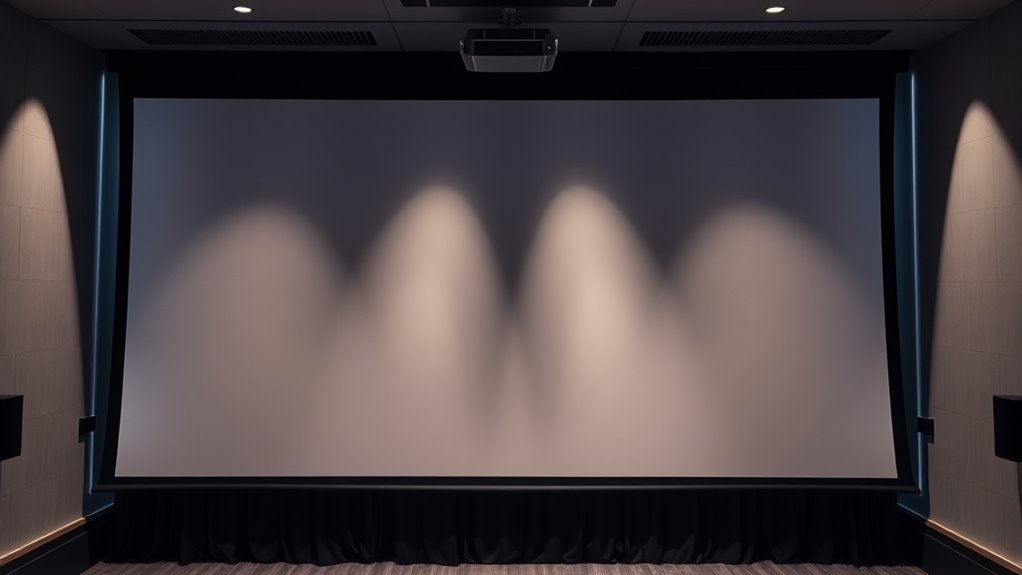
The Role of Screen Size and Aspect Ratio in Acoustic and Visual Quality

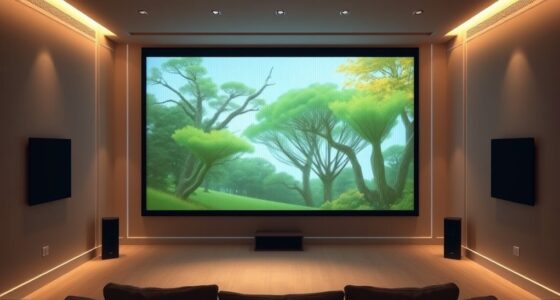
The size and aspect ratio of your screen directly influence both the acoustic environment and the visual experience. A larger screen enhances immersion but can impact sound clarity if not properly managed. The screen aspect ratio determines how images are displayed, affecting your overall viewing experience by ensuring content looks natural and proportionate. Larger aspect ratios, like 21:9, offer cinematic width, while 16:9 is standard for most content. Keep in mind, bigger screens may require more precise acoustic treatments to prevent sound distortions. Properly matching your screen size and aspect ratio to your space and audio setup ensures ideal performance.
- Ideal screen size for your room dimensions
- Impact of aspect ratio on image distortion
- Balancing screen size with speaker placement
- How aspect ratio influences content compatibility
- Ensuring sound clarity with larger screens
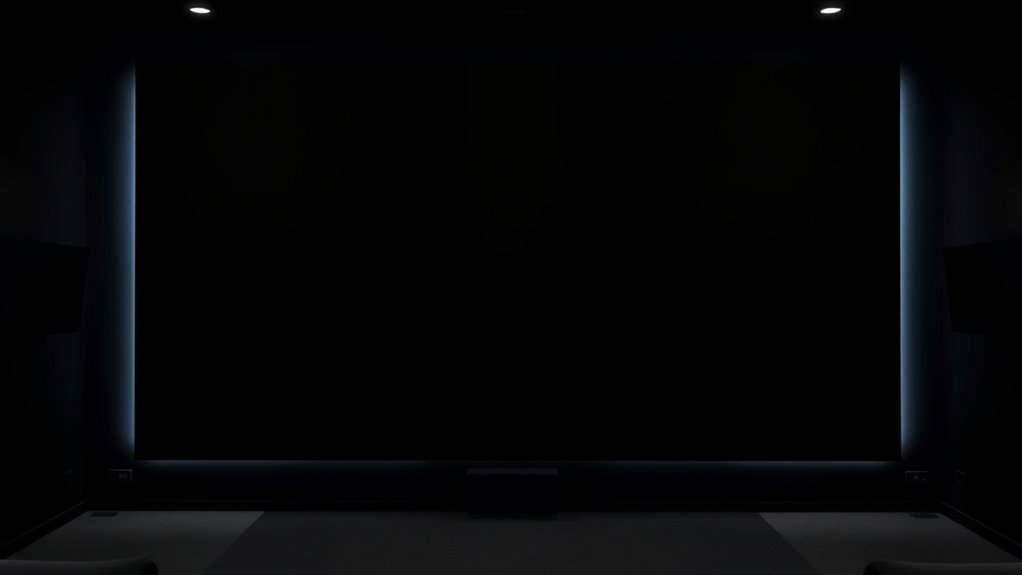
Minimizing Ambient Light Interference to Preserve Sound Clarity
Ambient light can considerably disrupt your sound clarity, especially in spaces where visual distractions cause you to raise your voice or adjust audio settings unnecessarily. To combat this, focus on reducing ambient light levels and implementing glare reduction techniques. Use blackout curtains, dimmable lighting, or indirect light sources to minimize unwanted illumination. Position screens away from direct sunlight or bright windows to prevent glare from reflecting off surfaces. Incorporating anti-glare coatings or matte finishes on screens also helps maintain visual comfort without sacrificing acoustic transparency. When ambient light is controlled, your audio remains clearer, and conversations stay natural without unnecessary volume increases. By actively managing ambient light and glare, you preserve sound clarity and ensure a more immersive, distraction-free environment.
Proper Mounting Techniques to Prevent Vibrations and Sound Distortion
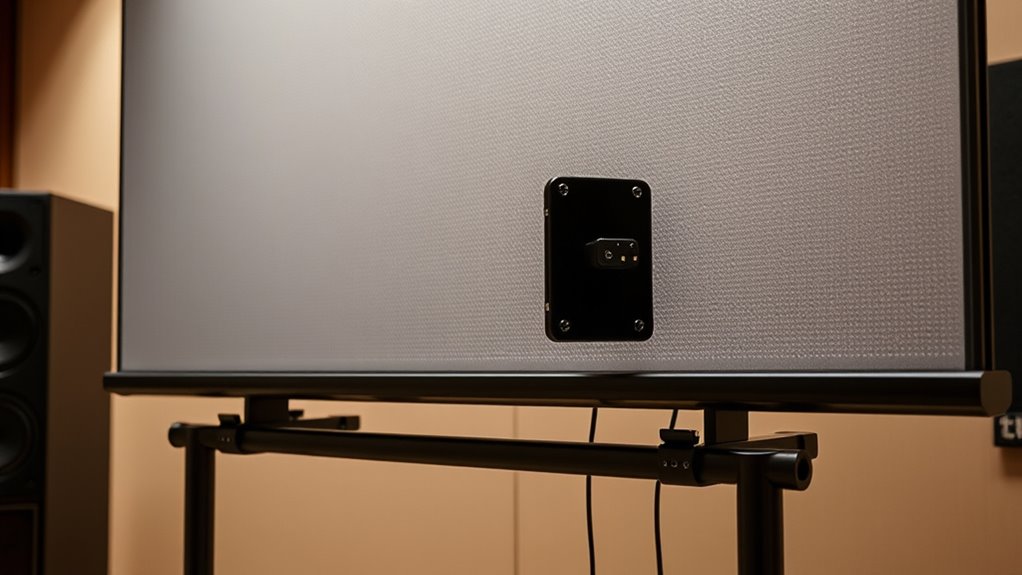
To guarantee your screen stays clear of vibrations and sound distortion, you need to focus on proper mounting techniques. Using secure methods and the right hardware helps prevent unwanted movement that can compromise sound quality. Effective vibration isolation and sturdy installation are essential for ideal acoustic performance.
Secure Mounting Methods
Proper mounting is essential for maintaining the acoustic transparency of your screen, as vibrations can cause sound distortion and degrade audio quality. To guarantee stability, choose secure mounting methods that minimize movement and noise. Use vibration-dampening mounts or brackets designed for acoustic screens, which help prevent unwanted resonance. When selecting decorative motifs or color options, make sure they don’t interfere with the mounting system’s stability. Properly anchored hardware and precise installation techniques keep the screen firmly in place, avoiding shifts that compromise sound clarity. Additionally, consider wall reinforcement if mounting on weaker surfaces. This guarantees consistent performance and preserves the integrity of your acoustic environment. A well-secured setup helps your screen perform at its best without sound distortion.
- Use vibration-isolating mounts
- Opt for heavy-duty anchors
- Install on reinforced surfaces
- Regularly tighten mounting hardware
- Choose mounts compatible with decorative motifs
Isolate Vibrations Effectively
Vibrations can quickly travel through mounting surfaces, causing sound distortion and reducing audio clarity. To prevent this, you need to isolate vibrations effectively. Start by using sound absorption materials like foam pads or damping mounts between the screen and the mounting surface. These materials absorb vibrations before they transfer, maintaining the integrity of the sound. Ensure your mounting setup minimizes direct contact with hard surfaces that amplify vibrations. Additionally, secure the screen firmly without overtightening, which can transfer unwanted vibrations. Proper isolation not only improves sound absorption but also enhances visual clarity by preventing vibrations from causing flickering or movement. By focusing on vibration isolation techniques, you’ll ensure your acoustically transparent screen performs at its best, delivering clear sound and sharp visuals.
Use Proper Hardware
Using the right hardware is essential for preventing vibrations from affecting your acoustically transparent screen. Proper mounting techniques guarantee peak audio quality and maintain speaker compatibility. When selecting hardware, focus on stability and vibration absorption to avoid sound distortion. Secure mounts prevent movement that can interfere with sound clarity. Use vibration-dampening brackets designed for your setup. Ensure mounts are compatible with your speakers and screen weight. Regularly check for loose fittings or wear that could introduce unwanted noise. Proper hardware minimizes resonance that distorts audio signals. Choose mounts that distribute weight evenly and don’t put stress on any single point. The right hardware makes all the difference in achieving pristine sound and clear visuals, maximizing your home theater experience.
Selecting the Right Frame Material to Avoid Sound Absorption or Reflection
Choosing the right frame material is essential because it directly impacts how sound interacts with your acoustically transparent screen. You want a material that minimizes sound absorption and reflection while meeting your aesthetic expectations. Durable options like aluminum or steel provide longevity and resist warping, ensuring consistent performance. Consider aesthetic considerations to match your room’s decor—sleek metals or painted finishes can blend seamlessly. The right choice balances material durability and appearance without compromising acoustic transparency. Use the table below to compare common frame materials:
| Material | Pros | Cons |
|---|---|---|
| Aluminum | Lightweight, durable, sleek finish | Can reflect sound if not properly treated |
| Steel | Very durable, stable | Heavier, may require reinforcement |
| Wood | Aesthetic appeal, customizable | Less durable, susceptible to warping |
| PVC/Plastic | Cost-effective, resistant to moisture | Less durable, potential for sound reflection |
Managing Crossover Frequencies and Speaker Placement for Seamless Integration

To achieve seamless integration of your acoustically transparent screen, you need to carefully manage crossover frequencies and speaker placement. Proper crossover design ensures audio transitions are smooth, preventing gaps or overlaps that can disrupt sound clarity. Accurate speaker calibration aligns your speakers’ output, maintaining consistent volume and tone across the system. Position speakers slightly above or below the screen’s plane to minimize direct visibility and reflections. Use the following tips to optimize your setup:
Ensure smooth sound by calibrating speakers, adjusting crossover points, and positioning them just above or below the screen.
- Adjust crossover points to match speaker capabilities
- Calibrate speakers for balanced sound
- Avoid placing speakers directly in front of the screen
- Use speaker stands for ideal height
- Test and refine placement for cohesive sound imaging
The Significance of Ventilation and Airflow in Maintaining Screen Performance
Proper ventilation and airflow are essential for maintaining your acoustically transparent screen’s ideal performance. Good ventilation efficiency prevents heat buildup behind the screen, which can affect speaker performance and cause material degradation over time. Effective airflow management ensures that warm air escapes and cool air circulates, reducing the risk of moisture accumulation and mold. Without proper airflow, heat can distort the screen material or impair the speakers’ operation. To optimize ventilation, consider incorporating vents or gaps that facilitate air exchange without compromising acoustic transparency. Maintaining balanced airflow not only preserves the screen’s visual and acoustic qualities but also extends its lifespan. Prioritizing ventilation efficiency is a crucial step in ensuring your advanced screen continues to deliver optimal sound and picture quality over time.
Regular Maintenance and Inspection to Preserve Acoustic Transparency

Regular maintenance and inspection are essential for keeping your acoustically transparent screen performing at its best. Regular checks help identify wear, environmental damage, or dirt buildup that can compromise acoustic transparency. Proper cleaning procedures prevent dust and debris from clogging the material, guaranteeing ideal sound flow. You should also assess environmental factors like humidity, temperature fluctuations, and exposure to sunlight, which can degrade the screen over time.
To maintain peak performance, consider these steps:
- Regularly dust and gently clean the surface
- Inspect for tears or sagging
- Check for signs of moisture or mold
- Ensure mounting hardware remains secure
- Protect the screen from harsh weather conditions
Advanced Testing and Calibration Methods for Fine-Tuning Your Setup

Advanced testing and calibration are essential steps in guaranteeing your acoustically transparent screen performs at its best. Begin with material analysis to confirm the screen’s composition and consistency, identifying any flaws or inconsistencies that could affect sound transparency. Acoustic modeling helps you predict how the screen interacts with sound waves, allowing precise adjustments. Use specialized measurement tools, such as calibrated microphones and analyzers, to gather data on frequency response and sound diffusion. Fine-tune your setup by comparing empirical results with acoustic models, adjusting positioning or materials as needed. This process guarantees peak performance, minimizing sound distortion and maximizing transparency. Regular testing and calibration keep your system aligned with your desired acoustical environment, ensuring a seamless experience.
Frequently Asked Questions
How Does Ambient Temperature Affect Acoustic Transparency Over Time?
Ambient temperature affects acoustic transparency over time by causing temperature fluctuations that impact the material’s structure. As temperatures vary, materials may expand or contract, leading to subtle changes in sound transmission. Additionally, prolonged exposure to temperature fluctuations accelerates material aging, which can degrade acoustic properties. You might notice that over time, the screen’s transparency diminishes or shifts, making it essential to contemplate temperature stability for long-term performance.
Can Different Screen Materials Be Combined for Improved Sound Clarity?
Yes, you can combine different screen materials to improve sound clarity. Focus on material compatibility to guarantee they work well together without causing interference. Use acoustic layering strategically, placing materials with distinct acoustic properties to enhance sound diffusion and absorption. This approach helps optimize clarity, especially in complex audio setups. Just make sure the materials are compatible and layered correctly to prevent sound degradation or unwanted reflections.
What Are the Best Practices for Troubleshooting Sound Distortion Behind the Screen?
Think of troubleshooting sound distortion behind the screen as untangling a knotted string. First, check your speaker alignment; misaligned speakers cause uneven sound waves. Next, listen for sound wave interference, which can create feedback or muffling. Adjust the speaker positions and ensure no objects block the sound path. If distortion persists, review your audio settings and consider replacing damaged cables to restore clear, balanced sound.
How Do Environmental Vibrations Influence Long-Term Screen Acoustic Properties?
Environmental vibrations can considerably impact your screen’s acoustic properties over time. You should focus on vibration damping to minimize these effects and protect material stability. By absorbing or reducing vibrations, you prevent long-term damage or distortion that could degrade sound quality. Regularly inspect and upgrade your mounting and support structures to guarantee they effectively dampen vibrations, maintaining ideal acoustic performance and prolonging your screen’s lifespan.
Are There Industry Standards for Measuring and Certifying Acoustic Transparency?
You might worry about the reliability of acoustic transparency claims, but industry standards and acoustic certification exist to give you confidence. These standards set rigorous testing methods to measure how well screens transmit sound, ensuring consistent quality. By trusting products with verified acoustic certification, you can enjoy superior sound experiences without doubts. Rest assured, following established industry standards helps you select screens that truly meet your acoustic needs.
Conclusion
By understanding and applying these 12 rules, you can create an immersive audio-visual experience that truly impresses. Imagine a home theater where every word is crystal clear, and music feels alive, all thanks to your careful screen choices and setup. For instance, a dedicated audiophile once balanced his screen’s placement and materials, transforming his space into a concert hall. With attention to detail, you can turn your room into a cinematic sanctuary that’s both stunning and sonically perfect.