
To DIY cable management for a clutter-free ceiling mount, start by planning your layout carefully, guaranteeing your mount is stable and cables follow smooth paths. Gather tools like cable ties, clips, and raceways to secure and hide wires neatly. Use sleeves or concealers to hide excess cables and make sure everything is firmly secured without damage. Regularly inspect and tidy your setup to keep it safe and organized. Keep going to discover even more tips and tricks.
Key Takeaways
- Plan cable routes carefully around ceiling supports, avoiding electrical wires and unstable areas for safety.
- Use cable clips, raceways, and sleeves to organize and conceal cables along beams or ceilings.
- Secure cables firmly with ties or Velcro straps at regular intervals to prevent sagging and clutter.
- Label cables clearly for easy identification and future maintenance.
- Regularly inspect and clean ceiling space to ensure safety and prevent damage or fire hazards.

Amazon Echo Hub, 8” smart home control panel, Designed for Alexa+, Compatible with thousands of devices
Echo Hub — An easy-to-use Alexa-enabled control panel for your smart home devices—just ask Alexa or tap the...
As an affiliate, we earn on qualifying purchases.
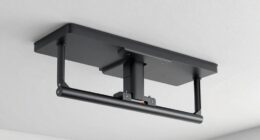
Assessing Your Ceiling Mount and Planning Your Layout
Before you begin installing your cable management system, it’s essential to assess your ceiling mount and plan your layout carefully. Start by examining the mount’s stability and how much space you have for cable routing. Make certain the mount can support the weight of your cables and any additional fixtures. Safety considerations are crucial—avoid areas with electrical wiring or unstable surfaces. Determine the best path for cables to run neatly along the ceiling, minimizing bends and avoiding pinching points. Use existing structural elements like beams or joists to secure cables safely. Planning your layout beforehand helps you identify potential challenges and ensures a clean, organized installation. Additionally, understanding the effectiveness of cable management can guide you in choosing the right materials and techniques, ultimately leading to a more durable and visually appealing setup. Considering cable organization methods can further enhance the neatness and accessibility of your system. Proper planning also helps maintain the stability and safety of your ceiling mount, ensuring long-term reliability. Incorporating remote work best practices into your planning can help you create a more efficient and comfortable workspace from the outset. To optimize your project, taking into account home organization principles can help you create a clutter-free and functional environment that supports your overall space management.

Epson Home Cinema 980 3-Chip 3LCD 1080p Projector 4,000 Lumens Color and White Brightness, Streaming/Gaming/ Media Room, Built-In Speaker, Auto Picture Skew, 16000:1 Contrast, 2 HDMI Ports
Exceptional Picture Quality — Provides stunning, detailed 1080p images and fast data processing that’s optimized for fast-action sports,...
As an affiliate, we earn on qualifying purchases.
Gathering Basic Tools and Materials for Cable Management
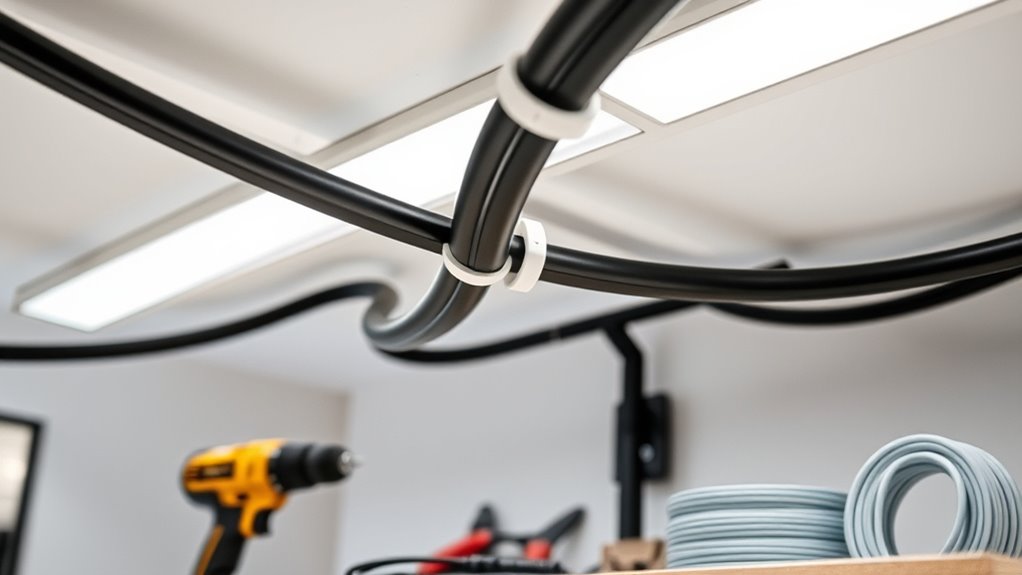
To guarantee a smooth and efficient cable management project, you need to gather the right tools and materials upfront. Start with basic essentials like cable ties, Velcro straps, and a cable cutter or scissors to organize and trim excess cables. A drill with bits will help you create mounting points if needed. Consider wireless alternatives, such as wireless chargers or Bluetooth speakers, to reduce cable clutter and improve aesthetics. You might also want cable clips or adhesive-backed cable mounts for securing cables along the ceiling. For aesthetic enhancements, use cable covers or conduits that blend seamlessly with your ceiling design. Having these tools and materials ready ensures your installation proceeds smoothly, resulting in a clean, organized, and visually appealing ceiling mount.

LenTok Tablet Wall Mount for iPad with Quick Release, Foldable Lighweight Metal Wall Tablet Holder with Adjustable Arm, Compatible with 4-11'' iPad Galaxy Tab Kindle
[ 2 Wall Base Included ] The wall tablet mount includes dual wall base for 2 location installation...
As an affiliate, we earn on qualifying purchases.
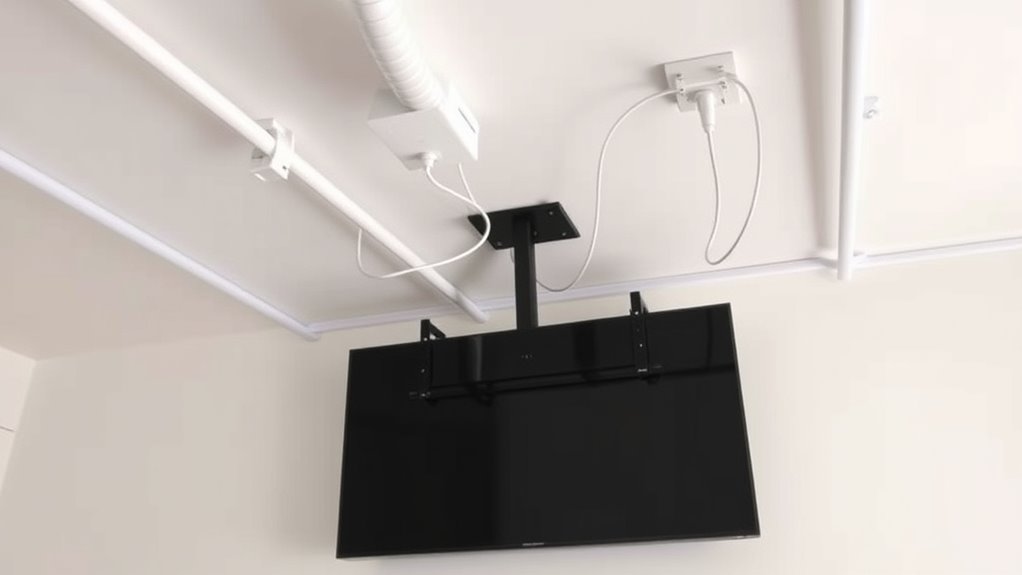
Securing Cables With Clips and Cable Raceway Systems

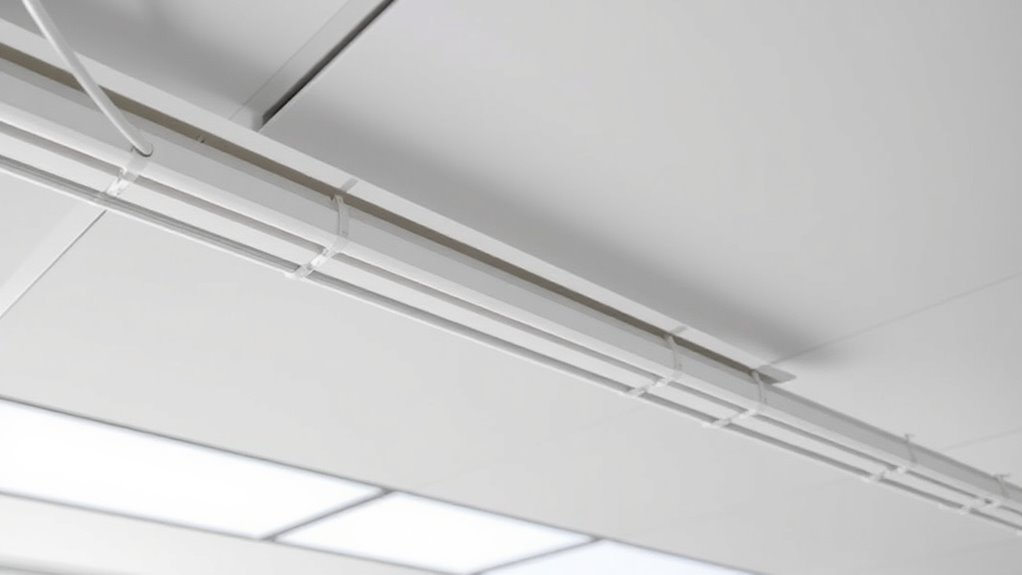
Once you’ve gathered your tools and materials, securing your cables effectively is the next step. Use cable clips to keep your cables neatly routed along beams or walls, preventing sagging and tangling. Attach clips at regular intervals to maintain a clean, organized cable route. Cable raceways offer a more structured solution, guiding multiple cables along a designated path and protecting them from damage. As you route the cables, remember to label each one clearly with cable labels or markers; this makes future adjustments easier. Secure cables firmly but avoid over-tightening, which could damage the wires. Proper cable routing combined with clear labeling ensures your ceiling mount stays tidy, reduces clutter, and simplifies troubleshooting or upgrades later on. Incorporating flexible cable management solutions can further improve organization and accessibility. Additionally, considering personality traits that influence organization, such as conscientiousness, can help maintain a clean setup over time. Employing industry best practices for cable management can also prevent potential hazards and improve overall safety.

Barkan 7-12 inch Full Motion - 4 Movement Tablet Mount for Wall & Cabinet 3 lbs White Firm Tablet Clamp 360 Degree Rotation
► 5 YEAR WARRANTY - This mount was tested with 4 times its declared weight. 100% of Barkan...
As an affiliate, we earn on qualifying purchases.
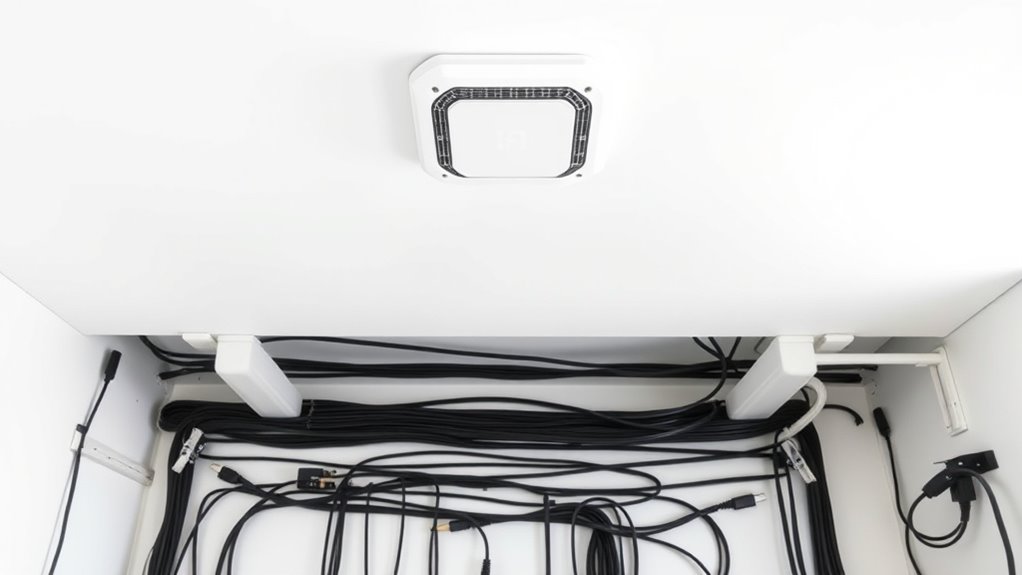
Hiding Excess Cables With Cable Sleeves and Concealers
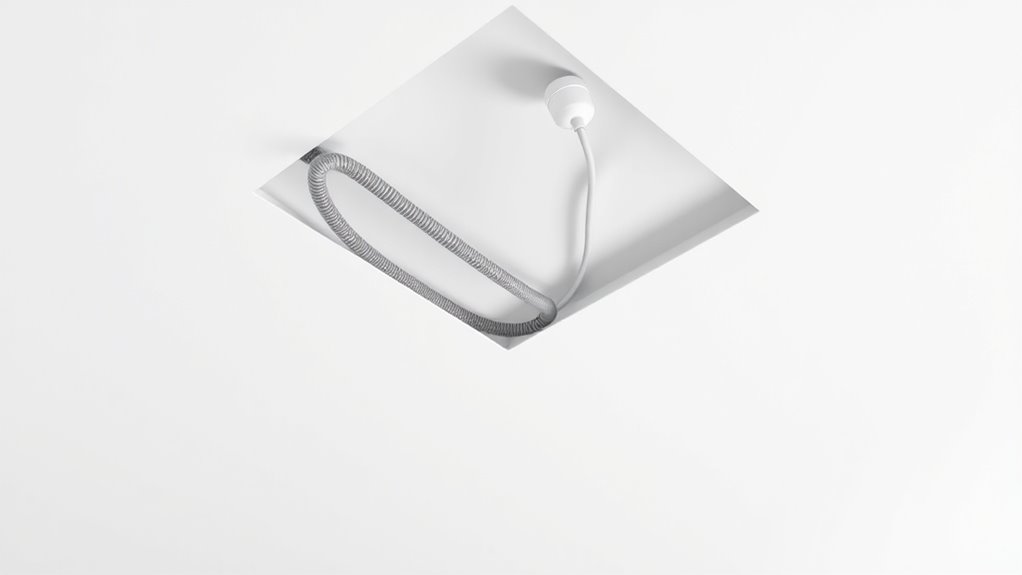
Hiding excess cables with cable sleeves and concealers is an effective way to create a clean, professional look for your setup. Cable sleeves neatly enclose multiple wires, reducing clutter and protecting cables from damage. Choose flexible, durable cable sleeves that fit your cable bundle tightly. Concealer options, such as adhesive cable channels or paintable covers, help hide cables along walls or ceilings seamlessly. These options allow you to customize the appearance, making cables less noticeable and more organized. When selecting cable sleeves and concealers, consider ease of installation and compatibility with your space. Properly hiding excess cables not only improves aesthetics but also enhances safety by preventing tripping hazards. Using materials suitable for your environment ensures that your concealers remain durable and effective over time. Managing cables with the right concealer options ensures your ceiling mount will look tidy and well-managed.
Final Tips for Maintaining a Tidy and Safe Ceiling Space
Maintaining a tidy and safe ceiling space requires regular checks and proactive organization. Start by inspecting your cables for wear, damage, or loose connections to guarantee cable safety. Clean dust or debris that can cause overheating or fire hazards. Use cable ties or clips to keep wires neatly bundled and prevent sagging, which can create clutter and safety issues. Consider aesthetic enhancements like concealed cable covers or paintable conduits to improve the overall look. Label cables for easy identification during future adjustments or repairs. Routinely re-evaluate your setup to identify any emerging issues and address them promptly. Staying vigilant helps prevent potential hazards and keeps your ceiling space looking clean and professional. Additionally, implementing proper cable management techniques can significantly enhance safety and organization. Good maintenance guarantees both safety and visual appeal over time. Regular inspection of your electrical wiring ensures any faults are detected early, maintaining a safe environment. Incorporating air quality monitoring devices can also help detect issues related to dust accumulation or poor ventilation that may affect the ceiling space.
Frequently Asked Questions
Can I Install Cable Management Systems Myself Without Professional Help?
Yes, you can definitely install cable management systems yourself. With DIY tips, you’ll find it manageable to handle the installation steps. Start by planning your cable routes, gather the right tools, and follow clear instructions. Make sure to turn off power for safety. With patience and attention to detail, you’ll achieve a clutter-free ceiling mount, saving money and gaining a satisfying sense of accomplishment.
What Are the Best Cable Types for Ceiling Mounting?
When choosing cable types for ceiling mounting, you want options that offer great cable flexibility and high insulation ratings. Flexible cables like speaker or low-voltage wires are easy to route and adjust, while cables with high insulation ratings guarantee safety and durability in ceiling environments. Look for cables specifically designed for in-wall or ceiling use, and always check their insulation ratings to match your project’s safety and performance needs.
How Do I Ensure Fire Safety With Ceiling Cable Installations?
To guarantee fire safety with ceiling cable installations, you need to use cables with proper insulation rated for your environment. Always choose fire-resistant or low-smoke, zero-halogen cables to reduce fire risk. Secure cables properly to prevent damage, and avoid overloading circuits. Regularly inspect your wiring for signs of wear or damage, and follow local electrical codes. Proper insulation and careful installation are key to maintaining a safe ceiling setup.
Are There Weight Limits for Ceiling-Mounted Cables and Accessories?
Did you know that improper ceiling cable installation can lead to accidents? When considering weight capacity, it’s vital to assess the structural support of your ceiling. Most cables and accessories have specific weight limits, typically between 5 to 20 pounds, depending on the mounting hardware. Always check the manufacturer’s guidelines to make sure you don’t overload the support system, keeping your setup safe and secure.
How Often Should I Inspect Ceiling Cable Management for Safety?
You should inspect your ceiling cable management regularly to guarantee safety. An appropriate inspection schedule is at least once every three to six months. During these safety checkpoints, look for any signs of wear, loose fittings, or damage. Promptly address issues you find to prevent accidents or cable failure. Regular inspections help maintain a secure setup, giving you peace of mind and extending the life of your ceiling-mounted cables.
Conclusion
Think of your ceiling as a garden—tend it carefully, and your space will flourish. When you organize cables neatly, it’s like pruning away clutter to let your setup shine. Remember, a tidy ceiling isn’t just about looks; it keeps things safe and functional. With a little effort, your clutter-free space will grow into a beautiful, worry-free oasis—proof that even small changes can transform chaos into calm.