To install your projector, start by selecting sturdy, adjustable mounting brackets suitable for your device’s weight and size, then mark and secure them to your ceiling or wall, ensuring level alignment. Next, prepare for wiring by planning connections like HDMI, power, and audio, routing cables neatly using clips or conduits, and turning off power before connecting. Finally, test your setup, adjust the image focus, and organize cables for a clean look—continuing further reveals detailed steps for a smooth installation.
Key Takeaways
- Measure and mark the mounting location, ensuring compatibility with projector size and weight.
- Securely attach sturdy, adjustable brackets to the ceiling or wall, checking for level alignment.
- Plan wiring routes for HDMI, power, and audio, avoiding hazards and organizing cables with clips or conduits.
- Connect cables securely, avoiding sharp bends, and test projector inputs and outputs for proper function.
- Finalize installation by adjusting focus and image settings, organizing cables neatly, and verifying stable operation.

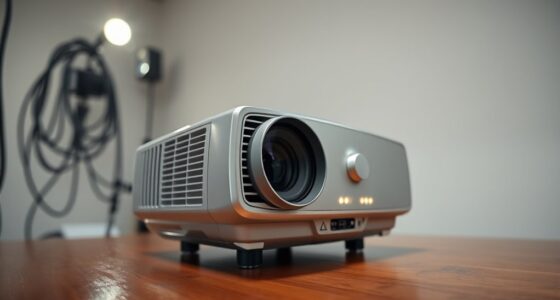
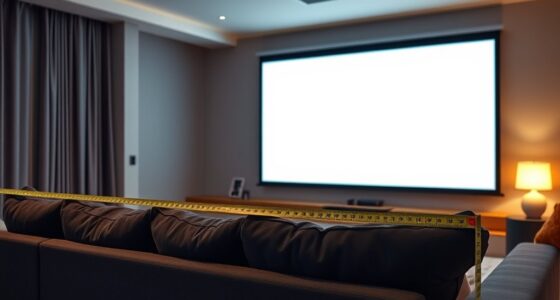
Are you ready to set up your projector smoothly and efficiently? The first step involves selecting the right mounting brackets, which are indispensable for securing your projector safely and at the correct angle. When choosing mounting brackets, consider the weight and size of your projector to guarantee compatibility. Look for sturdy, adjustable brackets that can accommodate different mounting positions and allow you to fine-tune the projector’s alignment. Once you have the right brackets, measure the distance from your ceiling or wall to the desired projection area, and mark the spots where you’ll install the brackets. Make sure to use a level to keep everything aligned properly. Drilling into walls or ceilings requires caution; check for any electrical wiring or plumbing behind the mounting surface to avoid accidents. After securing the brackets, attach the projector to them, making sure it’s firmly fixed and stable. This setup provides a solid foundation for your projector, preventing movement or misalignment during use.
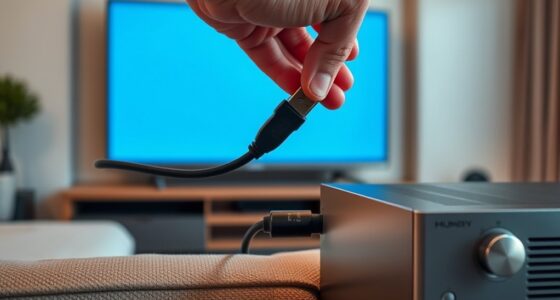
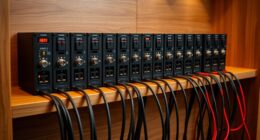
Next, focus on configuring the wiring for your projector. Proper wiring configurations are vital for a clean setup and reliable operation. Start by determining what connections your projector needs—HDMI, VGA, power, and possibly audio cables. Before plugging anything in, turn off the power to avoid electrical hazards. If your projector has multiple input options, choose the one that best suits your device for maximum performance. Carefully route the cables through the mounting brackets or along the wall to hide them from view, creating a tidy appearance. Use cable clips or conduits to keep wiring organized and prevent tangling. When connecting power, ensure your outlet supplies enough voltage and is grounded correctly. If your setup requires extension cords, use high-quality ones rated for the power load to prevent overheating. For HDMI or VGA cables, avoid sharp bends or excessive tension, as this can impair the signal quality. If you’re connecting to a home theater system or other devices, double-check that your inputs and outputs match and are compatible. During this process, double-check all connections to guarantee they’re secure. Loose connections can cause flickering images or loss of signal. Additionally, selecting a projector with a high contrast ratio can greatly improve the perceived image quality, especially in darker viewing environments. Once everything is wired and connected, power on your projector and test each input to confirm that the image displays correctly and that audio (if applicable) works seamlessly. Proper wiring configurations not only guarantee good performance but also facilitate future adjustments or troubleshooting.

SOULWIT 50Pcs Self Adhesive Cable Management Clips - Black
- 🔷SUPER EASY TO USE: Stick to clean surface, open...
- 🔷PREMIUM MATERIAL: Made from eco-friendly Polyamide66 material,...
- 🔷STICKY IN MANY SURFACES: Works on all clean surfaces...
As an affiliate, we earn on qualifying purchases.
Frequently Asked Questions
How Do I Choose the Best Projector for My Room Size?
You should pick a projector based on your room size by considering the screen size and room lighting. For larger rooms, go for a projector with higher lumens to make certain bright images, especially if there’s ambient light. Match the screen size to your space to avoid image distortion. In darker rooms, you can opt for a projector with lower lumens, but always prioritize clarity and brightness for the best viewing experience.
What Safety Precautions Should I Take During Installation?
Think of safety as your guiding star during installation. You should always prioritize electrical safety by avoiding overloaded outlets and inspecting cords for damage. Use a sturdy ladder and follow ladder precautions to prevent falls. Keep the workspace clear of clutter, and turn off power when connecting or disconnecting electrical components. Wearing gloves and eye protection adds extra safety. Remember, staying cautious guarantees your installation is safe and successful.
Can I Install a Projector on a Ceiling With a Sloped Surface?
Yes, you can install a projector on a sloped ceiling using specialized mounting brackets designed for angled surfaces. First, make certain these brackets are compatible with your projector and securely attach them to ceiling fixtures or reinforcement points. Adjust the brackets to match the slope, then carefully mount the projector, ensuring it’s level and stable. This approach guarantees a secure, professional setup even on uneven ceiling surfaces.
How Do I Connect My Projector to Wireless Devices?
Worried about wireless woes? You just need to connect your projector with a wireless display feature, making device compatibility key. First, turn on your projector’s wireless mode, then make certain your device’s Wi-Fi is active. Select your projector from the available devices, pair them, and confirm the connection. With a quick setup, you’ll seamlessly share screens, stream shows, and stay synchronized without tangled cables or tech troubles.
What Maintenance Is Required After Installation?
After installation, you need to regularly clean the filters to prevent dust buildup and guarantee ideal airflow. Keep an eye on your projector’s bulb life, and replace the bulbs as recommended by the manufacturer to maintain brightness and image quality. Additionally, check for any dust or debris on the lens and vents, and clean them gently. Performing these maintenance tasks will prolong your projector’s lifespan and keep your images sharp.

XHF 120 PCS Adhesive Cable Wire Clips Black, Outdoor Christmas Light Clips, Cable Management Wire Organizer Cord Holder for Under Desk, Car, Wall, TV PC Ethernet Cable
- High quality material:XHF Adhesive Cable Clips are manufactured...
- Widely used: USB Cable, Ethernet Cable, Outdoor...
- Size: Base 5/8" x 5/8", inner...
As an affiliate, we earn on qualifying purchases.
Conclusion
Now that you know how to install your projector step by step, you’re well on your way to creating a perfect home theater or presentation space. Just remember, patience and attention to detail pay off in the end. Don’t rush the process—sometimes, it’s the little things that make a big difference. Keep your cool, follow the steps carefully, and you’ll have a setup that works smoothly and looks great. Rome wasn’t built in a day, after all!

120PCS XHF Adhesive Cable Wire Clips White, Cable Staples Outdoor Cable Management Wire Organizer Cord Holder for Under Desk, Car, Wall, TV PC Ethernet Cable
- High quality material:XHF Adhesive Cable Clips are manufactured...
- Widely used: USB Cable, Ethernet Cable, Outdoor...
- Size: Base 5/8" x 5/8", inner...
As an affiliate, we earn on qualifying purchases.
HAPPRUN Native 1080P Outdoor Smart Projector-Standard
- [ Native 1080P Full HD Resolution ] -...
- [ Mini & Portable ] - Designed to...
- [ Bluetooth 5.1 Technology ] - Connect your...
As an affiliate, we earn on qualifying purchases.