
To make sports footage look smoother, the key trick is to increase your camera’s frame rate—shooting at 120 fps or higher captures fast movements more fluidly and minimizes choppiness. Pair this with a fast shutter speed to freeze action and reduce motion blur. Proper stabilization and good lighting also help improve quality. Keep experimenting with these settings, and you’ll discover how small adjustments can elevate your footage for a smoother viewing experience.
Key Takeaways
- Use higher frame rates, like 120 fps, to achieve smoother slow-motion playback of fast sports movements.
- Stabilize your camera with gimbals or tripods to prevent shakes and jitters during action shots.
- Increase shutter speed to freeze rapid motion and reduce motion blur for clearer footage.
- Properly adjust lighting and keep lenses clean to maintain image clarity and prevent flickering.
- Apply editing techniques such as frame blending and stabilization to enhance overall video smoothness.

Official Licensed Google TV Smart Projector, HAPPRUN 4K UHD Home Theater with Dolby Sound, Wi-Fi & Bluetooth, Built-in Streaming Apps, Compatible with Games Consoles & Smartphone, Indoor & Outdoor Use
[ Built-in Official Licensed Google TV ] - Without additional equipment, the smart projector can directly access Netflix,...
As an affiliate, we earn on qualifying purchases.
Why Frame Rate Is Key to Smooth Sports Footage
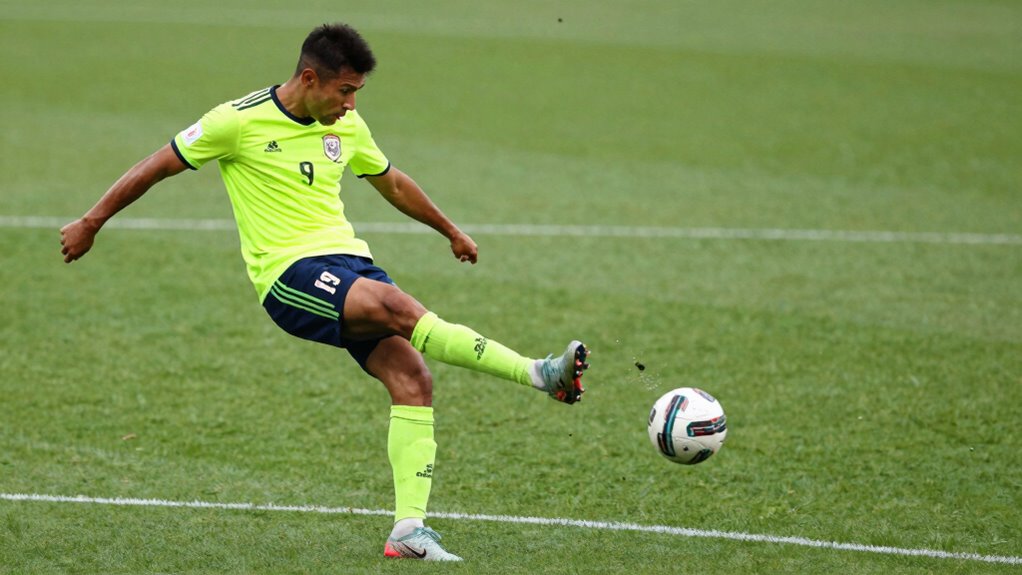
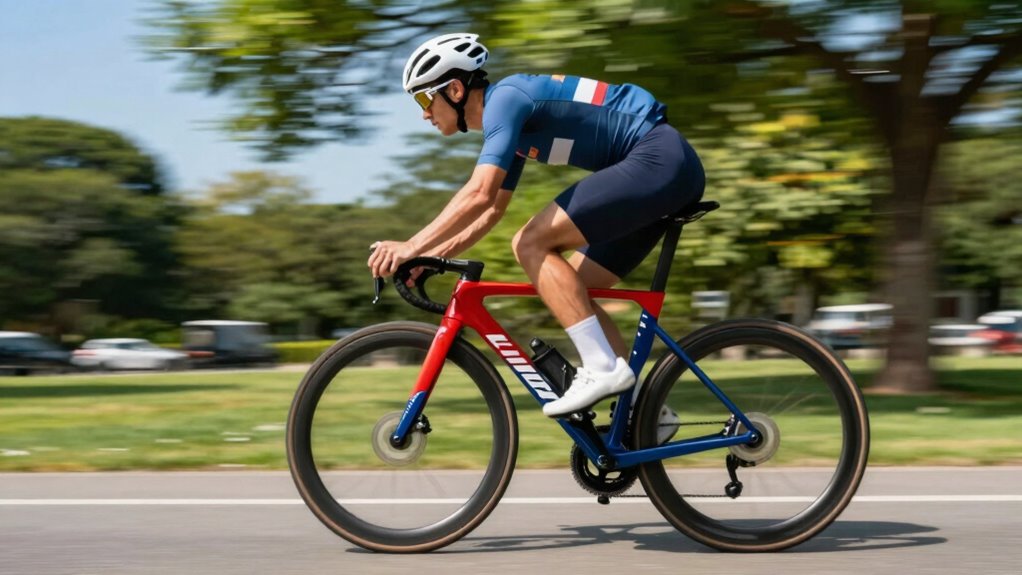
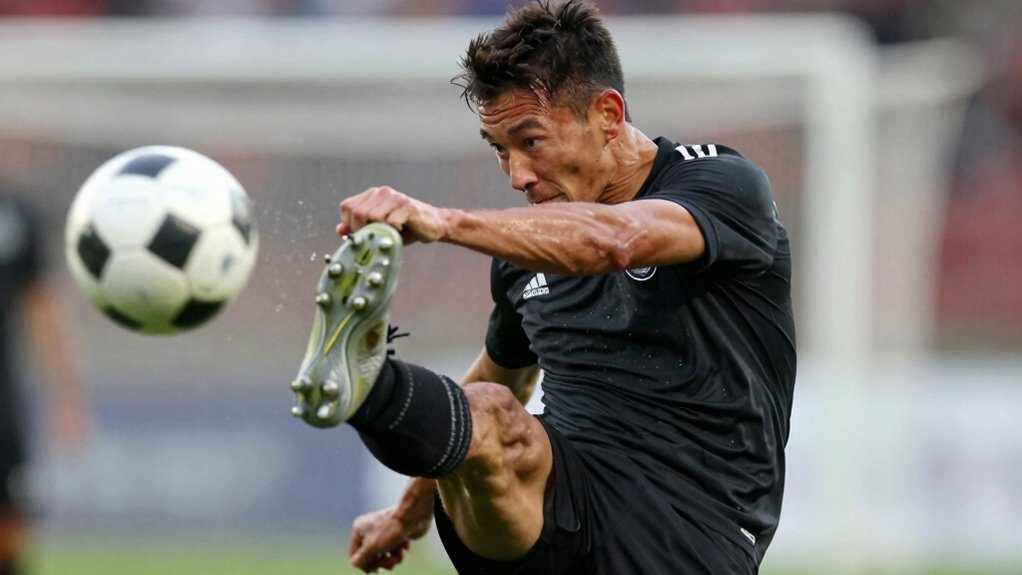
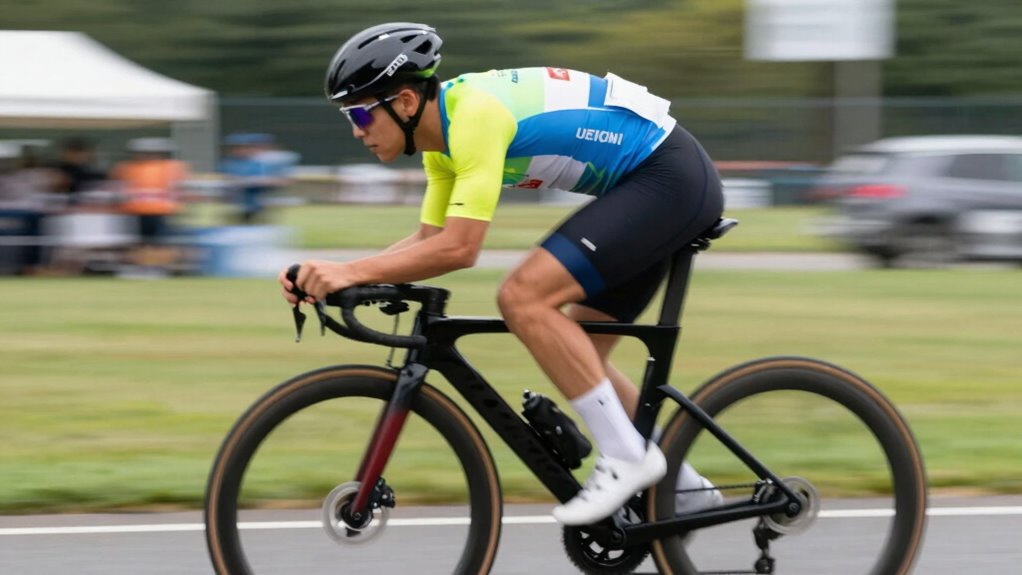
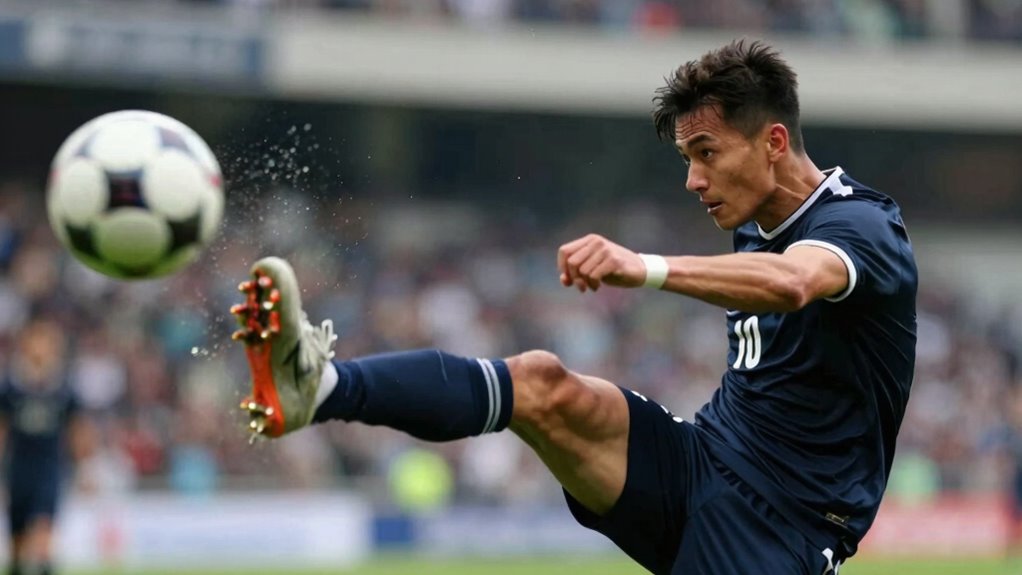
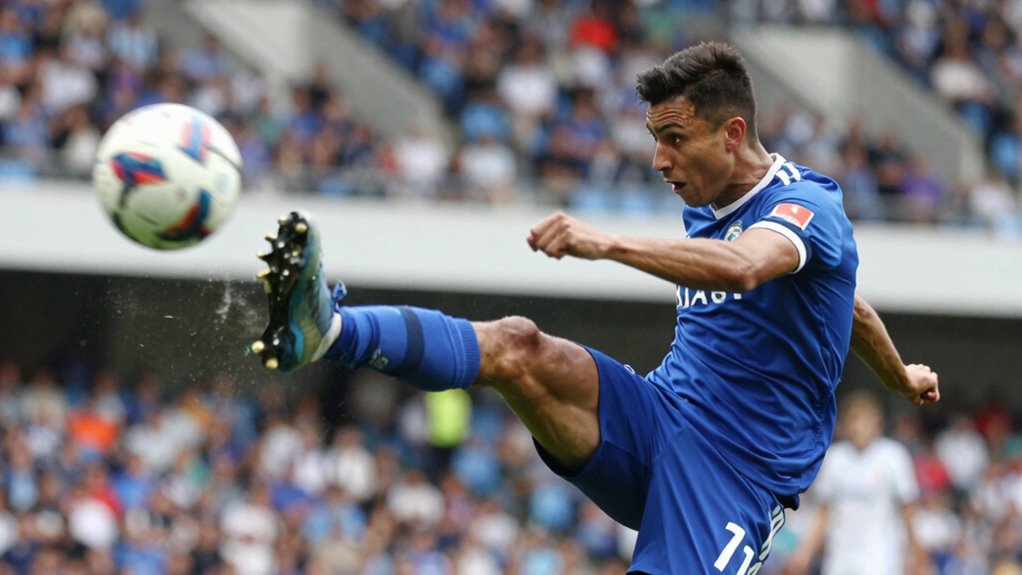
Since frame rate directly affects how smooth sports footage appears, understanding its significance is crucial. When you use a sports camera, selecting the right frame rate ensures your footage captures fast-paced action clearly. Higher frame rates, like 120 fps, make motion smoother and more natural, reducing blur and choppiness. This is especially important during rapid movements, such as a basketball dunk or a soccer kick. Frame interpolation technology can also enhance footage by creating intermediate frames, further smoothing the motion. Without proper frame rate settings, your videos might look jittery or choppy, undermining the excitement of the sport. Understanding media literacy can help you choose the best settings and interpret sports footage more accurately. Proper frame rate selection is essential for professional-looking recordings that capture every detail crisply and seamlessly, elevating the overall quality of your sports recordings. Additionally, selecting the optimal refresh rate for your display can improve how smoothly the footage appears during playback, making the viewing experience more immersive. Considering the hardware capabilities of your camera and display ensures that your equipment can support the desired frame rates effectively. Being aware of media playback options can also help you optimize your viewing setup for smoother sports footage.

Valerion StreamMaster Plus 4K Laser Projector - 300" IMAX Enhanced Home Theater, 4ms |240Hz Response, Gaming Projector with 3D & Dolby Vision, HDR10, GTV, Smart Home & AI Assistant
Speed and Power Like Never Before - Experience unmatched speed with the AI-9618 chipset, 4GB RAM/ 128GB ROM—delivering...
As an affiliate, we earn on qualifying purchases.
Choosing the Best Frame Rate for Different Sports
Choosing the right frame rate depends on the type of sport you’re filming. For fast-paced action, higher frame rates help capture every detail, while slower rates can make slow-motion shots clearer. Finding the right balance makes sure your footage looks smooth and professional, no matter the sport. Additionally, understanding essential oils for motion sickness can help reduce viewer discomfort during extended filming sessions or when using stabilizing equipment.
Fast-Paced Action Capture
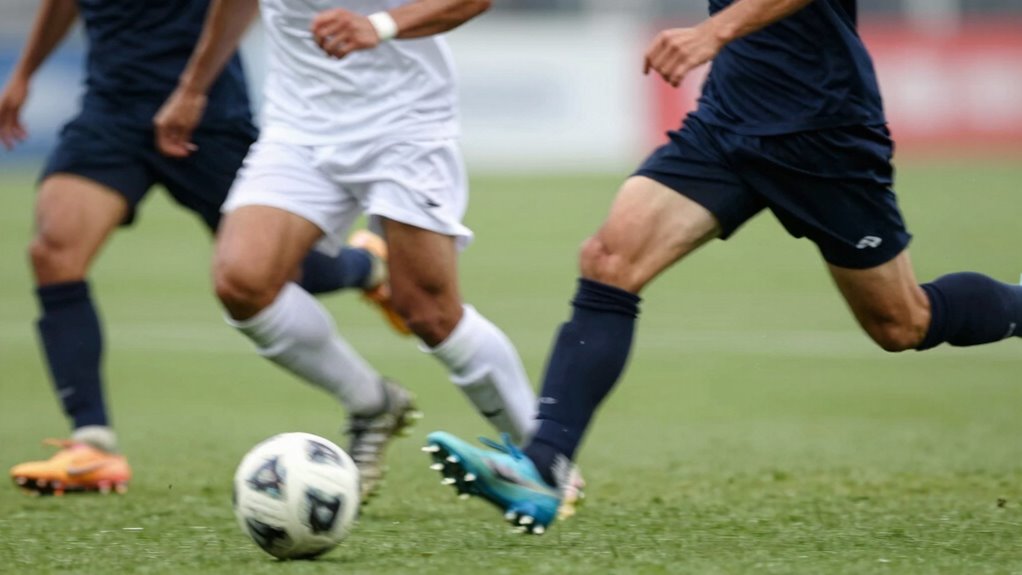
Capturing fast-paced sports requires selecting the right frame rate to keep action smooth and clear. To do this, consider how camera angles and athlete positioning influence your shot. A higher frame rate, like 120 fps, captures rapid movements without blur, essential for sports with quick actions. Adjust your frame rate based on the sport’s speed and your desired detail. Remember these points:
- Use multiple camera angles to frame athletes from different perspectives
- Focus on athlete positioning to anticipate movement and stay in focus
- Balance frame rate with shutter speed to prevent motion blur and retain clarity
Choosing the right combination ensures you capture every intense moment seamlessly, making your footage look professional and dynamic.
Slow-Motion Clarity
To achieve stunning slow-motion footage, selecting the right frame rate is crucial, as it directly affects the clarity and smoothness of your shots. Higher frame rates, like 120 fps or more, capture more detail, making slow-motion scenes crisp and fluid. Consider your camera angles to emphasize key moments; different angles may require varying frame rates for ideal clarity. Be mindful of sound synchronization; slower frame rates can cause audio to appear out of sync if not properly adjusted. Use a consistent frame rate suited for the sport’s speed—fast sports benefit from higher rates, while slower events can use lower rates without sacrificing quality. By choosing the appropriate frame rate, you ensure your slow-motion shots are both clear and seamlessly integrated into your overall footage.
Balancing Frame Rate
Selecting the right frame rate depends on the type of sport you’re filming, as different activities demand different levels of motion clarity. For fast-paced sports like basketball or soccer, higher frame rates (60fps or more) help capture quick movements smoothly, aiding in sports analytics and athlete training. Conversely, slower sports like golf or baseball benefit from lower frame rates, emphasizing detail and precision. Consider these points:
- Higher frame rates improve motion clarity, essential for detailed analysis.
- Lower frame rates can create a more cinematic look but may miss rapid actions.
- Balance frame rate with your intended use—whether for real-time coaching or post-game review.
- Choosing the appropriate video resolution and frame rate combination can further enhance the clarity and usefulness of your footage.
- Remember that video quality depends not only on frame rate but also on proper lighting and camera settings, which are crucial for optimal results.
Adjusting your frame rate guarantees you capture essential details, making it easier to analyze athlete performance and improve training strategies.

2000 ANSI 4K Decoding Projector with WiFi and Bluetooth, HAPPRUN Movie Home Theater with Auto Focus, 300'' Display for Indoor/Outdoor, Smart Proyector Compatible with Phone/TV Stick/PC/PS5
[EASIER OPERATION: AI Smart Screen Adjustment] HAPPRUN projector comes with auto focus and 6D auto-keystone technology, enjoy a...
As an affiliate, we earn on qualifying purchases.
How to Set Your Camera for Clear, Smoother Shots
Setting your camera correctly is essential for achieving clear, smooth sports shots. Start by choosing the right camera angles to capture the action effectively, ensuring you frame your subject without unnecessary distractions. Adjust your camera’s position to follow the movement naturally, minimizing the need for excessive cropping later. Pay close attention to lighting conditions; in bright daylight, lower ISO settings prevent graininess, while in low light, increase ISO carefully to avoid noise. Use a stable tripod or gimbal to maintain steady shots, especially when working with longer lenses. Properly setting your camera’s focus mode, such as continuous autofocus, helps keep fast-moving subjects sharp. Additionally, familiarizing yourself with regional flavors and pairings can inspire creative shot compositions that highlight vibrant scenes. Being aware of camera settings optimized for motion can further enhance the smoothness of your footage. Understanding how camera stabilization works can significantly reduce unwanted shake and improve overall video quality. Practicing with different shutter speeds allows you to capture motion more smoothly and prevent blurring. By optimizing angles and lighting, you set a strong foundation for smooth, clear footage.

Epson Home Cinema 980 3-Chip 3LCD 1080p Projector 4,000 Lumens Color and White Brightness, Streaming/Gaming/ Media Room, Built-In Speaker, Auto Picture Skew, 16000:1 Contrast, 2 HDMI Ports
Exceptional Picture Quality — Provides stunning, detailed 1080p images and fast data processing that’s optimized for fast-action sports,...
As an affiliate, we earn on qualifying purchases.
How Shutter Speed Affects Motion Blur in Sports Videos
Shutter speed plays a crucial role in capturing the motion in sports videos, directly influencing how smooth or blurred the action appears. A faster shutter speed freezes fast movements, reducing motion blur and providing crisp detail. Conversely, a slower shutter speed introduces more blur, which can convey speed but may reduce clarity. Your camera sensor’s capabilities and shutter angle settings determine how effectively you can control this balance. Adjusting the shutter angle affects how long the sensor is exposed to light, impacting motion blur. To optimize your footage, consider:
- Using faster shutter speeds for sharp, detailed action shots
- Balancing shutter speed with lighting conditions to avoid underexposure
- Understanding your camera sensor’s limits to prevent unwanted artifacts
- Being aware of water damage risks that can affect your camera equipment and compromise footage quality. Additionally, sensor performance varies across models and influences how well you can manipulate shutter speed for different lighting environments. Properly managing shutter speed also helps prevent motion artifacts that can distract viewers and diminish the overall quality. Mastering shutter speed helps you craft sports videos that look smooth, dynamic, and visually engaging. Being mindful of your camera’s shutter control capabilities allows for more precise adjustments and better creative results.
Practical Tips to Reduce Motion Blur When Recording Sports
To effectively reduce motion blur during sports recordings, focus on adjusting your camera settings and techniques. Use a fast shutter speed to freeze fast-moving action, which is essential for capturing sharp footage of athletes and sports equipment. Stabilize your camera with a tripod or gimbal to prevent unwanted shakes that contribute to blurriness. Keep your lens clean to guarantee clear images, especially when zooming in on distant action. Properly framing shots enhances the spectator experience by highlighting key moments clearly. Additionally, shoot in well-lit environments or use additional lighting if needed; good lighting allows for faster shutter speeds without sacrificing image quality. Understanding your camera’s settings and features can make a significant difference in capturing high-quality footage. Also, familiarizing yourself with camera mechanics helps in making quick adjustments during live sports events. Being aware of how lighting conditions impact motion blur can help you decide when to adjust your camera settings for optimal results. For example, practicing with your camera in different lighting environments allows you to adapt quickly during live action. By implementing these tips, you’ll produce smoother, more professional-looking sports videos that keep viewers engaged and immersed in the action.
Editing Tricks to Make Your Sports Footage Look Smoother

Editing Tricks to Make Your Sports Footage Look Smoother You can enhance your sports footage by using editing techniques like frame blending and applying motion blur to create a smoother look. Adjusting the frame rate also helps maintain fluid motion and reduces choppiness. Experimenting with these tricks can make your videos look more professional and dynamic. Incorporating AI-powered editing tools can further optimize footage by automating enhancements and ensuring a seamless viewing experience. Additionally, understanding the impact of engine upgrades like flywheels can inspire more dynamic driving shots to capture smoother car movements. Utilizing knowledge of filtration and suction basics can also help preserve your equipment’s performance, resulting in cleaner footage free of dust or debris. Moreover, leveraging smart thermostat protocols can assist in maintaining optimal environmental conditions during shooting sessions, ensuring equipment operates smoothly.
Use Frame Blending
When footage appears choppy or jittery, applying frame blending can create a much smoother look. This technique works by combining adjacent frames to generate intermediate images, reducing flicker and stutter. As you use different camera angles, frame blending helps maintain consistency across shots, making transitions seamless. It also aids in audio synchronization, preventing audio from feeling out of sync with the visuals during fast motion. To maximize its effect, keep these points in mind:
- Understand when frame blending enhances motion without causing ghosting
- Adjust settings carefully to balance smoothness and clarity
- Use it selectively for scenes with rapid movement or multiple angles
Apply Motion Blur
Applying motion blur is a powerful editing trick that can considerably enhance the smoothness of your sports footage. When adding motion blur, focus on how camera stabilization impacts the overall look—less shaky footage makes the effect more natural. Carefully select your lens; wider lenses with smoother focus transitions help create a more seamless motion blur. Many editing programs allow you to add or adjust motion blur directly, giving your footage a fluid appearance. Be cautious not to overdo it, as excessive blur can look unrealistic. Properly applying motion blur can mask minor camera movements and enhance the sense of speed, making fast-paced action feel more dynamic. Combining good camera stabilization, thoughtful lens selection, and precise motion blur application results in a polished, professional look.
Adjust Frame Rate
Adjusting the frame rate during editing can considerably improve the smoothness of sports footage. By changing the frame rate, you can create a more fluid motion that feels natural to viewers. Higher frame rates, like 60fps or 120fps, help reduce choppiness and emphasize fast-paced action, especially when combined with effective camera stabilization and lighting enhancement. When editing, consider these points:
- Use higher frame rates to capture smoother motion and compensate for shaky footage.
- Adjust lighting to ensure clarity, making the enhanced frame rate more effective.
- Stabilize your footage before changing the frame rate to avoid jittery results.
These tweaks work together to make your sports videos look professional, dynamic, and engaging—bringing viewers closer to the action.
Common Mistakes That Make Sports Videos Look Choppy: And How to Avoid Them
One common mistake that causes sports videos to look choppy is using a frame rate that’s too low for fast-paced action. This results in jarring motion and a less immersive experience. Additionally, poor camera angles can make footage feel disjointed, while bad lighting conditions cause inconsistent exposure, emphasizing choppiness. To avoid these issues, choose stable, dynamic camera angles that follow the action smoothly. Ensure your lighting is even and sufficient to prevent flickering or dark spots. Here’s a quick overview:
| Mistake | Solution |
|---|---|
| Low frame rate | Use higher fps for smoother motion |
| Poor camera angles | Use multiple, well-placed angles |
| Inadequate lighting | Improve lighting for consistent exposure |
| Unsteady shots | Use stabilization equipment |
| Quick zooms or pans | Limit rapid movements to reduce choppiness |
Troubleshooting Tips for Smoother Sports Video Quality

To improve your sports videos’ overall smoothness, start by troubleshooting common issues that cause choppiness. First, check audio synchronization; mismatched audio and video can distract viewers and reduce perceived quality. Ensure your audio aligns perfectly with the footage to maintain immersion. Next, focus on camera stabilization—shaky footage instantly appears unprofessional. Use stabilizers or tripod mounts to keep your shots steady. Finally, review your camera settings: high frame rates help achieve smoother playback, especially during fast motion. Remember these key points:
Ensure smooth sports videos by stabilizing footage, syncing audio perfectly, and shooting at higher frame rates.
- Maintain proper audio synchronization for clarity.
- Use camera stabilization tools to eliminate shake.
- Shoot at higher frame rates for fluid motion.
Addressing these issues guarantees your sports videos look polished, professional, and smooth, enhancing viewer experience.
Frequently Asked Questions
What Equipment Can I Use to Improve Sports Footage Smoothness?
To improve sports footage smoothness, you can use stabilization gear like gimbals or steadicams, which reduce shaky movements. Additionally, shooting with high frame rate cameras allows you to capture fast action smoothly and provides more flexibility in post-processing. Combining these tools helps you achieve professional-looking, fluid footage, making the sports action appear seamless and dynamic. This setup guarantees your footage stays steady, clear, and engaging for viewers.
How Does Lighting Impact the Clarity of Sports Videos?
Lighting is the backbone of clear sports videos, like a lighthouse guiding ships through fog. Proper lighting optimization guarantees your camera stabilization captures sharp, vibrant footage. Bright, even lighting reduces shadows and motion blur, making fast-paced action crisp and detailed. Without it, your shots can appear dull or shaky. So, invest in good lighting, and you’ll see your sports videos transform into dynamic, smooth visuals that truly stand out.
Can Post-Production Software Enhance Motion Fluidity?
Yes, post-production software can enhance motion fluidity by using video stabilization and frame interpolation. Video stabilization reduces shaky footage, making movements appear smoother and more natural. Frame interpolation adds extra frames between existing ones, creating seamless motion and reducing choppiness. By applying these techniques, you can markedly improve the overall quality of sports videos, making fast-paced action look more fluid and easier to follow for viewers.
Are There Specific Settings for Different Sports Camera Angles?
Yes, you should adjust camera stabilization settings and select lenses tailored to each sport’s dynamics. For fast-paced sports, opt for stabilization to reduce shake and choose lenses with appropriate focal lengths for close-up action or wide shots. For example, use a telephoto lens for football and a wide-angle for skateboarding. Fine-tuning these settings guarantees smoother footage, making the sport look more dynamic and professional.
How Does Athlete Movement Speed Influence Camera Choice?
Think of athlete movement speed as a river rushing past you. When it’s fast, you need a higher frame rate to freeze motion and reduce blur, capturing every splash clearly. Slower movements allow for lower frame rates, creating a natural look. Adjusting your camera’s frame rate based on speed helps control motion blur, making fast plays sharp and dynamic, while slower actions appear smooth and fluid.
Conclusion
Did you know that shooting sports footage at higher frame rates, like 120fps, can make fast-paced action look incredibly smooth? By mastering your camera settings and applying simple editing tricks, you can transform choppy footage into professional-looking videos. Remember, nearly 70% of amateur sports videos suffer from motion blur or choppiness—so applying these tips will help you stand out. Keep experimenting, and you’ll capture sleek, seamless sports highlights every time.