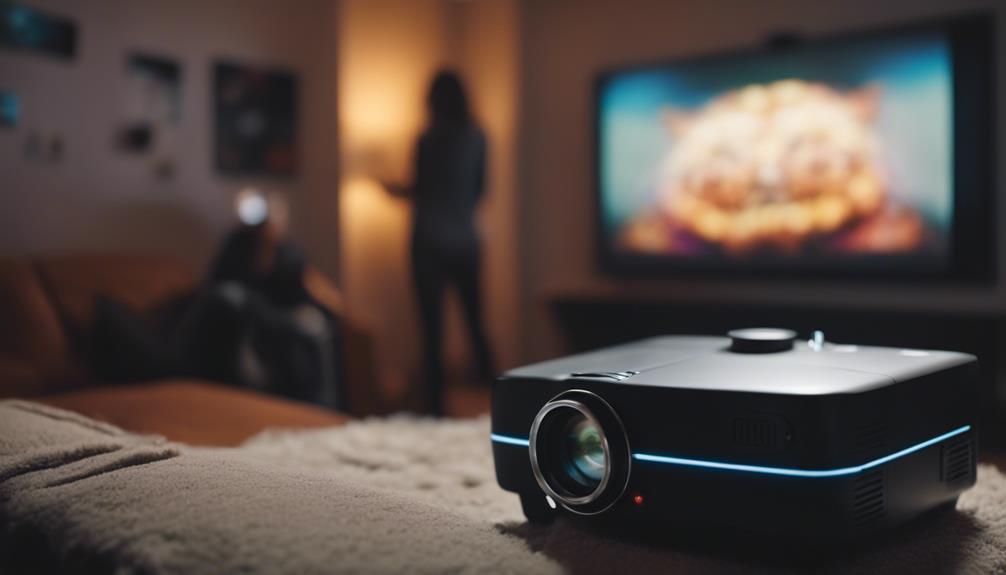
To set up Picture-in-Picture (P-in-P) with your projector, start by ensuring it supports the feature and that you have multiple HDMI inputs. Power on the projector and select your primary HDMI source. Press the P-in-P button to display the sub-screen. You can adjust its size and position using the menu options. Make sure there are no 3D or 4K images being projected, as they won't work with P-in-P. If your sub-screen isn't displaying correctly, check all connections and settings. There's so much more about optimizing this feature that can elevate your viewing experience!
Key Takeaways
- Ensure your projector supports Picture-in-Picture (P-in-P) and has multiple HDMI inputs for seamless connectivity.
- Power on the projector, select the desired HDMI source, and press the P-in-P button to activate the sub-screen.
- Adjust the size and position of the sub-screen using the menu button for optimal visibility and comfort.
- Confirm that all connected devices are powered on and compatible with HDMI or WirelessHD formats.
![[Built-in Apps/4K Support] Smart Outdoor Projector with WiFi and Bluetooth, Movie Projector, DoIby Audio with Dual Speaker, Auto Focus w/ YouTube&PrimeVideo Proyector, Upgrad P62 Pro](https://m.media-amazon.com/images/I/51yAGv8VI7L._SL500_.jpg)
[Built-in Apps/4K Support] Smart Outdoor Projector with WiFi and Bluetooth, Movie Projector, DoIby Audio with Dual Speaker, Auto Focus w/ YouTube&PrimeVideo Proyector, Upgrad P62 Pro
[Upgraded Classic – P62 Pro Movie Projector] Building on the reliability and low return rate of the classic...
As an affiliate, we earn on qualifying purchases.
Understanding Picture-in-Picture

Picture-in-Picture (P-in-P) lets you view two video sources at once, making it easier to multitask during presentations or movie nights. This feature is perfect for those who want to display an HDMI video source alongside another source, enhancing your viewing experience.
You can easily activate P-in-P by powering on the projector, selecting your desired HDMI or WirelessHD source, and pressing the P-in-P button on your remote control.
Once you've activated P-in-P, you'll have the ability to adjust the size and position of the sub-screen, ensuring that both video sources are visible and comfortable to watch. Using the menu button, you can customize the layout to suit your needs.
If you ever need to switch the main and sub-screen video sources, just hold the P-in-P button for three seconds, and you'll have quick access to alternate content without any hassle.
Keep in mind that P-in-P won't work with 3D or 4K image projections, so plan accordingly. This feature truly enhances your multitasking capabilities, making it a valuable tool for both work and entertainment.
![[Officially-Licensed App & Auto Focus]White Smart Mini Projector with WiFi and Bluetooth, XuanPad 4K Support Movie Projector, Portable Native 1080P Outdoor Projector with 360° Stand](https://m.media-amazon.com/images/I/51I8uy-U8bL._SL500_.jpg)
[Officially-Licensed App & Auto Focus]White Smart Mini Projector with WiFi and Bluetooth, XuanPad 4K Support Movie Projector, Portable Native 1080P Outdoor Projector with 360° Stand
Exciting Moments Begin - The XuanPad mini projector compatible with Netflix for the ultimate viewing experience.No extra devices...
As an affiliate, we earn on qualifying purchases.
Required Equipment and Connections

To set up Picture-in-Picture effectively, you'll need to confirm your projector supports this feature and has multiple HDMI inputs for connecting different video sources. First, check the specifications of your projector to verify it can handle P-in-P functionality.
Next, gather high-quality HDMI cables to connect each video source, like gaming consoles, computers, or streaming devices, to the projector. This guarantees superior signal quality and a clear picture. Make sure all connected devices are powered on and set to the appropriate output settings before you proceed.
It's also crucial to verify that your projector's image processing settings aren't set to Fast, as this can disrupt the Picture-in-Picture functionality.
If you're using WirelessHD sources, confirm that your projector is compatible with the specific WirelessHD transmitter and receiver setup for seamless connectivity.
![Outdoor-Projector-4K with WiFi and Bluetooth: [3000 Brightness/50W DoIby/Built-in APPs] Portable-Projector Smart OS 2.0&AI Auto Focus, ONOAYO Movie Proyector Compatible with Netflix/YouTube/PrimeVideo](https://m.media-amazon.com/images/I/41YCwa1cXcL._SL500_.jpg)
Outdoor-Projector-4K with WiFi and Bluetooth: [3000 Brightness/50W DoIby/Built-in APPs] Portable-Projector Smart OS 2.0&AI Auto Focus, ONOAYO Movie Proyector Compatible with Netflix/YouTube/PrimeVideo
[Stream Without Limits - Built-in APPs, Compatible with Netflix] The ONO3Pro 2.0 outdoor projector brings the world’s top...
As an affiliate, we earn on qualifying purchases.
Activating Picture-in-Picture Mode

Once your projector is powered on and you've selected the desired HDMI video source, activating the Picture-in-Picture mode is just a button press away.
Locate the P-in-P button on your remote control and give it a press. This will display a sub-screen in the corner of your main image, allowing you to view multiple sources simultaneously.
If you find the sub-screen too small or not positioned to your liking, you can easily adjust the size and position using the menu button. This flexibility guarantees that the main screen remains your primary focus while still letting you keep an eye on the additional content in the sub-screen.
Before diving into this feature, double-check that you're not trying to project 3D images, as P-in-P mode isn't compatible with 3D projections.
Additionally, verify that your projector's image processing isn't set to Fast, as this could prevent P-in-P from functioning properly.
With these steps, you'll be all set to enjoy your content in an efficient and engaging way!
HAPPRUN Native 1080P Projector, Bluetooth Home Theater Movie Projector with Built-in Speaker, Compatible with Smartphone, HDMI, Fire Stick, PS5, Indoor & Outdoor Use - Without Google TV System
[ Native 1080P Full HD Resolution ] - Enjoy crystal-clear visuals with HAPPRUN H1's native 1920x1080 resolution, delivering...
As an affiliate, we earn on qualifying purchases.
Customizing Sub-Screen Settings

Customizing the sub-screen settings allows you to enhance your viewing experience by adjusting its size and position to better fit your setup.
To get started, simply press the Menu button on your remote control. This opens up the adjustment options for the sub-screen, where you can easily modify its size and position.
When adjusting the size of the sub-screen, make sure it's large enough for visibility but not so overwhelming that it overshadows the main image. Striking this balance helps maintain focus on both sources of content.
Additionally, you can change the position of the sub-screen to a corner that works best for your viewing comfort.
Switching Between Video Sources

Switching between video sources in Picture-in-Picture mode is a breeze with just a quick press of the P-in-P button on your remote. To interchange the main screen and sub-screen sources, simply hold the P-in-P button for three seconds. This feature allows you to effortlessly compare different video inputs, which enhances your overall viewing experience.
Make certain both video sources are connected to the projector, either through HDMI or WirelessHD, to guarantee compatibility with the Picture-in-Picture function. This capability is particularly beneficial during presentations, as it enables seamless shifts between various content types without missing a beat. For example, you can easily switch from a PowerPoint presentation on the main screen to a video feed on the sub-screen, or vice versa.
Utilizing this feature effectively can greatly improve your multitasking capabilities, especially when you need to monitor two sources at the same time. Whether you're watching a movie while browsing the web or conducting a video call while displaying important data, switching video sources in Picture-in-Picture mode keeps everything organized and accessible.
Exiting Picture-in-Picture Mode
Exiting Picture-in-Picture mode is a breeze—just press the P-in-P button on your remote.
This simple action lets you return to normal projection mode without any hassle, keeping your presentation smooth and focused.
Plus, you've got full control over when to shift your viewing preferences, making it easy to adapt as needed.
Quick Exit Process
To quickly return to full-screen viewing, just press the P-in-P button on your remote control to close the sub-screen. This simple action allows you to exit Picture-in-Picture mode, bringing your focus back to the main image.
Whether you're in the middle of a presentation or watching a movie, this quick exit process provides a seamless shift back to regular viewing. You can exit the sub-screen at any time during use, giving you flexibility when you need it most.
If something requires your full attention, you won't have to fiddle with complex settings or navigate through multiple menus. Instead, just a press of the P-in-P button will bring everything back to normal with ease.
This feature enhances your control over your viewing preferences, allowing you to switch back to a single image display effortlessly. By simplifying the exit process, you can maintain the convenience of your setup without any interruptions.
Returning to Normal Mode
You can easily return to normal mode by pressing the P-in-P button on your remote control, closing the sub-screen instantly. This action allows you to exit Picture-in-Picture mode seamlessly, guaranteeing a smooth shift back to a single image display.
When you press the button, the projector will revert to its normal mode without any hassle, making it a user-friendly process. Exiting Picture-in-Picture is particularly beneficial at the end of presentations or sessions, as it helps maintain the flow without interruptions.
You'll appreciate how quickly you can switch back to the primary content, whether you're wrapping up a meeting or showcasing your favorite movie. This straightforward operation not only saves time but also empowers you to control your viewing preferences effectively.
The design of the remote guarantees that returning to normal mode is just a button press away, letting you focus on your presentation or entertainment without unnecessary distractions.
User Control Options
Users have easy control over their viewing experience with the quick option to exit Picture-in-Picture mode by simply pressing the P-in-P button on the remote control.
This action effectively closes the sub-screen, returning you to a full-screen display without any hassle. The quick exit option guarantees seamless shifts from dual viewing back to a single image, making your operation user-friendly.
You can exit the sub-screen at any time, giving you complete control over your viewing preferences. This feature is particularly useful when wrapping up presentations or sessions, allowing you to revert to standard display settings swiftly.
Troubleshooting Common Issues

When using Picture-in-Picture, you might run into some common issues that can be easily resolved.
First, verify your source is compatible and properly connected, as this is essential for the sub-screen to function.
If the sub-screen isn't displaying as you want, adjustments can be made through your projector's settings.
Source Compatibility Problems
Confirming both video sources are HDMI or WirelessHD compatible is essential for successfully setting up Picture in Picture (P-in-P) on your projector.
If your HDMI video source appears, but you can't access P-in-P mode, you might be facing source compatibility problems. Remember, P-in-P only supports HDMI and WirelessHD formats, so avoid using 3D or 4K projections, as they aren't compatible.
Next, check that the projector isn't set to "Fast" image processing mode; this setting can disable the P-in-P feature entirely.
Also, verify that your projector's native resolution matches what the video sources are outputting. If there's a mismatch, you could experience significant image quality issues.
If you're dealing with lag or performance hiccups, consider that extra processing equipment or third-party devices might introduce latency, disrupting the P-in-P functionality.
Finally, confirm all cables are securely connected and in good condition. Faulty or loose HDMI connections can prevent the proper display of both the main and sub-screens.
Sub-Screen Adjustment Issues
Addressing sub-screen adjustment issues can greatly enhance your Picture-in-Picture experience, especially if the size or position of the sub-screen is impacting visibility.
If you find the sub-screen too small, simply use the menu button to increase its size for better clarity during presentations or movie nights. Conversely, if the sub-screen obstructs important content, don't hesitate to adjust its location using the menu options to improve your overall viewing comfort.
Make certain your projector isn't set to Fast Image Processing mode, as this setting can disable the Picture-in-Picture feature, preventing any necessary adjustments to the sub-screen.
If your adjustments seem ineffective, try powering off and restarting the projector. This can help reset the settings and allow you to re-attempt your modifications.
Lastly, confirm that you're using compatible HDMI sources because Picture-in-Picture only works with HDMI connections. If your source isn't compatible, it could hinder your ability to adjust the sub-screen properly.
Tips for Optimal Viewing Experience

To enhance your viewing experience with Picture-in-Picture mode, select a compatible HDMI or WirelessHD source, as this guarantees superb image quality without the limitations of 3D or 4K projections. Here are some tips to help you improve your setup:
- Position the sub-screen: Place it in a corner that doesn't obstruct the main screen. This way, you can enjoy both images without distraction.
- Adjust the size: Use the menu options to modify the sub-screen's size. Confirm it's visible but not overpowering, so you can focus on the main content comfortably.
- Utilize the swap feature: Hold the P-in-P button for three seconds to switch between video sources quickly. This flexibility allows for easy comparisons and enhances your viewing experience.
- Calibrate your projector: Regularly adjust the brightness and contrast settings for both the main and sub-screens. This guarantees that both displays maintain peak image quality, enriching your overall viewing experience.
Frequently Asked Questions
How Do You Go Into Picture in Picture Mode?
To enter Picture in Picture mode, power on your projector, select your HDMI or WirelessHD source, then press the P-in-P button on your remote. Adjust settings as needed for the best viewing experience.
What Are the Picture Mode Settings for Projector?
Projector picture mode settings include Standard, Cinema, and Game. You can adjust brightness, contrast, and color saturation based on your content. Don't forget to take into account ambient lighting for the best viewing experience!
How Do I Get My Projector Picture to Fit the Screen?
Imagine your projector's image as a puzzle piece; to fit it perfectly, adjust the resolution, aspect ratio, and throw distance. If needed, use zoom and keystone settings to eliminate any gaps or distortions.
How Do I Show Pictures on My Projector?
To show pictures on your projector, power it on, connect it to a compatible HDMI or WirelessHD source, and use the remote to select the video source containing the images you want to display.
Conclusion
Setting up picture-in-picture with your projector can greatly enhance your viewing experience, allowing you to multitask like never before.
While some believe this feature distracts from the main content, research shows that it can boost focus and engagement when used wisely.
By following the steps outlined above, you can seamlessly integrate multiple video sources, making your projector a versatile tool for presentations or entertainment.
So, go ahead and experiment—your next viewing session could be your best yet!