To set up a projector in a bright room, start with a model that has at least 3,000 lumens for clear, vibrant visuals. Consider using an Ambient Light Rejecting (ALR) screen to minimize glare and improve image quality. You should also install blackout curtains or shades to block out excess light. Position your projector properly, ensuring it aligns with the screen for ideal performance. Adjust the settings to Bright Mode and clean the lens regularly for best results. By following these tips, you'll create an impressive viewing experience and discover additional strategies for perfecting your setup.
Key Takeaways
- Choose a projector with at least 3,000 lumens to ensure brightness and clarity in well-lit environments.
- Utilize Ambient Light Rejecting (ALR) screens to enhance image quality by minimizing the impact of ambient light.
- Install blackout curtains or shades to significantly reduce external light interference and improve projection effectiveness.
- Position the projector correctly, aligning it with the screen center to minimize distortion and maximize brightness.
Choosing the Right Projector

When you're picking a projector for a bright room, aim for one with at least 3,000 lumens to guarantee you can see the image clearly despite the ambient light. Higher lumens help combat the brightness that can wash out your picture quality. If you're in an extremely bright environment, consider projectors with 6,000 lumens or more, which are excellent for outdoor or sunny settings.
Also, think about using a projector equipped with an Ambient Light Rejecting (ALR) screen. This technology reflects the projected light towards you while diffusing any external light, enhancing your viewing experience considerably. It's vital to maintain high picture quality, so choose a projector with at least 1080p resolution, though 4K is even better for clarity and detail.
Lastly, evaluate how you'll position the projector. Placement can dramatically impact performance and brightness perception. Make sure it's set up to maximize the brightness and clarity of the image, allowing you to enjoy your content without struggling against the room's ambient light.
Importance of Brightness

Understanding the importance of brightness in a projector can make a significant difference in your viewing experience, especially in bright rooms. The brightness level, measured in lumens, directly impacts how well you can see the projected image against ambient light. Here are some key points to take into account:
- Minimum Lumens: For well-lit spaces, aim for a projector with at least 2,000 lumens to guarantee visibility.
- High Lumen Projectors: If you can, choose projectors with 3,000 lumens or more to enhance clarity and minimize the washout effect caused by ambient light.
- Impact of Sunlight: Direct sunlight can reach levels up to 100,000 lux, making it essential to select a projector that can handle bright conditions, even if current technology limits you to lower lumens.
- Factors Influencing Brightness: Remember that ambient light levels, projection distance, screen size, lamp age, and the type of projector technology (DLP vs. LCD) also affect brightness and image quality.
Utilizing ALR Screens

Using an ALR screen can dramatically enhance your projector's performance in bright rooms by rejecting unwanted ambient light and improving image clarity. These specialized projector screens feature coatings that reflect the light from your projector directly toward you while diffusing the surrounding bright light. This helps maintain the contrast and vibrancy of your images, making them pop even in well-lit environments.
When you invest in ALR screens, you greatly improve the viewing experience during social gatherings or movie nights held during the day. You'll notice that your projected images will appear clearer and more immersive, allowing you to enjoy your favorite content without the need to darken the room completely.
However, proper placement of both your projector and the ALR screen is essential. Misalignment can hinder the screen's ability to reject ambient light effectively, reducing your image quality. By ensuring that everything is correctly positioned, you can maximize the benefits of your ALR screen.
This investment not only enhances your projector's performance but also allows you to enjoy vibrant images free from the distractions of external light sources.
Effective Shading Solutions

To get the finest image from your projector in a bright room, you need effective shading solutions.
Blackout curtains can block out external light, while ALR screens can enhance your viewing experience.
Exploring ideal room darkening techniques will greatly improve your projector's performance.
Blackout Curtains Benefits
Blackout curtains are a game changer for anyone looking to create the perfect viewing environment for a projector in a bright room. By effectively blocking out external light sources, they enhance projector performance and greatly improve your viewing experience.
Here are some key benefits of using blackout curtains:
- Reduced Ambient Light: They minimize the impact of sunlight, ensuring that your projected images remain bright and clear.
- Improved Image Clarity: By creating a dark environment, blackout curtains enhance the contrast and detail of your projected images.
- Thermal Insulation: Many blackout curtains feature thermal properties, helping to regulate room temperature and improve energy efficiency.
- Cost-Effective Solution: Instead of investing in high-lumen projectors or specialized screens, installing blackout curtains is an affordable way to enhance your setup.
ALR Screen Advantages
While blackout curtains provide excellent light control, ALR screens take your viewing experience to the next level by effectively rejecting ambient light in bright rooms. These specialized screens are designed to reflect the light from your projector directly towards you while diffusing unwanted ambient light interference.
This means that even in challenging lighting conditions, you can enjoy clear, vibrant images that don't wash out due to surrounding brightness. If you're using a projector with brightness levels under 3000 lumens, investing in an ALR screen can be particularly beneficial. It helps maximize your projector's performance, ensuring that the images maintain their quality during daytime movie watching or social gatherings.
Proper placement is essential; positioning your ALR screen at ideal angles enhances its ability to reject ambient light, further improving image clarity. With the right setup, an ALR screen transforms your viewing experience, allowing you to enjoy your favorite films and presentations without worrying about the impact of natural light.
It's a smart solution for anyone looking to elevate their projector experience in bright environments.
Optimal Room Darkening Techniques
Utilizing effective shading solutions can dramatically improve your projector's performance in bright rooms by blocking out unwanted ambient light. To create an ideal projection environment, consider these four techniques:
- Blackout Curtains: Install heavy blackout curtains to eliminate most light in the room. They're excellent for blocking sunlight and enhancing image clarity.
- Ambient Light Rejecting Screens: Use ALR screens to reflect the projector's light toward you while diffusing surrounding ambient light. This guarantees that your projection remains vibrant and clear, even in brighter conditions.
- Window Films: Apply window films to your glass surfaces. These can reduce glare and filter out excessive sunlight without sacrificing natural light entirely.
- Shades or Blinds: Install adjustable shades or blinds that allow you to control the amount of light entering the room. This flexibility helps you adapt to changing light conditions throughout the day.
Optimizing Projector Settings

To get the best image quality from your projector in a bright room, you need to optimize its settings.
Start by adjusting the brightness and considering screen placement to reduce the impact of surrounding light.
These steps will greatly enhance your viewing experience.
Brightness Adjustment Techniques
Optimizing your projector settings for brightness involves adjusting key features to enhance image clarity in a bright room. To achieve super bright images, focus on these brightness adjustment techniques:
- Set to Bright Mode: Verify your projector is in its highest brightness mode, often labeled as "Bright" or "Vivid." This increases the lumens of brightness, essential in well-lit spaces.
- Adjust Lens Focus and Zoom: Fine-tune the projector's lens settings to guarantee the image is sharp and well-defined. Even small adjustments can greatly impact clarity and brightness.
- Clean the Lens Regularly: Dust and smudges on the lens can obstruct light. Regular maintenance guarantees you maintain vibrant, clear images.
- Use a High-Quality Projector Screen: Instead of projecting onto a wall, invest in a high-quality projector screen. It reflects and concentrates light better, enhancing brightness and overall image quality.
Screen Placement Strategies
Positioning your projector correctly is essential for maximizing image clarity and brightness in bright rooms. Start by determining the ideal distance between the projector and the screen based on your screen size. If you're using a larger screen, opt for a projector with at least 3,000 lumens to guarantee the image remains bright despite ambient light.
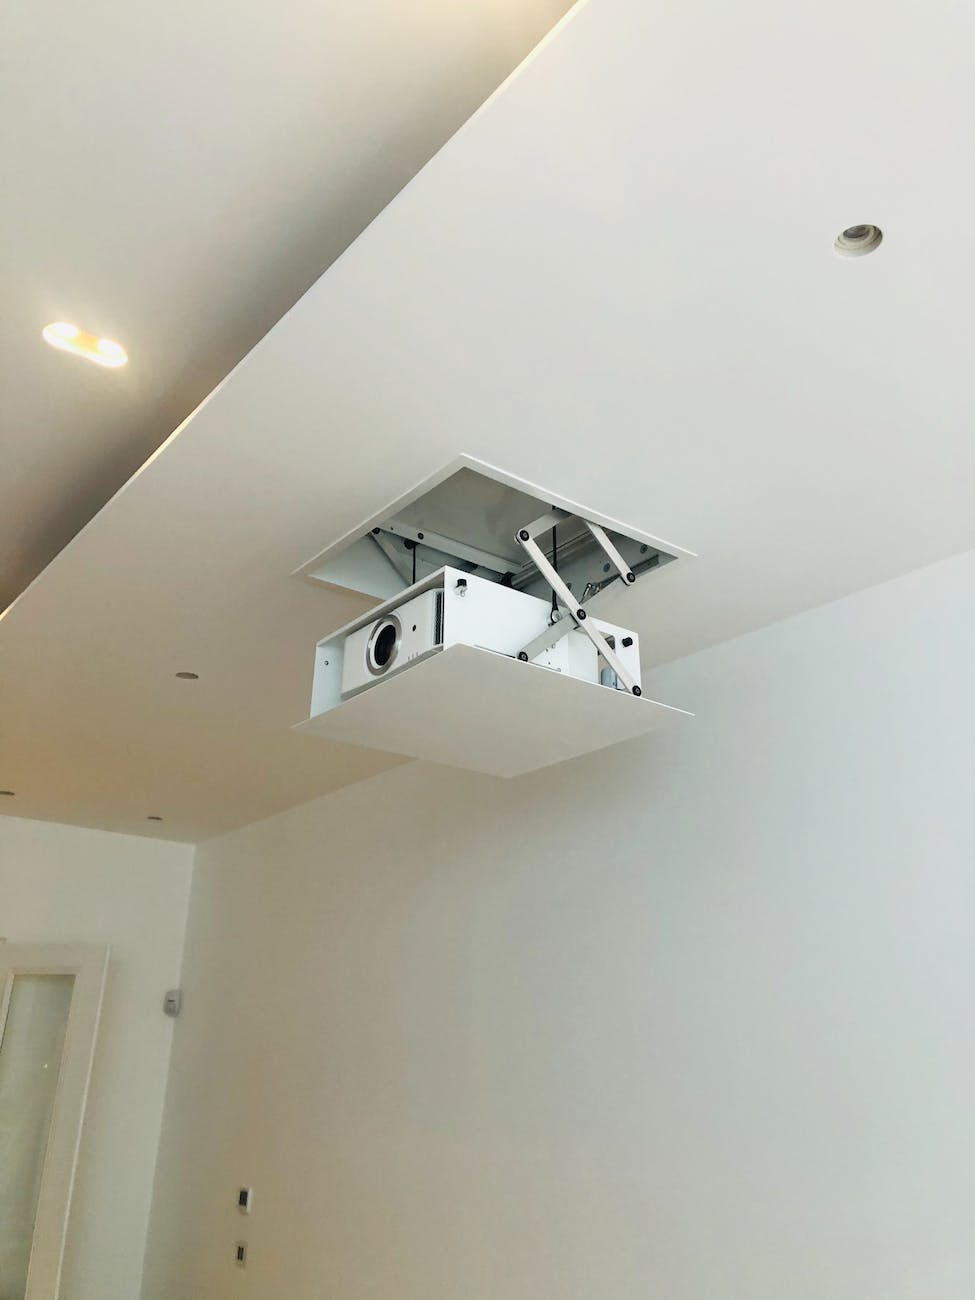
Implement screen placement strategies that include using an Ambient Light Rejecting (ALR) screen. These screens reflect the projected light directly toward you while diffusing unwanted light, considerably enhancing visibility. Make sure the projector is mounted at the right height and angle, aligning the lens with the center of the screen to minimize distortion.
To further combat external light interference, consider installing blackout curtains or shades. These can greatly reduce the amount of ambient light entering the room, making your projection experience more effective.
Lastly, don't forget to clean your projector lens regularly and adjust the focus settings. Even a small amount of dust can impact image quality in bright settings, so maintaining your equipment is key to achieving the best results.
Installation Tips for Bright Rooms

Installing a projector in a bright room requires careful consideration of equipment and environment to guarantee a clear and vibrant display. To achieve the best results, follow these installation tips:
- Choose a high-lumen projector: Opt for a model with brightness ratings of 3,000 lumens or higher. This guarantees visibility even in well-lit conditions.
- Use Ambient Light Rejecting (ALR) screens: ALR screens are designed to reflect projected light toward you while minimizing the impact of ambient light, enhancing clarity and contrast.
- Employ blackout curtains: Install blackout curtains to effectively block out external light sources. This will greatly improve your projection quality in a bright room.
- Maintain ideal distance: Position your projector close to the screen, adhering to the manufacturer's specifications for projection distance. This helps maintain brightness and clarity.
Additionally, keep your projector lens clean and provide proper ventilation to prevent overheating.
Enhancing Viewing Experience

After setting up your projector with the right equipment, enhancing the viewing experience involves taking additional steps to improve image quality and comfort in bright environments.
First, choose a projector with at least 3,000 lumens. This level of brightness helps maintain picture clarity and reduces washout effects caused by ambient light.
Next, consider using an Ambient Light Rejecting (ALR) screen, which greatly enhances image quality by reflecting the projected light directly toward you while diffusing surrounding light interference.
To further improve your viewing experience, install blackout curtains. These can effectively block external light sources, creating a darker environment that enhances the realism and overall rendering of your projected images.
Make sure your projector is positioned correctly; the distance from the screen should match its lumen output and the screen size for ideal brightness and clarity.
Lastly, regular maintenance is key. Clean the projector lens and adjust brightness settings as needed to sustain the best viewing quality in bright conditions.
Frequently Asked Questions
What Is the Best Projector Settings for a Bright Room?
To achieve the best projector settings in a bright room, increase brightness and contrast levels, adjust color settings for clarity, and regularly clean the lens to guarantee a sharp, vibrant image throughout your viewing experience.
Will a Projector Work in a Lighted Room?
Yes, a projector can work in a lighted room, but its effectiveness varies. You'll want a high-lumen projector and consider using an Ambient Light Rejecting screen to improve image quality despite ambient light interference.
Are Projectors Good for Bright Rooms?
Yes, projectors can work well in bright rooms if you choose high-lumen models and use ambient light rejecting screens. They help maintain image clarity despite surrounding light, enhancing your viewing experience considerably.
What Color Projector Screen Is Best for Bright Room?
For bright rooms, a gray or dark gray projector screen's your best bet. It absorbs ambient light, boosts contrast, and enhances image quality. Consider an ALR screen if you want peak performance in well-lit conditions.
Conclusion
With the right projector, an ALR screen that practically screams clarity, and some clever shading, you can turn that bright room into a cinematic paradise!
You'll feel like you've transported your living room to a blockbuster premiere!
Just imagine your friends' jaws dropping as they marvel at your viewing setup that rivals a movie theater—not to mention your newfound status as the ultimate home entertainment guru!
Get ready to bask in the glory!


