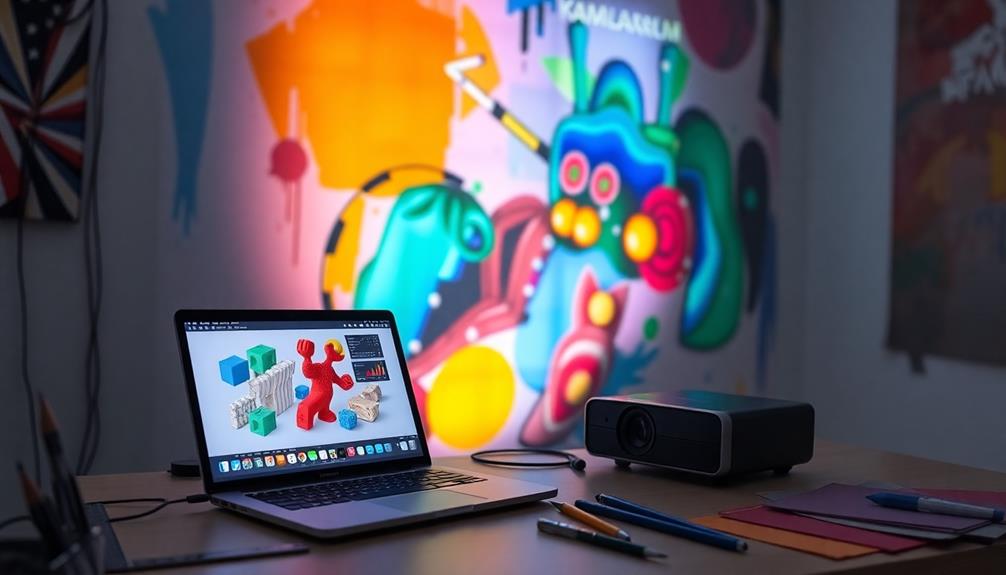
You can transform ordinary surfaces into extraordinary visual experiences with DIY projector mapping software. This technique lets you blend 2D and 3D content for immersive displays. You'll need essential tools like a computer, a high-quality projector, and compatible surfaces. Software options like HeavyM make it easy to get started, featuring drag-and-drop functionality and real-time rendering. Proper projector placement and surface selection are vital for stunning results. It's time to release your creativity and explore the endless possibilities of custom visuals. Keep exploring, and you'll uncover even more tips and tricks to enhance your projection mapping projects.
Key Takeaways
Projection mapping transforms surfaces into immersive displays, combining 2D and 3D content for captivating experiences.
Essential tools include a computer, high-quality projector, appropriate surfaces, and specialized software like HeavyM or MadMapper.
Proper projector placement and surface selection are crucial for clarity, requiring attention to brightness, distance, and alignment.
HeavyM offers an intuitive interface with over 1,000 visual effects, making it user-friendly for beginners in projection mapping.
Creative applications range from art installations to live performances, enhancing storytelling and audience engagement through dynamic visuals.
[Now with Netflix & 1500ANSI] 4K Smart Projector with WiFi and Bluetooth,Auto Focus & Keystone Portable Mini Projector with Stand,Outdoor Home Theater Small Proyector for bedroom white
[Built in APP- Cinema-Quality Streaming] This Smart projector with wifi and bluetooth comes with pre-installed with YouTube, and...
As an affiliate, we earn on qualifying purchases.
Understanding Projection Mapping
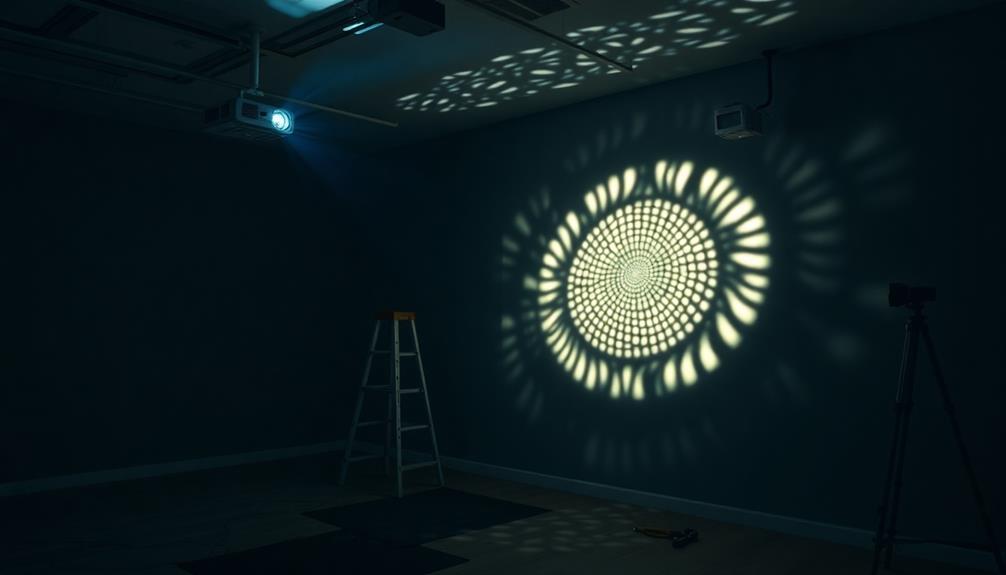
When you immerse yourself in the world of projection mapping, you're stepping into a technique that transforms ordinary surfaces into enchanting visual displays. This innovative method combines 2D and 3D content to create immersive experiences that captivate audiences. By projecting tailored animations onto various surfaces, you can turn simple objects into dynamic canvases, enhancing both interaction and aesthetic appeal.
Originating in the 2000s, projection mapping relies on video projectors to create optical illusions, making the mundane come alive with stunning visual effects. To achieve this, you'll need a few essential projection mapping tools: a computer, a projector, suitable cables, and specialized software for content creation and mapping.
The magic lies in how you apply these tools; proper projector placement and surface selection are vital for achieving ideal projection quality and effective visual impact.
As you explore projection mapping, you'll discover the potential to tell stories and convey messages in unique ways. By mastering this technique, you can engage your audience, leaving them with memorable experiences that linger long after the lights go down.
Official Licensed Google TV Smart Projector, HAPPRUN 4K UHD Home Theater with Dolby Sound, Wi-Fi & Bluetooth, Built-in Streaming Apps, Compatible with Games Consoles & Smartphone, Indoor & Outdoor Use
[ Built-in Official Licensed Google TV ] - Without additional equipment, the smart projector can directly access Netflix,...
As an affiliate, we earn on qualifying purchases.
Essential Tools for Projection Mapping
To get started with projection mapping, you'll need the right equipment and software.
Choosing a suitable projector and understanding its placement can greatly enhance your visuals.
Let's explore the essential tools that will help you create stunning projections.
Required Equipment Overview
For a successful projection mapping project, you'll need a specific set of essential tools. First, invest in a computer that can run advanced projection mapping software efficiently. This is vital for handling the visual elements that you'll be creating.
Next, choose a high-quality video projector with a minimum brightness of 3000 lumens; this guarantees your images are vibrant and clear. A native resolution of at least 1920×1080 is recommended, and aim for a frame rate of 60 FPS to keep motion smooth.
Selecting the right projection surface is also key. You can use flat surfaces like walls or get creative with 3D objects such as sculptures and buildings, which will elevate your visual experience.
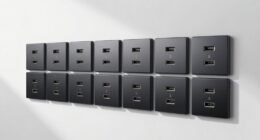
Don't forget the necessary cables for connectivity and possibly digital cameras to help with alignment and calibration.
Lastly, consider sound equipment. Many projection mapping experiences benefit from audio elements that sync with your visuals, enhancing the overall impact.
With this essential equipment, you're well on your way to creating stunning projection mapping displays.
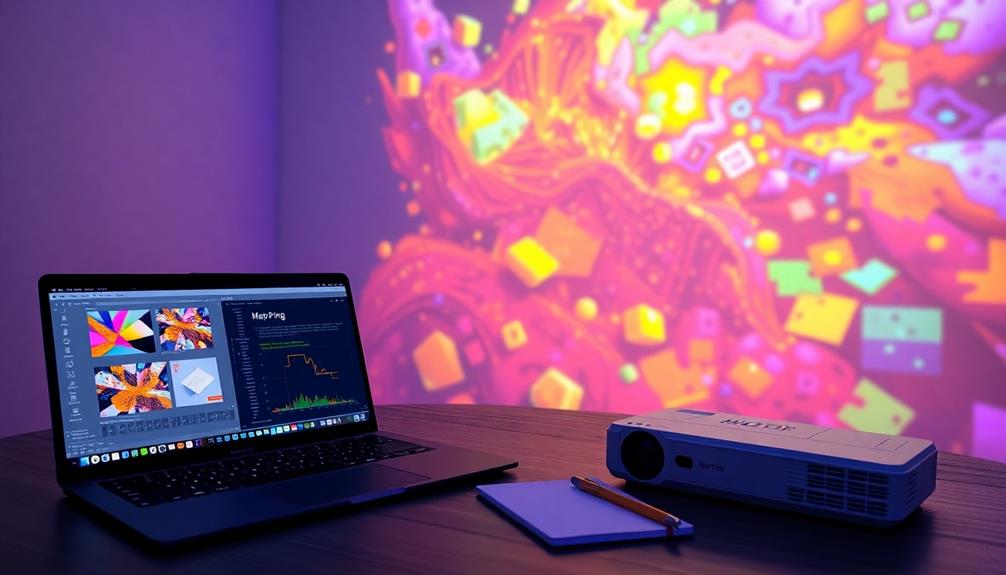
Software Selection Guidance
After gathering the necessary equipment for your projection mapping project, selecting the right software is the next step. With various options available, you'll want to take into account your specific needs and budget.
Here's some software selection guidance to help you make the best choice:
HeavyM: Ideal for beginners, it offers a user-friendly interface with drag-and-drop functionality, making it easy to create stunning visual experiences.
MadMapper: Known for its versatility, MadMapper allows for intricate mapping and is suitable for larger projects.
Resolume Arena: This software excels in real-time rendering, providing immediate visual feedback, which is vital during live performances.
TouchDesigner: Perfect for advanced users, it offers extensive customization options to create unique and interactive projections.
If you're on a budget, think about free projection mapping software like VPT or MapMap, which still deliver impressive results.
Each software option has its own strengths, so take the time to explore and choose one that aligns with your vision and skill level.
With the right tools, you'll be well on your way to creating enchanting visual experiences.
Projector Placement Tips
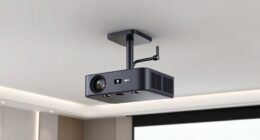
Getting the projector placement right is essential for a successful projection mapping project. Proper placement guarantees complete volume coverage, allowing your video projection to align perfectly with the surface features.
Start by considering the distance between the projector and your projection surface; too close can cause distortion, while too far away may require a projector with higher resolution. In addition, understanding how heat pump efficiency can be influenced by proper installation practices can provide insight into guaranteeing ideal performance for your projection setup.
When selecting your projector, pay attention to the brightness of the projector, measured in lumens. If you're working in well-lit environments or projecting onto larger surfaces, a brighter projector is necessary to maintain visibility.
Additionally, think about the native resolution and lens type for compatibility with your intended content.
Using geometric accessories can also enhance the visual impact. These tools add depth and structure, creating a more engaging experience for your audience.
Experiment with different angles and placements to find what works best for your specific setup. Remember, the right projector placement not only improves the quality of your video projection but also elevates the overall aesthetic of your projection mapping project.
2000 ANSI 4K Decoding Projector with WiFi and Bluetooth, HAPPRUN Movie Home Theater with Auto Focus, 300'' Display for Indoor/Outdoor, Smart Proyector Compatible with Phone/TV Stick/PC/PS5
[EASIER OPERATION: AI Smart Screen Adjustment] HAPPRUN projector comes with auto focus and 6D auto-keystone technology, enjoy a...
As an affiliate, we earn on qualifying purchases.
Selecting Ideal Surfaces
When you immerse yourself in the world of projection mapping, selecting the right surfaces can make all the difference in your project's success. Ideal surfaces can range from buildings to clothing, offering a canvas for your creative visions.
Here are some key factors to take into account:
Texture: Smooth surfaces tend to reflect light better, while textured surfaces can create fascinating optical illusions, enhancing the visual experience.
Color: The color of your surface affects how the projected visuals appear. Light colors often work best for brighter projections, while darker surfaces may absorb more light.
Geometric Shapes: Surfaces with interesting shapes or architectural details can heighten the impact of your projections, providing a structured framework that complements your content.
Size and Scale: Always assess the size of your surface relative to your projection. Ensuring your visuals are appropriately framed is essential for maintaining clarity and engaging your audience.
Outdoor-Projector-4K with WiFi and Bluetooth:[Ultra-High Bright/60W Dolby Audio/Official Licensed Apps],Smart-Projector with AI Auto Focus,ONOAYO ONO5Pro 2.0 Movie Projector for Indoor/Outdoor 2026New
[Hear the Difference–Hollywood-Grade Dual 60W Dolby Audio] Why spend $500 on a TV + soundbar or settle for...
As an affiliate, we earn on qualifying purchases.
Projector Placement Techniques
When setting up your projector, consider its position carefully to guarantee complete coverage of your projection surface.
The distance plays a key role in determining the size and clarity of your image, so keep that in mind as you plan.
Ideal Projector Positioning
Achieving ideal projector positioning is essential for maximizing projection quality and effectiveness. Proper projector placement guarantees complete coverage of your projection surface, which directly impacts clarity and overall performance.
Here are some key techniques to take into account:
Calculate Distance: Determine the distance from your projector to the surface based on the desired image size and the projector's throw ratio.
Choose the Right Angle: Position the projector at an optimal angle to avoid distortion, guaranteeing the image aligns well with the surface geometry.
Evaluate Projector Type: Different models, such as DLP and LCD, have varying lens characteristics. HeavyM software is compatible with all types, allowing for flexibility in your setup.
Iterative Adjustments: Mark the initial position of your projector and adjust it iteratively. This helps avoid common issues like keystone distortion or misalignment.
Surface Coverage Strategies
Effective surface coverage strategies are vital for guaranteeing that your projections are both impactful and visually coherent. Proper projector placement is critical, as the positioning greatly affects projection quality.
To achieve complete surface coverage, you'll need to take into account the size of the surface and the desired resolution. Position your projector at the correct distance to maximize clarity and detail in your video mapping.
Using geometric accessories can enhance the visual impact of your projections by aligning with the shapes and contours of the surface you're using. This not only adds depth but also creates a more engaging experience for your audience.
Remember to choose a single viewing angle for your projector placement. This maintains consistent projection mapping, allowing viewers to experience an unwarped image from their perspective.
Also, keep in mind that all projector models are compatible with software like HeavyM, giving you the flexibility to select the right projector for your specific project needs.
Distance and Size Considerations
Considering the distance and size of your projection surface is vital for ideal results in projector mapping. The placement of your projector greatly impacts the best projection quality, so you'll want to pay attention to a few key factors:
Distance Ratio: Aim for a throw distance ratio of 1:1.5 to 1:3 based on your projector's specifications. This helps guarantee clarity and resolution.
Surface Size: Larger surfaces require projectors with higher brightness (lumens) to maintain visibility. Don't underestimate this factor!
Edge Blending: If you're using multiple projectors, align them precisely to create a seamless image. This careful planning is essential for larger projections.
Projection Angle: Adjust the angle of the projector to minimize distortion. This is especially important on uneven or angled surfaces to keep your content looking sharp and aligned.
Steps to Execute Mapping
To kick off your mapping project, gather all the necessary equipment, including a computer, projector, and suitable projection surface.
You'll also need cables and mapping software like HeavyM, which simplifies projection mapping with its intuitive interface and pre-designed templates.
Next, select an appropriate projection surface based on the visual impact you want to achieve. Confirm it's compatible with your projector and can effectively display the intended content.
Then, develop storyboards and motion designs tailored to the chosen surface. Use the tools within the software to draw outlines directly and define your projection areas.
Position the projector carefully to guarantee complete coverage of the surface. Take into account the distance and angle, as proper placement is vital for high-quality visuals.
Finally, finalize your preparation by testing the content visibility and clarity. Render the visuals through the software and make any necessary adjustments for ideal alignment and presentation.
This process will confirm that your projection mapping results in an engaging visual experience that captivates your audience effectively.
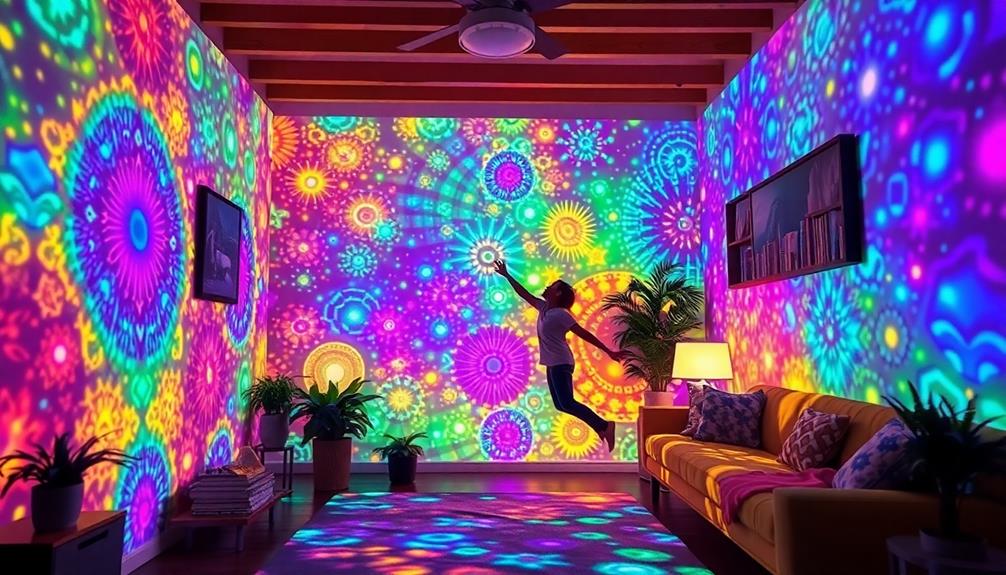
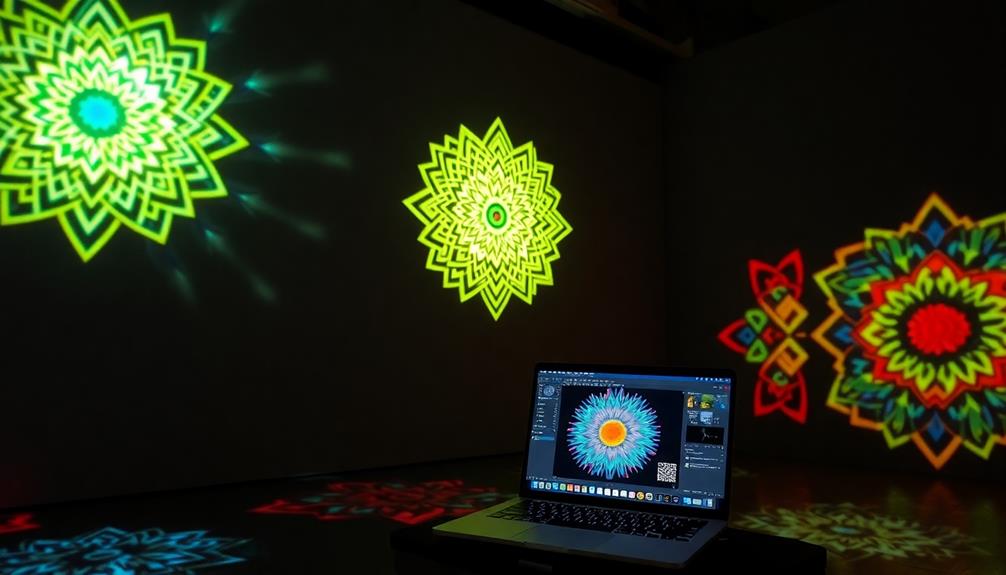
Creative Applications and Examples
DIY projector mapping software opens up a world of creative possibilities, allowing you to transform ordinary surfaces into enchanting visual displays.
As you explore these innovative techniques, consider how they align with the principles of music education found in "Harmonies and Horizons," which encourages creative expression and cultural engagement.
Whether you're an artist or an audiovisual professional, you can craft unique experiences that captivate audiences. Here are some inspiring applications:
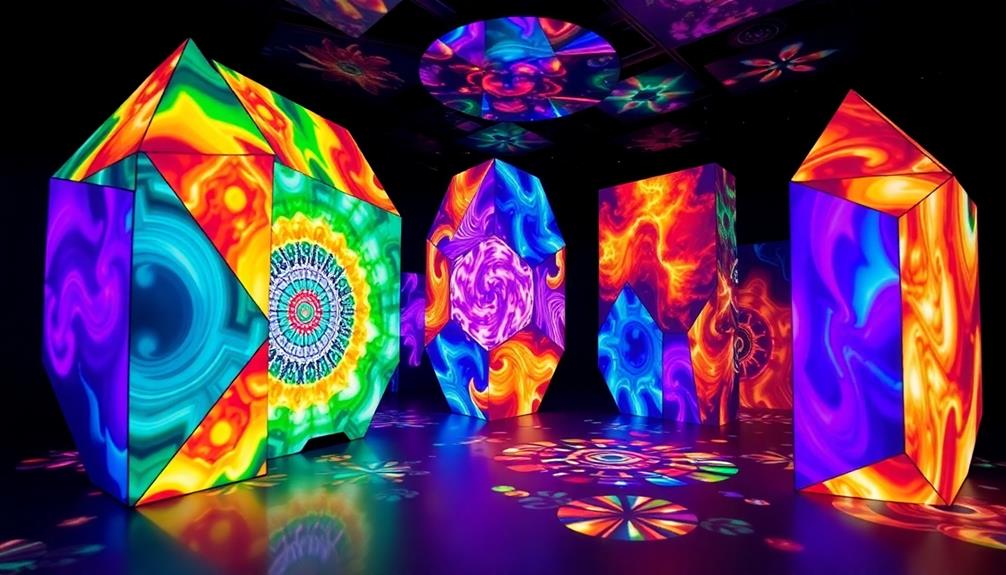
Immersive Art Installations: Use projection mapping at art exhibitions to create interactive storytelling experiences that engage viewers on multiple levels.
Live Performances: Enhance concerts or theater productions by synchronizing video visuals with music, providing a multi-sensory experience that elevates the performance.
Community Projects: Get involved in local art initiatives by projecting on unconventional surfaces like buildings or sculptures, turning public spaces into dynamic canvases.
Festivals and Events: Create immersive environments at festivals, using projection mapping to transform spaces into themed experiences that leave a lasting impression.
With DIY projector mapping software, you can easily integrate personal images, videos, and effects tailored to specific themes or events.
This technology not only fosters creativity but also connects audiences to art in innovative ways.
HeavyM Software Features
HeavyM software stands out with its user-friendly design that makes diving into projection mapping a breeze for anyone, regardless of technical expertise. Its intuitive interface and drag-and-drop functionality allow you to create complex projections with ease, so you don't need to be a tech whiz to get started.
With over 1,000 integrated visual effects combinations, HeavyM provides a diverse library of tools to enhance your projection mapping projects. You can experiment with various effects to find the perfect match for your creative vision.
Plus, the software supports real-time rendering, giving you immediate visual feedback during live performances or installations. This feature guarantees you can make seamless adjustments on the fly, keeping your audience engaged.
Another standout feature is the built-in sound reactivity module, which synchronizes visuals to music, dramatically elevating the overall audiovisual experience at events.
Whether you're using Mac or Windows, HeavyM's compatibility allows a wide range of users to access its powerful features. Overall, HeavyM combines ease of use with a robust set of tools and effects, making it an excellent choice for both beginners and seasoned projection mappers.
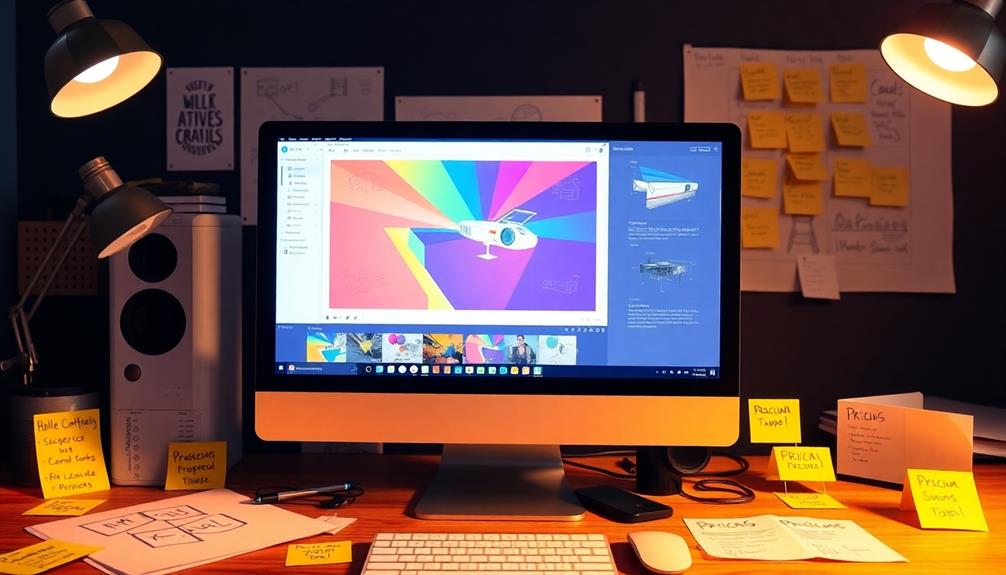
Plans and Pricing Options
Choosing the right plan for your projection mapping needs can greatly impact your project's success and budget. HeavyM offers a wide range of options tailored to various requirements, ensuring you find the perfect fit. You can even take advantage of a free trial to explore the software and see if it meets your expectations.
Here's a quick overview of the plans available:
HeavyM Live: This cost-effective option is ideal for smaller projects and live performances, providing essential features without breaking the bank.
Monthly Plan: Enjoy flexibility with a monthly plan that allows for cancellation at any time, perfect for short-term access to projection mapping tools.
Lifetime Plan: A one-time payment gives you a full year of updates, making it a great long-term investment.
HeavyM Pro & Pro+: Tailored for professionals, these plans include advanced features for large-scale projects and premium support for permanent installations.
With ready-to-use visuals and a plan that suits your needs, you can create stunning projections that captivate your audience.
Enhancing User Experience
Selecting the right projection mapping software can set the stage for an outstanding user experience. When you choose platforms like HeavyM or MapMap, their user-friendly interfaces allow you to dive right into your project, creating complex projections without a steep learning curve.
This ease of use means you can focus on your creativity instead of getting bogged down by technical details.
Moreover, real-time rendering capabilities in software like HeavyM and Resolume Arena offer immediate visual feedback. You'll see your changes instantly, enhancing your creative process and allowing for quick adjustments.
With integrated visual libraries, such as HeavyM's extensive collection of over 1,000 effects, you can customize your projections, enriching your storytelling with rich visual elements.
Don't overlook features like sound analysis, which enable beat-reactive visuals. This adds a dynamic layer to live performances, syncing visuals with music to create a more immersive experience for your audience.
Plus, the availability of pre-designed templates streamlines your creation process, letting you channel your energy into crafting stunning visual displays. All these aspects combine to elevate your user experience considerably.
Frequently Asked Questions
How to Design for Projection Mapping?
To design for projection mapping, start by sketching concepts and considering scale. Use parametric tools for precision, select appropriate materials for projection surfaces, and prepare your content to guarantee compatibility and clarity during projection.
What Do I Need to Start Projection Mapping?
To start projection mapping, you'll need a compatible computer, a quality projector, suitable surfaces, and necessary cables. Familiarize yourself with user-friendly software and prepare engaging visuals to project onto your chosen surfaces effectively.
What Is a Mad Mapper?
MadMapper's a projection mapping software that lets you create stunning visual experiences. You can easily manipulate visuals, sync audio, and utilize multiple projectors. It's designed for both beginners and professionals, making your creative process seamless and enjoyable.
What Is Projection Mapping Software?
You might think projection mapping software's only for professionals, but you can easily use it too. It transforms surfaces into interactive displays, enabling you to create stunning visuals that captivate and engage your audience effortlessly.
Conclusion
In summary, you've got all the tools to transform any space into a visual wonderland with DIY projection mapping. By understanding the basics and exploring software like HeavyM, you can create jaw-dropping experiences that'll leave your audience buzzing like it's the Roaring Twenties. So grab your projector, release your creativity, and start mapping your way to unforgettable events. Remember, the only limit is your imagination—so get out there and make some magic happen!
Creating an Immersive 3D Audio Environment With Dolby Atmos
I can guide you through creating an immersive 3D audio environment with Dolby Atmos that transforms your listening experience—discover how to unlock its full potential.
For flawless 3D projection with dual projectors, mastering calibration and synchronization is essential—discover how to optimize your system effectively.

![[Now with Netflix & 1500ANSI] 4K Smart Projector with WiFi and Bluetooth,Auto Focus & Keystone Portable Mini Projector with Stand,Outdoor Home Theater Small Proyector for bedroom white](https://m.media-amazon.com/images/I/51+w1LIZZBL._SL500_.jpg)


![Outdoor-Projector-4K with WiFi and Bluetooth:[Ultra-High Bright/60W Dolby Audio/Official Licensed Apps],Smart-Projector with AI Auto Focus,ONOAYO ONO5Pro 2.0 Movie Projector for Indoor/Outdoor 2026New](https://m.media-amazon.com/images/I/41fylkjOTIL._SL500_.jpg)