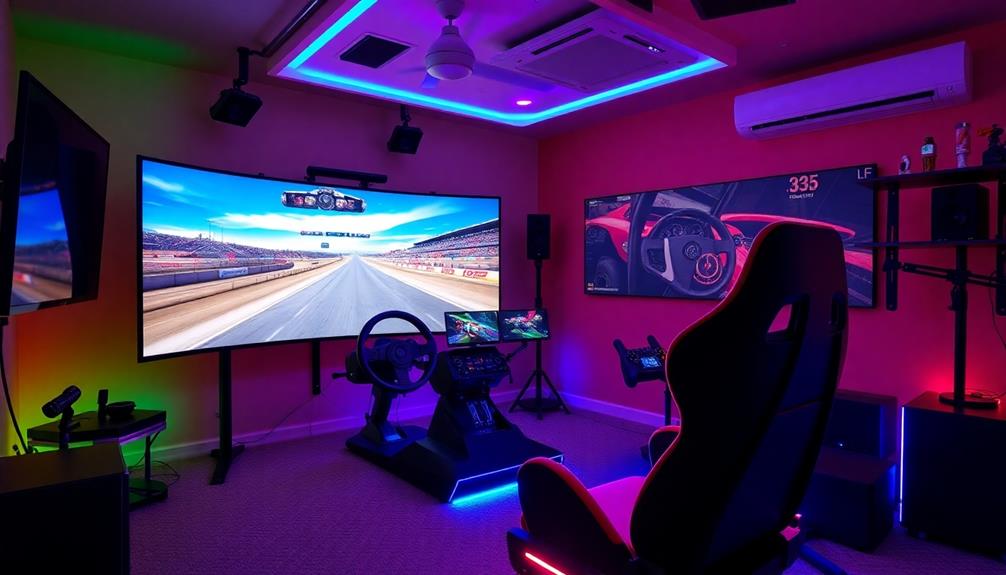
Creating a home simulator setup with a projector is a great way to elevate your experience in flight, racing, and more. You'll want a high-quality projector with at least 3000 lumens and 1080p resolution for vibrant visuals. Choose a large projection screen or use screen paint for a seamless view. Proper placement is key—set the projector 4-5 meters from the screen and control ambient light. Don't forget about customizable features like motion platforms and haptic feedback for added immersion. Stick around to discover more tips and tricks for crafting the ultimate simulator experience in your home.
Key Takeaways
- Choose a high-quality projector with at least 3000 lumens and 1080p resolution for clear, immersive visuals in your simulator setup.
- Use projector screen paint for a seamless, bezel-free display that enhances image quality and offers a 140-degree viewing angle.
- Ensure proper projector placement, ideally 4-5 meters from the screen, to achieve optimal clarity and performance.
- Incorporate realistic flight controls or racing wheels to enhance the authenticity of your simulation experience.
- Control ambient light with blackout curtains to improve image contrast and overall visual fidelity during gameplay.

4K Projector with Built-in Apps, 1500ANSI Auto Focus&6D Keystone Dolby Audio Kogata Smart Projector with WiFi 6 Bluetooth Outdoor Movie Proyector for Home Theater HDR10+ UPGRADE
KOGATA projector
As an affiliate, we earn on qualifying purchases.
Benefits of a Projector Setup
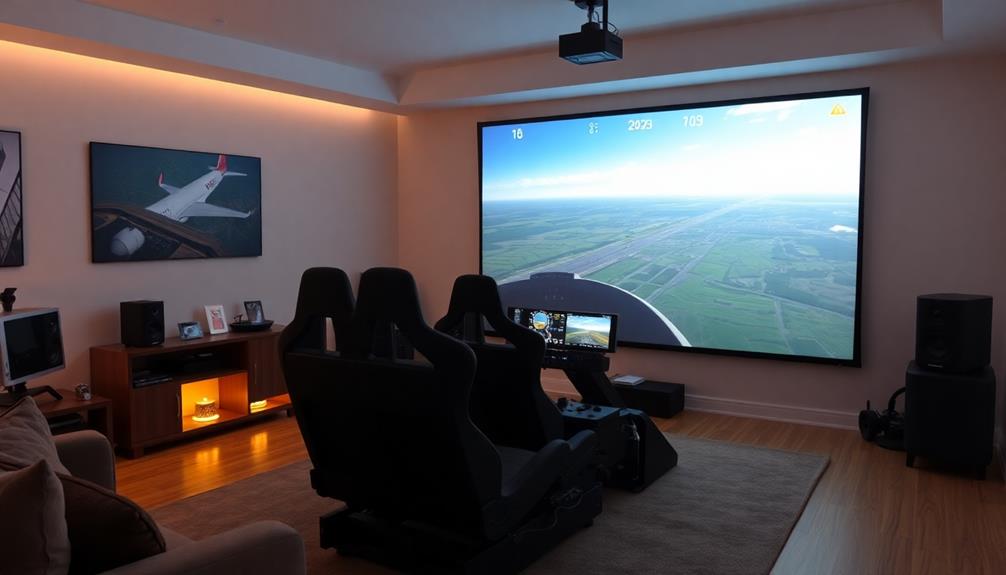
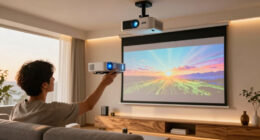
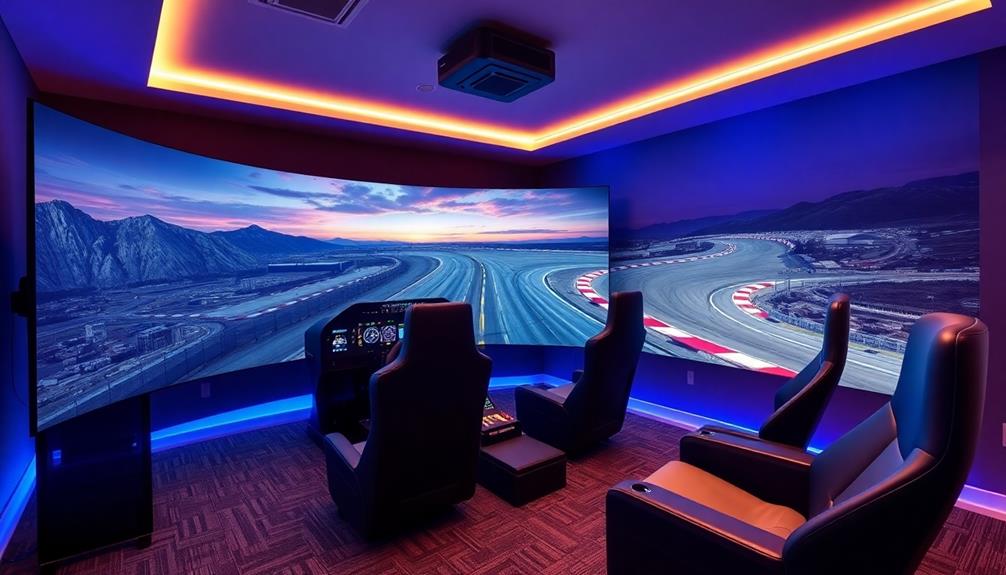
A projector setup offers several significant benefits that can greatly enhance your home simulation experience. One of the most notable advantages is the ability to create a large, immersive environment, making you feel like a real pilot or racer.
Unlike traditional monitors, which can limit your field of view, a projector setup allows for a broader perspective, drawing you deeper into the action.
When you invest in a high-quality projector with at least 3000 lumens and 1080p resolution, you'll enjoy clear and bright images that elevate your flight and racing simulations.
Plus, by eliminating the bezels found in multi-monitor setups, you achieve a seamless visual experience that's critical for immersion.
Smart projector screen paint offers a cost-effective solution for creating expansive screen areas, providing a 140-degree viewing angle with minimal upkeep.
Additionally, you can customize the screen size and shape to fit your room dimensions and personal preferences, enhancing flexibility in your home simulator setup.
With all these benefits, a projector setup truly transforms your simulation experiences into something extraordinary.
![[Built-in Apps/4K Support] Smart Outdoor Projector with WiFi and Bluetooth, Movie Projector, DoIby Audio with Dual Speaker, Auto Focus w/ YouTube&PrimeVideo Proyector, Upgrad P62 Pro](https://m.media-amazon.com/images/I/51yAGv8VI7L._SL500_.jpg)
[Built-in Apps/4K Support] Smart Outdoor Projector with WiFi and Bluetooth, Movie Projector, DoIby Audio with Dual Speaker, Auto Focus w/ YouTube&PrimeVideo Proyector, Upgrad P62 Pro
[Upgraded Classic – P62 Pro Movie Projector] Building on the reliability and low return rate of the classic...
As an affiliate, we earn on qualifying purchases.
Essential Components for Simulators
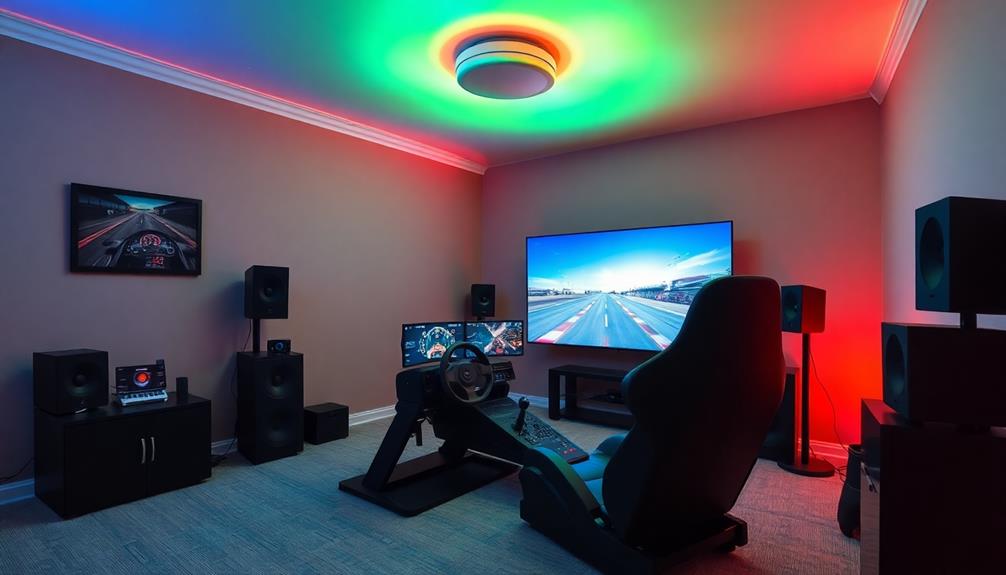
Creating a successful simulator setup involves choosing the right components that work together seamlessly. For an immersive experience, you'll need a few essential pieces.
First, consider the projection screen, which should be large enough to fill your field of view. A high-quality projector with at least 3000 lumens and 1080p resolution is vital for vibrant images in your flight simulator setup.
Next, select the appropriate controls. For flight simulations, realistic flight controls such as the Thrustmaster Yoke Pack Boeing Edition or HOTAS Warthog Dual Throttle are popular choices. If you're setting up a racing simulator, multiple LCD displays or projectors can eliminate bezels and enhance immersion.
Remember, proper calibration of all components is important for an enjoyable experience. Here's a quick overview of the essential components:
| Component | Purpose |
|---|---|
| Projector | Bright, clear image on screen |
| Flight Controls | Realistic operation for pilots |
| Calibration Tools | guarantee accurate performance |

Aurzen Roku TV Smart Projector with Wifi and Bluetooth, Roku TV Built-in, 1080P FHD, DoIby Audio, Auto Focus & Keystone, Zoom, Movie Portable Outdoor Mini Projector for Soccer Football Game, White
A Roku account and internet connection are required for activation (Creating an account is free). Note: Power Supply:...
As an affiliate, we earn on qualifying purchases.
Recommended Projector Types

When setting up your simulator, selecting the right projector type plays a key role in achieving an immersive experience. For flight simulation and racing setups, look for projectors with at least 3000 lumens and 1080p resolution. This guarantees clear, bright images that stand out, even in varying lighting conditions.
If you're working with limited space, short-throw projectors are perfect, as they can project large images from less than five feet away. They help maximize your setup without compromising on quality.
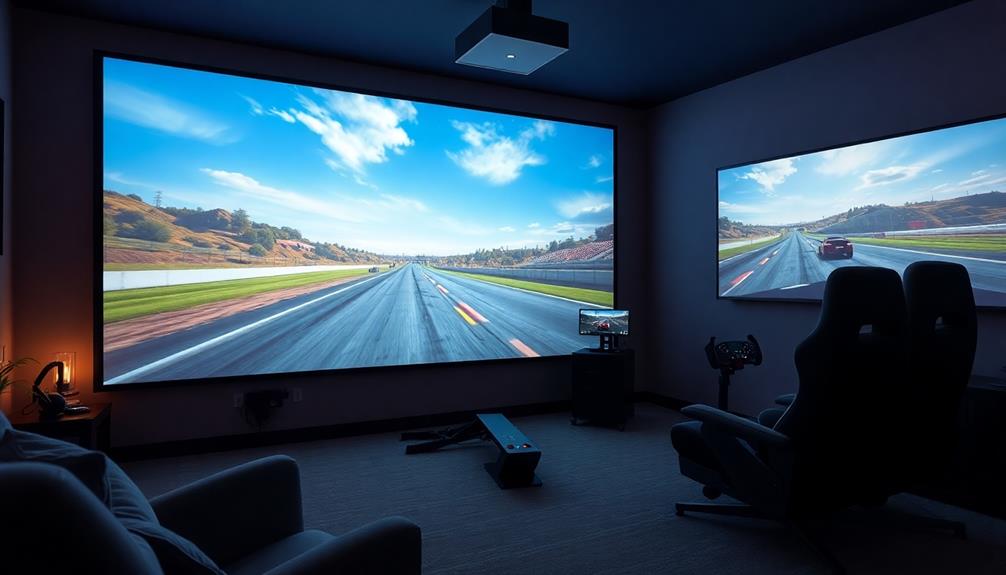
For those wanting an even more immersive experience, consider using dual projectors. They create a wider field of view, but be aware that careful calibration is essential to avoid image distortion.
High-quality projectors, like the Epson PowerLite series, offer effective keystone adjustments, helping you align images perfectly on curved screens.
If you're on a tight budget, refurbished or used projectors can be an option, but keep an eye on potential issues like bulb life and image quality over time.
Choosing the right projector will greatly enhance your home simulator experience, bringing your flight and racing simulations to life.

HAPPRUN Native 1080P Projector, Bluetooth Home Theater Movie Projector with Built-in Speaker, Compatible with Smartphone, HDMI, Fire Stick, PS5, Indoor & Outdoor Use -With Google TV System
[ Built-in Official Licensed Google TV ] - Without additional equipment, the smart projector can directly access Netflix,...
As an affiliate, we earn on qualifying purchases.
Choosing the Right Screen Paint
When choosing the right screen paint for your home simulator, you'll want to evaluate the benefits it offers, like enhanced immersion and flexibility.
The application process is straightforward, making it perfect for DIY projects, and it can save you money compared to traditional screens.
Let's compare the cost alternatives and see why projector screen paint might be your best option.
Screen Paint Benefits
Choosing the right screen paint can greatly enhance your home simulator setup, providing a seamless visual experience that traditional monitors can't match. One of the key screen paint benefits is the elimination of bezels, which allows you to enjoy a more expansive view. This seamlessness markedly contributes to a realistic experience, making your flight and racing simulations feel more lifelike.
Additionally, projector screen paint offers a wide 140-degree viewing angle, ensuring consistent image quality from various positions. This means whether you're sitting directly in front or off to the side, you'll still experience immersive simulation as intended.
Budget-wise, smart projector screen paint starts at just $263 for a 48 ft² area, making it a cost-effective alternative to traditional projector screens. Unlike fabric screens that can require upkeep and may distort images, projector screen paint is easy to clean and maintain, promising long-term durability.
With its straightforward application process involving two base coats and two top coats, plus a 5-year guarantee, you can feel confident in your investment.
Embrace the benefits of screen paint, and elevate your home simulator experience today!
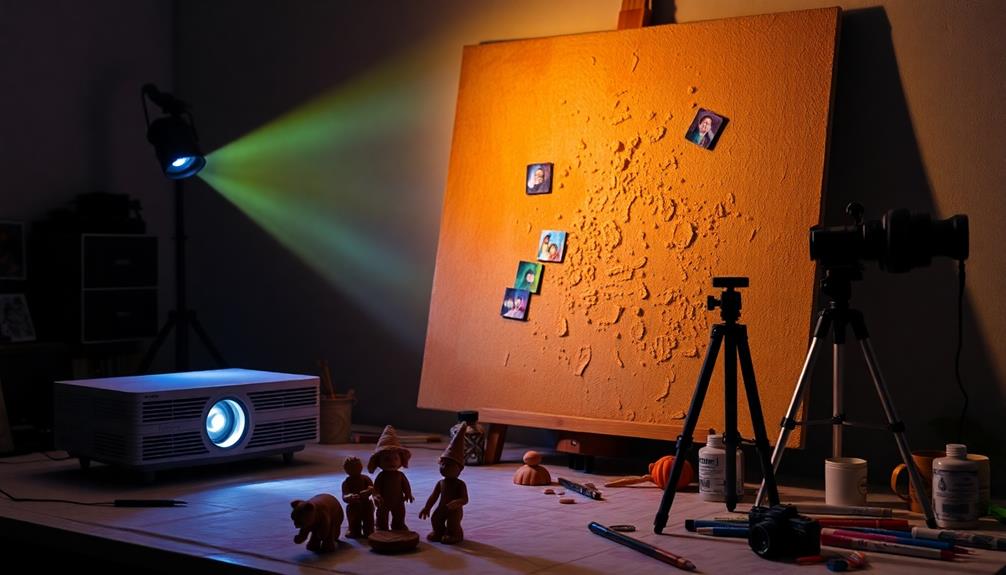
Application Process Simplified
Applying projector screen paint is a straightforward process that can transform your space into an immersive environment. This DIY approach not only saves you money but also allows for a seamless projection surface without size or shape limitations.
For ideal results, consider the impact of color accuracy in home cinema projectors to enhance your viewing experience. Here's how to tackle the application process effectively:
- Prepare the Surface: Clean and smooth the area where you plan to apply the paint. Make sure it's free from dust and imperfections.
- Apply Base Coats: Start with two base coats of projector screen paint to create a solid foundation. This step is essential for durability and ideal image quality.
- Top Coats: Once the base coats are dry, apply two top coats. This enhances the paint's reflective properties, vital for an immersive simulation experience.
- Cure Time: Allow sufficient time for the paint to cure before using your projector. This guarantees a high-quality finish and longevity.
With a 140-degree viewing angle and minimal maintenance, this approach assures a stunning visual experience for your home simulator setup.
Plus, you'll enjoy a five-year product guarantee, making it a smart investment.
Comparing Cost Alternatives
Exploring cost alternatives for your home simulator setup can lead you to significant savings, especially when considering projector screen paint versus traditional screens.
Starting at just $263 for a 48 ft² area, projector screen paint offers a budget-friendly solution that outperforms fabric screens. Unlike those screens, which often have narrow viewing angles and maintenance issues, smart projector screen paint provides a 140-degree viewing angle, ensuring you enjoy immersive simulations without any bezels obstructing your view.
Additionally, this innovative solution aligns with energy-efficient technology, allowing you to create an enhanced visual experience while being mindful of energy consumption.
Applying projector screen paint is straightforward, requiring only two base coats and two top coats for best results. This user-friendly process makes it easy to enhance your home simulator setup without needing professional help.
Plus, the paint absorbs ambient light, improving picture quality and contrast, which is especially important in varying lighting conditions.
With a 5-year product guarantee, projector screen paint stands as a long-term investment, eliminating the need for costly replacements.
In the end, by choosing projector screen paint, you not only create an exceptional visual experience for your simulations but also make a smart financial decision that enhances your overall setup.
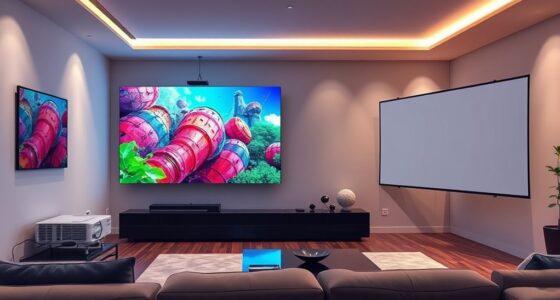
Setting Up Your Space
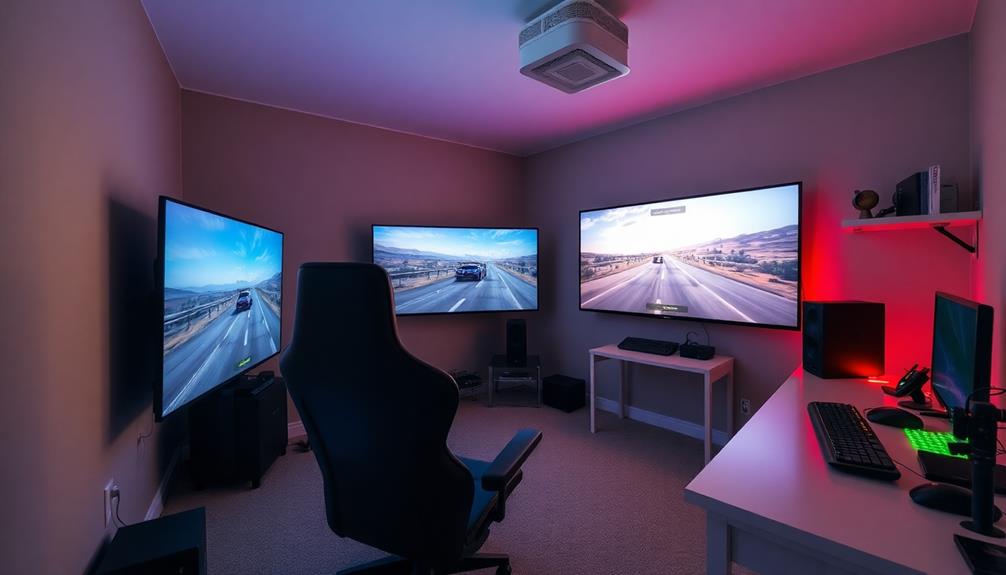
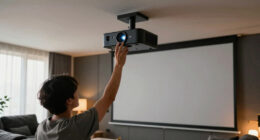
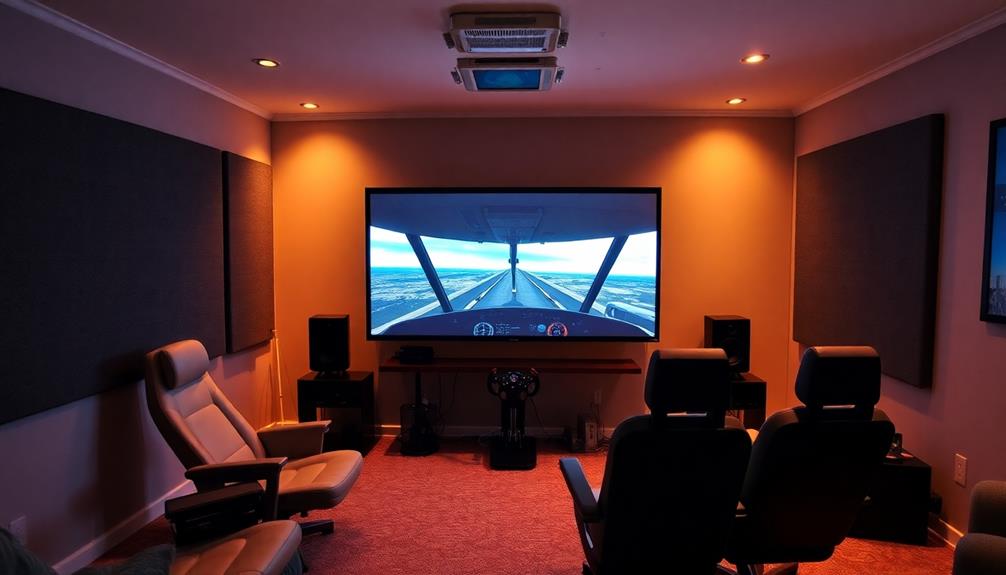
When setting up your space for a home simulator, it's crucial to take into account the projector's placement and the room's lighting. A well-thought-out setup can greatly enhance your experience.
Start by verifying you have adequate space; typically, the projector should be 4-5 meters from the screen for ideal image clarity and size.
Next, control the ambient light in the room. Projectors thrive in darker environments, so consider these tips:
- Choose a dark room: Minimize windows and bright light sources.
- Use blackout curtains: They help block unwanted sunlight.
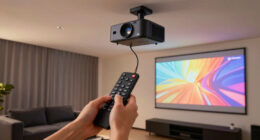
- Position the projector correctly: Aim for the distance that suits your screen using.
- Manage cabling: Keep wires organized to avoid clutter and confirm seamless integration.
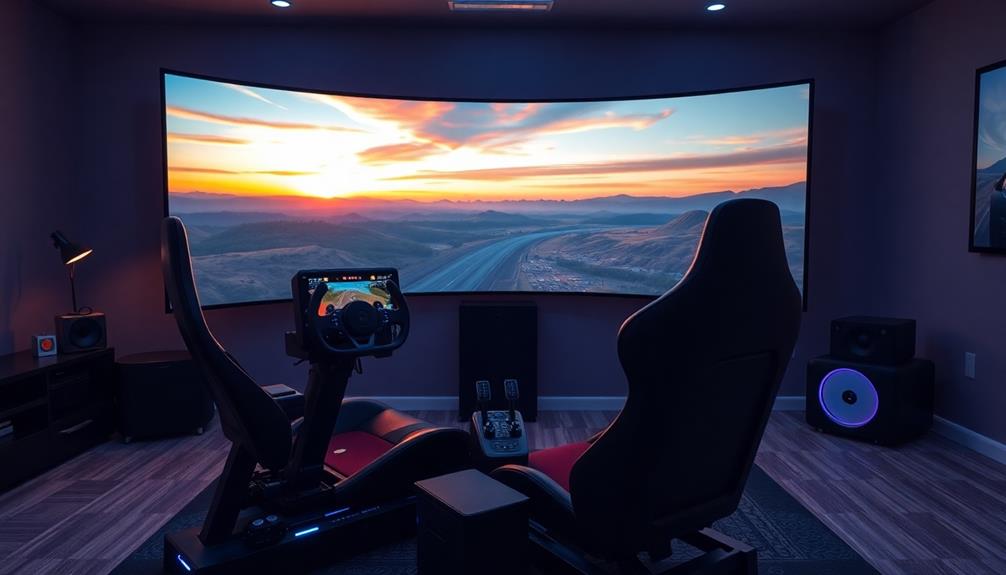
If you're using a curved screen, be prepared to fine-tune the projector's lens distortion and image alignment; this adds to the immersive experience.
Enhancing Visual Quality
Visual quality plays a vital role in creating an immersive home simulator experience. To achieve stunning image quality, start by investing in a high-performance projector with at least 3000 lumens and 1080p resolution. This guarantees bright, clear images, especially in rooms with ambient light.
Implementing projector screen paint can considerably enhance visual fidelity by offering a seamless, bezel-free surface that provides a wide viewing angle, eliminating the limitations of traditional fabric screens.
If you're looking for a more immersive setup, consider curved screens or multi-projector configurations. However, be prepared to make adjustments to minimize any image distortion at the edges.
It's also important to maintain a proper distance of 4-5 meters from the projector to the screen. This distance assures ideal image clarity and reduces the need for excessive keystone adjustments.
Lastly, don't forget about regular maintenance checks. Cleaning the projector lens and adjusting your image settings are essential steps for sustaining high visual fidelity and performance over time.
Advanced Features for Immersion
Enhancing your home simulator experience involves integrating advanced features that elevate immersion to new heights. To truly feel like you're in the cockpit or behind the wheel, consider these essential components:
- Motion Platforms: These simulate pitch, roll, and yaw movements, giving you a tactile experience that enhances immersion in both flight and racing simulations. Proper air quality in your space can further enhance focus and reduce fatigue, making air purification maintenance a key consideration for your setup.
- Haptic Feedback Systems: They deliver tactile responses through your controls, allowing you to feel sensations like acceleration, impact, and terrain changes as you play.
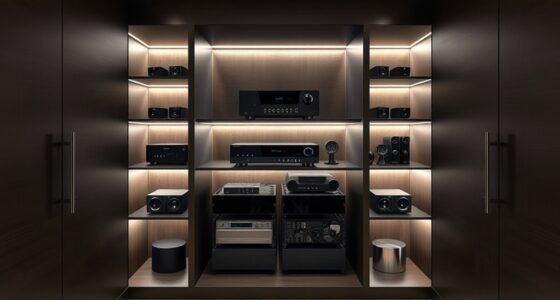
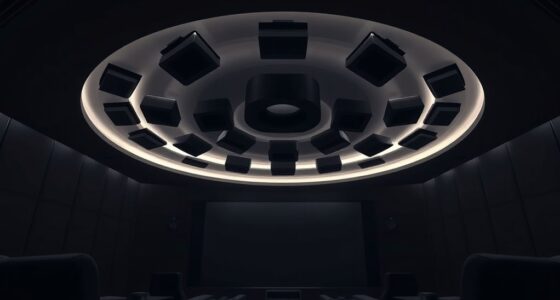
- High-Quality Sound Systems: Integrating a robust audio setup replicates the sound environment of real aircraft or racing cars, enriching your overall experience.
- Advanced Projection Systems: These create a bezel-free visual experience, eliminating screen borders for a more cohesive and immersive field of view.
Additionally, don't overlook the value of customizable options. Adjustable seat positioning and control layouts allow you to tailor your setup, enhancing comfort and engagement during those long sessions.
Cost Considerations and Budgeting
When budgeting for your home simulator setup, you'll need to weigh the initial investment for quality projectors against potential long-term savings compared to multiple monitors or high-end VR systems.
It's also vital to factor in ongoing maintenance costs, like bulb replacements, to guarantee your setup remains functional and effective.
Starting with one projector can help you manage expenses and assess what upgrades might be necessary later on.
Initial Investment Analysis
Investing in a home simulator setup requires careful consideration of various costs that can quickly add up. Your initial investment will largely depend on the type of simulator you're aiming for, especially if you're looking to enhance your flight simulator experience.
Here are some key costs to keep in mind:
- PC Costs: High-performance refined PCs start around $4,695, while advanced models can exceed $28,000.
- Projector Setups: A cost-effective option can begin at $263 for projector screen paint, which enhances your visuals considerably.
- Golf Simulator Essentials: Components like an impact screen, projector, and launch monitor can collectively cost over $2,500, with items like the SKYTRAK launch monitor priced at $999.
- Additional Equipment: If you're considering multi-projector configurations, factor in expenses for cabling, mounts, and high-quality HDMI cables to guarantee ideal image quality.
Long-Term Maintenance Expenses
Long-term maintenance expenses are an essential aspect of budgeting for your home simulator setup, especially when using a projector. While the initial investment costs for quality projectors and screens can be high, ongoing expenses can quickly add up.
Here's a quick look at potential long-term costs:
| Expense Type | Estimated Cost |
|---|---|
| Replacement Bulbs | $100 – $400 |
| Regular Maintenance | Varies (Cleaning, etc.) |
| Upgrades (Monitors/Software) | $600 – $2,500 |
| Projector Screens | $1,000+ |
Replacement bulbs are a significant factor, as they can range from $100 to $400, impacting your long-term maintenance expenses. Regular cleaning of filters and checking for dust also contribute to ongoing costs. Additionally, you should budget for potential upgrades to components, which can be necessary to keep up with technology advancements.
While projector setups might be more cost-effective than multiple monitors or high-end VR systems, you must weigh these long-term maintenance expenses against the immersive benefits you'll enjoy over time.
Maintenance Tips for Projectors
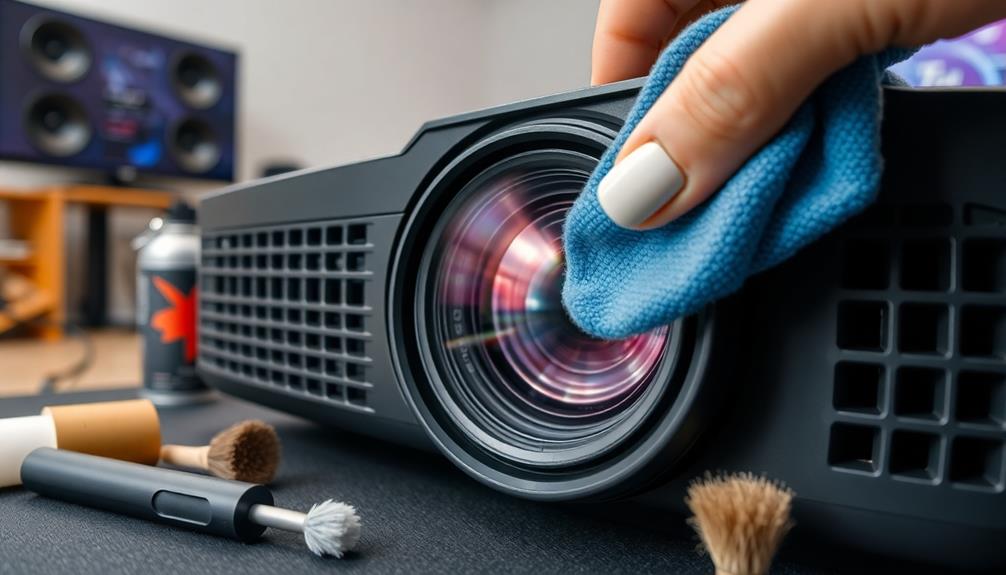
Maintaining your projector is essential for guaranteeing peak performance and longevity. By following these maintenance tips, you can enhance your projector's image quality and extend its lifespan:
- Clean the air filter and lens regularly: Dust accumulation can lead to overheating and reduced image quality. Make it a habit to check and clean these components frequently.
- Monitor projector bulb life: Most bulbs last between 1200 to 6000 hours. Track usage and replace the bulb promptly to maintain brightness and clarity.
- Use high-quality HDMI cables: Poor-quality cables can cause signal degradation, negatively impacting the image quality during your flight or racing simulations. Invest in reliable cables for the best results.
- Keep your projector in a cool, well-ventilated area: Overheating can shorten the projector's lifespan and affect its performance. Guarantee it has good airflow to prevent any potential issues.
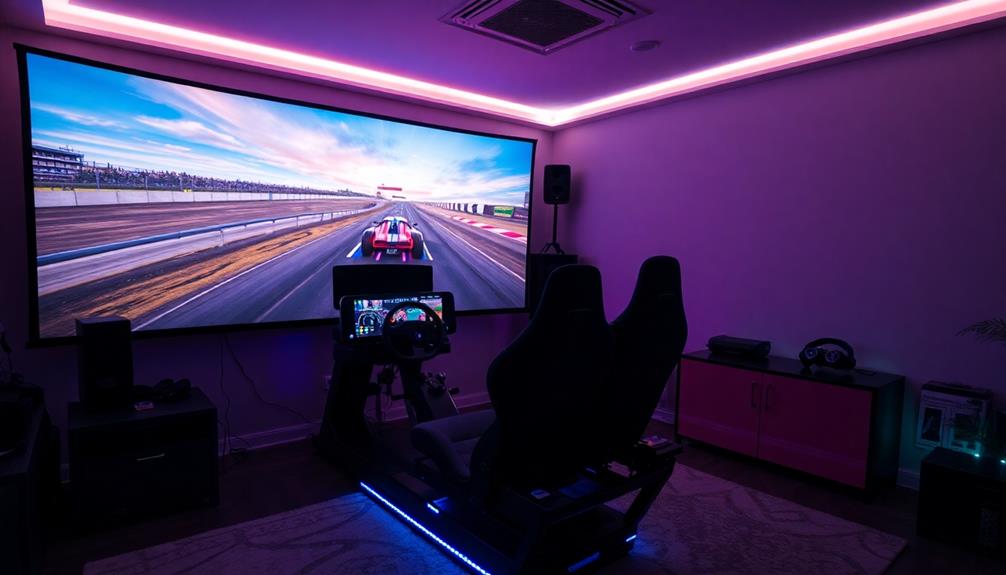
Customization Options for Simulators
Customization options for simulators can greatly enhance your experience, allowing you to tailor every aspect to your preferences.
Whether you're into flight or racing simulations, there are numerous enhancements to take into account. For flight simulators, think about incorporating motion platforms and haptic feedback systems. These provide tactile responses and simulate aircraft movements, making your experience feel incredibly realistic.
If racing is your passion, you can opt for a multi-projector setup or a curved monitor to create an immersive environment. Just remember to adjust the field of view and image distortion for best performance.
High-end setups can feature sophisticated sound systems and environmental feedback, giving you full control over your simulation software experience based on your tastes and budget.
Turnkey solutions are also available, offering tested gear combinations that guarantee compatibility and ease of use.
You can explore various cockpit frames, like the Boeing Commercial Edition or RealSimGear bundles, which allow for personalized setups based on the number of monitors and desired configuration.
With these customization options, you can create a simulator that feels uniquely yours, enhancing your enjoyment and immersion in every session.
Frequently Asked Questions
What Do I Need to Set up a Flight Simulator at Home?
To set up a flight simulator at home, you'll need a powerful PC, realistic flight controls, a quality display, a sturdy cockpit frame, and simulation software. These components guarantee an immersive and smooth flying experience.
Which Flight Simulator Is More Realistic?
While opinions vary, many pilots swear by X-Plane 12 for its unmatched flight physics, but Microsoft Flight Simulator's stunning visuals and real-world weather can't be ignored. Ultimately, it depends on what you value most.
What Can a Full Motion Flight Simulator Do?
A full motion flight simulator replicates real flying by simulating pitch, roll, and yaw movements. You'll experience haptic feedback, practice specific maneuvers, and train safely without risks, enhancing your overall flying skills.
Can I Make It Daytime in Flight Simulator?
You can easily bask in the warm glow of daytime in your flight simulator. Just tweak the settings or choose a predefined scenario, and you'll soar through sunny skies in no time. Enjoy the bright experience!
Conclusion
As you step into your home simulator setup, think of it as boarding a magnificent ship, ready to sail the skies or race the tracks. With the right projector lighting your path, and a canvas of your choosing, you'll navigate through thrilling adventures from the comfort of your own dock. Embrace the waves of excitement and fine-tune your vessel with immersive features. Your journey awaits, transforming your space into a domain of limitless possibilities. Set sail and enjoy!