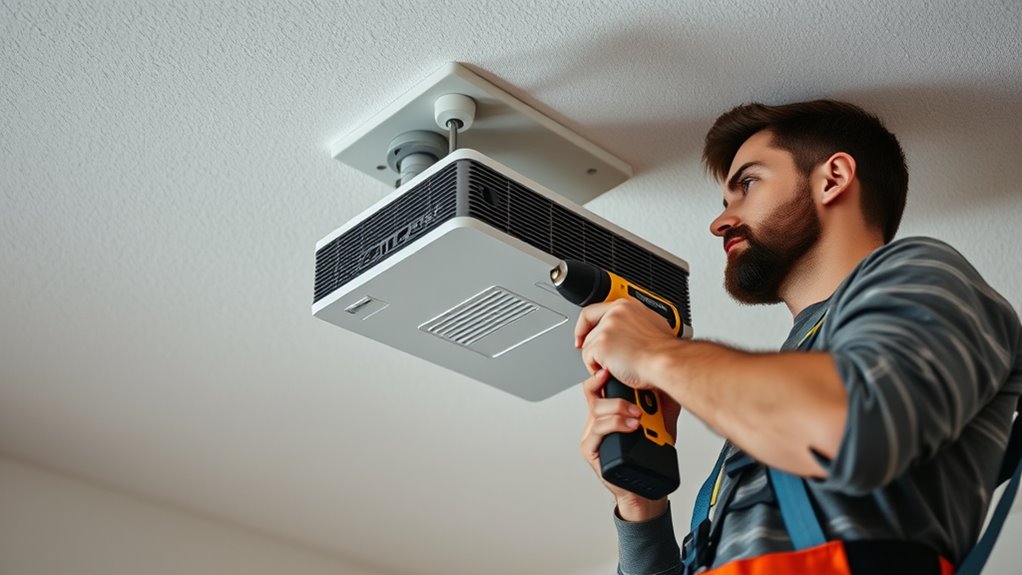
To safely mount a projector or TV, start by gathering the right tools like a drill, stud finder, level, and mounting brackets. Carefully plan the placement considering viewing angles, lighting, and accessibility. Find wall studs or ceiling joists and mark their positions accurately. Drill pilot holes into the supports, then secure the mount with appropriate anchors and hardware rated for the device’s weight. Double-check stability and verify everything is level. Keep in mind, following proper procedures helps prevent accidents—stay with us to learn more about each step.
Key Takeaways
- Use a stud finder to locate wall or ceiling joists for secure mounting points.
- Follow manufacturer instructions to determine correct mounting hole patterns and hardware.
- Drill pilot holes into studs or joists, avoiding electrical wiring and plumbing behind walls.
- Ensure the mount is level, stable, and properly anchored before hanging the device.
- Regularly inspect the mount and cables for looseness or damage to maintain safety.
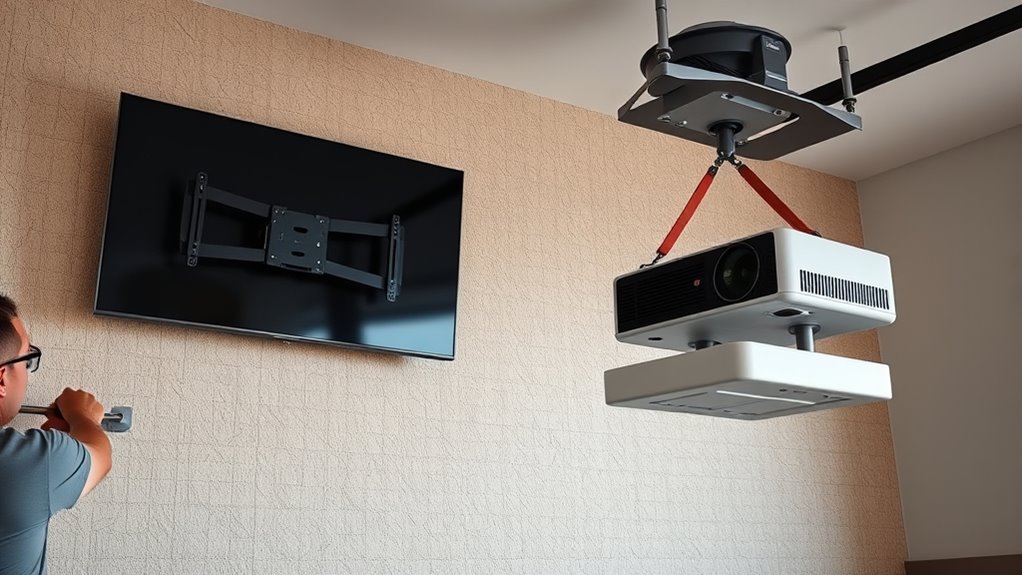
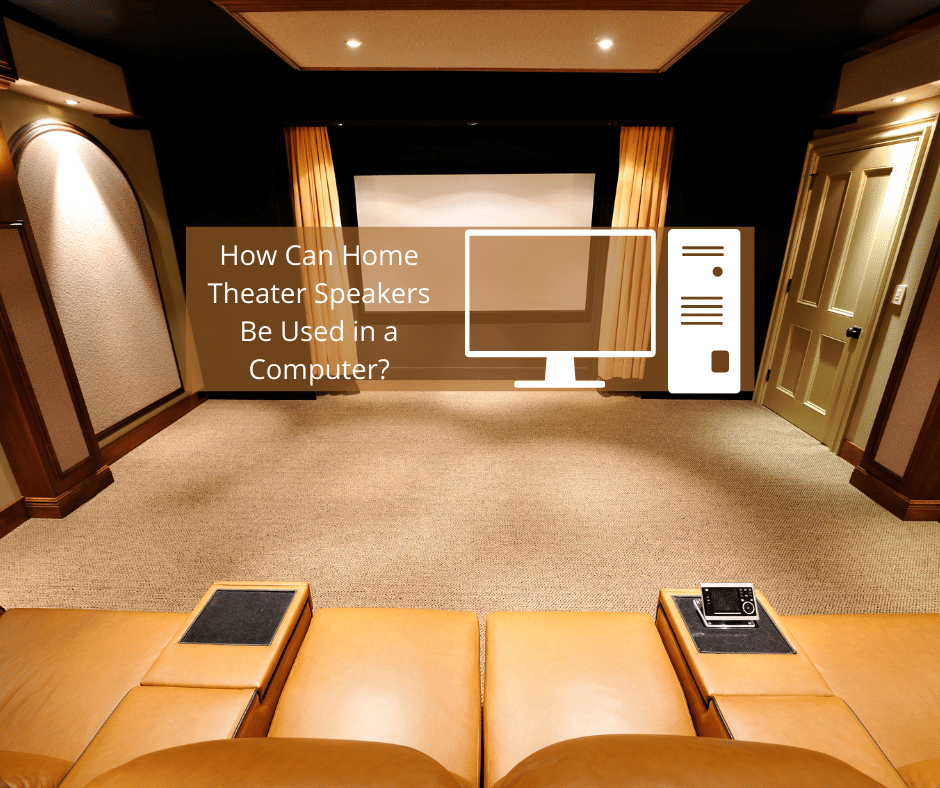
Mounting a projector or TV securely is essential to guarantee safety and ideal performance. Whether you’re setting up a home theater or a media room, proper installation prevents accidents and ensures your device functions as intended. Before you start, gather all necessary tools: a drill, stud finder, level, measuring tape, and appropriate mounting brackets. Take your time planning the placement, considering viewing angles, lighting conditions, and accessibility. Mark the spots carefully, making sure the mount will be centered and at the right height for comfortable viewing.
When installing on a wall, locate the wall studs first. Use a stud finder to identify the framing behind the drywall, as mounting directly into drywall alone won’t support the weight over time. Once you’ve found the studs, mark their positions clearly. Most TVs and projectors have specific mounting hole patterns; consult the manufacturer’s instructions to align your brackets correctly. Drill pilot holes into the studs, which provides a secure anchor point. Avoid drilling into electrical wiring or plumbing hidden behind the wall by inspecting the area beforehand. Proper weight distribution is crucial to prevent any potential accidents or damage over time.
Use high-quality, compatible anchors and screws rated for the weight of your device. Tighten all bolts firmly but avoid overtightening, which could damage the mount or wall. After attaching the mount to the wall, double-check its level and stability before hanging your TV or projector. For added security, consider using a level tool during installation to ensure your device hangs perfectly straight. Additionally, proper weight distribution is crucial to prevent any potential accidents or damage over time. To further ensure safety, it’s advisable to periodically inspect the mount and connections, especially if the setup is in a high-traffic area. Once mounted, connect all cables neatly, using clips or conduits to prevent strain on ports and cords, which could loosen or damage connections over time.
For ceiling mounting, similar principles apply. Locate ceiling joists using a stud finder, as these provide the necessary support. Mark the joist locations carefully, and drill pilot holes into the joists to secure the mount. Use appropriate anchors if mounting into concrete or other solid surfaces. Make sure the mount’s tilt and swivel features are adjusted before final tightening. Keep in mind that ceiling mounting often requires additional support or reinforcement, especially if the device is heavy or mounted at an angle.
Regularly check the stability of your mounted device, especially if you notice any wobbling or shifting. Over time, vibrations or minor impacts can loosen fittings, so periodic inspections help maintain safety and performance. Proper mounting isn’t just about following steps; it’s about ensuring your equipment stays secure and functions at its best. Taking the time to do it right guarantees that your entertainment setup remains safe, reliable, and enjoyable for years to come. Additionally, understanding the importance of industry trends can help you select the best mounting options and accessories for your needs.

NothingProjector Motorized ALR Screen for Ultra Short Throw Projector, 95% Ambient Light Rejecting, 100 inch, Floor Rising, 4K/8K UHD, Active 3D, Anti Daylight, Electric Retractable Automatic NothPJ
✔ Adjustable Height, Zero Installation – Effortlessly adjust the screen to any height with a single press of...
As an affiliate, we earn on qualifying purchases.
Frequently Asked Questions
What Tools Are Necessary for Mounting a Projector or TV?
To mount a projector or TV, you’ll need essential tools like a stud finder to locate wall studs, a drill with various bits for making holes, a level to ensure precise alignment, and a screwdriver for securing brackets. You might also need a measuring tape to position everything accurately, a pencil for marking, and possibly a socket wrench if bolts are involved. Make certain to have all these tools ready for a safe, secure installation.
How Do I Determine the Optimal Height for Mounting?
Did you know that most viewers prefer a screen height where the center is at eye level, about 42 inches from the floor? To find your ideal height, sit comfortably in your usual viewing spot, measure eye level, and mark that spot on the wall or ceiling. Confirm the projector or TV is mounted so the center aligns with this height for a comfortable, immersive viewing experience.
What Safety Precautions Should I Follow During Installation?
During installation, you should prioritize safety by wearing protective gear like gloves and goggles. Make sure the power is off to avoid electrical shocks and double-check the wall or ceiling’s strength before drilling. Use the right tools and secure all mounts tightly. Keep your workspace clear of clutter, and if you’re unsure about any step, consult a professional. Taking these precautions helps prevent accidents and guarantees a secure, safe setup.
How Can I Hide Wiring for a Clean Look?
Think of your wiring as the veins of your setup—hidden, yet essential. To hide them, run cables through wall conduits or behind drywall for a seamless look. Use cable raceways or cord covers along the wall’s surface if running inside isn’t an option. Secure everything neatly with clips or ties, ensuring safety and aesthetics. This way, your space stays sleek, clutter-free, and visually appealing.
What Should I Do if the Wall Isn’t Suitable for Mounting?
If your wall isn’t suitable for mounting, don’t worry. You should consider alternative options like using a free-standing TV stand or a mobile cart that offers stability and flexibility. You might also explore mounting on a different wall that’s more sturdy or installing a ceiling mount if possible. Always make certain your chosen solution can support the weight and size of your device for safety and ideal viewing.

120" Motorized Projector Screen, Electric 16:9 Projector Screen with Remote Control, Indoor/Outdoor HD Movie Screen, Wall/Ceiling Mounted, Perfect for Home Office Theater TV, White
Size and Aspect Ratio: 120" diagonal, 16:9 view size: 104.8"W x 58.7"H. Suitable for LED, LCD, and DLP...
As an affiliate, we earn on qualifying purchases.
Conclusion
By following these simple steps, you’ll secure your screen safely, ensuring spectacular, stress-free viewing. Remember, proper planning and precise placement prevent problems and promote peace of mind. Take your time, trust your tools, and tackle each task with confidence. With careful calculation and cautious commitment, you’ll create a mesmerizing, clutter-free viewing space that’s both safe and stunning. So, step up, stay steady, and enjoy your perfectly mounted projector or TV without worry or hassle.
SilverMagic ALR/CLR Motorized Floor Rising Projector Screen for UST Projectors 100”, 95% Ambient Light Rejecting, 4K/8K Ultra HD, Active 3D, for Home Theater Living Room Bedroom Office
★【95% ALR】The precision-engineered optical surface’s micro-structure rejects up to 95% of ambient light, preserving vivid colors, deep contrast,...
As an affiliate, we earn on qualifying purchases.

MIGO 150 Inch Pull Down Electric Projector Screen, Grey Crystal 2.0 Gain Partial Ambient Light 4K Tab-Tension Projector Screen Wall & Ceiling Mount for Short Throw Projector Movie Home Theater Cinema
[Projector Recommendation] For the best viewing experience on the MIGO Pull Down Screen, please use a genuine projector...
As an affiliate, we earn on qualifying purchases.