
To keep your audio setup perfect yearly, start by checking all connections and guaranteeing speakers are at ear level and spaced correctly. Use calibration software and a sound level meter to balance decibel levels across your space, avoiding distortions or dullness. Revisit your setup after any changes, and regularly inspect equipment for wear. Incorporate professional acoustic adjustments if needed, and stay aware of environmental factors. Continual attention ensures your sound remains crystal clear—more tips ahead will help you refine this process.
Key Takeaways
- Schedule yearly calibration sessions to maintain sound accuracy and address any environmental or equipment changes.
- Use calibration software and professional insights to fine-tune speaker placement, levels, and equalization.
- Regularly inspect and secure all audio connections and hardware to prevent deterioration or signal issues.
- Reassess room acoustics and integrate acoustic treatments as needed for optimal sound balance.
- Document calibration settings and adjustments to ensure consistent performance and easy future recalibration.
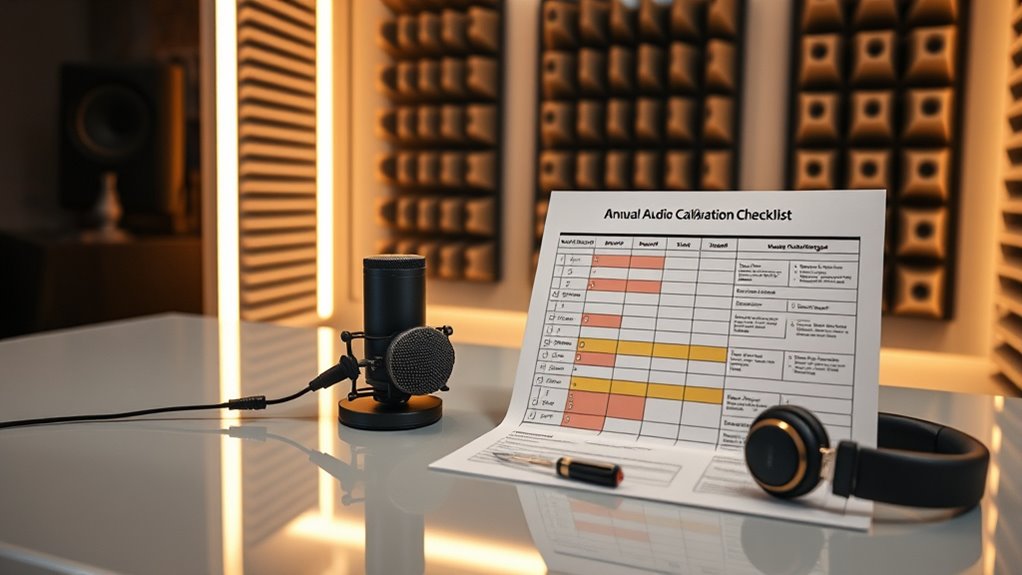
Annual Audio Calibration Best Practices
Proper audio calibration is essential to guarantee your sound system performs at its best, delivering clear and balanced audio. When you focus on calibrating your equipment correctly, you ensure every note, voice, and sound effect reaches your audience with accuracy. The first step in this process involves paying close attention to the sound level and your equipment setup. Setting the right sound level is critical because too high, and you risk distortion or discomfort; too low, and details get lost. Take the time to measure and adjust the sound level across your entire system, ensuring consistency from source to output. Use a reliable sound level meter to gauge decibel levels at various points in the room, and aim for a balanced, even response. This way, no particular area will be overwhelmed or underwhelmed by sound, creating a more immersive experience.
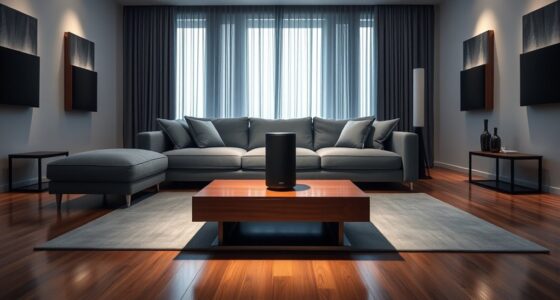
Next, focus on your equipment setup. Properly positioning speakers, microphones, and other audio gear directly impacts sound quality. Make sure your speakers are placed at ear level and spaced correctly to create an even sound field. Avoid placing them too close to walls or corners, as this can cause reflections and muddiness. When setting up, double-check all connections—loose or faulty cables can impair sound clarity and introduce unwanted noise. Also, verify that your amplifiers and mixers are configured correctly, with levels set appropriately for each device. This initial setup can save you hours of troubleshooting later and ensures your calibration process is built on a solid foundation. Additionally, consider audio calibration software to automate and enhance the precision of your adjustments. Regularly inspecting and updating your setup can also help prevent deterioration of sound quality over time. Remember, calibration isn’t a one-time task; it’s an ongoing process that should be revisited annually or whenever changes are made to your setup. Expert insight and adjustments based on real-world conditions will keep your sound levels consistent and your equipment setup optimized, preventing issues from creeping in over time. Incorporating professional camper conversion techniques into your setup can also improve acoustic treatment, especially in custom spaces. Maintaining awareness of potential Narcissistic traits in your equipment or environment can help identify and address any bias or misalignment in your calibration process.
Frequently Asked Questions
How Often Should Calibration Equipment Itself Be Calibrated?
You should calibrate your equipment regularly to guarantee accurate measurements. Calibration frequency depends on usage and manufacturer recommendations, but generally, you should calibrate your calibration equipment at least once a year. Proper equipment maintenance is essential for reliable results, so keep a schedule and record all calibrations. Regular checks help prevent drift and ensure your audio calibration remains precise, ultimately maintaining the quality of your audio environment.
What Are the Costs Associated With Annual Audio Calibration?
Think of annual audio calibration costs as planting seeds for perfect sound; they’re an investment in clarity and reliability. You’ll need to take into account equipment, technician fees, and potential upgrades during your cost analysis. Including these expenses in your budget planning ensures you’re prepared for consistent performance. While costs vary, prioritizing calibration helps avoid costly errors later, making it a wise, ongoing commitment to sound quality.
Can Remote Calibration Ensure the Same Accuracy as On-Site?
You might wonder if remote calibration can match the accuracy of on-site calibration. While remote calibration offers convenience and cost savings, it often can’t fully replicate the precision of on-site calibration, where technicians can physically verify and adjust equipment. On-site calibration provides direct access to equipment, ensuring higher accuracy. So, for critical audio setups, on-site calibration remains the gold standard, though remote options are improving rapidly.
What Qualifications Should Technicians Have for Audio Calibration?
Think of your calibration technician as a skilled navigator guiding your audio ship through precise waters. They should hold strong technician credentials and a calibration certification to prove their expertise. These qualifications guarantee they understand the nuances of sound accuracy and can handle complex calibration tasks confidently. Trusting certified professionals means you’re steering your audio system with someone who’s well-equipped to keep everything sounding just right, no matter how turbulent the technical seas get.
How Do Environmental Factors Impact Calibration Accuracy?
Environmental factors like ambient noise and temperature fluctuations profoundly impact calibration accuracy. When ambient noise levels are high, it becomes difficult to get precise measurements, leading to inaccuracies. Temperature fluctuations can cause equipment to drift, affecting calibration results. To guarantee accurate calibration, you should conduct tests in a controlled environment, minimize ambient noise, and monitor temperature stability. This helps maintain consistency and reliability in your audio system performance.
Conclusion
By sticking to your annual audio calibration checklist, you’re tending to your sound system like a gardener pruning a delicate vine—ensuring every note blossoms with clarity and precision. Regular calibration keeps your audio landscape pristine, preventing silent weeds from creeping in and dulling your experience. Embrace this routine as the steady heartbeat of your audio environment, guiding your soundscape to remain vibrant, balanced, and flawless—an orchestra that plays in perfect harmony year after year.